
How Long Do Clam Strips Last?
Storage Tips and Shelf Life
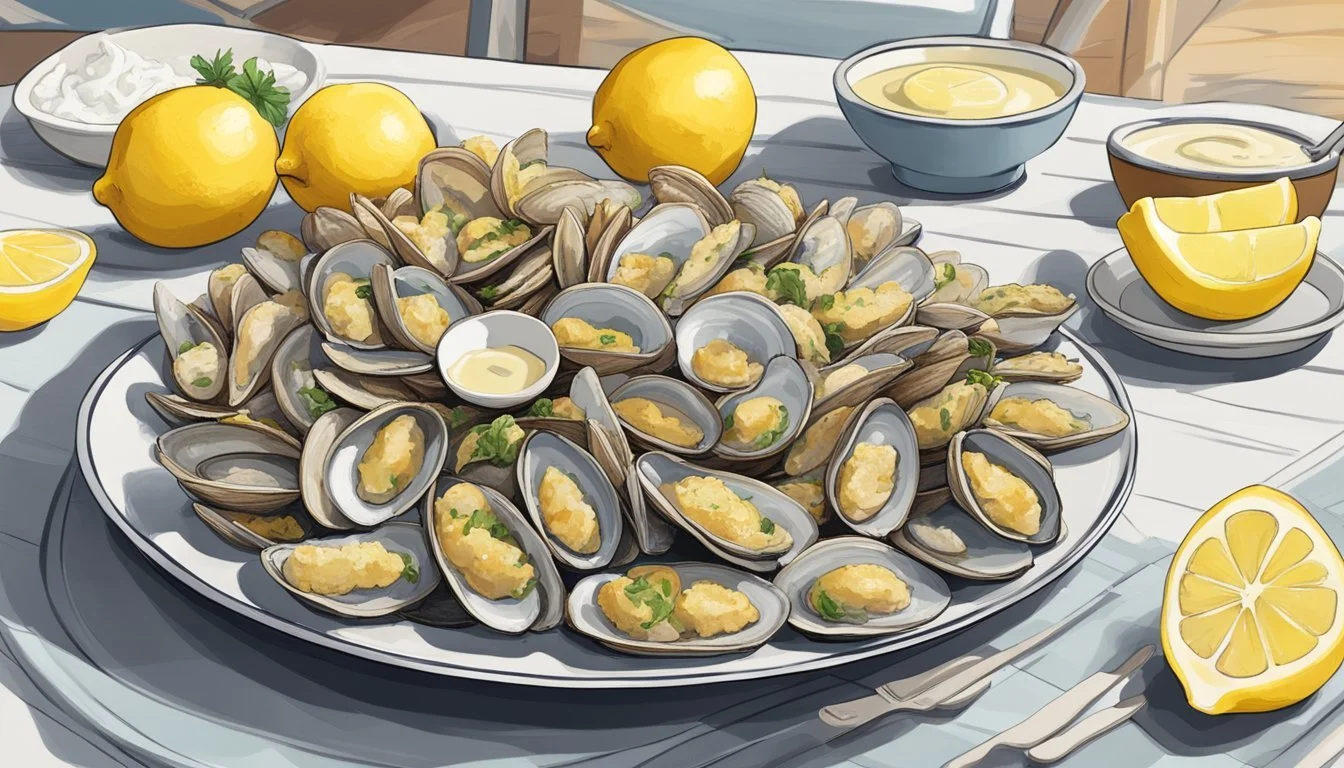
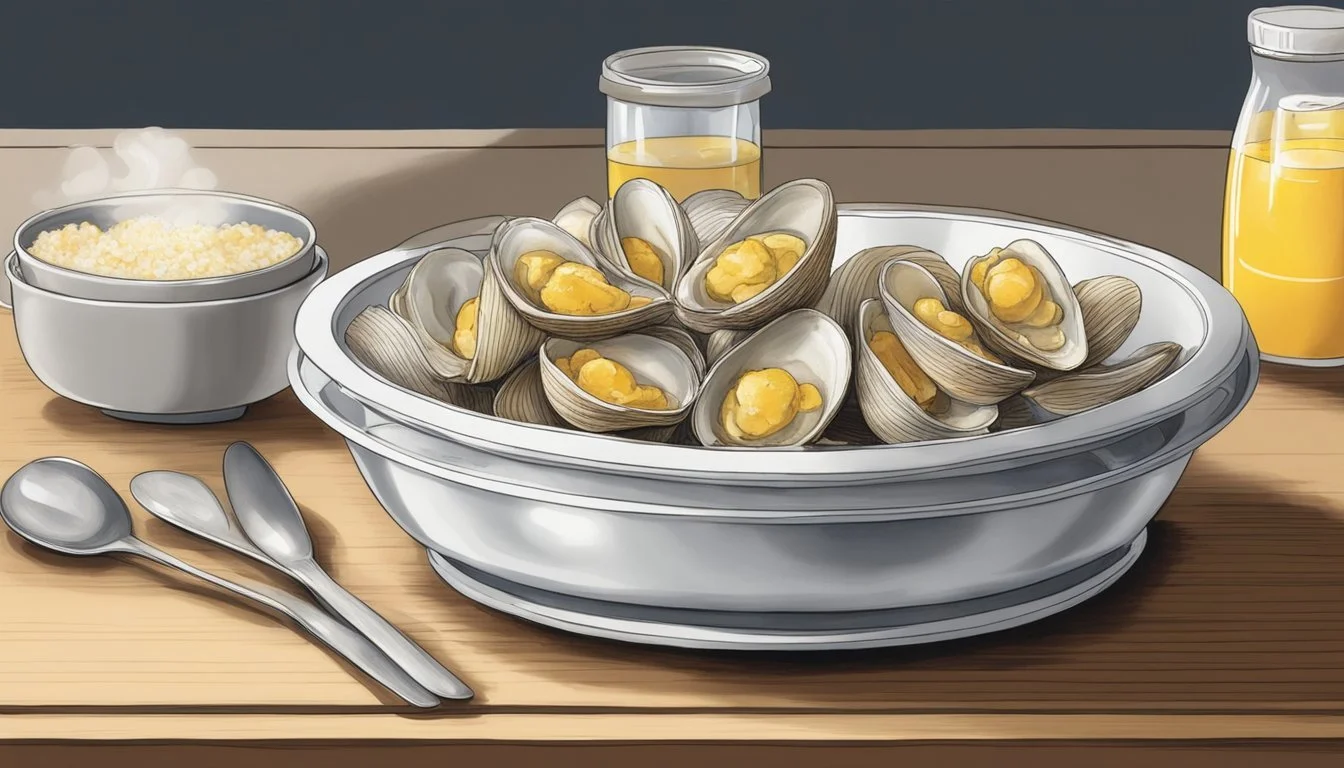
Clam strips, a popular seafood delicacy, offer a delightful crunch and rich flavor that many people love. When stored properly in the refrigerator, cooked clam strips can last up to three days, ensuring they remain fresh and safe to eat. To maximize their shelf life, it is essential to keep them at a consistent cold temperature and consume them within the recommended timeframe.
For those who prefer canned clam strips, they enjoy a much longer shelf life. These can generally be stored for several months, provided they remain unopened and are kept in a cool, dry place. Once opened, they should be refrigerated and consumed within a few days to maintain optimal freshness and food safety.
Effective storage practices play a key role in extending the life of these delicious seafood treats. Live clams should be kept in a breathable environment, such as a bowl covered with a damp cloth, inside the refrigerator. This ensures they stay fresh until you’re ready to prepare your clam strips. Proper care and timely consumption are vital for enjoying clam strips at their best quality.
Understanding Clams

Clams are a popular type of shellfish treasured for their tender texture and unique flavor, found in various dishes such as clam chowder and seafood pasta. Knowing their anatomy and the different varieties available can help in selecting the best clams for your culinary needs.
Anatomy of a Clam
A clam consists of a two-part shell that protects its soft interior. The shell is hinged at one end and can open and close. Inside, there are several notable parts:
Mantle: This is the soft outer layer that secretes the shell.
Foot: A muscular part that allows the clam to move and burrow into the sand.
Gills: Used for breathing and feeding, filtering plankton and other small particles from the water.
Siphons: Extend to draw in and expel water.
Its body is encased in muscle tissue, which contributes to the chewy texture. Clams are known for their briny flavor, reminiscent of their ocean habitat.
Varieties of Clams
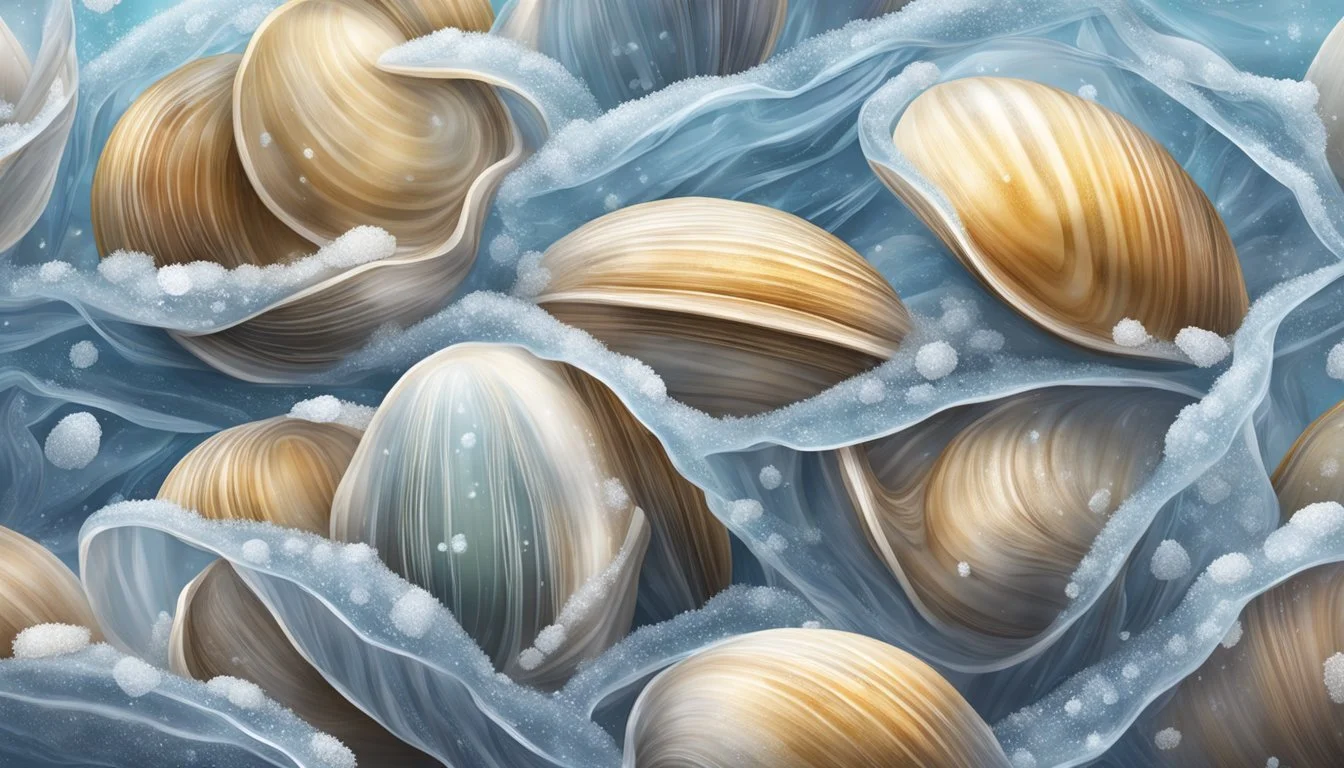
Various types of clams are found in markets, each with distinct qualities. Quahogs, or hard clams, are versatile and often used in dishes like clam chowder. Littlenecks and cherrystones are types of quahogs that differ in size, with littlenecks being smaller and more tender, making them ideal for raw consumption or steaming.
Soft-shell clams, known as steamers, have brittle shells and are often served steamed. Razor clams, named for their shape, are another variety with a delicate texture and sweet flavor, making them suitable for grilling or sautéing. Fresh clams should be stored properly to maintain their quality and avoid spoilage.
Fresh Clam Storage Basics
Properly storing fresh clams ensures they remain safe to eat and retain their best quality for as long as possible. Key considerations include maintaining the right temperature, preventing moisture loss, and handling them with care.
Optimal Refrigeration Practices
Fresh clams should be stored in the refrigerator at temperatures between 32°F and 45°F (0°C and 7°C). Use a bowl or colander lined with a damp cloth to keep the clams. It's important to avoid airtight containers, which can smother the clams, as they need to breathe. Avoid submerging them in water, as this can cause them to die and spoil faster. Keep the refrigerator clean to prevent cross-contamination and ensure the clams remain fresh.
Preventing Moisture Loss
To prevent clams from drying out, cover them with a damp cloth or paper towel. This maintains the necessary moisture without suffocating them. Re-moisten the cloth as needed to keep it damp but not wet. This approach allows the clams to stay alive longer and keeps their texture intact. Always make sure that the cloth is clean to avoid introducing any bacteria or contaminants.
Handling and Cleaning
Handle clams gently to avoid damaging their shells. When cleaning, dissolve 2 tablespoons of kosher salt per quart of cool water. Fully submerge the clams in the solution for about 2 hours at room temperature or overnight in the refrigerator. This will help purge any sand or grit. After purging, carefully lift the clams out and rinse them under cool water. This ensures that they are ready for cooking or further storage without any unwanted particles.
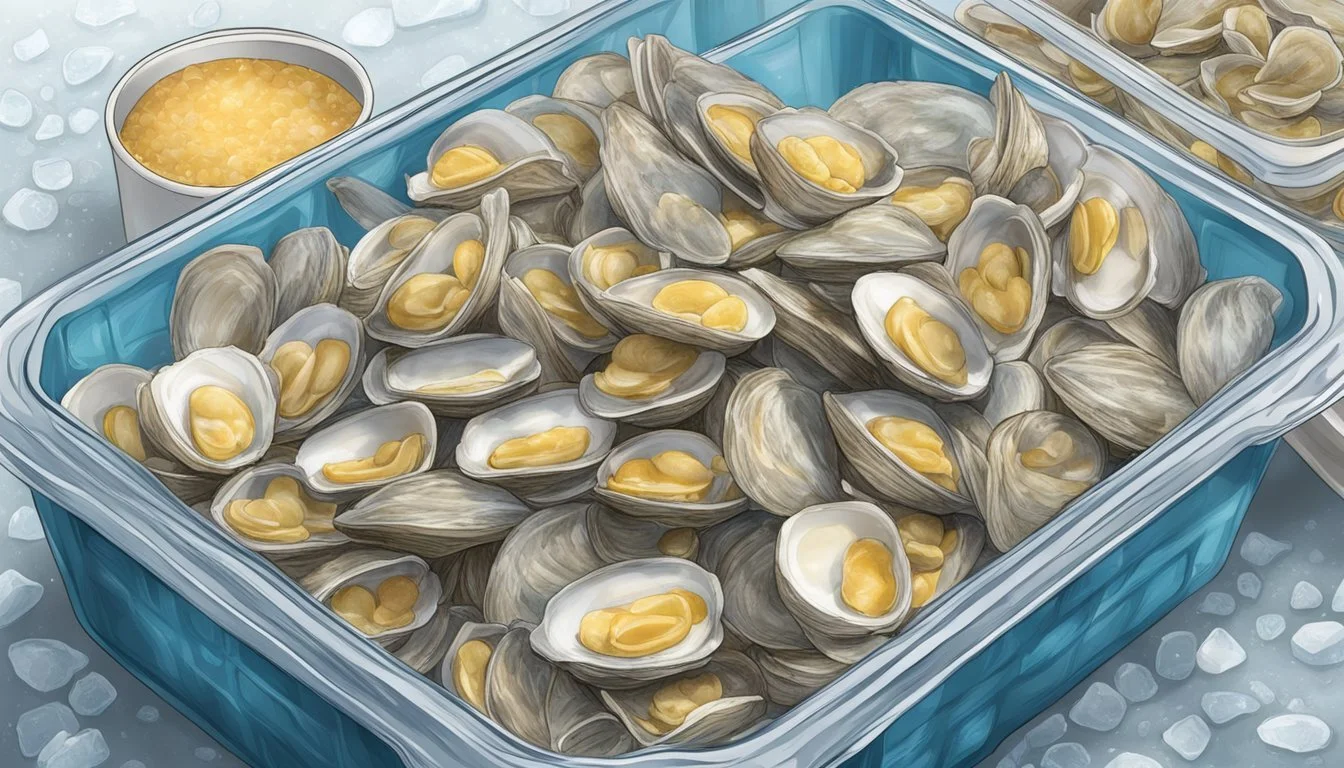
Freezing Clams
Freezing clams properly ensures they remain safe and retain their texture and flavor. Important steps include preparing the clams for freezing, adhering to best freezer practices, and knowing the right way to thaw them.
Preparing Clams for Freezing
To begin, shuck the clams by opening their shells and removing the meat. Rinse the clam meat thoroughly to eliminate any residual sand. Freezing clams in their shells is also an option; simply scrub the shells clean beforehand.
For shucked clams:
Rinse the meat to clear debris.
Drain to remove excess liquid.
Pack in freezer-safe containers, leaving half an inch of headspace.
For clams in the shell:
Clean the shells.
Place in moisture-vapor-resistant bags.
Remove excess air before sealing.
Best Freezer Practices
Store clams at temperatures of -18°C (0°F) or lower. Use heavy-duty freezer bags or vacuum-sealed bags to prevent freezer burn.
Key tips:
Label containers with the date of freezing.
To prevent clumping, spread clams in a single layer and then freeze.
Ensure the clams are stored flat until frozen to save space and maintain even freezing.
For added protection:
Cover the clam-filled containers with a layer of milk and water, which helps preserve texture.
Thawing Frozen Clams
To thaw, place clams in the refrigerator for 24 hours. This slow process ensures the clams retain their texture and flavor.
Quick thawing:
Place the clams in a sealed plastic bag.
Immerse in cold water, changing the water every 30 minutes until thawed.
Avoid using hot water or microwaving as these methods can cook the clams unevenly and affect quality.
Thawed clams should be used immediately to ensure the best quality. Never refreeze previously frozen and thawed clams to prevent deterioration in flavor and texture.
Shelf Life of Clams

The shelf life of clams depends significantly on whether they are raw or cooked and how they are stored. Proper storage techniques are crucial to maintaining the freshness and quality of clams.
Raw Clams
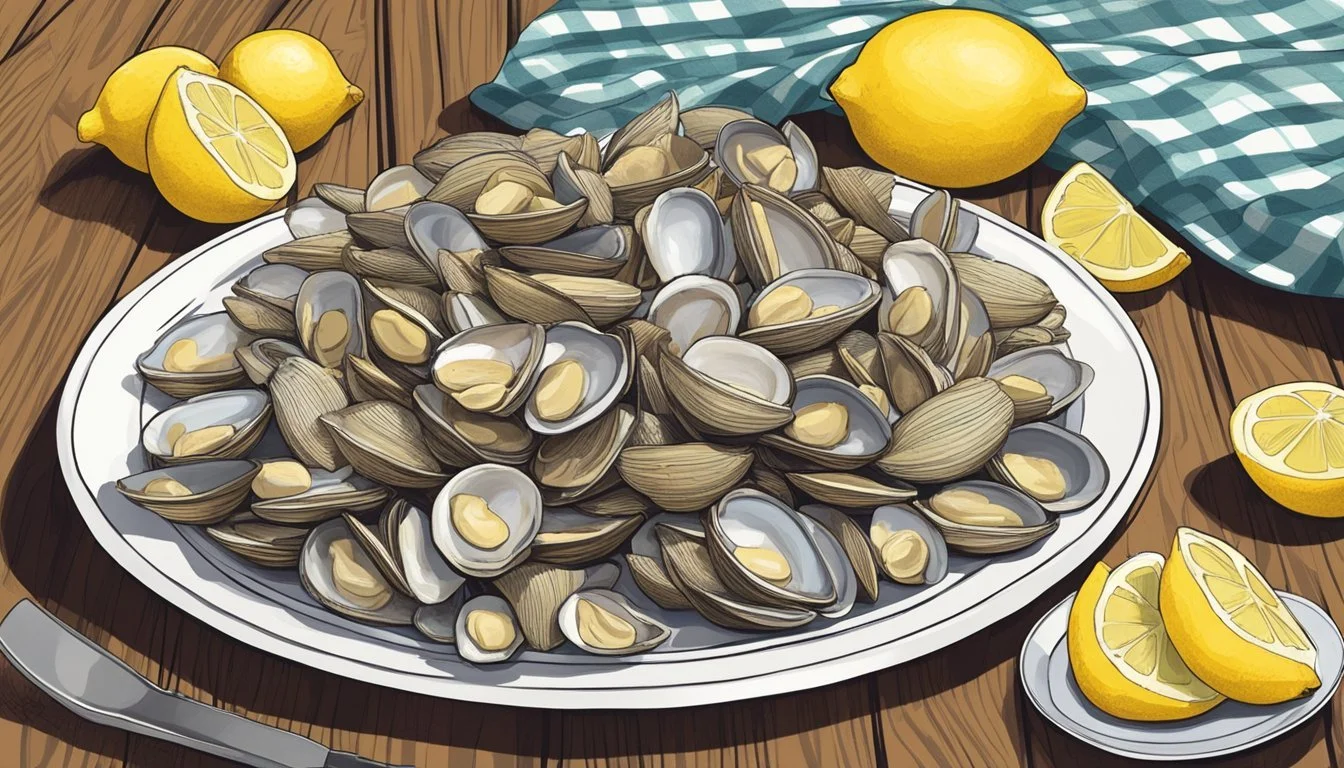
Raw clams, when kept in their shells, can last up to 4 to 5 days in the refrigerator. They should be stored in a bowl covered with a damp cloth to maintain their moisture. It's essential to avoid airtight containers as clams need to breathe.
Live clams should also remain cold to preserve their quality. A consistent temperature helps maintain the freshness, preventing the clams from spoiling quickly. The siphon method, where clams partly open and close their shells, indicates they are still alive and fresh.
Cooked Clams
Cooked clams generally have a shorter shelf life compared to raw clams. They can be safely stored in the refrigerator for 2 to 3 days. It's important to place them in an airtight container to prevent contamination and preserve their quality.
When storing cooked clams, refrigeration should occur promptly after cooking. If there is clam juice involved, ensure it is stored properly as well, as it can help retain the clams' flavor. Proper storage plays a key role in prolonging the shelf life and minimizing the risk of foodborne illnesses.
Safety and Quality
Clam strips must be handled and stored properly to ensure they remain safe to eat and retain their quality. Key points include identifying signs of spoilage and adopting measures to prevent foodborne illnesses.
Identifying Spoiled Clams
To determine if clam strips have spoiled, check for an unpleasant odor. Fresh clams have a mildly briny and oceanic smell, whereas spoiled clams emit a strong, foul, or off-putting smell.
Visual cues are also significant. Spoiled clam strips may display a slimy texture, discoloration, or mold growth. Clams that appear slimy or discolored are likely spoiled.
Mold growth is a clear indicator of spoilage. Avoid consuming clam strips with any visible molds. Additionally, changes in texture, such as becoming unusually mushy, signal spoilage.
Preventing Foodborne Illness
Proper storage is essential to prevent harmful bacteria from contaminating clam strips. Cooked clam strips should be refrigerated within two hours of cooking and kept at temperatures below 40°F (4°C). They typically last 2-3 days in the refrigerator.
Freezing is also a viable option. Shuck the clams, rinse them thoroughly, and store them in airtight containers. Label containers with the date to keep track of freshness and consume within three months for best quality.
Food poisoning can occur from consuming spoiled clams, with symptoms such as nausea, vomiting, and abdominal pain. Always check for signs of spoilage before consumption to mitigate these risks. Proper handling and storage play a significant role in ensuring safety and quality.
Proper Reheating Methods
To maintain the quality of clam strips after their initial cooking, specific reheating techniques yield the best results. These methods help preserve the flavor and texture, avoiding the common pitfalls of reheating cooked clams.
Reheating in Microwave and Stove
Microwave:
Lay the clam strips in a single layer on a microwave-safe plate. Cover them with a damp paper towel to retain moisture. Set the microwave to medium power and heat the clam strips for 1-2 minutes, checking frequently to avoid overcooking. This method is quick but requires careful attention to maintain quality.
Stove:
When using a stove, bring clam strips to room temperature first. Heat a skillet over medium heat and add enough vegetable or canola oil to cover the bottom. Once the oil reaches about 400°F, place the clam strips in a single layer. Cook them for approximately 3-4 minutes, turning them halfway to ensure even heating and achieve a crispy exterior.
Maintaining Quality and Taste
Use of Wire Rack or Baking Tray:
For oven reheating, preheat the oven to 350°F. Place the clam strips on a wire rack or preheated baking tray. Heat them for 10-12 minutes, allowing for a burst of crisping under the broiler for 1-2 minutes if needed. The wire rack ensures even heat distribution.
Avoid Overcrowding:
Whether using a skillet or an oven, always avoid overcrowding. Cooked clams need to be in a single layer to reheat evenly, preventing sogginess and retaining their crispy texture.
Broiler for Extra Crispness:
If clam strips appear soggy, a quick 1-2 minute session under a broiler can help restore their crunch. Ensure to monitor closely to avoid burning.
Flavor and Marinade Considerations:
Ensure that the clam strips are adequately heated but not overcooked to preserve the original marinade and flavor. Overheating can lead to a loss of moisture and a chewy texture.
Incorporating Clams in Recipes

Clams are a versatile seafood choice, known for their distinct flavor and high protein content. They can be incorporated into a variety of dishes, such as pasta and broths, infusing meals with a rich, savory essence.
Clams in Pasta Dishes
Clams are often featured in pasta dishes, adding a salty and umami taste that complements various sauces and ingredients. A classic recipe is Pasta with Clam Sauce, which typically uses fresh clams, garlic, white wine, and a squeeze of lemon. The clams should be cooked until they open, releasing their briny juices into a sauce that coats the pasta.
In addition to the sauce, adding some cornmeal to the dish can help thicken the sauce and add texture. For a balanced meal, chefs often include a mix of herbs like parsley or basil to enhance the clam flavor. This dish pairs well with linguine or spaghetti, as their long strands pick up the sauce and clams effectively.
Making Broth and Sauces
Clams are excellent for making flavorful broths and sauces, which serve as the base for many recipes. To create a clam broth, start by simmering clams in water with aromatics such as onions, garlic, and celery. This process draws out the essence of the clams, producing a rich stock.
Strain the broth to remove the clam shells and residual sand, ensuring a smooth liquid. This broth can then be used as a base for seafood soups, such as clam chowder or bisque. Additionally, clam broth can be reduced and thickened to make sauces that complement other seafood dishes, adding depth and complexity to the flavors.
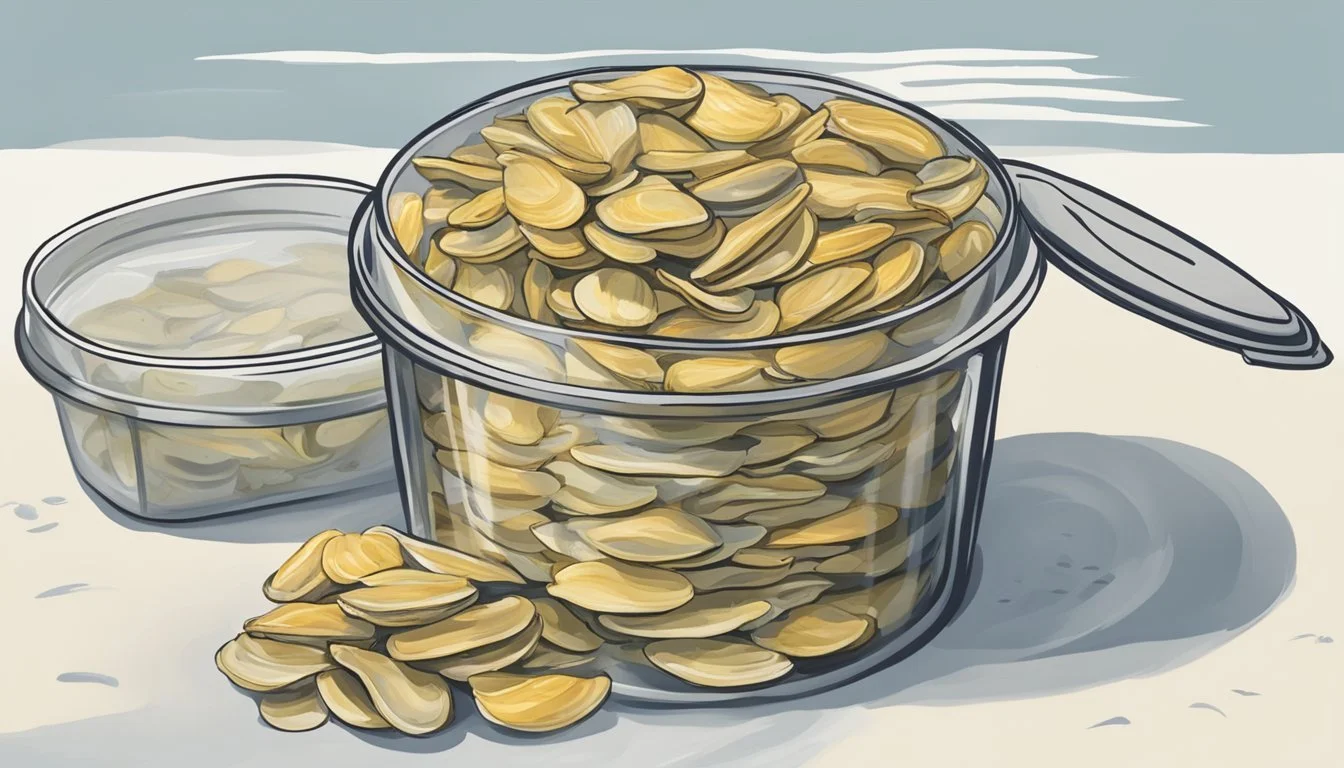
Effective Storage Containers and Labeling
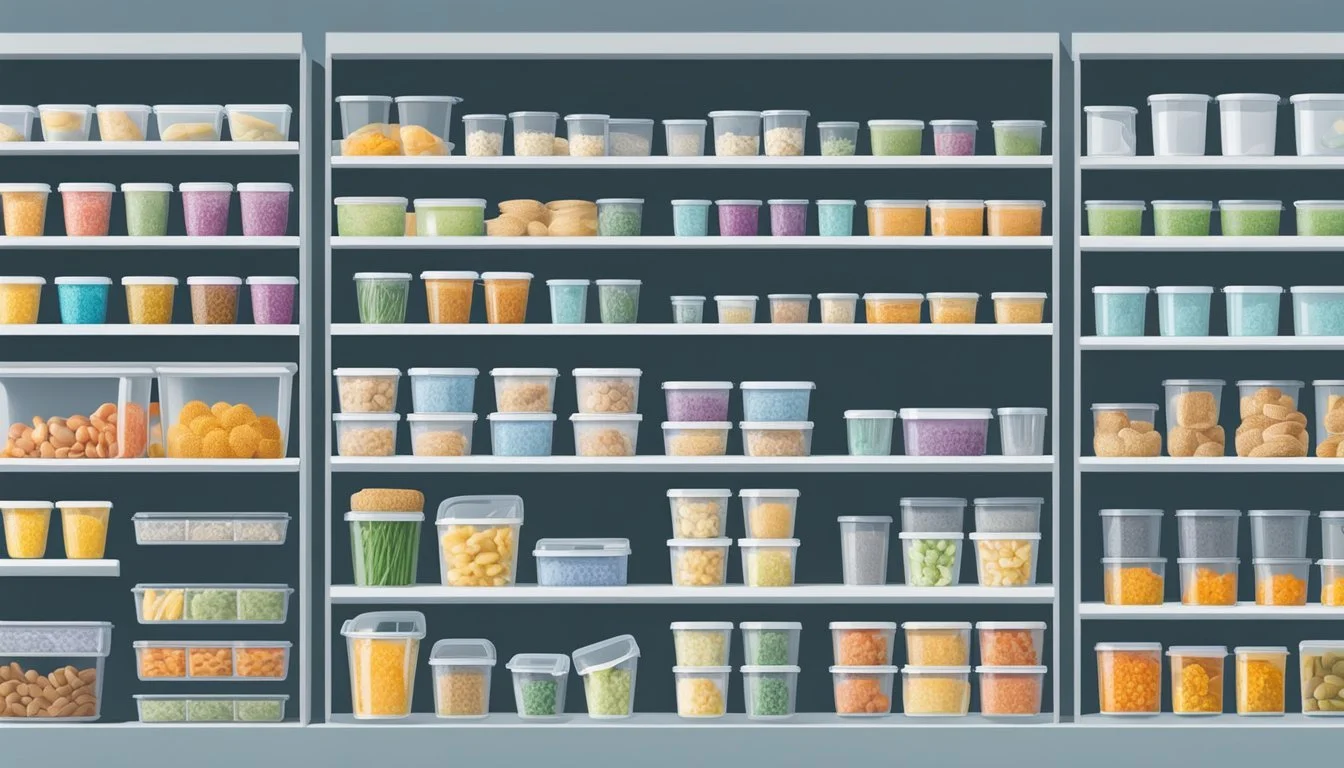
For optimal storage, clam strips should be kept in airtight containers. This minimizes exposure to air and prevents moisture loss, ensuring that the clam strips remain fresh for longer periods. Plastic containers with tight-fitting lids are excellent for this purpose.
If using freezer-safe containers, it is crucial to select those that can withstand low temperatures without cracking or becoming brittle.
Plastic wrap can be used as an additional layer of protection. By tightly wrapping the clam strips before placing them in containers, it further reduces the risk of freezer burn.
Labeling the storage containers with the date of freezing or storage is essential. This practice helps in keeping track of the freshness and preventing the use of expired products.
Below is a simple example of labeling:
Container Type Date Labeled Description Plastic container 06/12/2024 Clam strips Freezer-safe container 06/12/2024 Clam strips
By following these guidelines, clam strips can be stored effectively, ensuring they remain delicious and safe to eat.
Conclusion
Clam strips, once cooked, should be stored in the refrigerator to maintain their quality and safety. Properly stored, they can last up to three days.
Storage Methods
Keep clam strips in an airtight container.
Store at a temperature below 40°F (4°C).
Proper refrigeration ensures they stay fresh and reduces the risk of foodborne illnesses.
Food Safety Tips
Refrigerate promptly after cooking.
Consume within three days to avoid spoilage.
Always check for signs of spoilage before eating.
Regularly monitoring and adhering to these guidelines helps ensure that clam strips remain safe and enjoyable to eat.
