
How Long Does Gluten-Free Roasted Butternut Squash Last?
Storage Tips and Shelf Life Explained

Roasted butternut squash is not only delicious and versatile but also a nutritious staple for those following a gluten-free diet. The rich, sweet flavors become even more comforting when the squash is roasted to perfection. When stored correctly, gluten-free roasted butternut squash can last for 4 to 5 days in the refrigerator. This makes it a convenient option for meal prep and quick, healthy meals throughout the week.
For the best storage results, ensure the roasted butternut squash is kept in an airtight container to maintain its freshness and prevent any potential contamination. The quality of the squash before cooking also significantly impacts its shelf life, so selecting fresh, firm butternut squash is crucial. Properly storing it in a cool, dark place before roasting can maximize its longevity.
Eating well on a gluten-free diet doesn't have to be complicated or boring. Roasted butternut squash adds both flavor and essential nutrients, such as vitamins A and C, potassium, and fiber. Ensure you have this delightful ingredient ready in your fridge by knowing how to store it effectively, keeping your meals both nourishing and hassle-free.
Selecting the Right Butternut Squash
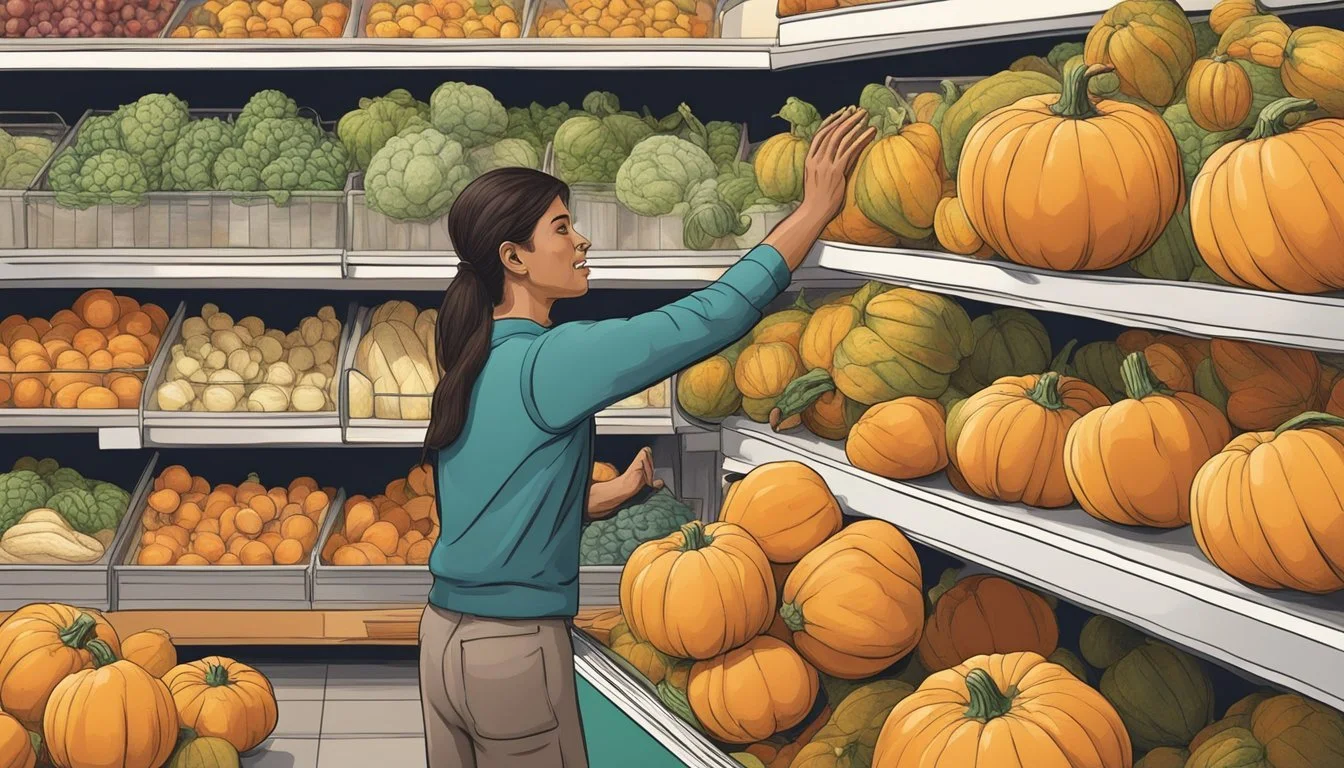
Choosing the best butternut squash ensures a flavorful and fresh result. Focus on the squash's size, skin quality, and the right peeling and preparation techniques.
Size and Skin Considerations
When selecting butternut squash, size and skin quality are key. A medium-sized squash, typically 2-3 pounds, provides a good ratio of flesh to seeds. It's manageable for peeling and slicing with a vegetable peeler and knife.
Check the skin. It should be smooth, firm, and free from deep cuts or soft spots. A matte finish indicates ripeness, while a glossy skin suggests underripeness. The squash's color should be a uniform beige. Darker hues often signify a sweeter flavor.
Minor surface blemishes can be trimmed off easily during prep. Pay attention to the stem, which should be intact and firm.
Peel and Prep Techniques
Proper peeling and preparation methods are crucial. Start with a sturdy cutting board to ensure safety. Slice off both ends of the squash to stabilize it. This provides a flat surface for easier handling.
Using a vegetable peeler, remove the skin in downward strokes. Opt for a Y-peeler for better control. Continue peeling until the orange flesh is exposed uniformly.
Cut the peeled squash in half lengthwise. Scoop out the seeds with a spoon. Then, slice the halves into desired shapes or cubes. Consistent cuts ensure even roasting and flavor balance.
Essential Ingredients and Substitutions

For gluten-free roasted butternut squash, choosing the right ingredients and knowing possible substitutions is crucial. The type of oil used and the herbs and seasonings selected can significantly influence the flavor and outcome of the dish.
Best Oils for Roasting
Olive Oil: A popular choice, olive oil provides a robust flavor that pairs well with butternut squash. It also has a relatively high smoke point, making it suitable for roasting at high temperatures.
Avocado Oil: Known for its high smoke point, avocado oil is ideal for roasting. It has a neutral taste, allowing the flavors of the squash and seasonings to shine.
Coconut Oil: Adds a hint of sweetness which complements the natural taste of butternut squash. It is another excellent option for roasting due to its high smoke point.
Substitutions: If you don't have olive oil on hand, grapeseed oil or sunflower oil can be great alternatives. Both have neutral flavors and high smoke points, ensuring a crispy, well-roasted finish.
Herbs and Seasonings
Salt and Pepper: Basic seasonings like sea salt and black pepper are essential. They enhance the natural sweetness of the butternut squash and provide a balanced flavor.
Garlic: Minced or powdered garlic is a common addition. It adds a depth of flavor that complements the butternut squash's sweetness.
Maple Syrup: Adds a sweet and slightly smoky flavor, working well with cinnamon and nutmeg for a more complex taste profile.
Cinnamon and Nutmeg: These warm spices add a comforting flavor to roasted butternut squash. They are especially popular in fall and winter recipes.
Substitutions: If certain herbs are unavailable, fresh rosemary or thyme can add a similar depth of flavor. For a sweeter profile, brown sugar can be used in place of maple syrup.
Roasting Process Explained

Roasting butternut squash is a straightforward process that involves careful preparation and precise cooking times to achieve tender, flavorful results. The steps include preheating the oven and preparing the squash, followed by cooking methods that ensure a perfect roast.
Preheat and Preparation
Preheat the oven to 400°F (200°C). Start by thoroughly washing the butternut squash to remove any dirt. Using a sharp vegetable peeler, peel off the skin. Cut the squash in half lengthwise and remove the seeds and pulp with a spoon.
Next, cut the squash into evenly-sized 1-inch cubes. This ensures even cooking. Line a baking sheet with parchment paper to prevent sticking. In a mixing bowl, toss the cubes with olive oil, salt, and black pepper to coat them evenly. Some recipes may also include additional spices like paprika or rosemary. Prep time typically takes about 10-15 minutes.
Cooking to Perfection
Spread the seasoned squash cubes in a single layer on the prepared baking sheet. Place the baking sheet in the preheated oven. Roast for 25-30 minutes, checking for tenderness with a fork. The squash is done when it is tender and golden brown.
For a whole roasted butternut squash, cooking times may vary. Roast the whole squash for about 60-90 minutes, depending on its size and thickness. The skin will darken, and a knife should slide easily into the center. Cook time varies but usually falls within this range for cubes or whole squash.
Ensure to keep an eye on the squash to prevent overcooking. Total time, including prep and cook time, is approximately 35-45 minutes for cubes. Adjust seasoning to taste before serving.
Serving Suggestions

Roasted butternut squash offers a versatile component in gluten-free meals, enhancing a variety of dishes from salads to soups. Here are ways to maximize its flavors.
Creative Pairings and Dishes
Salads and Bowls: Add roasted butternut squash cubes to a salad of mixed greens, seasoned with chopped parsley and rosemary. Incorporate walnuts or almonds for a crunch.
Side Dishes: Serve it as a side dish topped with sage and parsley. This complements mains like roast chicken or grilled fish.
Soups: Blend with vegetable broth and sage for a smooth butternut squash soup. Serve with gluten-free bread.
Mashed: Mash roasted butternut squash and season with butter and herbs like rosemary.
Main Course Enhancements: Incorporate into risottos or grain bowls, enhancing the sweetness with a sprinkle of cinnamon.
Storing Roasted Butternut Squash
Roasted butternut squash can be stored efficiently to retain its flavor and texture. Proper storage techniques in the refrigerator or freezer will extend its shelf life, making it a convenient option for meal prep and leftovers.
Refrigeration Best Practices
Roasted butternut squash should be stored in an airtight container to maintain freshness. Place the container in the main compartment of the refrigerator, where the temperature remains consistently cool.
Avoid the refrigerator door as it’s subject to frequent temperature changes.
Storage Time: The roasted squash will stay fresh for up to 4-5 days when refrigerated properly. If mixed with other vegetables like sweet potatoes or carrots, ensure the container is large enough to prevent squashing and preserve texture.
Labeling containers with dates helps track how long the food has been stored.
How to Properly Freeze
To freeze roasted butternut squash, allow the squash to cool completely before transferring it to a freezer-safe zip-top bag or plastic storage container.
For best results, spread the squash pieces on a baking sheet and freeze until solid. This prevents the pieces from sticking together.
Storage Time: Frozen roasted butternut squash can be stored for up to 6 months. If mixed with other vegetables, ensure that all items are thoroughly cooled and dry before freezing.
Labeling bags or containers with the date helps monitor shelf life.
Thawing and Reheating Instructions
When ready to use, thaw frozen roasted butternut squash in the refrigerator overnight. For quicker thawing, place the sealed bag in a bowl of cold water for a couple of hours.
To reheat, use an oven or microwave. Preheat the oven to 350°F, spread the thawed squash on a baking sheet, cover with foil, and bake for about 10-15 minutes. Microwaving on medium power for a few minutes while checking frequently is also effective.
Avoid over-reheating to prevent mushy texture, especially if mixed with other tender vegetables, as they can become overly soft when reheated for too long.
Nutritional Profile

Roasted butternut squash is both nutritious and delicious, offering a range of health benefits. It is low in calories and fat but rich in essential vitamins and antioxidants.
Caloric and Macronutrient Breakdown
Roasted butternut squash provides about 82 calories per one-cup serving. It primarily consists of carbohydrates, including beneficial dietary fiber. Each serving contains approximately:
22 grams of carbohydrates
4 grams of sugar
7 grams of dietary fiber
The fiber content aids in digestion and helps maintain stable blood sugar levels. Butternut squash is low in protein and fat, with roughly 1 gram of protein and less than 1 gram of fat per cup. Importantly, it contains minimal saturated fat and negligible sodium, making it a heart-healthy choice.
Vitamins and Antioxidant Content
Butternut squash is rich in vitamins and antioxidants that help boost the immune system and overall health. It offers a significant amount of Vitamin A and Vitamin C:
Vitamin A: Provides around 457% of the daily recommended intake per cup. This vitamin is crucial for eye health, immune function, and skin health.
Vitamin C: Provides about 35% of the daily recommended intake per cup. This antioxidant is essential for the repair of body tissues and the enzymatic production of certain neurotransmitters.
Additionally, it contains small amounts of vitamin E and various B vitamins. The antioxidants in butternut squash help protect the body from oxidative stress and inflammation.
Dietary Considerations

When preparing gluten-free roasted butternut squash, it's important to consider dietary needs such as gluten-free, vegan, and vegetarian diets. These adaptations allow everyone to enjoy the healthy benefits of this delicious dish.
Gluten-Free Benefits
Choosing a gluten-free roasted butternut squash has numerous advantages. For individuals with celiac disease or gluten sensitivity, avoiding gluten is crucial to maintain their health. Butternut squash, naturally gluten-free, serves as a safe and nutritious option.
Using gluten-free seasonings and ensuring no cross-contamination during preparation is essential. Olive oil, garlic powder, and fresh herbs like rosemary or thyme can all enhance the flavor. This ensures the dish caters to gluten-free dietary needs without compromising taste or nutritional value.
Vegan and Vegetarian Adaptations
Roasted butternut squash can easily be adapted for vegan and vegetarian diets. The core ingredients—squash, olive oil, and herbs—are entirely plant-based, making it suitable for these lifestyles. Adding vegan-friendly seasonings like garlic powder, onion powder, and a touch of cinnamon can boost the flavor profile.
To cater to different tastes, combining roasted butternut squash with other vegetables like carrots, bell peppers, or Brussels sprouts is a great idea. This approach maintains the dish's nutritional benefits while ensuring it adheres to both vegan and vegetarian dietary requirements. These adaptations make roasted butternut squash a versatile and inclusive dish for various dietary needs.
Additional Tips and Tricks

Proper preparation and flavor enhancements can vastly improve the texture and taste of gluten-free roasted butternut squash. It’s important to pay close attention to each step to achieve the best results.
Achieving the Best Texture
Achieving the perfect texture requires attention to cutting and cooking methods. Cutting the squash into uniform 1-inch cubes ensures even cooking; this prevents some pieces from being overcooked while others remain underdone.
Preheating the oven to the correct temperature (typically 400°F to 425°F) is crucial as it helps caramelize the squash, giving it a nice, tender interior with a slightly crisp exterior.
Using parchment paper or a silpat can aid in even roasting and minimize sticking without having to use excess oil. For those seeking a softer texture, covering the baking sheet with aluminum foil for half the cooking time can help steam the squash before it caramelizes.
Flavor Enhancements
Flavor enhancement begins with seasoning. Basic options such as olive oil, salt, pepper, and garlic powder can do wonders. For a more complex profile, consider integrating cinnamon and chili powder to add warmth and a slight kick.
Herbs like rosemary or thyme can provide a more savory edge, and adding a sprinkle of brown sugar can help in caramelizing the squash surfaces, creating depth.
Mixing butternut squash with other roasted vegetables such as pork, beans, or carrots can provide a varied texture and taste. Adding butternut squash to a salad base or using it in Thanksgiving sides also opens up versatile usage, enhancing flavor and nutritional benefits.
