
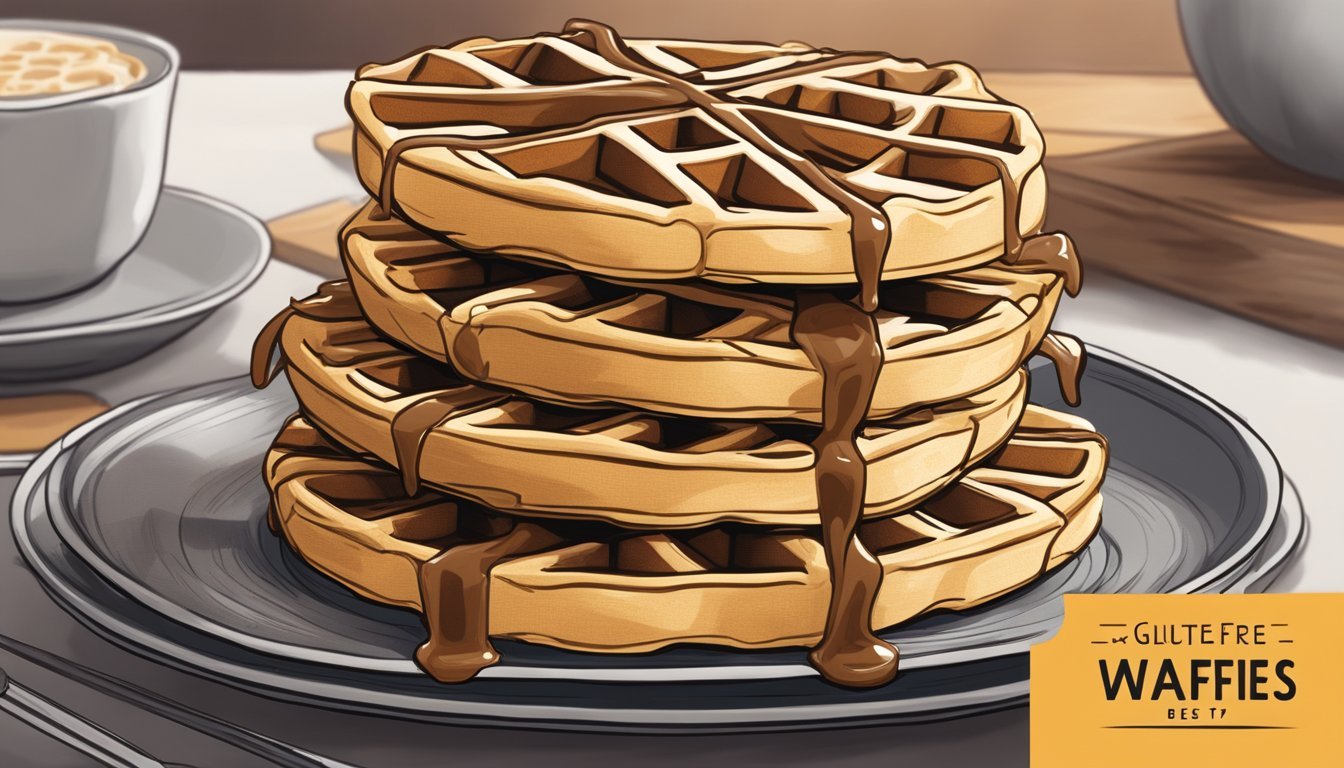
How Long Do Gluten-Free Waffles Last?
Shelf Life and Storage Tips
How long do gluten-free waffles last? This question sits at the heart of breakfast enthusiasts eager to extend the shelf life of their homemade creations. Gluten-free waffles, when properly stored, can last up to 2-3 days in the refrigerator. Ensuring they remain in an airtight container helps preserve their texture and taste.
For those looking to keep their gluten-free waffle recipe handy for future quick breakfasts, freezing is an excellent option. Once cooked and cooled, waffles should be placed in a single layer on a baking sheet to freeze initially. After they are frozen solid, they can be transferred to a freezer bag, where they'll stay fresh for up to 2 months.
Understanding storage times is essential not just for maximizing their lifespan but also for maintaining flavor and quality. Whether you're preparing gluten-free waffles for immediate consumption or stocking up for busy mornings, knowing how to store them correctly ensures a delicious start to your day every time.
Understanding Gluten-Free Waffles
Gluten-free waffles are popular among those with celiac disease or gluten sensitivity and offer specific health benefits. This section covers what gluten-free waffles are and the advantages of choosing them.
What Are Gluten-Free Waffles?
Gluten-free waffles are made without wheat, barley, or rye, making them suitable for those who cannot consume gluten. Gluten-free flour blends often replace traditional flour, combining rice flour, almond flour, or other alternatives. Ingredients like xanthan gum are often added to mimic the elasticity of gluten.
These waffle recipes follow a similar technique to conventional ones by mixing dry and wet ingredients. However, the use of gluten-free flour ensures they remain safe for those with gluten restrictions. Popular recipes may include elements like milk, sugar, butter, and eggs, creating a texture that closely resembles traditional waffles.
Benefits of Choosing Gluten-Free
Opting for gluten-free waffles can be beneficial for several reasons. For individuals with celiac disease or gluten sensitivity, removing gluten from their diet can alleviate symptoms like bloating, diarrhea, and abdominal pain.
Incorporating gluten-free options into one's diet can also diversify nutrient intake. Flour blends often contain nutrient-dense ingredients like almond flour or coconut flour. This can add protein, fiber, and healthy fats to meals. Furthermore, choosing gluten-free products can encourage a more mindful approach to eating by paying closer attention to ingredient lists and food quality.
Those without gluten intolerance might still enjoy the unique flavors and textures gluten-free ingredients can offer. This makes gluten-free waffles a versatile choice in many kitchens.
Ingredients and Substitutes

Making gluten-free waffles requires specific ingredients to ensure the right texture and taste. Here are essential ingredients and some beneficial alternatives for those with additional dietary preferences or restrictions.
Essential Ingredients for Gluten-Free Waffles
Gluten-Free Flour: A blend specifically designed for baking, such as rice flour, tapioca starch, and potato starch, ensures the waffles are light and crispy.
Eggs: Essential for binding and adding structure. They also contribute to the waffles' fluffiness.
Milk: Regular cow's milk is commonly used, but alternatives include soy, almond, or oat milk, especially for those who are dairy-free.
Baking Powder: This leavening agent helps the waffles rise and achieve a light texture.
Salt: A small amount enhances the overall flavors.
Sugar: Granulated sugar adds sweetness and helps with browning.
Butter: Provides richness and flavor. Can be replaced with oil like canola or coconut oil for dairy-free versions.
Vanilla Extract: Adds a subtle, sweet aroma and depth to the flavor.
Alternative Ingredients and Substitutes
Egg Substitutes: Flaxseed meal mixed with water or commercial egg replacers can be used. This is essential for those looking to make vegan waffles.
Alternative Milks: Plant-based milks such as almond, soy, or coconut milk make excellent dairy-free options without altering the taste too much.
Coconut Oil: A good butter substitute that adds a slight coconut flavor and keeps the waffles moist.
Vegan Butter: Can substitute dairy butter to maintain the creamy texture needed in the batter.
Almond Flour: May be used in combination with other gluten-free flours to add a nutty flavor and dense texture.
Using these ingredients and understanding the possible substitutes ensures that everyone can enjoy delicious, fluffy gluten-free waffles tailored to their dietary needs.
Preparation Techniques
Making gluten-free waffles begins with preparing a suitable batter and follows with choosing the right cooking method to achieve the desired texture, whether crisp or fluffy.
Creating the Perfect Batter
The quality of the waffle batter is paramount. For fluffy waffles, the batter often includes ingredients like gluten-free flour, baking powder, sugar, and salt. These dry ingredients are whisked together in a mixing bowl. In a separate bowl, mix egg yolks with milk, melted butter (or oil for a dairy-free option), and vanilla extract. Combining the wet and dry mixtures thoroughly ensures a smooth, consistent batter.
Optional ingredients: Add a teaspoon of instant yeast or dietary fiber to mimic the elasticity that gluten provides. Letting the batter rest for a few minutes, or even up to an hour, allows ingredients to meld, enhancing the final texture.
Cooking Methods
For a crisp result with a soft inside, it's essential to preheat the waffle maker or waffle iron properly. Most waffle makers have an indicator light or sound to alert when it's ready. Pour approximately ¼ cup of batter onto the hot surface for small waffles or adjust based on the size of your waffle maker. Cooking times usually range from 3-5 minutes.
A high-quality non-stick waffle maker expands your cooking options, including Belgian waffles, which are thicker and require a bit more batter. For added crispness, lightly grease the waffle iron. Maintain an appropriate cook time to avoid soggy waffles. Single-handedly, this method produces evenly cooked, golden waffles suitable for freezing or immediate consumption.
Cooking and Baking Equipment
Having the right equipment is crucial to making delicious gluten-free waffles. Key items include waffle makers, waffle irons, and essential tools for accurate measurements and preparation.
Waffle Makers and Irons
Waffle makers and irons are essential for achieving perfect waffles. There are various types, such as Belgian waffle makers known for deeper grids that result in thicker waffles. Standard waffle makers are also available, producing thinner waffles.
Non-stick cooking spray is vital to prevent waffles from sticking. This ensures easy removal and clean-up. Digital or stovetop waffle irons can also be used, but control over temperature is a significant factor in consistency.
It's crucial to preheat the equipment to the manufacturer’s recommended temperature for the best results. Some units have indicators that signal when the iron is ready, simplifying the process.
Essential Tools for Waffle Making
Accurate measuring tools are necessary for consistency in gluten-free waffle recipes. Measuring cups and spoons ensure the right balance of dry and wet ingredients. A kitchen scale can be beneficial for precision, especially in gluten-free baking where accuracy is key.
Mixing tools such as whisks and bowls are required for combining ingredients smoothly. Using a whisk helps break up clumps in gluten-free flour, leading to a smoother batter. A spatula is useful to spread the batter evenly over the waffle iron.
For easy cleaning, non-stick cooking spray can be applied to the waffle iron or maker beforehand. Additionally, using a cooling rack after cooking prevents sogginess by allowing waffles to cool evenly.
These tools collectively enhance the waffle-making experience, ensuring delicious gluten-free waffles every time.
Proper Storage of Gluten-Free Waffles

To keep your gluten-free waffles fresh and tasty, it's essential to use appropriate storage methods. Proper storage not only ensures waffles remain moist and flavorful but also helps maintain their crispy texture.
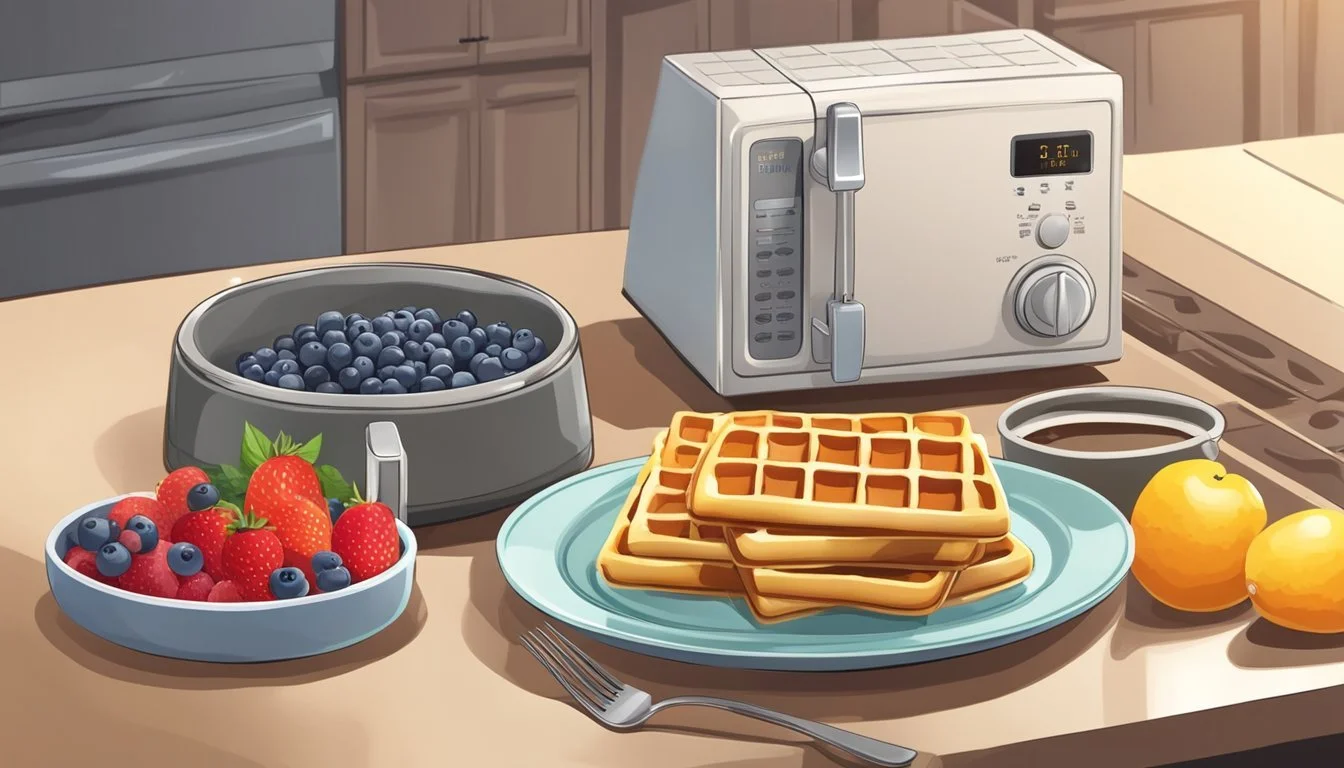
Short-Term Storage Tips
For short-term storage, allow the cooked waffles to cool completely. Place them in an airtight container or a resealable plastic bag.
To prevent them from getting soggy, you can add a paper towel in the container to absorb any excess moisture.
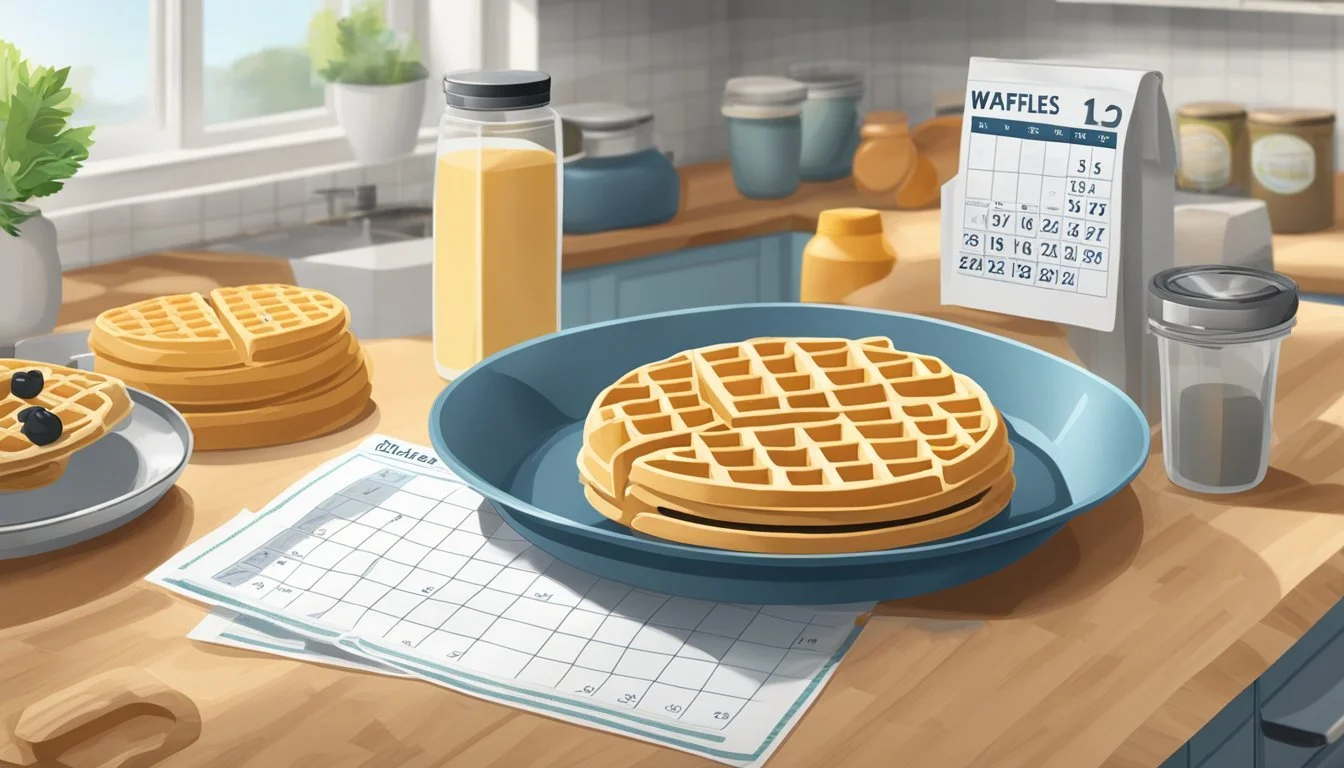
Store the container in the refrigerator. Gluten-free waffles can last up to three days when stored this way.
When ready to eat, reheat the waffles in a toaster or oven to restore their crispy exterior and light texture. Avoid using the microwave to reheat, as it can make them soggy.
Freezing and Long-Term Storage
For longer-term storage, freezing is an excellent option. Let the waffles cool completely before freezing to prevent ice crystals from forming.
Place the waffles in a single layer on a baking sheet and freeze them for 1-2 hours. Once they are frozen solid, transfer them to a freezer-safe bag or container.
Label the bag with the date to keep track of storage time. Gluten-free waffles can be stored in the freezer for up to three months.
To reheat, do not thaw them first. Instead, place the frozen waffles directly in the toaster or oven. This will help them regain their crispiness and light texture.
Reheating and Serving Suggestions
Properly reheating gluten-free waffles helps maintain their texture, while various topping choices can complement their flavor.
Best Practices for Reheating
To maintain the ideal crispness when reheating gluten-free waffles, dry heat methods are preferred. Using a toaster or toaster oven works best.
Toaster: Place waffles directly in the toaster, set to medium heat for about 2-3 minutes.
Toaster Oven: Preheat to 300°F then place waffles on a rack for 8-10 minutes.
For a larger batch, use an oven. Preheat to 300°F, place waffles on a cooling rack over a baking sheet. This allows air circulation, preventing sogginess.
Avoid microwaves as they can make waffles chewy. Let the waffles cool slightly before serving to ensure they maintain their structure.
Delicious Serving Ideas
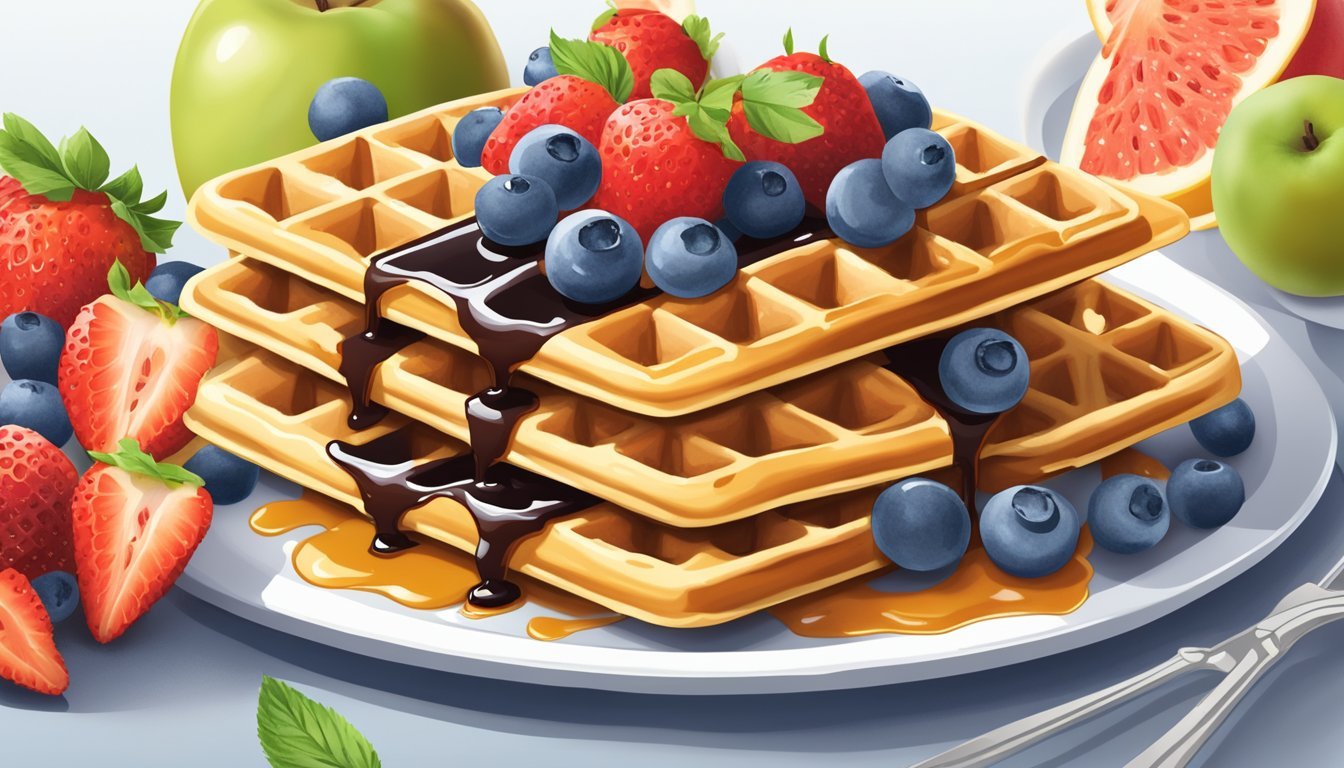
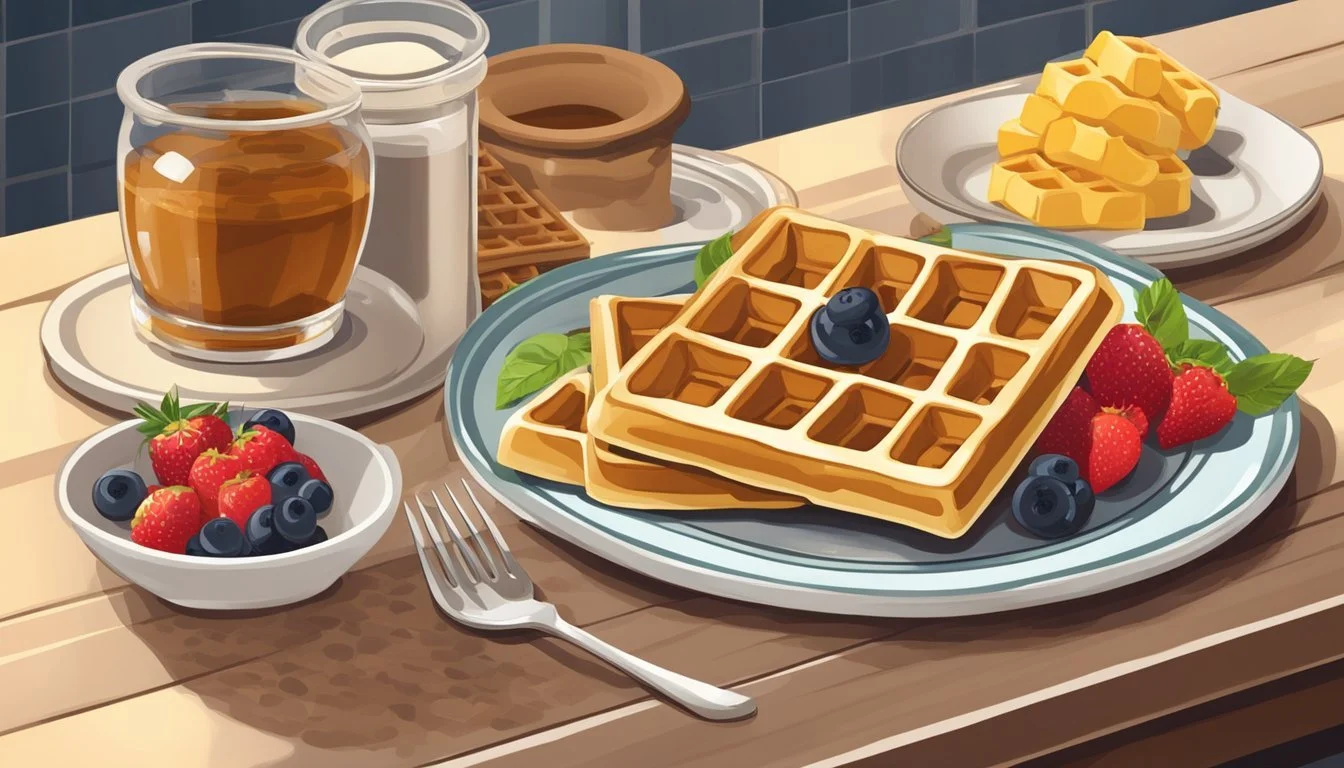
Enhance your gluten-free waffles with a variety of toppings. For a classic sweet flavor, drizzle with pure maple syrup and add a dollop of whipped cream.
Incorporate fresh elements by adding fresh fruit like strawberries, blueberries, or banana slices. These provide natural sweetness and a burst of flavor.
Chocolate lovers can sprinkle chocolate chips or spread Nutella for a rich taste. For a touch of elegance, dust with powdered sugar.
For a hearty breakfast, add nuts or seeds for extra crunch. Peanut butter or almond butter can also serve as a nutritious spread. Mix and match these toppings to suit personal preferences and dietary needs.
Health and Nutrition
When making gluten-free waffles, it's essential to understand their caloric and nutritional content, as well as how to adapt the recipe for various special diets.
Caloric and Nutritional Content Analysis
Gluten-free waffles vary in caloric and nutritional content based on the ingredients used. A typical serving (one waffle) may contain between 150-200 calories. Macronutrients often include:
Carbohydrates: 20-30 grams
Protein: 2-5 grams
Fats: 3-7 grams
Additional contributions come from toppings like syrup or fruit, which can significantly increase calorie intake.
Properly balancing ingredients ensures waffles are not just delicious but also provide necessary nutrients. Combining gluten-free flours with other ingredients like eggs, milk, and baking powder can yield a satisfying texture and taste.
Adapting Recipes for Special Diets
When preparing gluten-free waffles, modifications can be made for various dietary restrictions:
Egg-Free: Use flaxseed or chia seed mixtures as egg replacements.
Dairy-Free: Substitute regular milk with almond, soy, or oat milk. Replace butter with coconut oil or vegan margarine.
Vegan: Combine both egg-free and dairy-free options, ensuring waffles remain fluffy and delightful.
Adapting recipes helps ensure that everyone can enjoy gluten-free waffles regardless of dietary limitations. Experimenting with different ingredient combinations can yield new and tasty variations suitable for all preferences.
Common Challenges and Solutions
When making gluten-free waffles, achieving the right texture and flavor is key. This section covers the common problems and the best practices to ensure your waffles turn out crispy on the outside, yet soft and fluffy inside.
Troubleshooting Common Waffle Issues
Uneven Cooking: One common issue is that waffles may cook unevenly. Make sure your waffle iron is preheated fully before pouring the batter. Uneven cooking can also result from an inconsistent batter thickness. Always whisk ingredients thoroughly to achieve a uniform mixture.
Soggy Texture: Waffles turning out soggy is another frequent problem. Using too much liquid or not cooking the waffles long enough can cause this. Make sure to follow the exact proportions in your recipe and allow the waffles to cook until they are golden brown.
Bland Flavor: Sometimes, gluten-free waffles can lack the depth of flavor found in traditional waffles. Adding ingredients like melted butter, vanilla extract, and a pinch of salt can enhance taste. Using coconut milk instead of regular milk can also add a subtle richness to the batter.
Difficulty Removing from Iron: If waffles stick to the iron, it may be due to insufficient greasing or improper mixing of the batter. Ensuring that the waffle iron is well-oiled before cooking can prevent this. Also, use a batter with a good mix of fat, like melted butter, to aid in easy removal.
Tips for Perfect Gluten-Free Waffles Every Time
Use the Right Flour Blend: A high-quality gluten-free flour blend is essential for good waffles. Many blends combine rice flour, tapioca starch, and xanthan gum, creating a balance for texture and taste.
Keep an Eye on Consistency: The consistency of the batter should be similar to that of pancake batter, slightly thick but pourable. Adding too much or too little liquid can result in waffles that are too dense or too dry. Adjust the batter by adding a little coconut milk if it’s too thick or more flour if it’s too thin.
Preheat the Waffle Iron: Preheating the waffle iron fully ensures that the waffles cook evenly and get that crispy exterior. Always wait until the waffle iron indicates it is ready before adding batter.
Use Liquid Fat: Incorporating a form of liquid fat such as melted butter or oil into the batter helps with the texture and flavor. This keeps the waffles from drying out and adds a richness to the final product.
Resting the Batter: Allow the batter to rest for about 5-10 minutes before cooking. This helps the ingredients to hydrate fully, making the batter more uniform and easier to cook.
Combining these tips with careful ingredient measurement can significantly enhance the quality of your gluten-free waffles, ensuring they are both crisp and delicious.
