
How to Make and Freeze Dough for Future Use
A Step-by-Step Guide

Making your own dough in advance and freezing it can be a convenient way to have fresh-baked bread (What wine goes well with bread?)), pizza, (What wine goes well with pizza?) or pastries on hand without the need for daily prep. This method not only saves time but also allows for better management of ingredients and portion control. Home bakers and cooking enthusiasts alike often use this technique to ensure they can enjoy homemade baked goods even on busy days.
Freezing dough involves a few critical steps to maintain its quality and leavening power. Understanding how yeast behaves at low temperatures is essential, as the freezing process can affect yeast's ability to make dough rise once thawed. Adjustments, such as increasing the amount of yeast or using specific flours with higher protein content, are considerations that can help bakers achieve the best results.
Ensuring the dough is properly prepared and stored is also key. The process includes allowing the dough to go through its initial rise before freezing, as well as adequately wrapping and sealing the dough to protect it from freezer burn and odor absorption. Correct thawing methods contribute to the final quality of the bread, making the effort of advance preparation worth the outcome of enjoying freshly baked products at one's convenience.
Benefits of Freezing Dough

Freezing dough is a practical kitchen strategy with numerous advantages, particularly for those who value both quality and convenience.
Time-saving: One of the significant benefits is the ability to plan and prepare in advance. Busy individuals can make dough when they have time, freeze it, and later use it to bake fresh goods without the initial preparatory steps.
Convenience: It offers on-demand access to the starting point of a range of baked goods. Whether they crave cookies or need to whip up a pizza, they have the base ready to go.
Consistency in Baking: Thawed dough performs comparably to fresh, often yielding consistent results in the final product—whether it's bread, pastries, or pizzas.
Extended Shelf-life: Freezing extends the dough's shelf life significantly, mitigating the need to use preservatives for those who prefer their bread free from additives.
Quality Maintenance: Contrary to what some may assume, freezing dough properly does not deteriorate its quality. Dough stored in the freezer can still rise and bake as expected, producing freshly baked bread that is just as delicious as if it were made from scratch that day.
Reduced Waste: Instead of discarding leftover dough, it can be saved for future use, aiding in reducing kitchen waste.
In summary, freezing dough provides a perfect blend of practicality and quality, ensuring that bakers can enjoy freshly baked goods with reduced preparation time and effort.
Types of Dough for Freezing
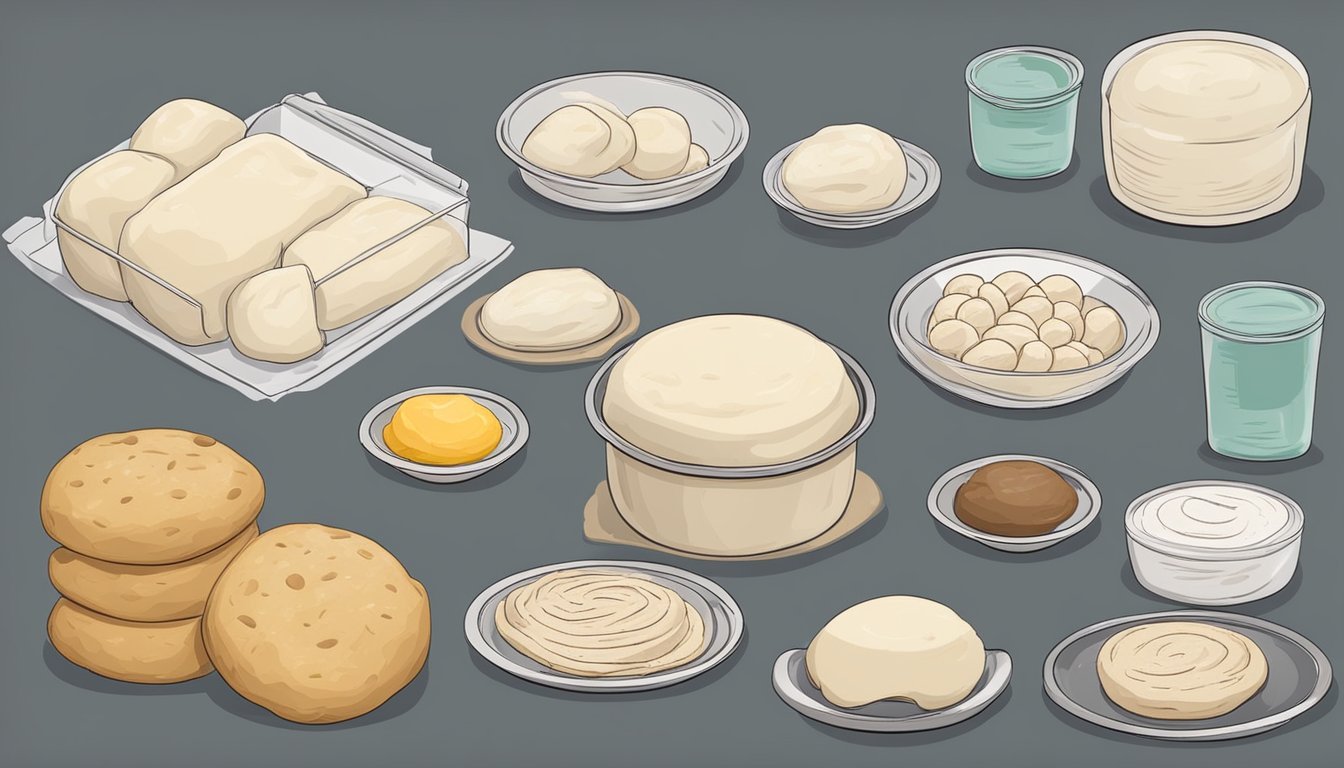
Freezing dough is an excellent way to extend its shelf life while maintaining the quality for future baking. Different types of dough respond well to freezing, enhancing convenience and efficiency in home baking.
Yeast Dough
Yeast dough encompasses a variety of baked goods, and it's notable for its reliance on yeast as a leavening agent. The yeast's activity is halted during freezing, but it activates again upon thawing and proofing. Types of yeast dough that freeze well include sweet dough for pastries and enriched bread doughs with butter, eggs, or milk. Freeze in well-wrapped portions to shield against freezer burn.
Pizza Dough
Pizza dough, typically made from a simple mixture of flour, water, yeast, and salt, can be frozen after the initial rising stage. Its relatively low moisture content allows it to freeze without significant changes in texture. Pizza dough should be divided into portions that match the size of pizzas you intend to make, flattened, wrapped in plastic wrap, then put in resealable plastic bags.
Bread Dough
Bread dough can be frozen after shaping and before the final rise. This includes doughs for all sorts of bread, such as whole wheat, white, and multi-grain. Taking care to avoid air exposure, wrapping the dough securely in plastic wrap or aluminum foil ensures a fresh taste upon thawing and baking.
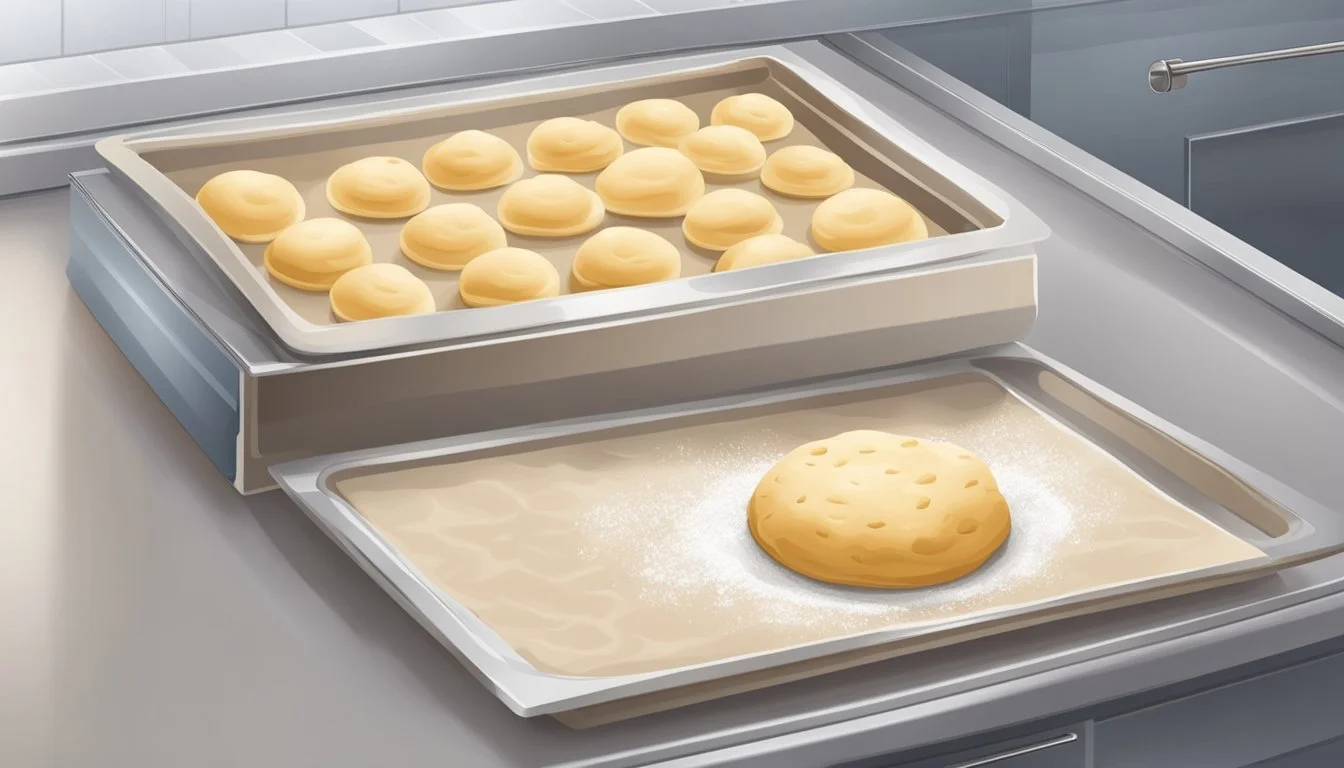
Dinner Rolls
The dough for dinner rolls can be prepared and frozen ahead of time, perfect for preparing large meals or planning ahead. To freeze, shape the rolls, place them on a baking sheet to initially freeze, wrap them well, and store in a freezer bag. When ready to use, thaw and allow them to go through their final proof before baking.
Preparing Dough for Freezing
Freezing dough is an efficient way to extend its freshness and have it ready for future baking. Key steps include proper kneading, allowing for a first rise, dividing and shaping it appropriately, and then securely wrapping and sealing before freezing.
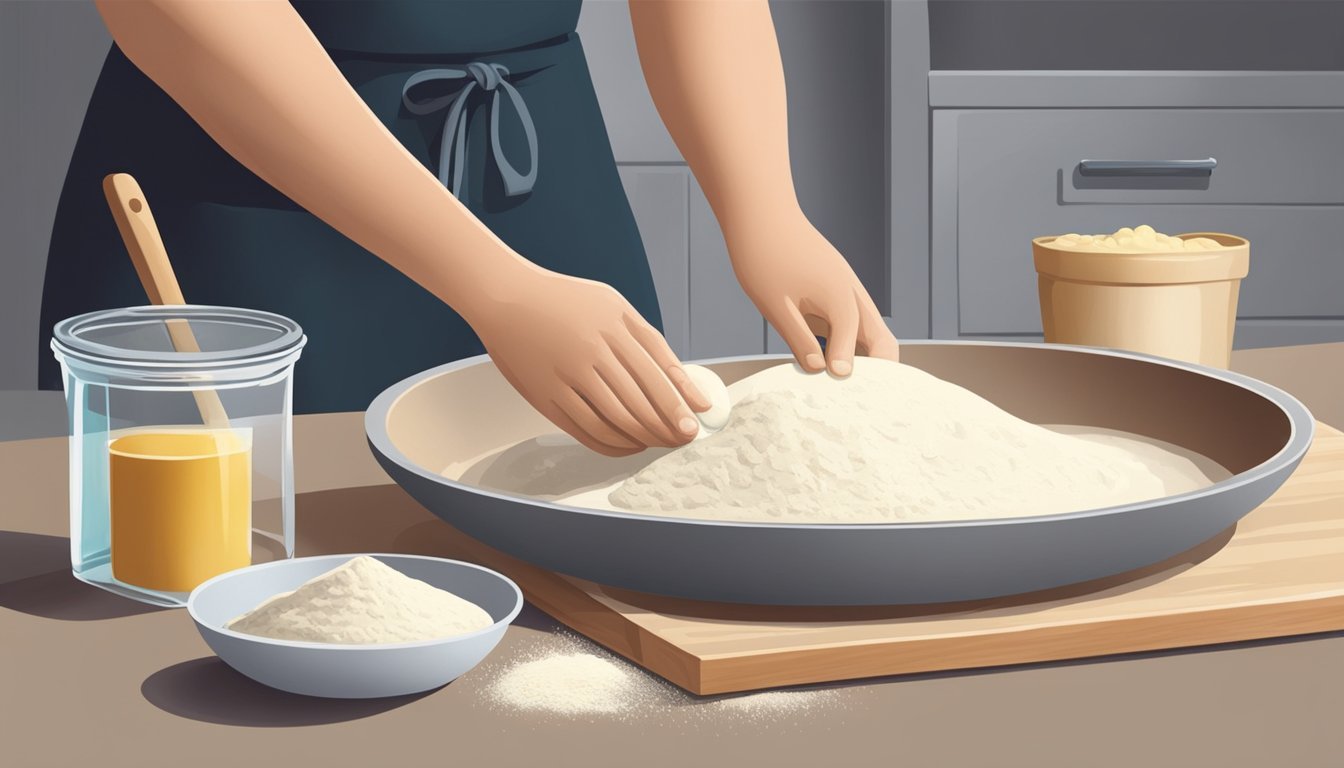
Kneading and First Rise
One must start by kneading the dough to develop gluten, which gives bread its texture. After kneading, the dough should undergo its first rise until it doubles in size, ensuring the yeast is evenly distributed and has begun the fermentation process. This stage is vital for flavor development.
Dividing and Shaping
Once the dough has risen, the next step is to divide it into the preferred portion sizes. The baker should then shape each piece into the desired bread or roll shape. This makes it easier to thaw and bake individual portions later.
Divide the Dough: Portion out based on the end use (e.g., loaves, buns).
Shape: Form into the final shape that will be baked.
Wrapping and Sealing
After shaping, carefully wrap each portion with plastic wrap or aluminum foil to protect the dough from freezer burn and dehydration.
Wrap each piece:
Tightly in plastic wrap or aluminum foil.
Sealing and Storage:
Place wrapped dough in an airtight container or resealable plastic bags.
Remove as much air as possible before sealing to prevent ice crystallization.
By ensuring the dough is securely wrapped and sealed, one can maintain its quality during freezing.
Storing Frozen Dough
Proper storage of frozen dough ensures its freshness and quality when it's time to use it. It's crucial to prevent freezer burn and manage freezer space efficiently.
Label and Date
One should diligently label the bag containing the dough with the type of dough and the date of freezing. This practice helps in tracking the storage duration and prevents confusion when multiple types of dough are stored together. For clarity:
Type of Dough: Clearly write the specific kind of bread dough, such as "Whole Wheat Bread Dough."
Date of Freezing: Use a permanent marker to mark the bag with the date the dough was frozen.
Optimal Freezer Conditions
To maintain the dough's quality, one must ensure optimal freezer conditions. The dough should be stored in a quality resealable freezer bag to shield it from freezer burn and odor absorption. It’s crucial to eliminate as much air as possible before sealing the bag. For preserving the dough properly:
Freezer Bag: A resealable plastic freezer bag is suitable.
Freezer Burn: Minimizing air in the bag and using a secondary wrapping layer like plastic wrap or aluminum foil reduces the risk of freezer burn.
Freezer Space: Arrange the bags flat in the freezer to maximize space and ensure even freezing.
Thawing and Baking Process
To achieve the best results, defrosted dough should undergo a proper thawing and second rise before baking. Following a systematic thawing and proofing process ensures the dough regains its desired texture and quality.
Refrigerator Overnight Thaw
Refrigerator thawing is the recommended approach for preserving dough quality. The reader should transfer the frozen dough to the refrigerator and allow it to thaw overnight. This gradual process helps maintain the dough's structure and prevents the yeast from being shocked by sudden temperature changes.
Room Temperature Thaw
For a quicker thaw, one can opt to initiate the thawing process at room temperature. Place the sealed dough on the counter and allow it to thaw completely. This method requires a watchful eye as the dough must not be left out for too long, which can lead to overproofing.
Second Rise and Proofing
After thawing, dough requires a second rise to ensure proper proofing. One should place the dough in a warm place, free from drafts, to allow it to double in size. This step is critical for the yeast to produce gases, giving the bread its final texture and volume.
Baking Thawed Dough
Once the dough has risen sufficiently, it is ready to be baked. Preheat the oven to the recipe's specified temperature. Bake the dough until it's golden brown and cooked through. The aroma of fresh-baked bread serves as an indicator that the dough has transitioned successfully from the freezer to a finished product.
Best Practices for Dough Freezing
Freezing bread dough is a smart way to manage baking time in the kitchen. When one prepares homemade bread, they may find it convenient to make a larger batch and preserve some for future use. The key to successful freezing lies in the preparation and storage of the dough.
Preparation:
After preparing the dough according to your recipe, shape it into the intended loaves or balls.
For an initial freeze, place the shaped dough on baking sheets to avoid sticking and freeze for about an hour.
Wrapping:
Once the dough is semi-frozen, wrap it tightly with plastic wrap or aluminum foil. The goal here is to prevent freezer burn and retain moisture.
Storage:
Transfer the wrapped dough to airtight containers or resealable freezer bags. Removing excess air helps to maintain quality.
Label the bags with the date to keep track of freshness.
Best Before:
Ideally, dough should be used within four weeks. Extended storage may compromise the dough's yeast viability and texture.
Thawing:
When ready to bake, move the dough to the refrigerator, allowing it to thaw overnight.
By adhering to these practices, one ensures that when the dough is finally baked, it retains the moisture and quality as intended in the original recipe. Moisture retention is crucial for the bread's texture, and an airtight container minimizes the risk of dryness—allowing the dough to prove correctly when thawed, leading to satisfying home-baked bread.
Common Questions Answered
When freezing bread dough, the two most common concerns people have are the duration for which the dough can be kept frozen and the best practices for defrosting and baking the frozen dough. Understanding these will ensure that one's baking session results in a successful and tasty bread.
How Long Can You Freeze Bread Dough?
Bread dough can be kept frozen for up to four weeks without significant loss of quality. However, safeguarding the dough's freshness is crucial, and it is recommended to store it in an airtight freezer container or a re-sealable plastic freezer bag. One must ensure that the dough is tightly wrapped in plastic wrap or aluminum foil to protect it from freezer burn and to prevent the absorption of odors from the freezer.
Defrosting and Baking Tips
When it comes to defrosting frozen bread dough, one should ideally plan ahead. The dough should be moved from the freezer to the refrigerator and left overnight, which allows it to thaw slowly. After the dough is defrosted, it may need a few hours at room temperature to come to a proofing state before baking. It's important to remember that the dough may not rise as much as fresh dough. One can compensate for this by increasing the yeast in the original recipe slightly if they anticipate freezing the dough. When ready to bake, ensure the oven is preheated to the recipe's specified temperature, and the dough is placed on a greased baking pan to prevent sticking.
Recipe Adaptations for Freezing
When preparing dough for freezing, adjustments to the recipe ensure optimal results post-thaw. The yeast content may need an increase due to the freezing conditions, and flour types might be altered to enhance the dough's structure and stability.
Adjusting Yeast Content
For dough that will be frozen, it's advisable to slightly increase the yeast amount. This compensates for the yeast cells that might be damaged by freezing temperatures. For example, one could add an extra 1/4 to 1/2 teaspoon of yeast per 3 cups of bread flour. Doing so helps the dough to rise better once thawed and ready to use.
Yeast Dough (standard amount): 2 teaspoons
Yeast Dough (increased for freezing): 2 and 1/4 teaspoons to 2 and 1/2 teaspoons
Altering Flour Types
When freezing dough, one should consider using bread flour instead of all-purpose flour, as the higher gluten content contributes to a more robust structure that withstands freezing and thawing well. Gluten, the protein in wheat flour, gives bread its elasticity and chewiness. Additionally, incorporating a small amount of olive oil (about 1 tablespoon per cup of flour) can improve the dough's suppleness and moisture retention.
Flour Choice for Freezing:
Bread flour (preferred for its high gluten content)
Olive oil (enhances dough texture)
These minor adjustments help to preserve the quality of the dough during the freezing process, leading to better bread or pizza crusts after thawing and baking.
Creative Uses for Frozen Dough
Frozen dough is a versatile ingredient that can be transformed into a variety of delightful baked goods. With proper thawing and some simple shaping techniques, anyone can turn a block of frozen dough into an impressive homemade treat.
Cinnamon Buns
For delectable Cinnamon Buns, one simply needs to:
Thaw the frozen dough on a floured surface until malleable.
Roll it out into a rectangle, and then spread a mixture of melted butter, brown sugar, and cinnamon on top.
Roll the dough tightly, slice it into individual buns, and allow them to rise.
Bake in a preheated oven until they're golden and fragrant.
This classic sweet roll can be finished with a drizzle of vanilla icing.
Homemade Flatbreads
One can make Homemade Flatbreads by:
Thawing the dough and dividing it into smaller balls.
After letting them rest, roll each ball flat and cook in a hot, dry pan until puffed and spotted brown.
Serve these flatbreads with dips or use them as a base for toppings like grilled vegetables (What wine goes well with grilled vegetables?) or meats.
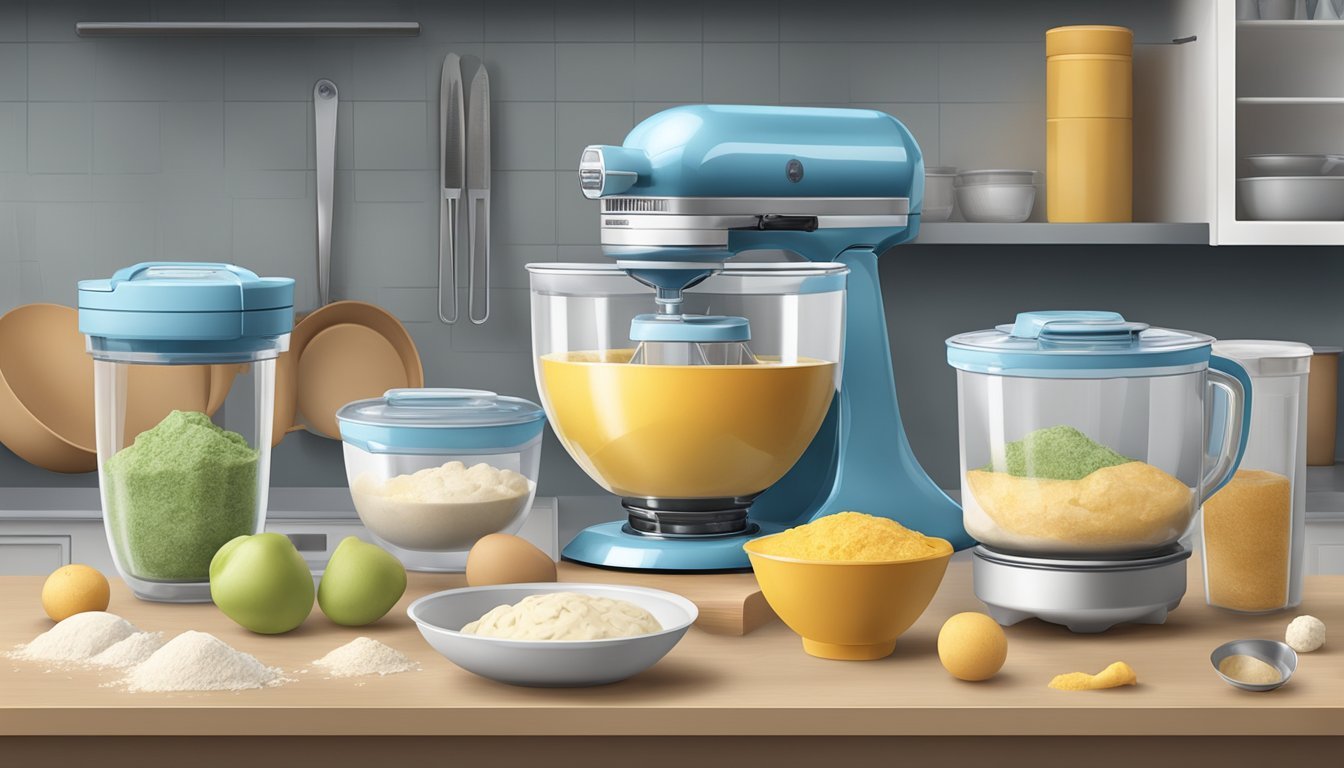
Customizable Pizzas
Customizable Pizzas come together effortlessly:
Begin by thawing and then stretching or rolling out the pizza dough on a floured surface to the desired thickness.
One can pre-bake the crust for a few minutes to ensure a crispy base.
Top with favorite sauces, cheeses, and toppings before returning to the oven to bake until bubbly and browned.
Whether using a stand mixer to prepare dough in advance or buying pre-made, frozen pizza dough, homemade pizzas offer an easy and quick solution for any meal.
