
How to Measure the Perfect Amount of Yeast for Bread Making
Precision in Baking
Measuring the perfect amount of yeast for bread (What wine goes well with bread?) -making is a crucial step in the baking process. Yeast, a living organism, serves as the leavening agent in bread dough, causing it to rise by producing carbon dioxide. The right quantity of yeast not only ensures that the bread rises correctly but also affects its texture and flavor. Typically, the proportion of yeast to flour and the desired rising time help determine the exact amount required.
Bakers often use different types of yeast, such as active dry yeast or instant yeast, and each type may require specific handling. For instance, active dry yeast usually needs to be dissolved in water before being added to the flour, whereas instant yeast can be mixed directly with dry ingredients. The temperature of the water used to activate yeast is pivotal as well; it should be warm but not hot, ideally between 70°F and 100°F, to properly activate the yeast without killing it.
Striking the perfect balance with yeast quantity is about understanding its role in the fermentation process that takes place in the dough. This process not only leavens bread but also contributes to its flavor and texture. Expert bakers recommend the careful measurement of ingredients, often suggesting the use of a scale for precision. Too much yeast can cause the bread to rise too rapidly and develop an undesirable taste, while too little yeast can result in a dense and insufficiently risen loaf. Therefore, attention to detail and accurate measurement are the keys to harnessing the full potential of yeast in bread making.
Understanding Yeast and Its Role in Bread Making
Yeast is a crucial ingredient in bread making. This single-celled fungus, Saccharomyces cerevisiae, is responsible for the fermentation process that occurs in bread dough. During fermentation, yeast metabolizes the sugars present in the flour and other ingredients, producing carbon dioxide and alcohol as byproducts.
The production of carbon dioxide is particularly significant because it becomes trapped within the gluten network of the dough. This causes the dough to rise and contributes to the texture and flavor of the final product. The alcohol produced during fermentation, although mostly evaporated during baking, also adds to the overall flavor of the bread.
In the kitchen, the most commonly used forms of yeast are:
Active Dry Yeast: This type of yeast requires rehydration before use.
Instant Yeast (also known as Bread Machine Yeast): Can be mixed directly with dry ingredients.
Fresh Yeast (also known as Cake Yeast): Typically used by professional bakers.
To ensure proper dough rise and texture, it is important to control the environment in which yeast activates. The temperature of the dough should be maintained at approximately 75-80°F (24-27°C) for optimal activity.
Temperature Yeast Activity 75-80°F Optimal < 70°F Slower > 90°F Could Kill Yeast
It should be noted that the amount of yeast used should correspond to the recipe's specifications since too much or too little can affect the bread's rise and texture. Typically, the ratio falls around 1% of the flour's weight for dry yeast in a recipe. However, conversions between yeast types may be necessary, depending on what a recipe calls for; for example, one teaspoon of active dry yeast is roughly equivalent to ¾ teaspoon of instant yeast.
Types of Yeast
In bread making, the type of yeast used is crucial for fermentation and affects the final texture and flavor of the bread. Two of the most common yeasts in baking are Active Dry Yeast and Instant Yeast.
Active Dry Yeast
Active Dry Yeast is a form of dry yeast that is granular and has a coating which requires activation before it can be used. Typically, one packet of active dry yeast contains about 2 1/4 teaspoons, equivalent to 7 grams. It is essential to dissolve active dry yeast in warm water around 70°F to 100°F before adding it to flour, as this 'proofing' process ensures the yeast is alive and active. If the water is too hot, it can kill the yeast, stopping the bread from rising.
Measurement: For every packet (or 2 1/4 teaspoons) of active dry yeast, substitutes like instant yeast should be reduced by about 25%.
Activation: Must be dissolved in water.
Instant Yeast
Instant Yeast, also known as rapid-rise or quick-rise yeast, is a type of dry yeast that's more finely ground than active dry yeast. It does not require activation and can be added directly to the dry ingredients. Because it's more potent than active dry yeast, less instant yeast is needed. Instant yeast is convenient for bread makers as it speeds up fermentation; however, for richer flavors, slower fermentation might be preferable.
Measurement: Reduce the quantity by 25% if substituting for active dry yeast. For instance, use 3/4 teaspoon of instant yeast in place of 1 teaspoon active dry yeast.
Incorporation: Can be mixed directly with dry ingredients without prior activation.
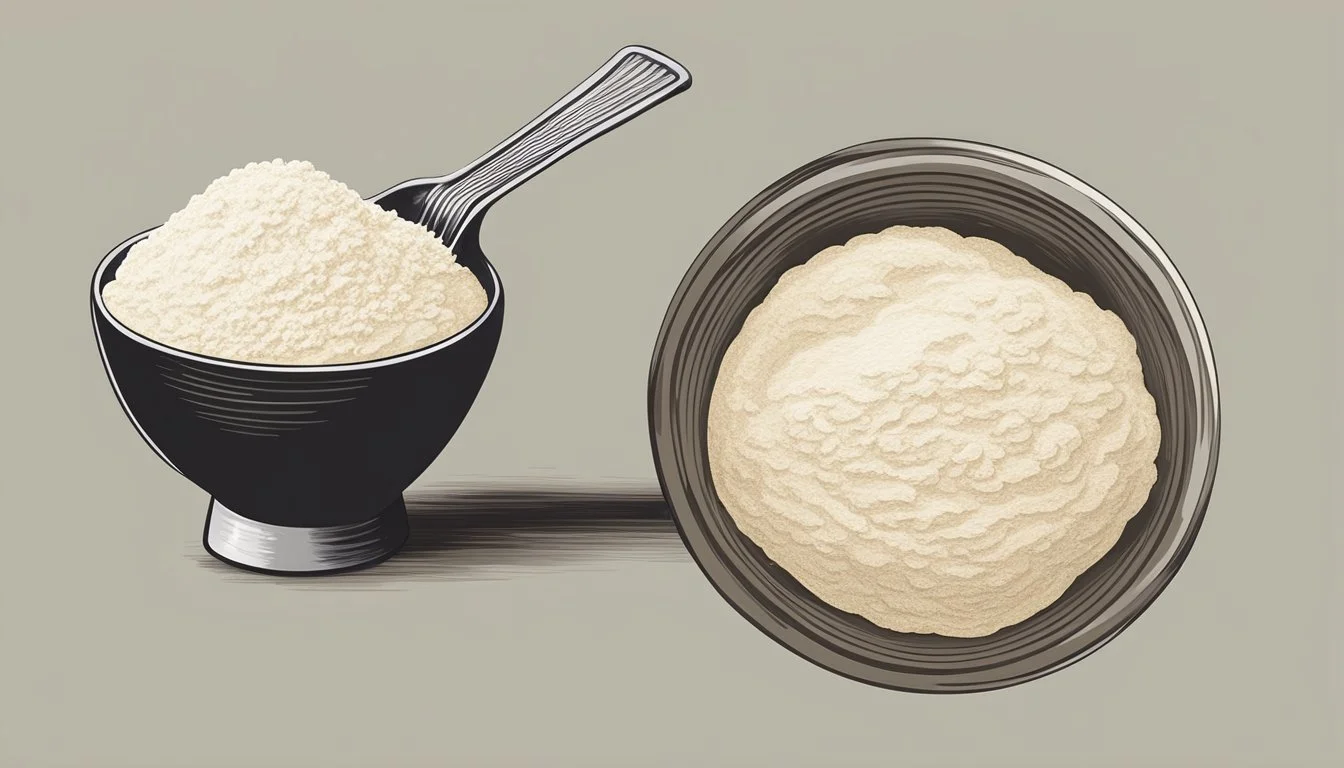
Measuring Yeast with Accuracy
Achieving the perfect bread depends on the precision of yeast measurement, as it influences the dough's rise and texture. Bakers may employ scales, measuring spoons, or their own experience to ensure the right yeast quantity.
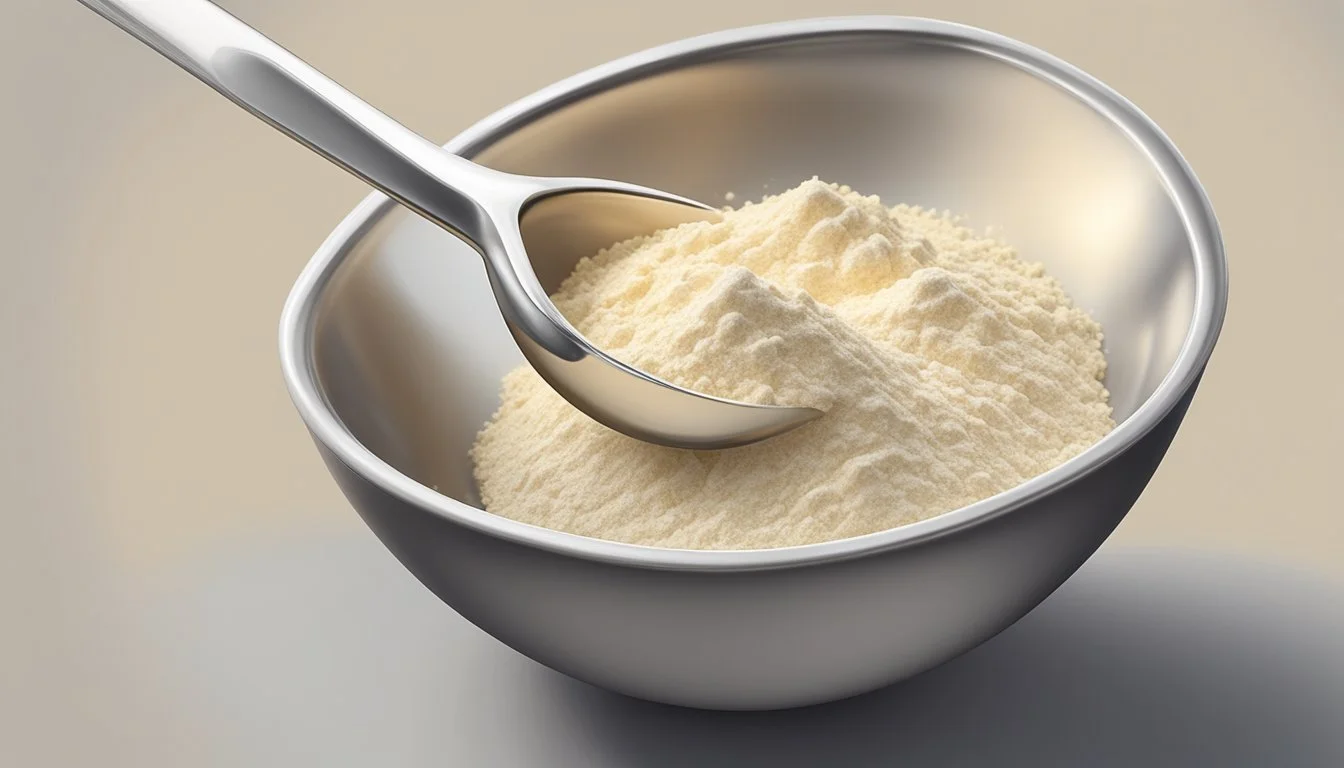
Using Scales for Precise Gram Measurements
For utmost precision, a digital scale is recommended. This is crucial for bread recipes that specify yeast in grams, as it accounts for variable factors like humidity and compaction that affect volume measurements. For example, active dry yeast weighs approximately 4 grams per rounded teaspoon. Scales ensure that bakers can replicate exact conditions each time, consistent with the recipe's requirements.
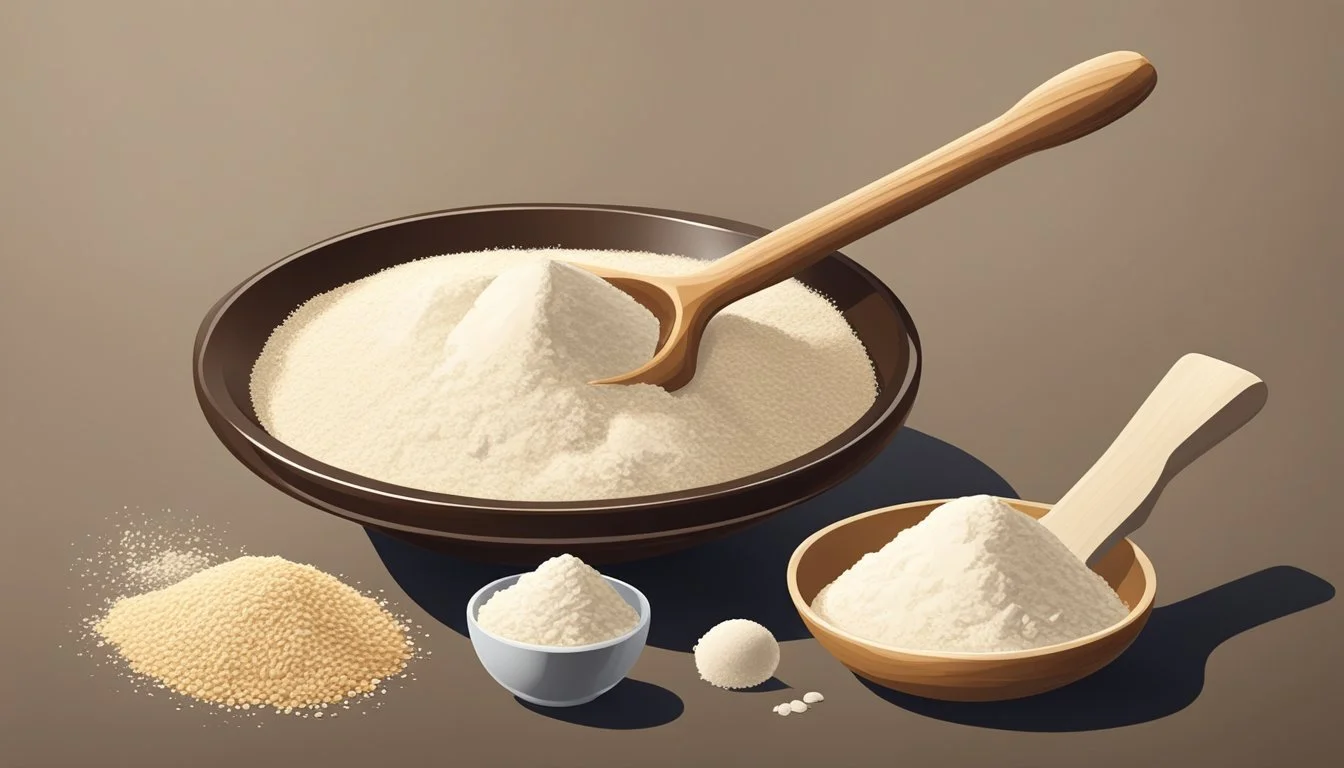
Volume Measurements with Cups and Spoons
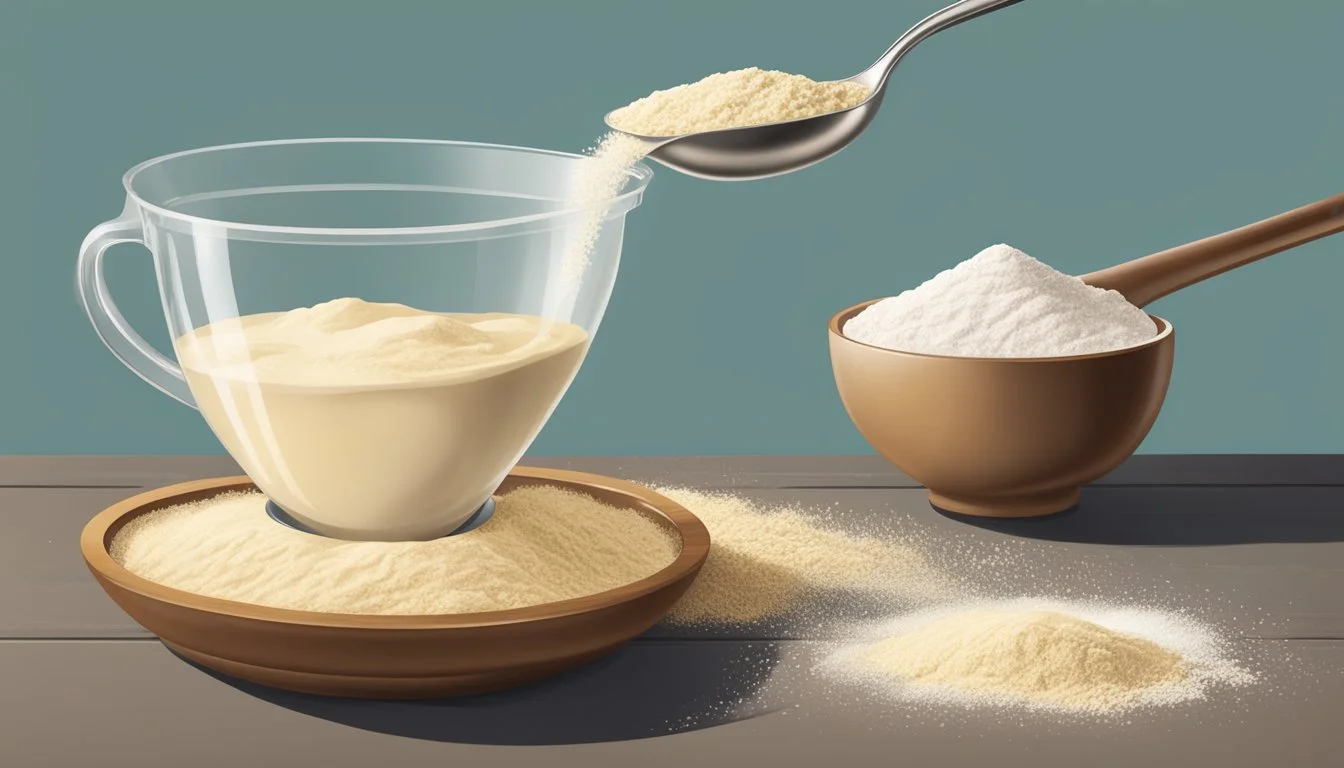
Although not as exact as scales, volume measurements are commonly used in household baking. To measure dry yeast with measuring spoons, one must gently fill the spoon to eye level without packing the yeast down. Here are the standard conversions:
1 rounded teaspoon of active dry yeast = 4 grams
1 level teaspoon of active dry yeast = 3 grams
For larger measurements, a tablespoon can also be used, ensuring that each measure is level for accuracy.
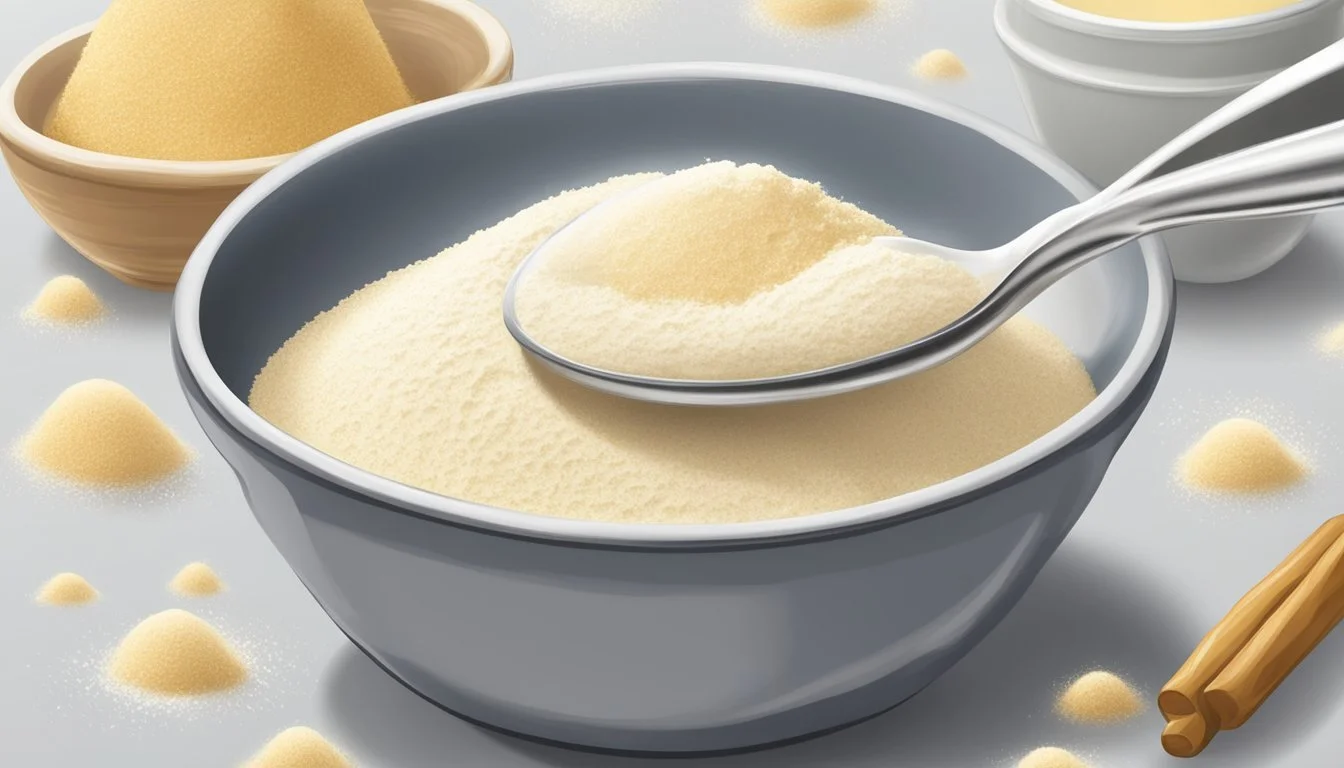
Visual Cues for Experienced Bakers
Experienced bakers can often gauge yeast quantities by visual cues developed over time. This method relies on one's familiarity with the dough's response to various yeast levels. It may not be precise, but it allows more seasoned bakers to adjust recipes intuitively based on factors like the desired rise and ambient conditions. Accuracy here stems from practice and a deep understanding of bread making.
When measuring flour, experienced bakers might fluff up the flour before spooning it into a measuring cup and leveling it off, ensuring a more accurate volume measurement, which is critical to balance the yeast proportion.
Factors Affecting Yeast Measurement
When measuring yeast for bread making, bakers must consider various factors that can impact the fermentation process. These include the temperature of ingredients, the kitchen environment, the type of flour used, and the water activity related to yeast hydration.
Ingredient Temperature
The temperature of ingredients, especially water, greatly influences yeast activity. Yeast thrives in temperatures between 70°F and 100°F (21°C to 38°C). Using warm water rather than cold can help activate the yeast, but temperatures above 100°F may harm it. It's crucial to keep a consistent temperature for predictable yeast performance.
Humidity and Kitchen Environment
The humidity and temperature of the kitchen environment can affect how yeast behaves. Higher humidity levels can accelerate yeast activity, potentially leading to over-proofed dough if not monitored. Maintainers of dough should ensure their kitchen is neither too dry nor too damp for optimal yeast function.
Flour Type Variations
Different flour types have distinct effects on yeast measurement and performance. For instance, bread flour typically requires more water due to its higher protein content and retains more gas, which benefits yeast activity. On the other hand, all-purpose flour, with lower protein content, interacts differently with yeast and may require adjustments in yeast quantity.
Water Activity and Yeast Hydration
The hydration of yeast, determined by the amount of water it absorbs, is crucial for proper activation and fermentation. A high water-to-flour ratio generally encourages more vigorous yeast activity, while a lower ratio can slow down the process. Bakers should be mindful of their recipe's total water content when measuring yeast, adjusting as necessary to achieve the desired dough consistency and fermentation rate.
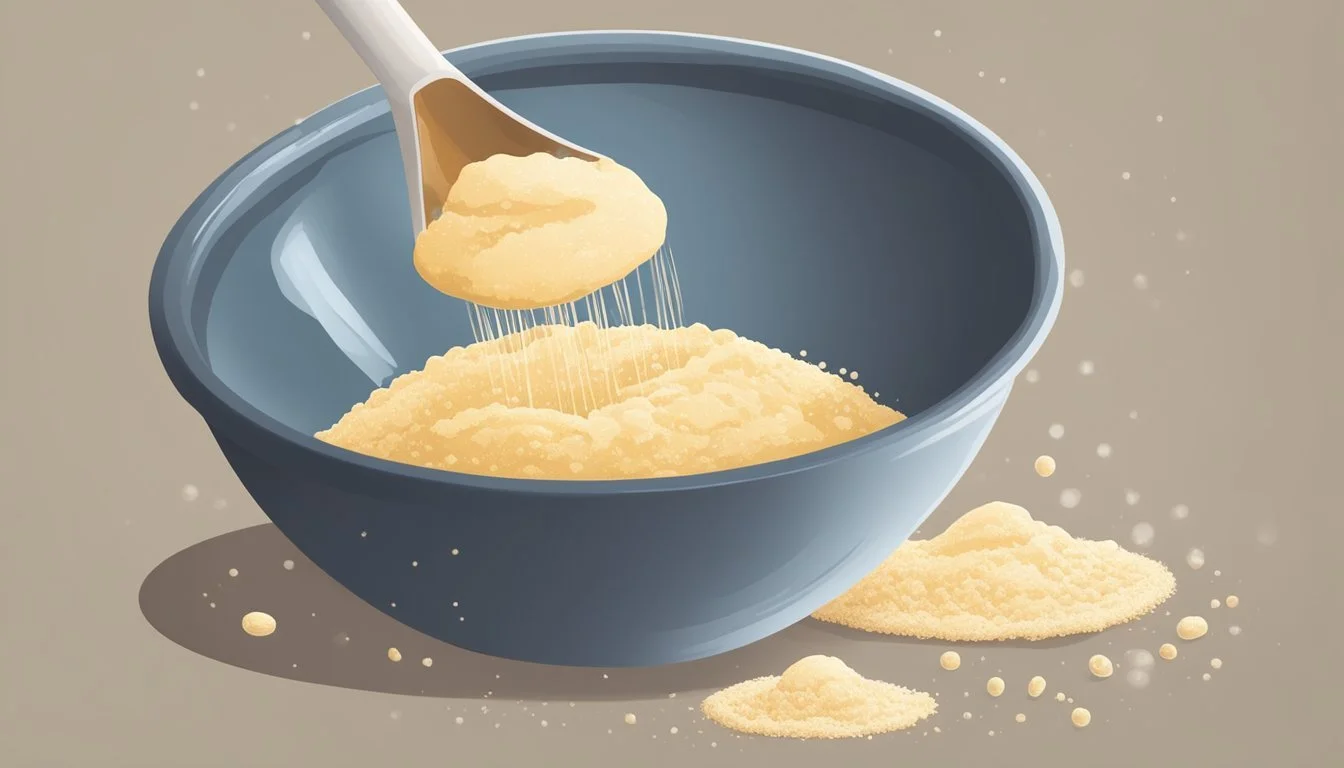
Preparation and Activation of Yeast
Proper yeast activation is crucial for bread making, as it ensures that dough rises optimally. Using the correct temperature and ingredients will result in a perfect dough that’s ready for baking.
Proofing Active Dry Yeast
Ingredients:
Active dry yeast
Sugar
Warm water (between 105°F and 115°F)
Steps:
Dissolve a small amount of sugar (typically 1 teaspoon) in warm water. The sugar serves as food to help the yeast become active.
Sprinkle the active dry yeast into the mixture and stir gently. Allow it to sit for 5 to 10 minutes. A frothy foam on top of the mixture indicates that the yeast is alive and well.
Note: Always use a thermometer to check the water temperature, as water that's too hot can kill the yeast, and too cold won't activate it.
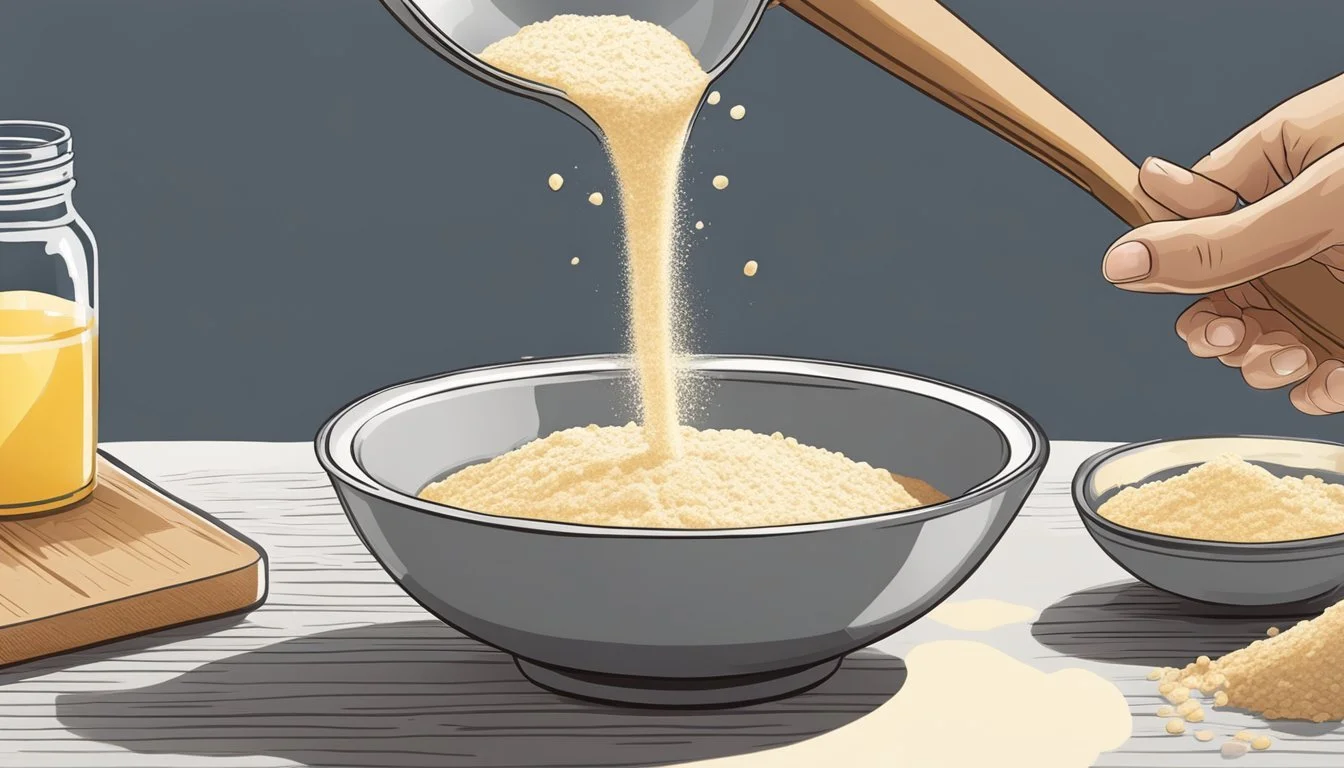
Mixing Instant Yeast with Dry Ingredients
Process:
Unlike active dry yeast, instant yeast does not require proofing with warm liquids.
Directly mix the instant yeast with the flour and other dry ingredients first.
Add warm water or another liquid from the recipe when ready to form the dough.
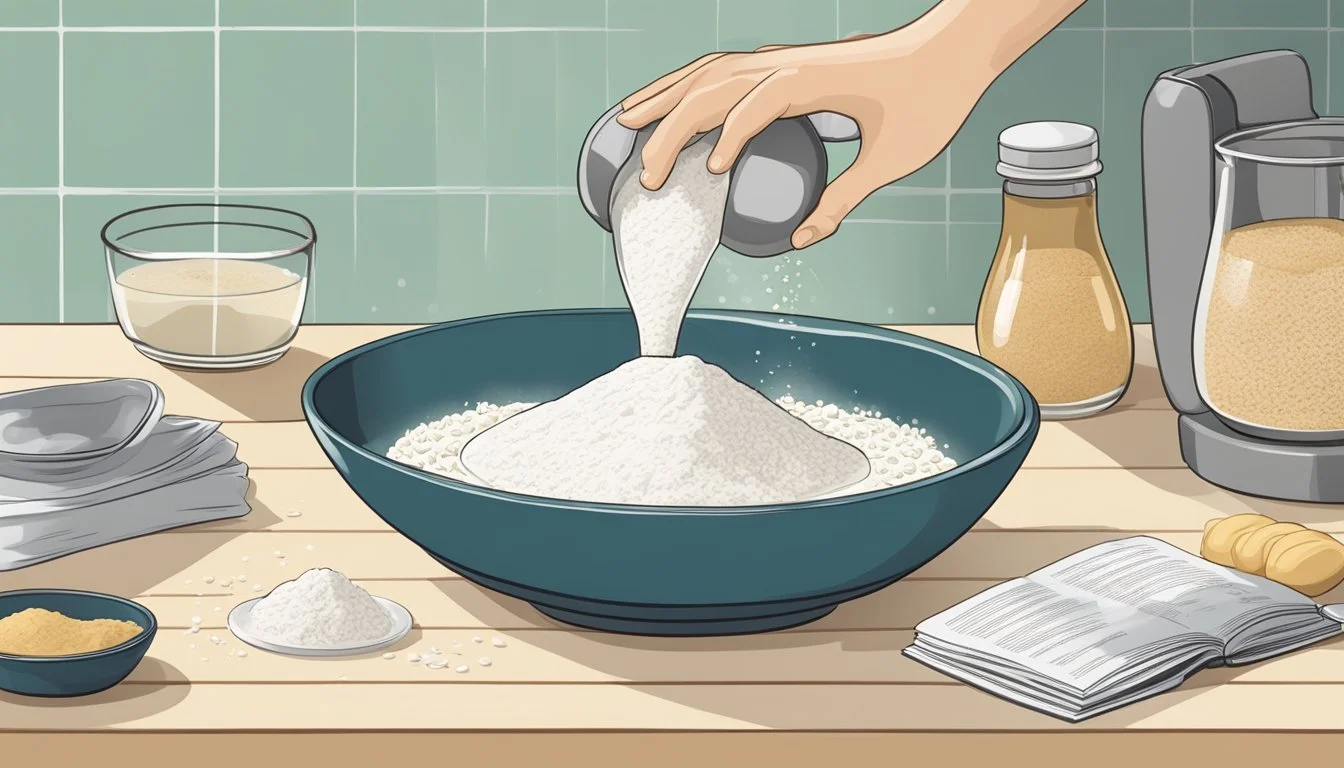
Tools:
Mixing bowl or stand mixer for combining ingredients uniformly
Spatula or dough whisk, if mixing by hand
Tip: Use room temperature or slightly warm water to ensure the instant yeast activates correctly throughout the dough mixture. Instant yeast is more tolerant of variations in temperature compared to active dry yeast.
Mixing and Kneading Techniques
Mixing and kneading dough are crucial steps in bread making, greatly influencing the texture and quality of the final product. Whether using hands, a stand mixer, or a bread machine, each method requires attention to detail to ensure proper gluten development.
Hand Kneading
Hand kneading allows the baker to feel the dough's texture and adjust accordingly. Start by combining the yeast mixture with flour until it forms a shaggy dough. Then, transfer to a floured surface and knead by folding the dough over onto itself and pushing it down with the heels of the hands. Rotate the dough and repeat the process for about 10 to 15 minutes, until it's smooth and elastic.
Pros & Cons of Hand Kneading:
Pros: Gives a better feel for dough consistency; no special equipment required.
Cons: Can be physically demanding; time-consuming.
Using a Stand Mixer
A stand mixer equipped with a dough hook can automate the mixing and kneading process. Add the ingredients to the mixer bowl, and knead on a low setting for about 8 to 10 minutes. It's crucial to monitor the dough's consistency, as additional flour or liquid may be necessary if the dough is too sticky or too dry.
Key Points for Stand Mixer Use:
Start with a low speed to incorporate ingredients.
Gradually increase speed as needed, not exceeding medium speed to avoid overheating the dough.
Monitor dough closely and adjust ingredients if necessary.
Kneading with a Bread Machine
Bread machines simplify the kneading process with their dough cycle. Simply add the ingredients to the machine's bread pan, starting with liquids, then dry ingredients, and finally yeast on top. Select the dough cycle and let the machine knead the mixture. After the cycle, some bread machines will beep, indicating when to add extras like nuts or fruit.
Bread Machine Tips:
Ensure yeast doesn't touch the liquids before the cycle starts to prevent premature activation.
Check the dough during the initial mixing phase; it should form a soft, tacky ball. If not, adjust with flour or water as needed.
First Rise: Letting the Dough Develop
The first rise, or primary fermentation, is a critical phase in bread making where the dough is allowed to rise for the first time. During this period, yeast ferments the sugars present in the flour, which in turn produces carbon dioxide gas and causes the dough to expand.
After kneading, the dough should be placed in a warm place, free of drafts, to ensure an optimal rising environment. Temperatures between 75°F to 85°F (24°C to 29°C) are often recommended. The warmth helps the yeast to become more active, thereby aiding the fermentation process.
To maintain moisture and prevent a skin from forming on the dough’s surface, bakers usually cover the dough with plastic wrap or a damp cloth. This covering also helps trap the gases produced by the yeast, contributing to a better rise.
The dough's rise is also when gluten, a protein matrix developed through kneading, begins to strengthen. As gluten strands fortify, they trap the gases released by the yeast, which gives the bread its structure and texture. Adequate gluten development is essential to producing a loaf with good volume and a chewy crumb.
Monitoring the dough during this phase is crucial; a proper first rise typically results in the dough doubling in size. Overproofing (letting the dough rise too much) or underproofing (not letting it rise enough) can adversely affect the bread's final texture and flavor.
In summary, the first rise is a period where the baker allows the dough to develop flavor and structure, setting the stage for a successful bake.
Shaping and Second Rise
Successfully shaping your dough and allowing it to undergo a proper second rise are vital to the texture and volume of your final bread. The process requires attention to detail and careful handling to ensure the dough develops correctly without compromising its delicate structure.
Creating the Desired Bread Shape
A baker should handle the dough firmly but gently to create the desired shape. Various shapes—like loaves, boules, or baguettes—require different methods:
Loaves: Flatten the dough into a rectangle, then roll it tightly into a cylindrical shape, pinching the seams closed.
Boules: Tuck the edges under to form a tight ball, creating surface tension on top.
Baguettes: Shape into a rough log, then elongate and taper the ends by rolling.
Handling should be minimal to avoid deflating the dough. Once the baker shapes the dough, it should rest on a surface that will not stick, such as a lightly floured countertop or parchment paper.
Ensuring an Even Second Rise
The second rise, or proofing, is critical for achieving the correct texture and flavor. To facilitate an even second rise:
Temperature: A warm, draft-free area is best for an even rise, ideally between 75°F and 85°F.
Time: Depending on the yeast and recipe, this can range from 30 minutes to several hours.
Humidity: Covering the dough with a damp towel can prevent it from drying out and create a humid environment suitable for rising.
Assessment: A properly risen dough will be soft, slightly puffy, and should retain an indentation when gently poked.
A consistent shape before the second rise helps maintain an even structure and prevents a lopsided or unevenly baked loaf. The baker should ensure the surface is taut to retain the bread's shape but still allow for expansion during the rise. They must monitor the dough and not allow it to overproof, as an overproofed dough will become loose and may collapse during baking.
Baking Your Bread to Perfection
Achieving the ideal bake for bread is a precise art. From setting the appropriate oven temperature to monitoring the crust for that golden hue, every detail matters. This section explores the crucial baking phase where all your preparation culminates in a delightful, freshly-baked loaf.
Setting the Right Oven Temperature
Each bread type has an optimal baking temperature, typically ranging between 350°F to 475°F. Artisan breads often require a hotter oven (around 450°F to 475°F) to develop a thick and crispy crust, while sandwich loafs bake well at lower temperatures, around 350°F to 375°F, allowing the bread to cook through without burning the crust. It's essential to preheat the oven for at least 20 minutes before baking to ensure a consistent temperature.
Monitoring the Crust Color and Texture
The crust is the indicator of a perfectly baked bread. One should observe the color change—aim for a deep golden brown hue. If using an oven with a window, one can monitor the browning without opening the door and losing heat. For an extra crispy crust, introducing steam into the oven during the first few minutes of baking can help, as the moisture allows the crust to expand before setting.
Cooling for Optimal Taste
After baking, bread needs to cool to develop the right flavor and texture. Removing the loaf from the oven and onto a cooling rack allows air to circulate all around, preventing the crust from becoming soggy. A perfect loaf should sound hollow when tapped on the bottom and should be left to cool for at least an hour before slicing to allow the crumb to set properly.
Special Yeast Bread Variations
When embarking on bread making, it's crucial to account for the yeast variations that certain recipes require. Sweet rolls may need additional sugars that can affect yeast activity, while gluten-free and sourdough options replace traditional yeast methods with alternatives that are equally as important in achieving the desired bread texture.
Sweet and Savory Roll Recipes
Sweet and savory rolls are a testament to the versatility of yeast doughs. Cinnamon rolls, a beloved sweet treat, often rely on a dough enriched with butter, eggs, and sugar. For perfect cinnamon rolls:
Dough: Use 1 teaspoon of yeast for every cup of flour.
Fillings: Incorporate brown sugar and ground cinnamon in the filling for a classic taste.
Icing: A simple glaze of powdered sugar and milk drizzled over the top complements the warm spices.
On the flip side, dinner rolls can be accented with savory flavors such as garlic or herbs. Here's a basic savory dinner roll guideline:
Dough: 1 tablespoon of yeast is suitable for a recipe yielding 12 dinner rolls.
Seasonings: Add minced garlic or dried Italian herbs to the dough for enhanced flavor.
Topping: Prior to baking, brush rolls with melted butter mixed with garlic powder and a pinch of salt.
Gluten-Free and Sourdough Options
Gluten-free breads and sourdough require different approaches to leavening. In gluten-free baking, xanthan gum or psyllium husk can provide structure that gluten normally would.
Sourdough Starter: A natural leavening agent can be substituted for commercial yeast to make sourdough bread.
Flour: Gluten-free bread recipes often incorporate a blend of rice, almond, and tapioca flour for the right consistency.
When making sourdough, patience is key as the starter must be given time to ferment:
Starter Maintenance: Feed it with equal parts of flour and water to keep it active.
Hydration: Sourdough dough should be well-hydrated, as the starter thrives in moist conditions.
Remember, each variation requires attention to the balance of ingredients and the right conditions for yeast to work effectively, whether in a gluten-containing or gluten-free environment.
Storage and Freshness Tips

When a baker stores yeast properly, they ensure their bread always rises to the occasion, whether crafting a sandwich loaf or a rustic bakery-style bread. Freshness starts with storage; active dry yeast must be kept in an airtight container and placed in a cool, dry place, such as a pantry. However, refrigeration can extend its shelf life.
Ideal Storage Conditions for Yeast:
Pantry (Unopened): Room temperature is sufficient for an unopened packet until the expiration date.
Refrigerator (Opened): Once opened, transfer yeast to an airtight container.
Freezer (Bulk): For large quantities, like a bread baker who buys in bulk, the freezer is ideal, and yeast can be used directly from the freezer when baking.
To Test for Yeast Freshness:
Dissolve a small amount of yeast in warm water with a bit of sugar.
Wait 10 minutes; if the mixture foams and bubbles, it's active.
For those making sandwiches daily or enjoying a slice of rustic bread from their local bakery, a baker's care in measuring and using fresh yeast can be the difference between a good and a great loaf. It's recommended to check the yeast before each baking session, so the bread rises perfectly every time. Remember, proper storage is not just about prolonging yeast life; it's a crucial step in the quality and success of baked bread.
Troubleshooting Common Yeast Bread Issues
When baking bread, bakers often confront a range of challenges. Understanding how to solve them is crucial for successful bread making.
Yeast Viability: If dough does not rise, the issue likely lies with the yeast. One must ensure the yeast is active; this can be tested by proofing. Proofing entails mixing the yeast with water at a temperature between 105°F and 115°F before combining it with other ingredients. If the yeast forms a creamy foam, it is active.
Dough Temperature: For an optimal rise, keep dough in a warm place, approximately between 80°F and 90°F, away from drafts. A dough that's too cold leads to a slow rise, impacting the bread's texture and volume.
Flour Type: The protein content in bread flour makes it ideal for yeast recipes due to better gluten formation, whereas all-purpose flour may result in a less structured dough.
Over-proofed Dough: Bread can collapse if it's left to rise excessively. Keep the initial rise to about double the dough's original size and follow the bread recipe closely for timing.
Water Temperature: Liquids should be warm but not hot. Temperatures over 120°F may kill the yeast, while too cold water will not activate it properly, resulting in heavy, dense bread.
Enzyme Activity: Enzymes in flour help in gas production. However, imbalance can cause sticky or loose dough. Fine tuning water and flour proportions ensures the right dough consistency.
Dough Consistency: Aim for a dough that is tacky but not overly sticky. Adjust with flour or liquid in small increments to achieve the correct texture.
Advanced Tips for Experienced Bakers
Experienced bakers understand that controlling the amount of yeast in bread making is a crucial aspect of achieving the desired dough rise and fermentation profile. To formulate the perfect loaf with a rustic charm reminiscent of a professional bakery, precise measurement and manipulation of yeast is key.
Yeast Quantity:
Small Batches: For smaller batches of dough or when creating bread with a longer fermentation time, reduce the yeast slightly. Less yeast extends the fermentation and enhances flavor complexity.
Flour Strength: Align the yeast amount with the gluten content of the flour; stronger flours can handle more yeast and longer fermentation.
Temperature Control:
Proving Conditions: Maintain a consistent temperature during the first rise. As a general rule, cooler temperatures (70°F - 75°F) are ideal for a uniform rise.
Adjustments: A dough's temperature influences yeast activity. Experienced bakers should adjust yeast levels based on the ambient temperature of their kitchen.
Dough Handling:
Kneading: Achieve a balance between kneading time and yeast quantity. Over-kneading combined with too much yeast can overwork the gluten structure, leading to bread that lacks character.
Autolyse: Implement an autolyse phase before adding yeast to improve gluten formation without extra kneading.
Considerations for Rustic Bread:
Fermentation: Longer, cooler fermentations are often preferred for rustic bread. They should consider using minimal yeast to achieve a hearty crumb and crisp crust.
Affiliate Products: Use trusted, high-quality yeast brands, often available through affiliate links from reputable bakery resources.
Following these advanced techniques, bakers can refine their process, ensuring their loaves rise adequately without compromising on the artisanal quality expected from a seasoned baker.
Bread Making Safety and Clean-up
When making bread, ensuring a safe and clean kitchen is paramount. Cleanliness is essential both before starting and after finishing your bread-making process. They should always wash their hands thoroughly with soap and water to prevent contamination. Surfaces and tools should be sanitized, especially when working with yeast, as the fermentation process can be sensitive to unwanted bacteria.
Regarding safety, individuals should exercise caution when handling hot liquids, such as boiling water often used to activate yeast or incorporate into dough. Baker's should ensure that they have a secure grip on containers holding boiling water and use oven mitts or potholders when adding it to other ingredients to prevent burns.
Bakers should also be mindful about the disposal of waste. All packaging from ingredients, such as yeast and flour bags, should be disposed of promptly to avoid any spills or attraction of pests. Excess dough should not be poured down the sink as it can solidify and cause blockages. Instead, it should be wrapped and thrown in the trash.
Here's a concise checklist for bread-making safety and clean-up:
Preparation:
Wash hands and sanitize all surfaces.
Gather all required ingredients and tools.
Safety Measures:
Use caution with boiling water – always pour slowly and away from the body.
Keep olive oil and other slippery ingredients away from the edge of the counter to prevent spills.
Post-Baking Clean-up:
Clean all utilized kitchen equipment immediately after use.
Wipe down surfaces to remove flour, dough residue, and oil spills.
Store sharp tools, like knives and dough scrapers, securely out of reach of children.
By following these measures, bakers can ensure a seamless baking experience that prioritizes safety and cleanliness in the kitchen.
