How to Measure the Perfect Amount of Dough for a Pizza Crust
A Pro's Guide
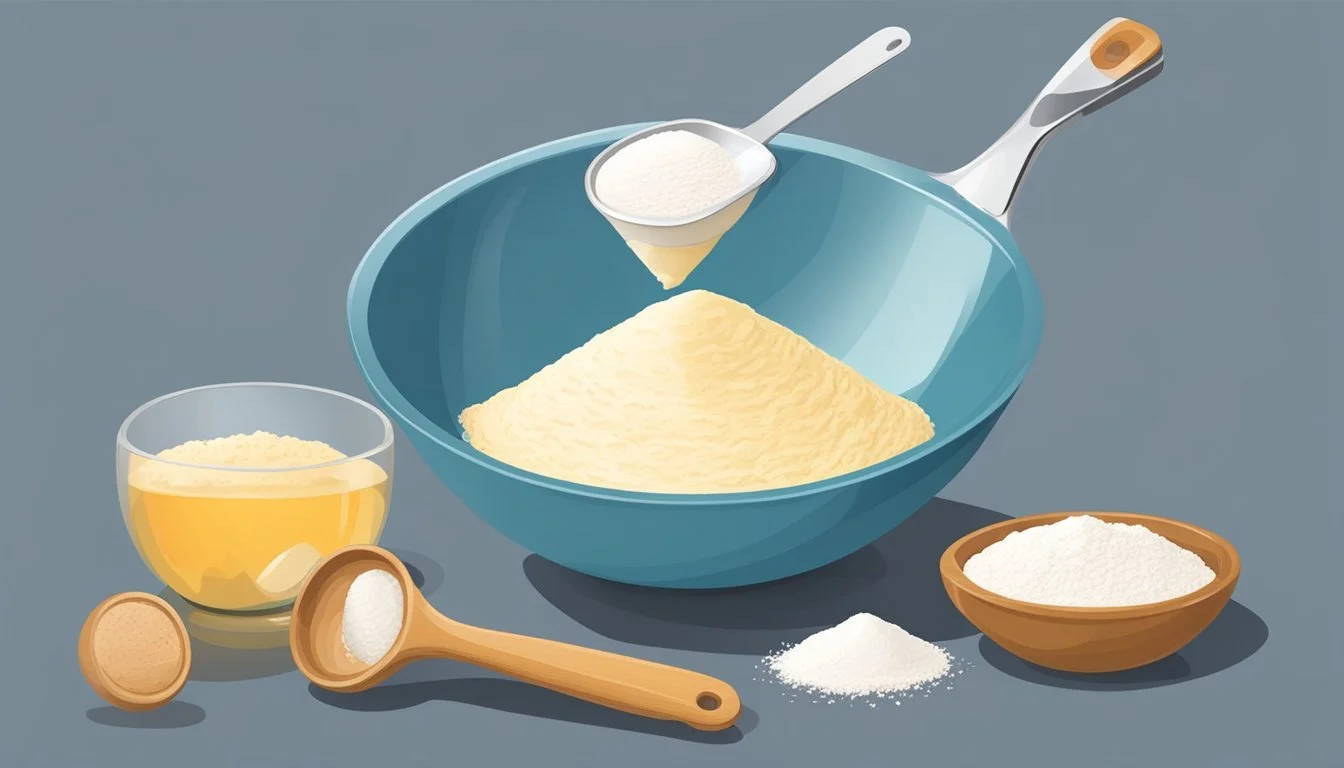
Measuring the right amount of dough for making pizza crust is crucial for achieving the desired texture and taste. It all begins with understanding the factors that impact dough quantity: the size of the pizza, the thickness of the crust, and the specific recipe being used. The perfect pizza dough should offer a balance between a crispy exterior and a soft, airy interior. To ensure consistency, chefs and home cooks alike rely on precise measurements rather than guesswork.
To achieve this precision, several variables must be considered. The hydration level of the dough, which relates to the flour-to-water ratio, is one of the most important aspects of dough management. This ratio affects the dough's elasticity and extensibility, which in turn influences the crust's final texture. The type of flour used plays a role as well; different flours absorb water differently, which can affect the overall hydration of the dough.
Temperature is another critical element. The optimal fermentation process, which allows the dough to rise and develop flavor, is heavily influenced by temperature. Dough temperature, room temperature, and the temperature of individual ingredients such as water should all be taken into account. A consistent and controlled proofing environment ensures the dough develops the right characteristics for a perfect pizza crust.
Understanding Pizza Dough Basics
Creating the perfect pizza dough requires precision and a keen understanding of the components involved. Key elements such as the right measurements, yeast activity, and gluten development are crucial to achieve the desired texture and flavor.
Importance of Proper Measurements
Proper measurements are the foundation of pizza dough. The ratio of flour to water, known as the hydration percentage, significantly affects the dough's texture. For instance, a classic Neapolitan pizza dough often has a hydration level around 55-60%, meaning for every 100g of flour, 55-60g of water is used. Ensuring accuracy in measurements of salt, sugar, and yeast is equally important, as it maintains consistency in flavor and dough behavior during fermentation and baking.
Role of Yeast in Pizza Dough
Yeast is a driving factor in the fermentation process, leading to the dough's rise and the development of flavor. Using the proper quantity of yeast, generally between 0.07% - 0.08% of the flour's weight for a slow fermentation, is vital for predictable results. The temperature of the water added to activate the yeast should typically compensate for the ambient temperature to achieve an optimal dough temperature around 22°C (72°F).
Ambient Temperature (°C) Flour Temperature (°C) Recommended Water Temperature (°C) 22 22 14 Table: Suggested water temperatures for different ambient conditions.
Gluten Development and Texture
Gluten development in the dough influences the final texture of the pizza crust. Flour, through its protein content, forms gluten when mixed with water. The level of kneading and the hydration of the dough correlate to gluten formation; a higher hydration often leading to a lighter, airier crust. For instance, a 60-65% hydration dough can offer a balance between chewiness and crispness, making it appropriate for a wide range of pizza types. Properly developed gluten ensures the crust can endure the toppings without becoming soggy or losing its structure.
Choosing the Right Ingredients
When preparing pizza dough, selecting the right quality of ingredients is crucial for achieving the desired texture and flavor of the crust. Understanding how different types of flour, yeast, water, and oil react together will allow for the most optimal dough consistency.
Flour Types and Their Effects on Crust
Bread Flour: With a higher protein content typically around 12-14%, bread flour gives the dough more strength and elasticity. The resulting crust is chewier and can support heavier toppings due to its sturdier structure.
All-Purpose Flour: A versatile option, all-purpose flour has a protein content ranging from 9-12%. It produces a softer crust which is less chewy compared to bread flour, making it suitable for a wide range of pizza styles.
00 Flour: Ideal for Neapolitan pizzas, 00 flour is finely ground and has a lower protein content, creating a tender and crispy crust when baked at high temperatures.
Selecting the Best Yeast Option
Active Dry Yeast: This type of yeast should be dissolved in warm water before use, typically between 105°F and 115°F. Proofing it ensures that the yeast is alive and active, which is essential for a well-risen dough.
Instant Yeast: Also known as rapid-rise yeast, this variety can be mixed directly with the dry ingredients without needing to be activated in warm water. The dough will generally rise faster when using instant yeast.
Impact of Water and Oil on Dough Consistency
Warm Water: The temperature of water used in dough affects yeast activation and gluten development. Warm water should ideally be around 95°F to optimize the yeast's activity without denaturing it.
Olive Oil: Adding olive oil to pizza dough can contribute to its flavor and tenderness. It also helps in managing the dough's hydration, creating a moist, softer crust with a slight crisp.
Mastering the Dough Preparation
The perfection of pizza dough lies in its preparation, where precise mixing, proofing, and resting play vital roles. A thorough understanding of each step is crucial for achieving the desired consistency and flavor.
Mixing and Proofing Techniques
When preparing pizza dough, one starts by mixing the dry ingredients in a mixing bowl. Flour should be incorporated in increments, typically divided into 33%, 33%, 20%, and the final 14%, to ensure even hydration. The mixing process continues by adding salt dissolved in a small amount of water. This method ensures even distribution of salt throughout the dough. After mixing the ingredients, the dough should be left to proof. Proofing allows the yeast to ferment, which causes the dough to rise. It is essential to keep the dough in a greased bowl covered with a damp cloth to prevent drying.
Kneading for Optimal Gluten Formation
Kneading the dough is the next step and is vital for gluten formation. It is recommended to knead the dough for approximately 10 minutes, or until it achieves a smooth and elastic texture. The kneading process develops the gluten network, providing the dough with the strength and structure it needs. Kneading can be done either in the bowl or on a clean work surface.
Kneading tip: Press the heel of your hand into the dough, fold it over, and turn it 90 degrees. Repeat this process to ensure even gluten development.
Rest and Rise Time Considerations
Finally, it is crucial to let the dough rest and rise. This time allows the gluten strands to relax and the dough to increase in volume, contributing to the texture of the crust. A typical rest period might be around 1 to 2 hours at room temperature, but this can vary based on the dough's requirements and the ambient temperature. For longer fermentation, the dough can be refrigerated for 12-24 hours, which can enhance the flavor.
Rise Table:
Condition Rise Time Notes Room Temperature (approx. 22°C) 1-2 hours Shorter for warm environments Refrigerated (slow fermentation) 12-24 hours Longer rest for more complex flavor profiles
Additional proofing times can adjust the dough's characteristic, which can range from a thin, crispy crust to a thicker, chewier base. The control over this process is what distinguishes an average pizza crust from an exceptional one.
Dividing and Shaping the Dough
Accurate division and careful shaping of pizza dough are crucial in achieving a consistent crust. One must consider the size of the pizza and the desired crust thickness to determine the right amount of dough needed for each pizza.
Calculating Dough Portions for Different Sizes
To determine the appropriate dough portion for a pizza, one may use a pizza calculator or the following standard guidelines:
For a 10-inch pizza, a dough ball of 170-225 grams is suitable.
For a 12-inch pizza, a dough ball of 225-285 grams is typically used.
A 14-inch pizza requires a dough ball weighing around 285-340 grams.
A kitchen scale is highly recommended for precise measurements. It is also advisable to coat the dough balls lightly with olive oil before the next step of shaping to prevent sticking and create a moisture barrier.
Creating the Perfect Round Pizza
Shaping a perfectly round pizza begins with a well-measured dough ball. Here's a method to ensure a circular shape:
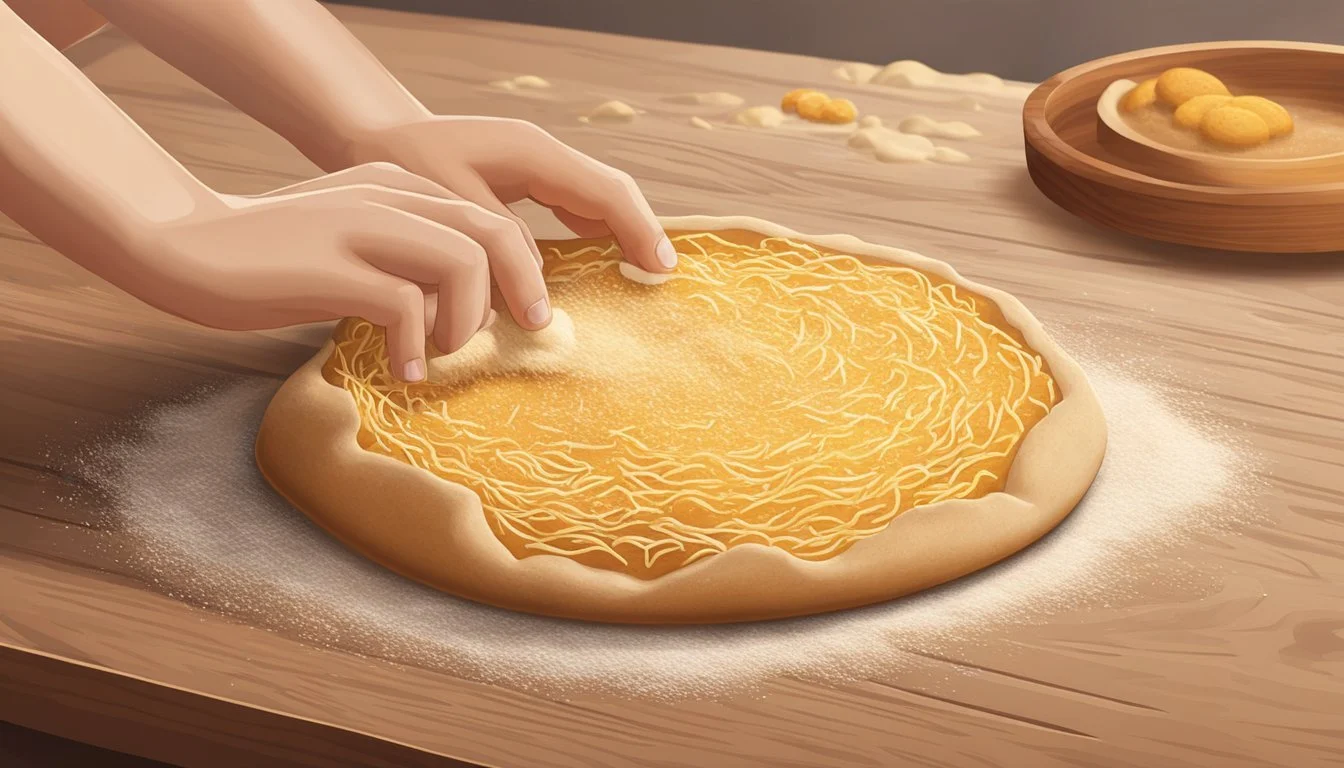
On a lightly floured surface, place the dough ball.
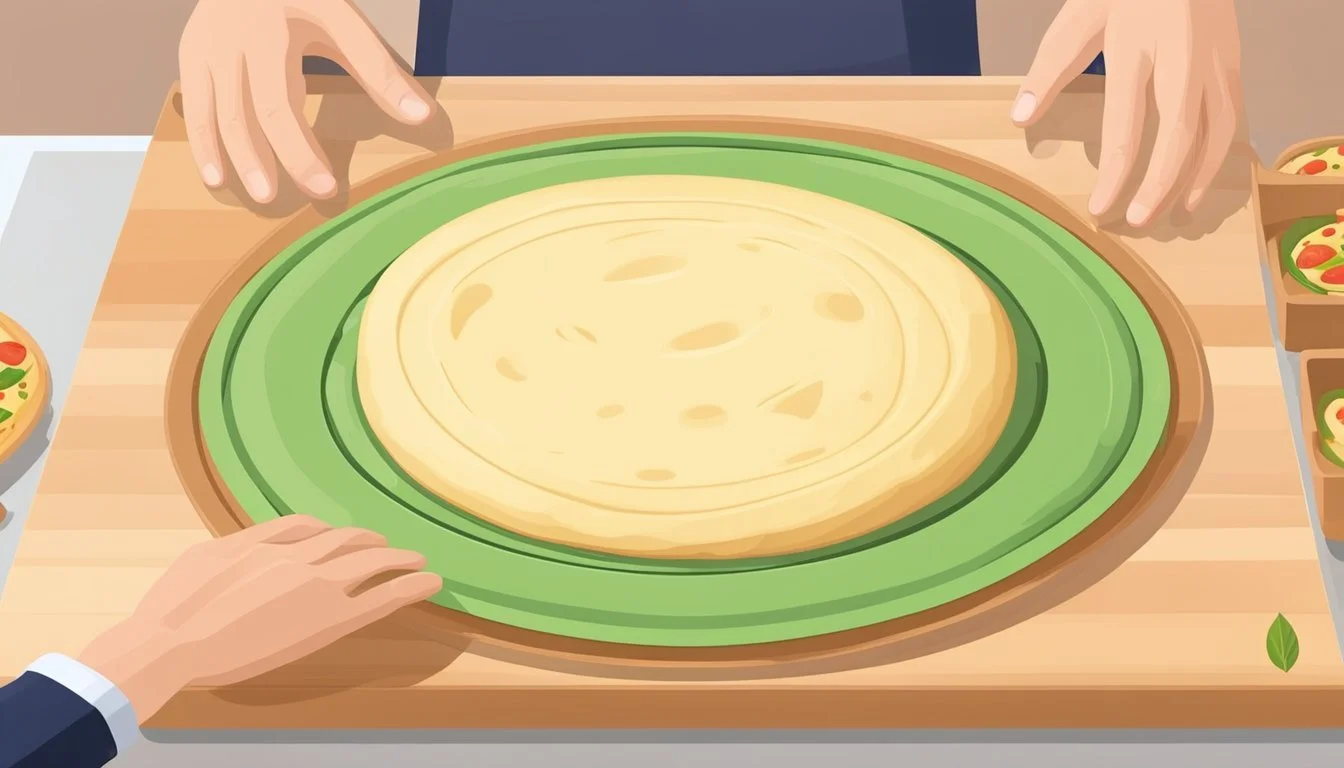
Flatten the ball into a disc using the palms of your hands.
Starting from the center, press the dough outwards while rotating to maintain an even circle.
Stretch the edges by draping the dough over your knuckles, gently pulling and rotating to create a consistent round shape.
For best results, the dough should be at room temperature to enhance pliability, ensuring an even thickness without tearing.
Ready for Toppings and Baking
Once the dough is measured and rolled out, it’s crucial to proceed with care for topping distribution and baking technique to achieve the desired crust quality.
Essential Tips Before Adding Toppings
One must ensure the cheese is spread evenly to avoid soggy spots. Starting with the thinnest slices of meat, such as salami and pepperoni, precedes the addition of larger meats. Vegetables with high water content should be placed last. This allows excess moisture to evaporate in the oven, helping maintain a crispy crust.
Meat: Start with thin slices like pepperoni.
Vegetables: Add last to reduce moisture.
Here's a visual guide for topping a pizza:
Topping Order Toppings Example 1st Layer Cheese, spread evenly 2nd Layer Thin meats (pepperoni, salami) 3rd Layer Larger meats (ham, sausage) 4th Layer High water content vegetables (tomatoes, bell peppers)
Baking for the Desired Crust Outcome
A preheated oven is key, and the use of a pizza stone can yield a more evenly baked crust due to consistent heat distribution. High temperatures are vital; they lock in the crust's formation quickly, reducing the risk of a doughy texture. For a crispy crust, bake at a high temperature until the desired color and texture are achieved. A chewy crust requires less time at a slightly lower temperature but still within a high heat range.
Crispy Crust: High temperature, monitor for color and texture.
Chewy Crust: Slightly lower temperature, shorter baking time.
Baking instructions:
Preheat the oven with a pizza stone to 450°F.
Place the pizza on the preheated stone.
Bake until the crust is golden and cheese is bubbly.
Advanced Pizza Techniques
When crafting the perfect pizza crust, utilizing advanced techniques can make a significant difference in texture and flavor. By focusing on the tools used, the dough handling for different types of pizza, and the best practices for storage, pizza enthusiasts can elevate their homemade pizza to a professional level.
Using a Pizza Stone or Steel
Pizza stones and steels are critical for achieving a pizzeria-quality crust at home. The stone or steel should be preheated in an oven at the highest temperature for at least an hour to ensure consistent and high heat, much like a professional oven. When using a pizza peel, lightly dusting it with flour or using parchment paper can prevent sticking and ensure a smooth transfer onto the stone or steel.
Handling Different Pizza Types
New York-style pizza: Thin and flexible, this type requires a high-gluten flour to achieve the classic fold. Stretch the dough by hand to maintain the airy crust.
Neapolitan pizza: Authentic Neapolitan pizza demands a high-temperature oven and a brief cooking time. The dough should be soft and handled minimally to preserve the delicate texture.
Sicilian pizza: Typically thicker, it relies on an oil-lined pan for its signature crispy bottom. Use vegetable oil to coat the pan before pressing in the dough.
Detroit-style pizza: Characterized by its square shape and airy crust, it's baked in a well-oiled steel pan. The sides and bottom should caramelize, creating a distinct crunch.
Focaccia: As a thicker, bread-like base, focaccia requires a generous amount of olive oil and a dimpled surface to hold herbs and toppings.
Freezing and Storage Tips
To freeze pizza dough, portion it into balls after the first rise. Coat each ball lightly with oil, wrap in plastic wrap, and seal in a freezer bag before placing in the freezer. Thaw in the refrigerator overnight or at room temperature for several hours when ready to use. For temporary storage, the dough can be kept in the refrigerator, covered with plastic wrap or a damp cloth, for up to 48 hours.
Enhancing Flavor and Texture
Perfecting the flavor and texture of a pizza crust goes beyond the dough. It involves a careful selection of toppings, sauces, and seasonings that complement each other and bring out the desired taste and mouthfeel.
Choosing Cheese and Sauces
A great pizza starts with the choice of cheese and sauce. Mozzarella cheese is a popular choice for its creamy texture and excellent meltability. For a robust flavor, combining mozzarella with a sharper cheese like Parmesan can enhance the pizza's overall taste profile. As for the sauce, homemade pizza sauce made with San Marzano tomatoes serves as a sweet and tangy base, which can be enriched with garlic for added depth.
Preferred Cheese Combination:
80% Mozzarella
20% Parmesan
Homemade Sauce Base Ingredients:
San Marzano Tomatoes
Minced Garlic or Garlic Powder
Salt to taste
Selecting and Combining Toppings
The way toppings are selected and combined plays a pivotal role in the overall flavor and texture of the pizza. Balancing a variety of vegetables, meats, and even fruits, while avoiding overloading the pizza, is key to achieving the ideal bake and taste. One should consider the moisture content and cook time of each topping to maintain the structural integrity of the crust and prevent sogginess.
Topping Combination Examples:
Sliced Bell Peppers, Red Onions, Pepperoni
Grilled Chicken, Spinach, Sun-dried Tomatoes
Incorporating Herbs and Spices
Herbs and spices grant a layer of complexity and freshness to pizza. Dried basil and oregano are traditional choices that can be sprinkled on top before baking for an aromatic touch. The judicious use of garlic powder can also enhance the savory profile without overpowering other flavors.
Herbs and Spices:
Dried Basil - (1/2 teaspoon)
Oregano - (1/2 teaspoon)
Garlic Powder - to taste (optional)
Tools and Equipment for Perfect Dough
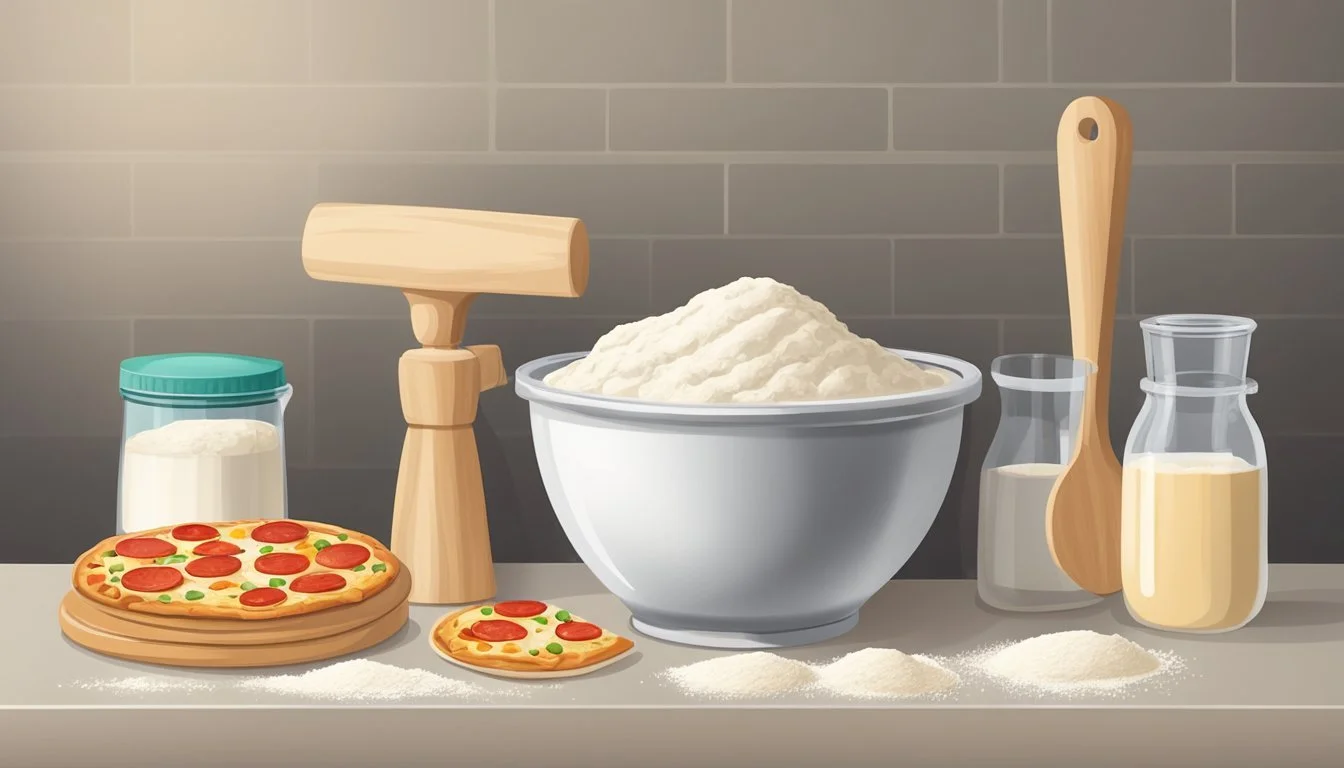
A well-equipped kitchen with the right tools ensures accuracy in measuring and efficiency in mixing ingredients for pizza dough.
The Importance of Accurate Scales
An accurate kitchen scale is indispensable for creating consistent and perfect pizza dough. Scales that measure to at least 1 gram precision are suitable for most ingredients, but for small quantities such as yeast, a scale with 0.01-gram increments ensures superior accuracy. The standard capacity of kitchen scales ranges from 5 to 10 kilograms, which is more than sufficient for measuring quantities typically needed in pizza dough recipes. For example, flour and water quantities in pizza recipes are usually between 300-1000 grams. Hence, a scale with both high capacity and fine resolution serves as the cornerstone for precise dough preparation.
Using Mixers and Bread Machines
For the proper development of gluten and to ensure the dough has the right texture, using a stand mixer can significantly ease the process of kneading. A good stand mixer has varying speeds and can handle both small and large batches of dough with consistency. Stand mixers not only save time but also contribute to a uniform mix of ingredients, which is crucial for an even rise and texture in the pizza crust.
Bread machines also double as a convenient option for mixing and kneading pizza dough. Those who prefer a hands-free and less messy preparation may find a bread machine particularly useful. It controls the environment for the dough during both mixing and proofing stages, which helps in achieving a consistent result every time.
In conclusion, investing in a quality scale and an efficient mixing appliance like a stand mixer or bread machine can significantly improve the outcome of homemade pizza dough.
Final Thoughts on Perfect Pizza Dough
When crafting the perfect pizza dough, one should approach the recipe with precision and mindfulness. For homemade pizza enthusiasts, it's essential to measure the necessary ingredients accurately to ensure the desired outcome. A typical pizza dough recipe calls for a balance of flour, water, yeast, and salt. This combination, when mixed and fermented correctly, creates the foundation for a vast array of pizza recipes, from a classic pepperoni pizza to a gourmet BBQ chicken pizza.
Pizza Type Dough Weight (Per Pizza) Neapolitan 200g-280g Thin Crust 180g-250g Rectangular Pizza 250g-350g Thick Crust 280g-400g
One should not underestimate the importance of kneading the dough; this step develops the gluten structure that gives the crust its chew and airiness. Additionally, fermentation is key, as it deeply impacts flavor and texture. To tailor your dough, consider the type of pizza — a white pizza with gourmet toppings like parmesan cheese may pair better with a thinner crust, aiming for a dough weight on the lighter side.
Remember, dough hydration (the baker's percentage of water to flour) affects the crust's character. For a thin crust pizza, lower hydration yields a crisper outcome. A higher hydration, conversely, caters to a lighter, airier crust.
In summary, the final product — whether it's a classic, thin crust pizza or a rectangular pizza loaded with toppings — requires an understanding of the interplay between ingredient ratios, fermentation time, and baking technique. By paying attention to these pivotal factors, one can confidently create delicious, easy-to-make pizza dough that serves as the perfect canvas for any variety of toppings.

