
How to Make Your Own Sourdough Starter from Scratch
A Step-by-Step Guide

Creating a sourdough starter from scratch is a simple process that taps into the natural fermentation of flour and water. Thanks to the wild yeasts in the environment, bakers can cultivate their own live cultures and bake bread (how long does bread last?) without the need for commercial yeast. A sourdough starter is a live culture used in baking to leaven and flavor bread. It requires regular feeding of flour and water, which allows it to grow and develop complex flavors that are characteristic of sourdough bread.
The process begins with combining equal parts flour and water in a container, which is then left at room temperature. This mixture will attract wild yeasts and bacteria, which will start the fermentation process. The key to a successful sourdough starter is patience and consistent feeding. Over time, with daily additions of flour and water, the mixture will become bubbly and aromatic, indicating that it is active and ready to be used for baking.
As the starter matures, it develops the strength needed to rise dough effectively. This natural leaven gives sourdough its distinct taste and texture, distinguishing it from breads made with commercial yeast. A well-maintained starter can last for years, providing a foundation for countless loaves of hearty, flavorful sourdough bread.
Essential Ingredients
Creating a vibrant sourdough starter primarily depends on two fundamental ingredients: flour and water. Their quality and characteristics are pivotal for the success of fermentation.
Choosing the Right Flour
The choice of flour can greatly influence the taste and behavior of the sourdough starter. A common recommendation is to start with whole-grain flour, such as whole-wheat or rye flour, as they contain more nutrients and microbes than refined flours. However, all-purpose flour is also often used and can yield a successful starter.
Whole-Grain Flour: Contains more nutrients, beneficial for the initial cultivation of yeast and bacteria.
Rye Flour: Particularly rich in enzymes and fermentable sugars, it is excellent for a robust starter.
All-Purpose Flour: Easily accessible and can be used to maintain the starter after the initial stages.
Water Quality and Its Effects
Water should be devoid of any impurities that can hinder the fermentation process. The presence of chlorine, commonly found in tap water, can potentially inhibit yeast and bacterial growth.
Filtered Water: A good choice to ensure that chlorine and other chemicals are removed.
Bottled Water: An alternative to filtered, if necessary, but ensure it is not artificially softened or mineral-enhanced.
Tap Water: If it's all that's available, letting it sit out overnight before use can help dissipate some of the chlorine.
Using unbleached all-purpose flour and chlorine-free water can help maintain the integrity of the sourdough starter and enhance its ability to rise effectively.
Creating Your Starter
When making a homemade sourdough starter, precision and patience are crucial. One begins by mixing flour and water and then fostering a conducive environment for wild yeast and bacteria to facilitate fermentation. Temperature control is vital in this process for the starter to become an effective leavening agent.
Mixing Flour and Water
To initiate a sourdough starter, one should mix flour with lukewarm water. This recipe generally follows a ratio of 1:1—equal parts flour and water by weight. Typically, one would combine about 113 grams of flour with 113 grams of lukewarm water. The flour can be all-purpose or a mix with whole grain for a more vigorous initial fermentation.
Understanding the Role of Wild Yeast
Wild yeast is ubiquitous in the air and on the surfaces of grains. Once flour is mixed with water, these microorganisms begin the fermentation process. They feed on the carbohydrates in the flour and produce carbon dioxide and alcohol. This fermentation process is what makes the sourdough starter rise and gives sourdough bread its characteristic texture and flavor.
The Importance of Temperature Control
For successful fermentation, maintaining room temperature around 65 to 80 degrees Fahrenheit is essential. At this range, wild yeast and bacteria are most active, leading to a strong and bubbling starter. If the temperature is too low, activity slows down, extending the time required for a mature starter. If it's too high, undesirable bacteria might out-compete the yeast, affecting the starter's health.
Feeding and Maintaining Your Starter
Feeding your sourdough starter is crucial for its health and strength, and proper maintenance will ensure it remains active. Discarding some starter before each feeding helps to manage the quantity and improve the vigor of the fermentation process.
How to Feed Your Sourdough Starter
To feed a sourdough starter, the baker should add fresh flour and water to the existing starter. The recommended feeding ratio is typically 1:1:1, which means equal parts by weight of the starter, flour, and water. For example:
40 g sourdough starter
40 g flour
40 g water
Mix the ingredients until smooth. The starter should rest at room temperature to allow the yeasts and beneficial bacteria to feed and multiply.
Discarding Excess Starter
Before feeding, the baker should discard a portion of the starter. This prevents the starter from becoming overly acidic and maintains a manageable size. The discarded starter is not wasted; it can be used in various discard recipes, such as pancakes, waffles, or crackers.
Signs of a Healthy Sourdough Starter
A healthy starter will show signs of activity and readiness for baking. Look for:
Bubbles and a noticeable increase in volume, indicating active fermentation.
A pleasant, slightly sour smell, a sign of a balanced environment of yeasts and bacteria.
It should double in size a few hours after feeding, demonstrating its strength and fermentation activity.
For long-term maintenance, a starter can be kept in the refrigerator, which slows down the feeding schedule to once a week. Room temperature starters require more frequent feedings, typically once daily, to maintain vigor.
Starter Storage and Long-Term Care
Proper storage and maintenance are crucial for keeping a sourdough starter healthy and active. A sourdough starter can be stored in the refrigerator for reduced maintenance or revived from a dormant state when needed.
Storing Starter in the Refrigerator
To ensure the longevity of a sourdough starter when not in regular use, storage in the refrigerator is recommended. This slows down fermentation, allowing for less frequent feedings. A starter can be kept in the refrigerator indefinitely, with weekly feedings to maintain its health. The process is straightforward:
Feed the starter until it is bubbly.
Transfer it to a clean container with a secure lid.
Place the container in the refrigerator.
During refrigeration, the starter requires only a weekly feeding, which involves discarding some of the starter and replenishing it with fresh flour and water.
Reviving a Dormant Starter
A sourdough starter that has been stored in the refrigerator for an extended period may become dormant. To revive such a starter:
Remove the starter from the refrigerator.
Discard all but a small amount of the starter (roughly 20g).
Feed the starter with fresh flour and water.
Allow the starter to sit at room temperature, typically between 68-70°F, until active fermentation resumes.
Repeat the feeding process as necessary, usually every 12 hours, until the mixture is once again bubbly and increasing in volume. This indicates that the yeast and bacteria are active, and the starter is ready for baking or returning to the refrigerator for storage.
Utilizing Sourdough Discard
When maintaining a sourdough starter, bakers often end up with excess, known as discard, which is a ripe sourdough starter removed before feeding. Rather than throwing it away, this discard can be repurposed in a variety of recipes, reducing waste and adding a delightful tang to baked goods.
Creative Uses for Discard
Sourdough discard is versatile, able to contribute flavor and texture to both savory and sweet creations. One can incorporate discard into pizza dough or focaccia for a subtle sourdough tang, enhancing these classic Italian breads. For those looking for a twist on traditional recipes, utilizing discard in cakes and cookies not only imparts a unique flavor but also contributes to a tender crumb.
Savory Options:
Tortillas
Crackers with herbs like thyme
Focaccia enhanced with olive oil and rosemary
Pizza dough for a deeper flavor
Sweet Alternatives:
Cakes with a moist texture
Cookies for an extra chewy experience
Starter Discard Recipes
When adapting recipes to include sourdough discard, one should adjust the amounts of flour and water accordingly to maintain the recipe's balance. For instance, if adding 120 grams of discard, reduce the flour and liquid in the original recipe by 60 grams each.
Example Adjustment Table for Discard:
Discard Added Flour Reduced Water Reduced 120g 60g 60g
Some specific discard recipes that have proven popular among sourdough enthusiasts include:
Sourdough Pancakes: A breakfast favorite transformed by the complexity of sourdough.
Banana Bars: The acidic component of discard pairs well with the sweetness of bananas.
By integrating discard into various recipes, bakers can make full use of their sourdough starter, embodying both resourcefulness and culinary creativity.
Baking with Your Sourdough Starter
A mature sourdough starter can transform simple ingredients into artisanal bread and a variety of other baked goods. The unique flavors and textures of sourdough items stem from the natural leavening process that a starter enables.
Making Sourdough Bread
Ingredients:
Active sourdough starter
Flour (all-purpose or a blend with rye, depending on the recipe)
Water
Salt
Instructions:
Mix the dough by combining a portion of the active starter with flour and water. The exact proportions will vary based on the recipe, but a typical ratio might be 1 part starter to 2 parts water and 3 parts flour.
Knead the dough until it reaches the desired consistency. This develops the gluten and incorporates air into the dough.
Bulk Ferment the dough, allowing it to rise. This step can take several hours and is crucial for flavor development and texture.
Shape the loaves and place them in baskets or on a baking sheet to undergo the final proofing.
Score the bread with a lame or sharp knife to control expansion in the oven.
Bake at a high temperature, often starting in a preheated oven with steam to achieve a crispy crust.
Bread made this way is crusty on the outside, chewy on the inside, and imbued with a distinctive sour tang. Experimenting with flours, hydration levels, and fermentation times allows bakers to create their version of the perfect loaf of naturally leavened sourdough bread.
Branching into Other Sourdough Baked Goods
The versatility of a sourdough starter goes beyond bread, as it can be the base for an array of other baked goods:
Rye Sourdough Bread: Incorporating rye flour into the dough imparts a deep, rich flavor.
Pizza Crust: A starter can be used to prepare a tangy, chewy pizza crust, elevating homemade pizza to resemble pizzeria quality.
Pastries and other treats: Sourdough starter can be added to recipes for goods such as pancakes, waffles, muffins, and crackers, offering a unique taste and texture.
Each recipe will provide its own guidelines on how to incorporate starter into the mixture. The baker's expertise comes into play through trial and adaptation, finding the right balance for each distinctive sourdough creation. Whether it’s a hearty loaf of homemade bread or a batch of crispy pizza crust, sourdough starter is the basis for a bakery's worth of delights straight from the home oven.
Tools and Equipment

To create and maintain a healthy sourdough starter, specific tools are key. They ensure accuracy for consistent results and ease the sourdough baking process.
Essential Tools for Starter Maintenance
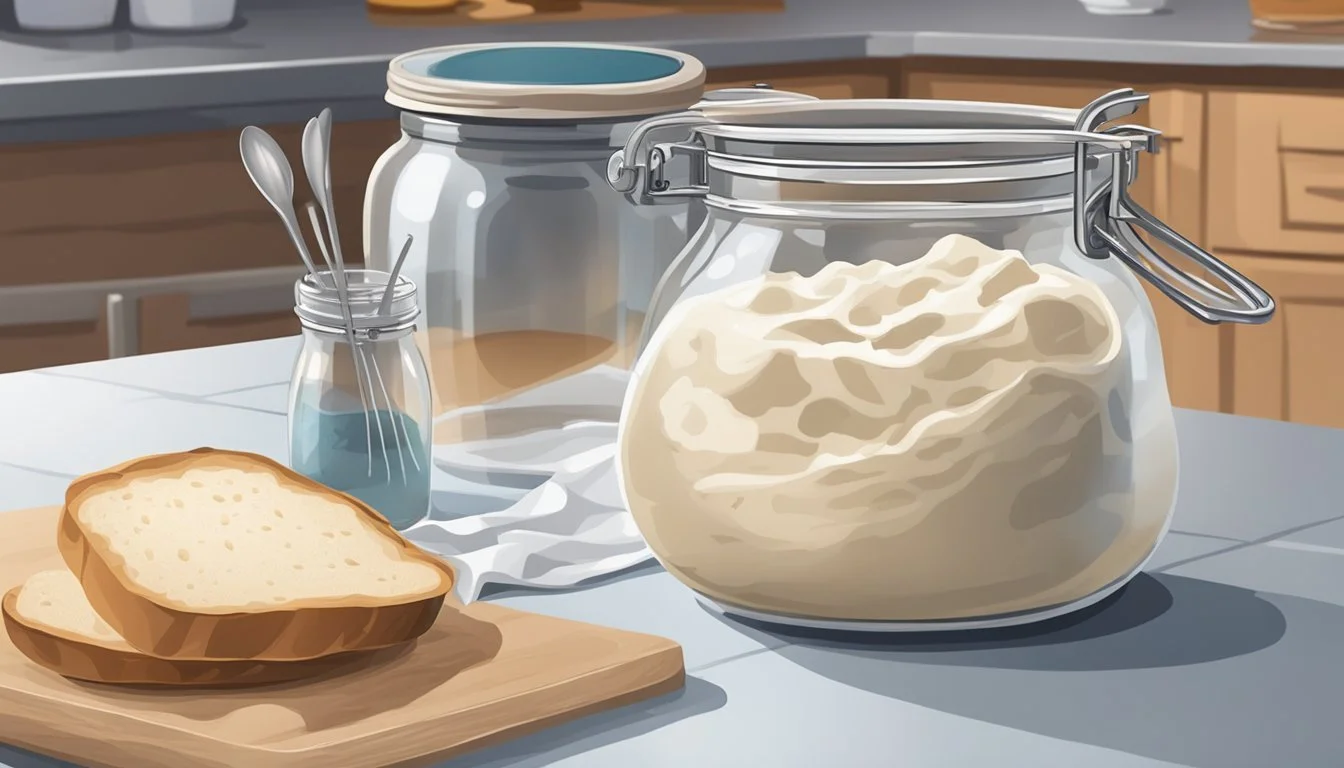
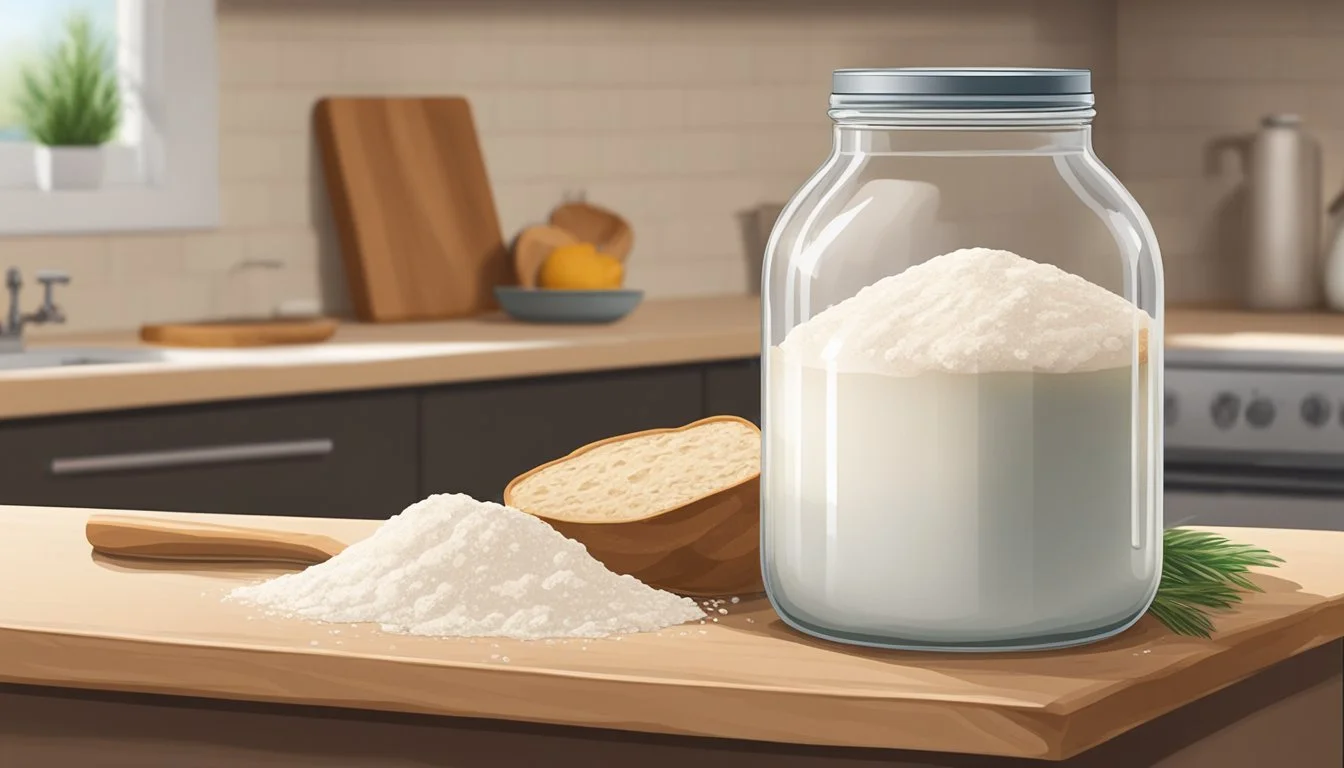
Container: A clear glass jar is recommended for maintaining the sourdough starter. The transparency allows for easy monitoring of the starter's growth and bubbles.
Scale: A kitchen scale is essential for measuring ingredients with precision. Consistency is crucial for maintaining the starter's health.
Tool Description Glass jar To hold and allow visual inspection of the sourdough starter. Kitchen scale For accurately measuring ingredients. Thermometer To check the temperature of water used in feeding the starter.
Thermometer: A thermometer can be very useful to ensure water is at the optimal temperature for the sourdough starter.
Mixing Tools: A silicone spatula or a rubber spatula, as well as a wooden spoon, are great for mixing the starter without reacting with it.
Baking Equipment for Sourdough
Bread Flour: High-quality bread flour is essential for feeding the starter and for the sourdough bread itself.
Baking Tools: Accompanying tools like a dough scraper, baking stone, or Dutch oven will enhance one's sourdough baking experience.
Equipment Description Bread flour A high-gluten flour preferable for feeding the starter and baking. Dough scraper To handle and cut the dough with precision. Baking stone/Dutch oven To create the right baking environment for the sourdough bread.
Having these tools and equipment on hand will facilitate every stage of sourdough starter maintenance and bread baking, contributing to overall success and satisfaction in the process.
Health Benefits and Nutritional Information
Sourdough bread offers a range of health benefits due to its unique fermentation process. The nutritional profile of sourdough is different compared to standard breads, and understanding these details helps in making informed dietary choices.
Health Advantages of Sourdough
Sourdough fermentation begins when wild yeast and bacteria naturally present in flour combine with water. The fermentation process helps to break down phytic acid, making the nutrients in sourdough bread more available for absorption. Phytic acid, found in grains, can bind minerals like iron and zinc, inhibiting their absorption. Sourdough's fermentation reduces phytic acid levels, thereby increasing these minerals' bioavailability.
Fermented foods like sourdough are often easier to digest. The natural yeasts and bacteria significantly decrease gluten content during fermentation, potentially making sourdough bread more tolerable for people with gluten sensitivity. However, it is not gluten-free and is not suitable for individuals with celiac disease.
Nutritional Aspects of Sourdough Bread
Sourdough bread often includes unbleached flour, which retains more natural nutrients compared to its bleached counterpart. The nutritional content also varies depending on the type of flour used—whole grain flours generally offer more fiber, vitamins, and minerals. Here is a brief breakdown of the nutritional components typically found in one slice of sourdough bread made with unbleached whole wheat flour:
Calories: Approximately 120-160, depending mostly on the size and density of the slice
Carbohydrates: About 20-25g, providing energy for daily activities
Fiber: Around 2-4g, supporting digestive health
Proteins: Roughly 4-6g, essential for body repair and growth
Fats: Generally low at about 0.5-2g, depending on added ingredients
The fermentation process can increase the content of certain beneficial compounds such as antioxidants and the amount can vary from loaf to loaf. Each serving contributes to the overall health benefits associated with sourdough consumption.
Troubleshooting Common Starter Issues
Creating a healthy sourdough starter hinges on managing variables such as ambient temperature, hydration, and warding off unwanted bacteria. However, it's not uncommon to face issues like mold development or a lack of rise. These problems have straightforward remedies, and understanding how to address them can save a sourdough starter from being discarded unnecessarily.
Dealing with Mold and Unpleasant Smells
Mold on a sourdough starter is a clear indication that it has been contaminated and should be discarded, especially if it presents with colors like orange or pink. For a starter emitting an off smell, stirring it more frequently can incorporate oxygen that encourages healthy yeast and wild yeasts activity and helps dissipate the odor. Regular feeding schedules and keeping the starter in a clean container are essential practices to prevent mold and unwanted smells.
When Your Sourdough Starter Won't Rise
A sourdough starter that doesn't rise as expected may be due to insufficient fermentation activity, often a consequence of low temperature or improper hydration levels. Here are specific steps one can take to encourage a starter to rise:
Temperature: Keep the starter in a warm spot, ideally between 75°F and 80°F (24°C and 27°C), to enhance yeast activity.
Hydration: Adjust the hydration ratio to achieve a balance between a thick, manageable consistency and sufficient moisture to allow yeast activity. Typical hydration ratios lie between 100-125%.
Feeding Routine: Feed the starter regularly with equal parts flour and water to maintain its health and vigor.
Float Test: Perform the float test by dropping a spoonful of the starter into a bowl of water; if it floats, it's typically ready for baking.
Empowering sourdough enthusiasts to understand these troubleshooting techniques can lead to a more confident and successful sourdough baking experience.
