
How to Make Homemade Yogurt in Your Kitchen
Easy Step-by-Step Guide
Making homemade yogurt is an age-old culinary practice that has persisted due to its simplicity and the delectable results it yields. The process harnesses the power of beneficial bacteria to transform milk into a creamy, tangy yogurt, teeming with probiotics. With a few kitchen staples and a little patience, anyone can make yogurt at home. It requires no specialized equipment; a saucepan, thermometer, and a jar or container for incubating the yogurt are sufficient. The method is straightforward, yet it allows for a variety of textures and flavors, depending on personal preferences.
In the modern kitchen, making yogurt at home has become a way to control ingredient quality, avoid additives, and reduce waste. The core requirements are milk and a small amount of pre-existing cultured yogurt to act as a starter. The process involves heating the milk to just the right temperature, cooling it slightly, then inoculating it with live cultures from the starter yogurt. This mixture is then kept at a stable, warm temperature for several hours, which allows the bacteria to proliferate and ferment the milk sugars into lactic acid, leading to the characteristic thickening and tang of yogurt.
The beauty of homemade yogurt lies in its versatility. It can be made with various types of milk, including whole, low-fat, and non-dairy alternatives, although the final thickness and texture will vary. Some prefer to use a yogurt maker or multifunctional kitchen appliance to maintain the fermentation temperature, while others use simple methods like wrapping the container in a towel and placing it in a warm spot. The key to success is maintaining a consistent temperature throughout the incubation period and patience as the transformation takes place.
Understanding the Ingredients
When making homemade yogurt, one must carefully select the ingredients to ensure a successful fermentation process and desirable consistency. The two essential components required are milk and a starter culture.
Milk: The type of milk used significantly impacts the yogurt's texture and taste. Options range from whole milk to skim milk, with whole milk yielding a creamier and richer yogurt. It is essential that the milk is pasteurized to eliminate potentially harmful bacteria. Ultra-pasteurized milk, while having a longer shelf-life, can sometimes lead to a thinner yogurt due to its high heat treatment methods.
Whole Milk – Creamier yogurt with a rich flavor
Skim Milk – Leaner yogurt with a lighter texture
Starter Culture: The starter culture contains live bacteria essential in the fermentation process. This can be sourced from commercially-produced yogurt starters or from a tablespoon of store-bought, live-cultured plain yogurt. The bacterial cultures in the starter are responsible for thickening the milk and giving yogurt its characteristic tangy taste.
Yogurt Starter – Packets of freeze-dried bacteria
Plain Yogurt – Must contain live and active cultures
For homemade yogurt, it's typically best to avoid additives and flavors, sticking to plain milk and a simple starter culture. The choice between starter packets and plain yogurt is a matter of personal preference, but either should result in a successful batch of homemade yogurt if the instructions are followed correctly.
Essential Equipment

To make homemade yogurt, one needs specific equipment to ensure the process is efficient and the results are consistent. Below is a list of essential tools:
Thermometer: A must-have to accurately measure the temperature of the milk during heating and cooling.
Saucepan: Used for heating milk. It should be large enough to hold the desired amount of milk without spilling over.
Whisk: Effective for mixing the starter culture with the milk and ensuring even heat distribution.
Glass Jars: These containers are perfect for incubating the yogurt as they don't react with the acid in the yogurt.
In addition to these basics, other equipment can also be used to simplify the process or accommodate different methods:
Yogurt Maker: It provides a controlled environment for incubation, maintaining a stable temperature throughout the fermentation period.
Oven with a pilot light (if applicable): An alternative incubating environment, the oven can be set at the lowest temperature or just the light used to maintain the necessary warmth.
Cooler: Can be employed to keep the jars of milk at the right temperature, acting as an improvised incubator.
Dehydrator: If set at the right temperature, a dehydrator can also serve as a reliable incubation environment.
Instant Pot: A versatile kitchen tool, certain models have a yogurt setting that manages both the heating and incubation steps.
Slow Cooker: With careful monitoring, a slow cooker can heat the milk before transferring it to jars for incubation.
Mason Jar: These are alternatives to glass jars for incubating yogurt, just as effective when sterilized and used properly.
Choosing the right equipment comes down to the individual's preference, kitchen setup, and what they may already have available. The key is maintaining clean equipment and the correct temperature throughout the yogurt-making process.
Preparation Steps
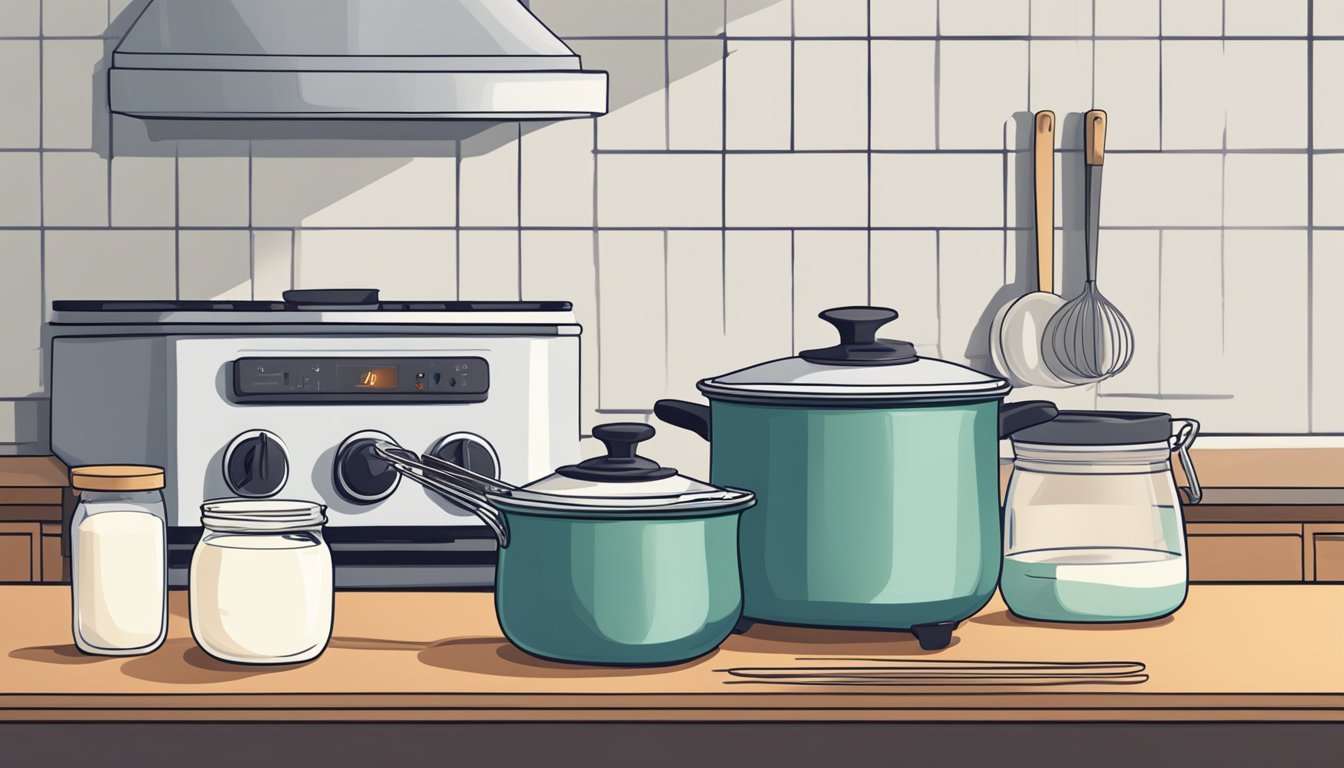
The process of making homemade yogurt requires precise temperature control and patience. One begins by scalding the milk to eliminate any potentially harmful bacteria and to change the protein structure for better yogurt consistency. Here is a detailed breakdown of the steps:
Heat the Milk: Pour your milk into a clean pot. Slowly heat it over medium heat, stirring regularly to prevent burning. The objective is to reach a temperature of 180°F, which is essential for pasteurization.
Cool the Milk: After the milk reaches the optimal temperature, one must cool it down to 110°F – a temperature warm enough for bacterial cultures to thrive but not so hot as to kill them. To speed up the cooling process, you can place the pot in an ice water bath, stirring the milk gently.
Add the Cultures: With the milk at the correct temperature, it's time to add the starter culture. For every quart of milk, typically, one tablespoon of plain cultured yogurt suffices. Ensure that the yogurt used has live active cultures for the best results. Mix it well to ensure even distribution.
Incubate: Transfer the inoculated milk to a jar or container that can retain warmth. Wrap it in a towel or blanket and place it in a warm spot to maintain the temperature. This will create an ideal environment for the bacteria to ferment the milk into yogurt. The incubation typically lasts for about 4 to 10 hours, depending on the desired tartness and thickness.
Refrigeration: Once the yogurt has set to the preferred consistency, it needs to be refrigerated. This stops the fermentation process and thickens the yogurt as it cools.
Prep time for homemade yogurt, excluding incubation and refrigeration, is roughly 30 minutes. Following these steps will ensure a delightful batch of homemade yogurt.
Culturing Process
Making homemade yogurt involves a delicate balance of heat and time to encourage the growth of live cultures. The process can be broken down into specific steps that manage temperature and bacterium growth to achieve the desired texture and sour flavor typical of cultured yogurt.
Heating the Milk
One begins the yogurt-making process by heating the milk in a saucepan to scald it, typically to a temperature of around 180°F (82°C) or until it begins to boil. This step is crucial as it denatures the proteins, allowing for a firmer yogurt texture.
Cooling and Adding Starter
After scalding the milk, it should be cooled to approximately 110°F (43°C). An ice water bath can accelerate cooling in a cooler container. Once the milk reaches the optimal temperature, a yogurt starter or live culture-rich plain yogurt is mixed in to introduce the bacteria necessary for culturing.
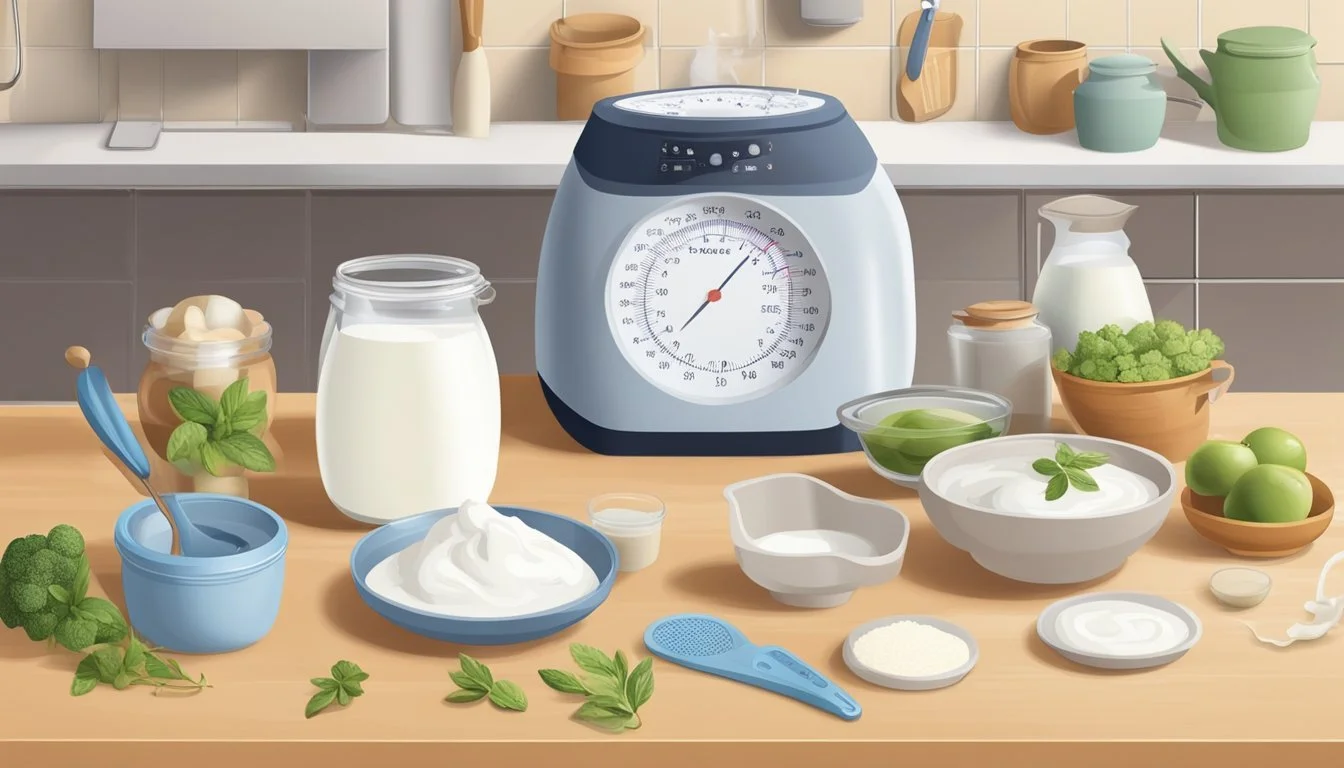
Incubation
The milk and culture mixture is then kept at a steady temperature to allow the bacteria to grow, thickening the milk into yogurt. This incubation period typically requires maintaining the mixture at about 108°F to 112°F (42°C to 44°C). Various methods, such as using an oven, a yogurt maker, wrapping the container in a blanket, or placing it in a consistently warm spot like a heating pad or a cooler, can ensure a consistent temperature during this phase.
Checking for Doneness
To determine if the yogurt has reached the desired consistency and flavor, one should check it after 6 to 12 hours of incubation. The finished yogurt should appear thickened and taste sour, indicating that the live cultures have properly fermented the milk. If the yogurt is too thin or not sour enough, one may need more time or a warmer incubation environment.
Finishing the Yogurt
After your homemade yogurt has cultured and is firm, there are a few final steps to perfect the consistency and flavor before enjoying your creation. These steps will help you refine the texture and customize the taste to your preference.
Refrigeration
Once the yogurt has set to the desired firmness, it's essential to stop the culturing process by cooling it down. Transfer the container to the refrigerator, ensuring the lid is secure to prevent any external odors from affecting the taste. Chill the yogurt for at least two hours to set the texture and flavor. The cold temperature halts the activity of the yogurt cultures, solidifying the consistency.
Removing Whey
For a thicker, Greek-style yogurt, strain out the whey. Place a strainer lined with cheesecloth or a clean dish towel over a bowl, and pour in the yogurt. Allow it to strain for 1 to 2 hours or until it reaches your desired thickness. The liquid whey collected can be used for other recipes or discarded.
Flavoring Your Yogurt
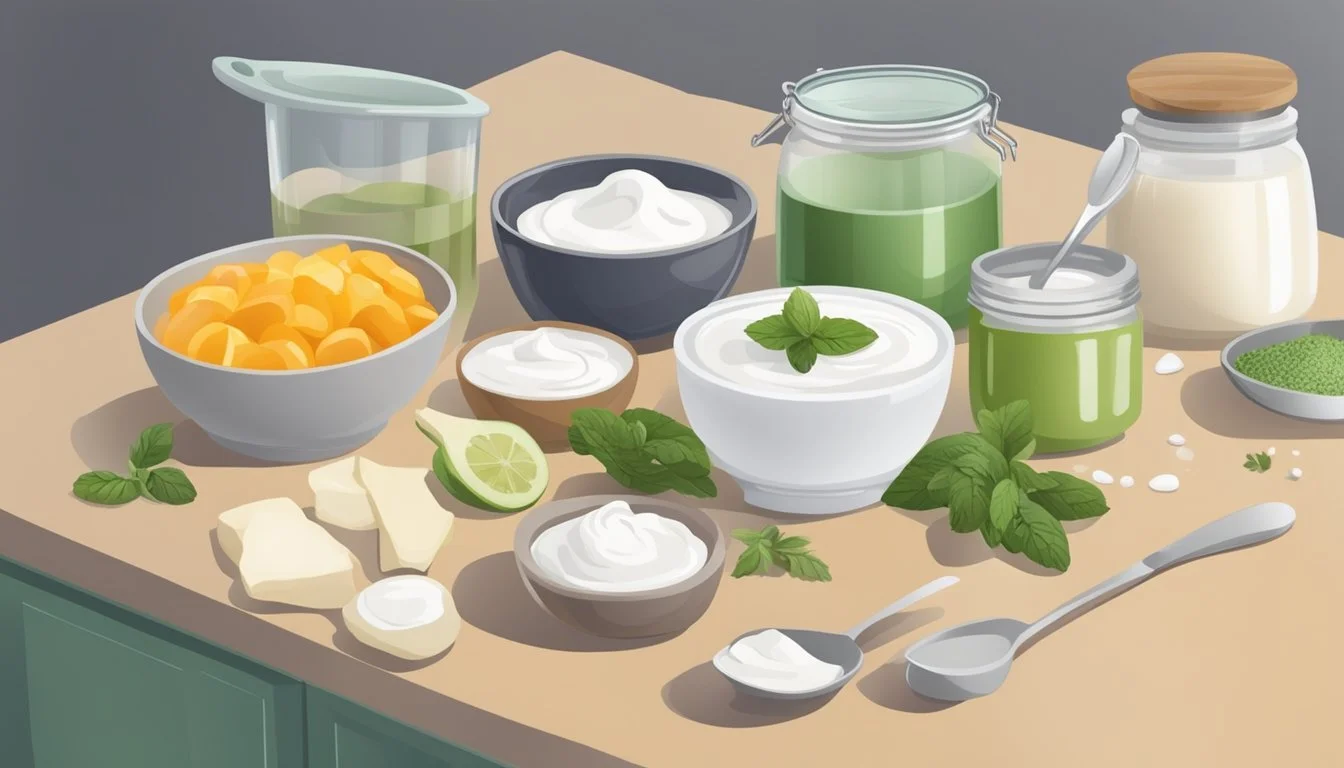
Unflavored yogurt can be a canvas for a variety of additions. To flavor your yogurt, consider folding in:
Fruit: Fresh or frozen berries, diced mango, or peach slices.
Sweeteners: Honey, maple syrup, or a dash of vanilla extract.
Crunchy Toppings: Homemade granola or a sprinkle of nuts.
Add these ingredients to individual servings to preserve the plain yogurt's versatility.
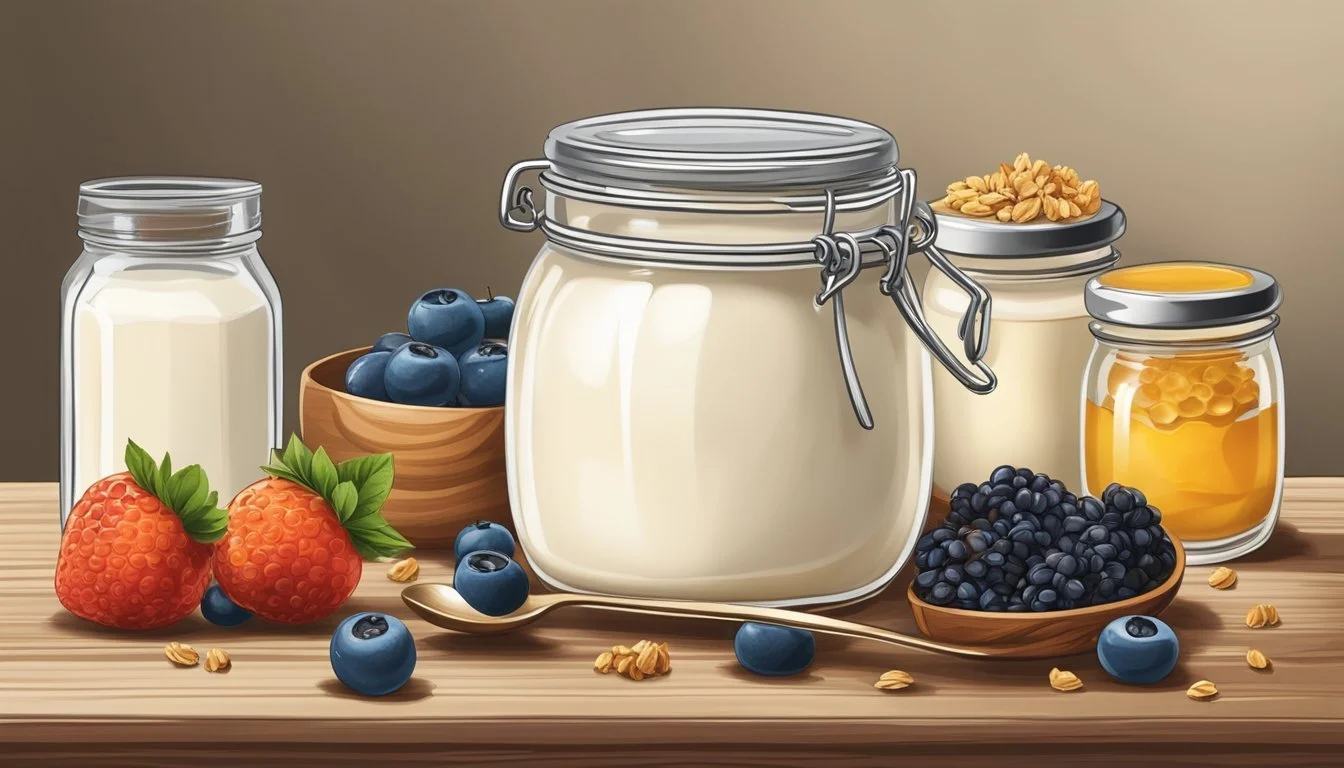
Storage Tips
Proper storage is key to maintaining the homemade yogurt's quality. Store the yogurt in an airtight container like a mason jar with a tight-fitting lid. Place it in the refrigerator and consume within 2 weeks for the best taste and food safety. If using store-bought yogurt as a starter, ensure the next batch is made within this timeframe to maintain the active cultures' potency.
Different Varieties of Yogurt
When embarking on yogurt-making at home, enthusiasts will discover a wide array of yogurt types to suit diverse tastes and dietary preferences. Each variety differs in texture, flavor, and nutritional content, influenced by the milk used and the production process.
Greek Yogurt: This yogurt is known for its thick, creamy texture and high protein content. Greek yogurt is made by straining the whey from regular yogurt, resulting in a denser product that is lower in carbohydrates.
Flavored Yogurt: For those seeking a sweet or fruity twist, flavored yogurt incorporates syrups or real fruit pieces. A popular choice in the market, this variety comes in an assortment of flavors but often contains added sugars.
Frozen Yogurt: Frozen yogurt offers an ice cream-like texture and is typically sought after as a dessert. It is made by freezing regular yogurt and usually contains sweeteners.
Unflavored Yogurt: Also termed plain yogurt, unflavored yogurt is versatile in usage and has no added sugars or flavorings. It is favored for its pure taste and for use in both sweet and savory recipes.
The choice of milk—whether whole milk or skim milk—also determines the final product's richness and calorie content. Whole milk yields a creamier and richer taste, while skim milk produces a yogurt lower in fat and calories.
Milk Type Yogurt Type Texture Common Uses Whole Milk Greek, Unflavored Creamy, Dense Dips, Dressings Skim Milk Flavored, Frozen Lighter, Thinner Desserts, Snacking
By understanding the nuances of different yogurt varieties, individuals can personalize their yogurt-making experience to create delights that cater specifically to their dietary needs and flavor preferences.
Common Pitfalls and Troubleshooting
When making homemade yogurt, achieving the right consistency and flavor relies heavily on temperature and timing. These factors affect the growth of beneficial bacteria that are crucial in the yogurt-making process.
Temperature Too High or Too Low: The milk should be heated to around 185°F initially and then cooled to approximately 104-112°F before adding the yogurt cultures. Temperatures above this can kill the bacteria, while temperatures below may not activate them sufficiently.
Incubation Time: Yogurt typically needs to incubate for 8-12 hours. If the yogurt isn't sour enough, consider extending the incubation time. Conversely, if it's too sour, reduce the incubation time during your next attempt.
Milk Quality: Using fresh, whole milk can yield a thicker yogurt as it contains more fat. However, one can use lower-fat milks with adjustments—adding gelatin or using a straining method can improve the final product's thickness.
Adjusting Consistency
If your yogurt is too runny:
Strain the yogurt for 30-60 minutes.
Add gelatin or rennet to help solidify the yogurt. For gelatin, use 1/2 a teaspoon per quart of milk. For rennet, dilute 1 drop in 4 tablespoons of water per gallon of milk.
Preventing Contamination
Ensure all utensils are clean to prevent unwanted mold or bacteria from spoiling your batch.
Remember that troubleshooting homemade yogurt is a learning process. Adjust one variable at a time for the best results.
Benefits of Making Yogurt at Home
Making homemade yogurt allows for a healthier product, sensible savings, and the ability to tailor flavors and textures to individual preferences.
Health and Nutritional Value
Homemade yogurt is a rich source of beneficial probiotics such as Lactobacillus bulgaricus and Streptococcus thermophilus, which are essential for gut health. Adding L. acidophilus can further enhance its probiotic profile. This homemade version typically contains more live cultures due to the lack of commercial processing, which means it contributes more significantly to maintaining a healthy digestive system.
Cost-Effectiveness
The process of making yogurt at home can lead to considerable savings. By starting with a basic set of ingredients—milk and a yogurt culture—individuals can create yogurt at a fraction of the cost of store-bought brands. Homemade yogurt not only is budget-friendly, but also helps individuals to save money in the long run as it reduces the need for purchasing single-serving packages.
Customizable Flavors and Textures
The process of making yogurt at home allows for numerous customization options. One can adjust the incubation time to alter the yogurt's texture—longer for a thicker consistency, shorter for a creamier texture. Furthermore, flavoring options are limitless; one can mix in fruit, granola, maple syrup, peanut butter, or honey to suit their taste preferences, making each batch of homemade yogurt uniquely delicious.
Creative Uses for Homemade Yogurt
Homemade yogurt serves as a versatile foundation for a variety of culinary creations. From breakfast to savory sauces, its application is extensive and can enhance the flavor profile of many dishes.
Breakfast
For a nourishing start to the day, one can stir homemade yogurt into granola or layer it with fruits and nuts to craft a delightful parfait. It provides a creamy texture and adds a tangy twist to smoothies, amplifying the breakfast experience.
Sauces and Dips
Yogurt's creamy consistency makes it ideal for healthier sauces and dips. Mixing it with herbs and spices can transform it into a refreshing tzatziki or a rich, tangy base for salad dressings. It serves as a lower-fat alternative to mayonnaise and sour cream, perfect for accompanying vegetables or drizzling over baked potatoes.
Snacks and Sides
Yogurt can be incorporated into dips to accompany chips or crackers, offering a more substantial and protein-rich snack option.
Desserts
For a lighter dessert, homemade yogurt can be frozen to make frozen yogurt, blended with fruits, or sweetened with honey. Add ins like chocolate chips, berries, or nuts provide texture and flavor variety.
Use Case Suggestion Breakfast Yogurt with granola and fruits Sauces and Dips Yogurt-based tzatziki Snacks and Sides Yogurt dips for veggies or chips Desserts Homemade frozen yogurt
Incorporating homemade yogurt into daily meals can not only expand the culinary repertoire but also contribute positively to one’s diet by adding beneficial probiotics and reducing the intake of processed ingredients.
Recipes and Serving Suggestions
Making yogurt from scratch typically requires only two ingredients: milk and a yogurt culture. They will follow these general steps:
Heat the Milk: Heat the milk in a heavy pot to 180-200°F, watching carefully to prevent scorching. This process denatures the proteins to help thicken the yogurt.
Cool the Milk: Allow the milk to cool to 110-115°F before adding the culture. This can be accelerated with an ice water bath.
Add the Culture: Stir in either commercial yogurt with live cultures or a yogurt starter packet into the cooled milk.
Incubate: Transfer the mixture to jars or a container and wrap it in a towel or place it in an oven (turned off) with the light on, or use a yogurt maker. Let it incubate for 5-8 hours or overnight. The longer it incubates, the thicker and tangier it will become.
Chill: Refrigerate the yogurt to stop the fermentation process and firm up its texture.
When serving homemade yogurt, they can enjoy its fresh, creamy taste on its own, or consider these suggestions to enhance its flavor and nutritional value:
Fruit: Add fresh or cooked fruit for sweetness and texture.
Honey or Maple Syrup: A drizzle of natural sweeteners can complement the tanginess.
Granola: For a satisfying crunch and added fiber, sprinkle granola on top.
Nuts and Seeds: Incorporate almonds, chia seeds, or flaxseeds for a boost of healthy fats and protein.
They may also use homemade yogurt in various recipes like smoothies, dressings, or as a substitute for sour cream and mayonnaise in dips and sauces. Homemade yogurt can be a versatile ingredient in both sweet and savory dishes, providing a rich texture and a tangy flavor profile.
