
How to Make Homemade Coconut Yogurt
Coconut yogurt has become a popular alternative to traditional dairy-based yogurt, thanks to its unique flavor and numerous health benefits. Making homemade coconut yogurt is not only simple, but it also allows you to control the ingredients and enjoy a fresh, delicious treat. This article will guide you through the process of creating your own batch of coconut yogurt in the comfort of your home.
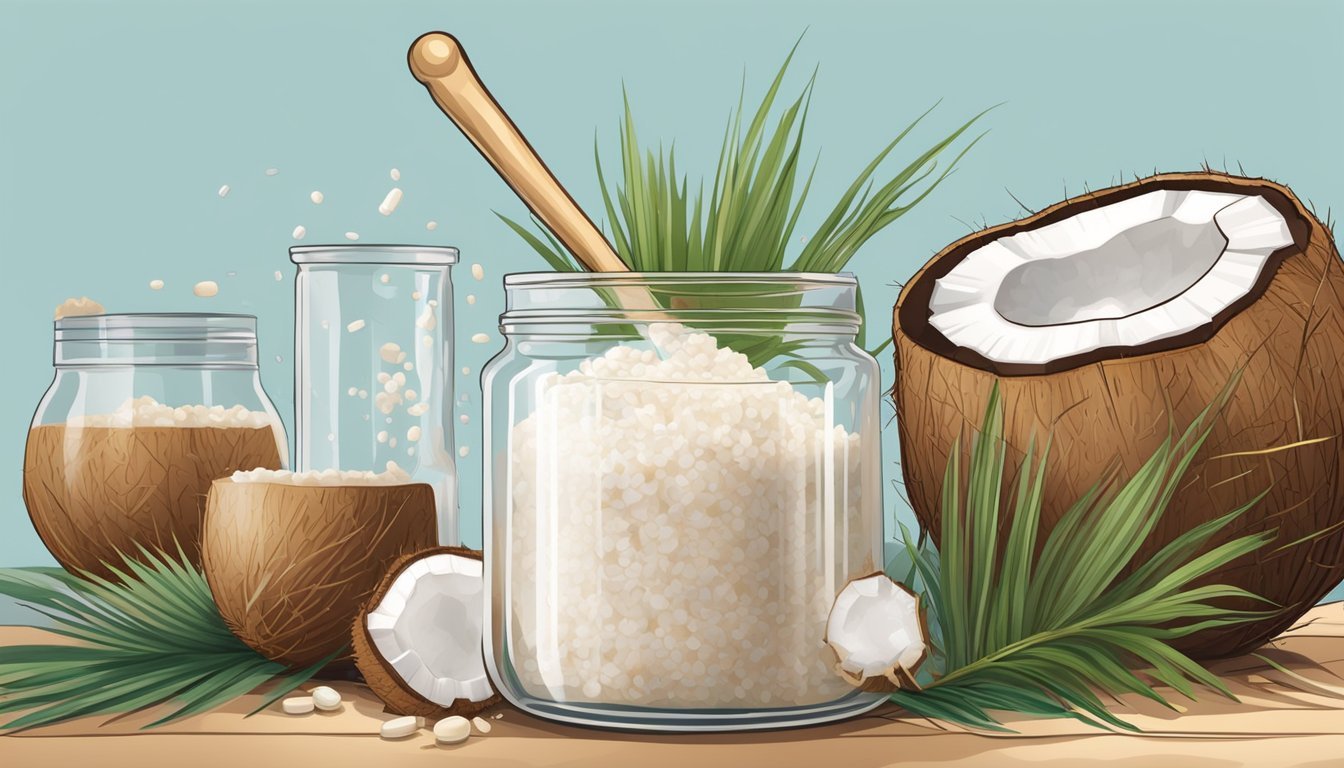
To begin, it is essential to gather all the necessary ingredients and equipment. This will ensure smooth progress and a successful outcome. The primary ingredients include coconut milk, a yogurt starter culture, and a sweetener of your choice. In terms of equipment, you will need a saucepan, a yogurt maker or a similar container to incubate the mixture, and a kitchen thermometer.
Preparing homemade coconut yogurt involves a few crucial steps, such as heating the coconut milk, adding the starter culture, and incubating the mixture for the fermentation process. By following these steps carefully, you will achieve a delicious and nutritious final product that you can customize to your taste preferences with additional flavors and toppings.
The Basics of Coconut Yogurt
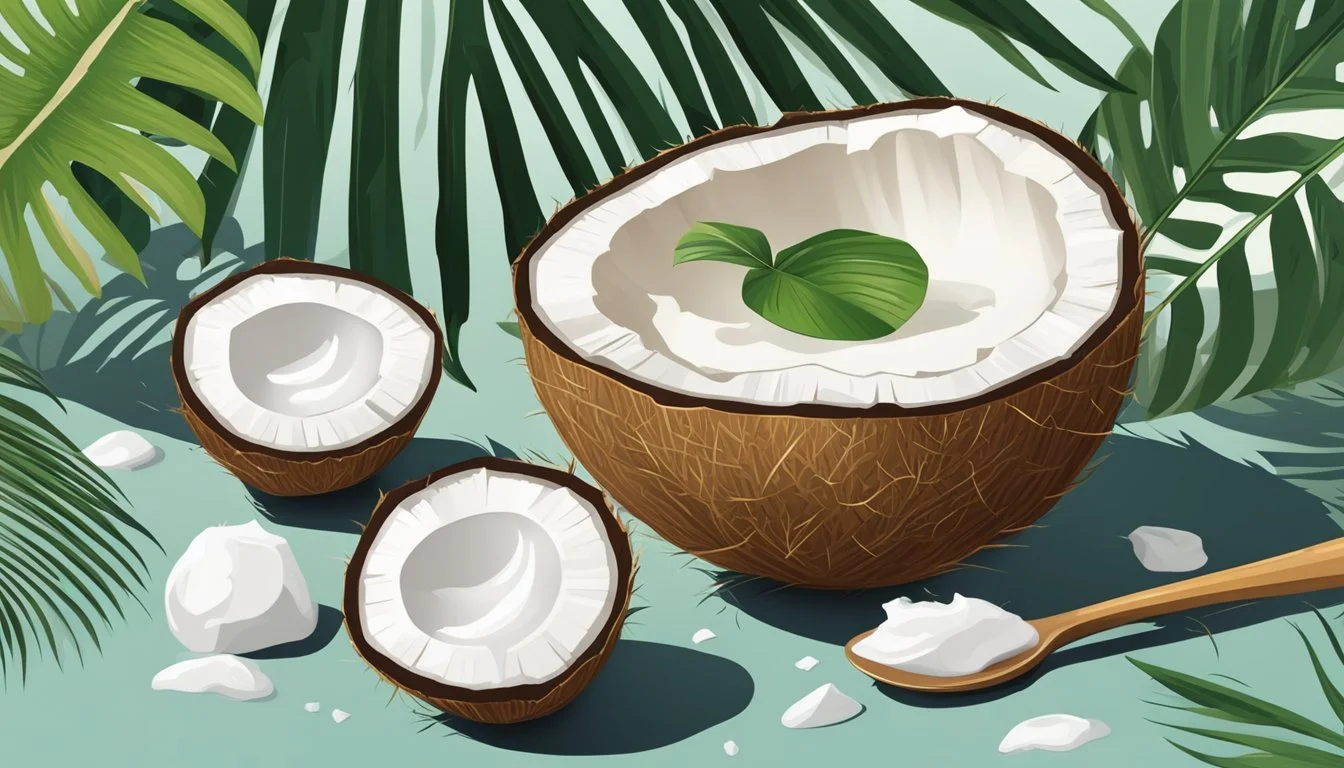
Coconut yogurt is a delicious and nutritious alternative to traditional dairy-based yogurt. It is perfect for those following a vegan, gluten-free, or dairy-free diet, as it is made from plant-based ingredients. Not only is coconut yogurt a tasty snack, but it also offers numerous health benefits.
First and foremost, coconut yogurt is a rich source of protein, making it an excellent choice for individuals looking to maintain a healthy and balanced diet. The plant-based nature of this yogurt ensures that it is free from lactose and casein, which can cause discomfort for those who are lactose intolerant or have a dairy allergy.
The process of making homemade coconut yogurt is relatively simple and requires only a few ingredients. The main component is coconut milk, which provides the creamy and smooth texture characteristic of yogurt. To create the coconut yogurt, a starter culture containing live and active bacterial cultures is added to the coconut milk. These helpful bacteria are responsible for the fermentation process that thickens the coconut milk and imparts the tangy taste found in yogurt.
For optimal results, it is important to select the highest quality organic coconut milk ever available, preferably one without added thickeners or stabilizers. This will ensure a consistent and delicious final product. Additionally, using a reliable and suitable yogurt starter or probiotic will contribute to the success of the fermentation process. Typical vegan yogurt starters include Lactobacillus or Bifidobacterium strains.
During the fermentation process, the coconut milk will be left to sit undisturbed at room temperature for 24 to 48 hours, allowing the bacterial cultures to multiply and thrive. Once the desired consistency and taste are achieved, the coconut yogurt can be transferred to the refrigerator to stop the fermentation process and to keep it fresh for consumption.
In summary, homemade coconut yogurt is a flavorful and healthy alternative to traditional dairy-based yogurts. The simple ingredients and straightforward process make it an ideal option for those following a vegan, gluten-free, or dairy-free lifestyle. With its rich protein content and beneficial bacterial cultures, coconut yogurt is not just a tasty treat, but a valuable addition to a well-balanced diet.
Ingredients
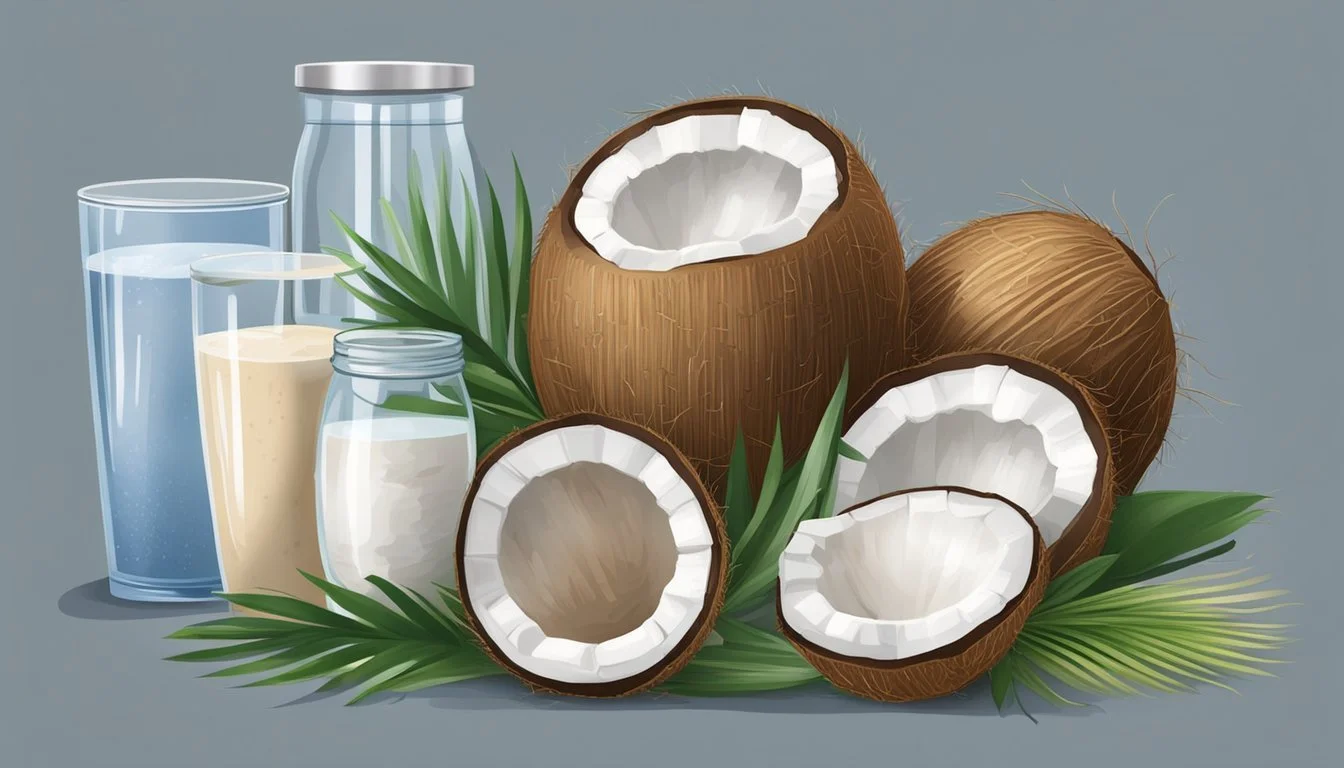
To make homemade coconut yogurt, you will need a few key ingredients that are both flavorful and beneficial to your health. The primary ingredient in this easy coconut yogurt recipe is full-fat coconut milk, which provides a creamy and rich base for your yogurt. You can easily find this in any grocery store's canned goods section.
As this is a probiotic recipe, it's crucial to incorporate quality probiotics into the mix. You can use probiotic capsules or probiotic powder for this purpose. Ideally, choose one with multiple strains of bacteria and at least 10 billion CFU (colony-forming units) per serving for the best results.
For those interested in adding a thickening agent to their coconut yogurt, agar agar is a suitable plant-based option. Although not required, it provides a thicker, more traditional yogurt-like consistency.
To add a touch of sweetness and flavor to your homemade coconut yogurt, consider using maple syrup and vanilla extract. These natural ingredients will enhance the taste without overpowering the overall flavor profile.
In summary, the essential ingredients you'll need for homemade coconut yogurt are:
Full-fat coconut milk
Quality probiotic (capsules or powder)
Optional: Agar agar (for thickening)
Optional: Maple syrup (for sweetness)
Optional: Vanilla extract (for flavor)
Tools Required
Making homemade coconut yogurt is a simple and rewarding process. To ensure success, it's essential to have the appropriate tools on hand. The tools required for making homemade coconut yogurt are as follows:
Oven: An oven is useful for maintaining a consistent temperature when fermenting the coconut milk and yogurt starter mix. Maintaining proper temperature encourages the growth of good bacteria in dairy yogurt and results in a thick and tasty yogurt.
Cheesecloth: This thin, loosely woven fabric is used for straining the yogurt once it has fermented. A cheesecloth helps separate the liquid from the coconut yogurt for a thicker, creamier consistency.
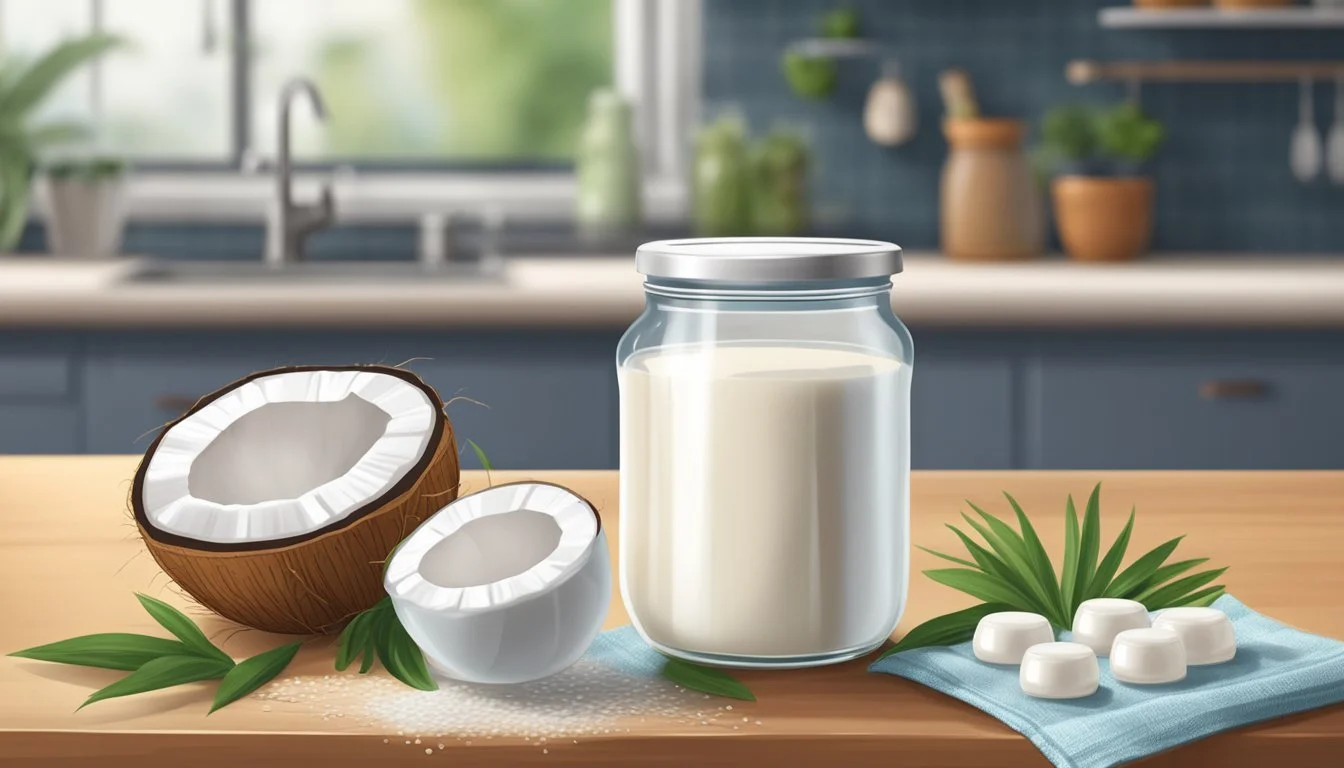
Clean Jar: A clean, sterilized glass jar is necessary to store the finished coconut yogurt. It's important to use a jar with a tight-fitting lid to keep the yogurt fresh and free from contaminants.
Thermometer: A thermometer is helpful in achieving the right temperature for fermentation. Aim for a temperature range of 110°F to 115°F (43°C to 46°C) when fermenting the mixture.
Yogurt Maker: While not necessary, a yogurt maker can provide a controlled environment for the fermentation process, ensuring consistent results every time. Some yogurt makers even have a built-in timer and temperature controls.
Instant Pot: An Instant Pot is another option for fermenting homemade coconut milk yogurt or yogurt. Use the "yogurt" setting to maintain the proper temperature during the fermentation process.
BPA-free Utensils: Using BPA-free utensils made from food-safe materials is crucial, as BPA can leach into the yogurt and lead to health concerns. This includes using a BPA-free spatula when mixing the ingredients and a BPA-free strainer when separating the liquid from the yogurt.
Having these tools on hand will ensure a smooth and hassle-free experience when making homemade coconut yogurt. With the right tools and ingredients, you're well on your way to enjoying delicious and nutritious coconut yogurt made from the comfort of your own home.
Preparation Process
Making homemade coconut yogurt can be an easy and satisfying project while providing a healthier alternative to store-bought yogurt. Here is the process broken down into a few simple steps.
First, prepare the ingredients. You will need:
1 can of full-fat coconut milk
2-4 tablespoons of sweetener (such as maple syrup)
1/4 cup of warm water (around 110°F)
1 tablespoon of a starter culture or yogurt starter
The temperature of the water is essential in ensuring the proper growth of the starter culture. Make sure it doesn't exceed 110°F, as it can kill the beneficial bacteria.
Now it's time to mix the ingredients. Start by combining the coconut milk and sweetener in a saucepan. Heat the mixture over medium heat until it reaches a smooth consistency. Make sure to stir frequently to avoid scorching.
While the coconut water and milk mixture is heating, dissolve the starter culture in the warm water. Allow it to rest for a few minutes until it starts to thicken slightly.
Once the coconut milk mixture is smooth, check the temperature by using a kitchen thermometer. When it reaches around 110°F, remove it from heat and let it cool down if necessary to achieve the ideal temperature.
Slowly add the dissolved starter culture to the coconut milk mixture, stirring gently to incorporate them evenly. Make sure not to over-mix, as that may hinder the fermentation process.
Next, transfer the mixture to a clean jar or container. Seal the container and place it in a warm location to incubate, ideally maintaining a temperature between 105°F and 110°F. An oven with its light on or a yogurt maker can work well for maintaining the right temperature.
Allow the mixture to incubate for 12 to 24 hours, depending on your desired consistency. The longer it incubates, the thicker and tangier your yogurt will be.
Once the incubation is complete, remove the coconut yogurt from the warm environment and stir it gently. Finally, refrigerate for at least 6 hours to allow the yogurt to firm up before enjoying your homemade coconut yogurt.
Fermentation Fundamentals
Fermentation is a crucial process in the creation of homemade coconut yogurt. It involves the breakdown of complex organic compounds into simpler ones by microorganisms such as bacteria, yeast, or molds. In the context of making coconut yogurt, fermentation primarily involves the growth of beneficial bacteria that transform the sugars in the coconut milk into lactic acid, giving the yogurt its characteristic tangy flavor.
There are many microorganisms that can play a role in the fermentation process, and for homemade yogurt, it is essential to select the appropriate bacterial strains. Some of the most common bacteria used for yogurt fermentation include Lactobacillus acidophilus, Bifidobacterium bifidum, Bifidobacterium lactis, and Streptococcus thermophilus. These bacteria are essential in the creation of a healthy, fermented product, offering additional probiotic benefits as well.
During the fermentation process, the bacteria consume the sugars present in the coconut milk and produce lactic acid as a byproduct. This lactic acid lowers the pH of the yogurt, creating a slightly acidic environment that not only imparts the tangy flavor, but also acts as a natural preservative by inhibiting the growth of harmful bacteria.
A key aspect of successful fermentation is maintaining the appropriate temperature and time for bacterial growth. Most yogurt bacteria thrive at temperatures between 110-115°F (43-46°C) which can be easily achieved using a yogurt maker or a carefully monitored warm environment.
Fermented foods, such as coconut yogurt, have gained popularity in recent years due to their potential health benefits. These include improved gut health, better digestion, and a strengthened immune system, thanks to the probiotic bacteria present. The tanginess of coconut yogurt becomes tangier as fermentation progresses, an indication of the increased lactic acid content and bacterial activity.
In conclusion, understanding the fundamentals of fermentation, including the appropriate bacterial strains, temperature and time requirements, and the role of lactic acid, is essential for creating delicious and nutritious homemade coconut yogurt. By mastering these fundamentals, you can confidently produce a tangy, healthy, and satisfying fermented treat.
Adding Texture and Flavor
To enhance the taste and consistency of homemade coconut yogurt, there are a variety of ingredients you can experiment with. For a creamier texture, you can add guar gum (how long does guar gum last?) or grass-fed gelatin to your yogurt. Both of these thickening agents not only improve the mouthfeel of thicker yogurt, but also make the consistency of your yogurt more similar to store-bought varieties.
A healthy and delicious way to add texture to your coconut yogurt is by incorporating chia seeds. These tiny seeds expand and create a gel-like consistency when soaked in liquid, providing a great contrast to the smooth yogurt. Sprinkling a tablespoon or two of chia seeds into your yogurt and letting it sit for about 15 minutes will give you the desired texture.
Fresh fruit, such as strawberries, blueberries, or banana slices, can also be added for a burst of natural sweetness and a hint of tartness. If you're longing for a more intense fruit flavor, try swirling in some strawberry jam or a few drops of lemon juice. This will not only bring out the taste of the fruit but will also add some visual appeal to your yogurt.
For a satisfying crunch, top your coconut yogurt with a handful of nuts or a sprinkle of granola. Nuts like almonds, walnuts, or pecans add healthy fats and protein, while granola provides a wholesome mix of grains, nuts, and sometimes dried fruit. Choose a granola that aligns with your dietary preferences and be mindful of added sugars.
By experimenting with these various ingredients, you can customize your homemade coconut yogurt to suit your taste and texture preferences. The possibilities are endless, so don't be afraid to get creative and find the combinations that work best for you.
Storage and Shelf Life
Storing homemade coconut yogurt properly is essential to maintain its freshness and quality. It is best to refrigerate the yogurt in an airtight container once it has been prepared. This will help slow down the fermentation process and prevent it from getting overly sour.
Typically, your homemade coconut yogurt will last for about 1 to 2 weeks in the refrigerator, although it's essential to pay attention to any changes in smell, taste, or texture. If the yogurt starts to look or smell off or have a sour taste, it's time to discard it.
For those who have prepared larger batches or want to store the yogurt for a longer period, you can consider freezing it. Use a freezer-safe container and allow some space for expansion, as the yogurt may expand when frozen. Frozen yogurt can be kept in the freezer for up to 2 months. To use it, simply defrost the yogurt in the refrigerator overnight and give it a good stir before enjoying.
This 2-ingredient coconut yogurt is suitable for different dietary preferences, like paleo, keto, and whole30. It's also a versatile choice for both breakfast and snacks. Serve it with fresh fruit, nuts, or add it to smoothies for an extra nutritional boost.
In summary, proper storage is key to maintaining the quality and taste of homemade coconut yogurt. Be sure to keep it refrigerated or frozen and consume it within the specified time frames to enjoy its full benefits.
Recipes and Uses
Homemade coconut yogurt is a versatile and delicious dairy-free alternative that everyone can enjoy. With its creamy texture and mildly sweet taste, it can be used in a variety of recipes including smoothies, side dishes, and even as a topping for desserts.
To make coconut yogurt at home, choose high-quality ingredients like full-fat coconut milk and a good probiotic. Full-fat coconut milk provides the necessary thickness to achieve the desired creamy consistency. For best results, use brands like Savoy coconut cream (how long does coconut cream last?) or Aroy-D coconut milk, as they have fewer additives and a robust coconut flavor.
There are many ways to use homemade coconut yogurt in both sweet and savory dishes. Some popular ideas include:
Smoothies: Coconut yogurt adds creaminess and a tropical twist to smoothies, while providing a healthy dose of probiotics. Simply combine coconut yogurt with your favorite fresh fruits, a splash of almond milk, and ice for a refreshing beverage.
Breakfast Bowls: Top a bowl of fresh fruit or granola with a dollop of coconut yogurt for a delicious and nutritious morning meal. You can also add nuts, seeds, and honey for extra flavor and texture.
Side Dishes: Mix coconut yogurt with your choice of herbs, spices, and vegetables to create a flavorful side dish. Examples include cucumber salad, beet and carrot slaw, or a spicy avocado mix.
Feel free to get creative with your homemade coconut yogurt, as its mild flavor and rich texture make it a perfect ingredient for both traditional and innovative recipes. Whether you prefer sweet or savory, there's no shortage of ways to incorporate this dairy-free delight into your daily meals.
Health Benefits and Nutritional Information
Homemade coconut yogurt offers a wealth of health benefits and important nutritional content. Being dairy-free, it is suitable for those with lactose intolerance or following a vegan diet. Coconut yogurt contains active cultures, which are live bacteria that are beneficial for gut health. These friendly bacteria help in maintaining a healthy balance in the digestive system and can enhance overall wellness.
Nutritionally, coconut yogurt is packed with essential nutrients such as calcium, making it an excellent addition to a balanced diet. Calcium is vital for bone health and may help prevent osteoporosis. Moreover, consuming a yogurt made from whole foods, like coconuts, ensures that it is free from artificial additives and preservatives. In particular, Whole Foods 365 line offers high-quality ingredients perfect for making wholesome yogurt recipes.
When making homemade coconut yogurt, one can control the amount of sugar added to the mixture. This results in a healthier treat with fewer empty calories, contrary to many commercially available yogurt options that often contain large quantities of added sugar. Reducing added sugar consumption can contribute to weight management, stable blood sugar levels, and better overall health.
However, it is essential to keep in mind that coconut yogurt can be high in calories and fat, especially saturated fat when compared to traditional milk-based yogurts. But the majority of these fats are medium-chain triglycerides (MCTs), which can help boost metabolism, promote weight loss, and improve heart health.
In conclusion, homemade coconut yogurt offers numerous health benefits, thanks to its calcium content, active cultures, and lack of added sugar. By choosing to make it at home with natural ingredients like Whole Foods 365, one can create a delicious dairy-free yogurt that is both nutritious and satisfying.
Engaging With your Coconut Yogurt
Coconut yogurt is a delicious and nutritious alternative to dairy-based yogurt. It offers a vegan-friendly probiotic option for those looking to improve their gut health without the need for animal-derived ingredients. This homemade vegan coconut yogurt make recipe is not only simple to create, but it also allows you to avoid any unwanted additives or chemicals found in store-bought versions.
Sharing your homemade coconut yogurt creation has never been easier thanks to social media platforms such as Instagram and Pinterest. By posting photos and your recipe online, you can inspire others and showcase your culinary skills. In return, you may even discover new flavor combinations from fellow foodies to enhance your future batches.
When it comes to enjoying your homemade coconut yogurt, the possibilities are endless. This versatile food can be used as a base for smoothies, mixed with fresh fruit, or served alongside granola for a satisfying breakfast or snack. For savory options, try swirling it into soups or stews, or using it as a dairy-free alternative in salad dressings and dips.
By experimenting with different flavors and toppings, you can create a variety of unique and enjoyable coconut yogurt variations. Personalizing your coconut milk yogurt recipe is what truly makes it a memorable experience. So go ahead, indulge your creativity, and savor every spoonful of your delicious homemade coconut yogurt.
