
How to Make Homemade Baby Food
Simple Steps for Nutritious Meals
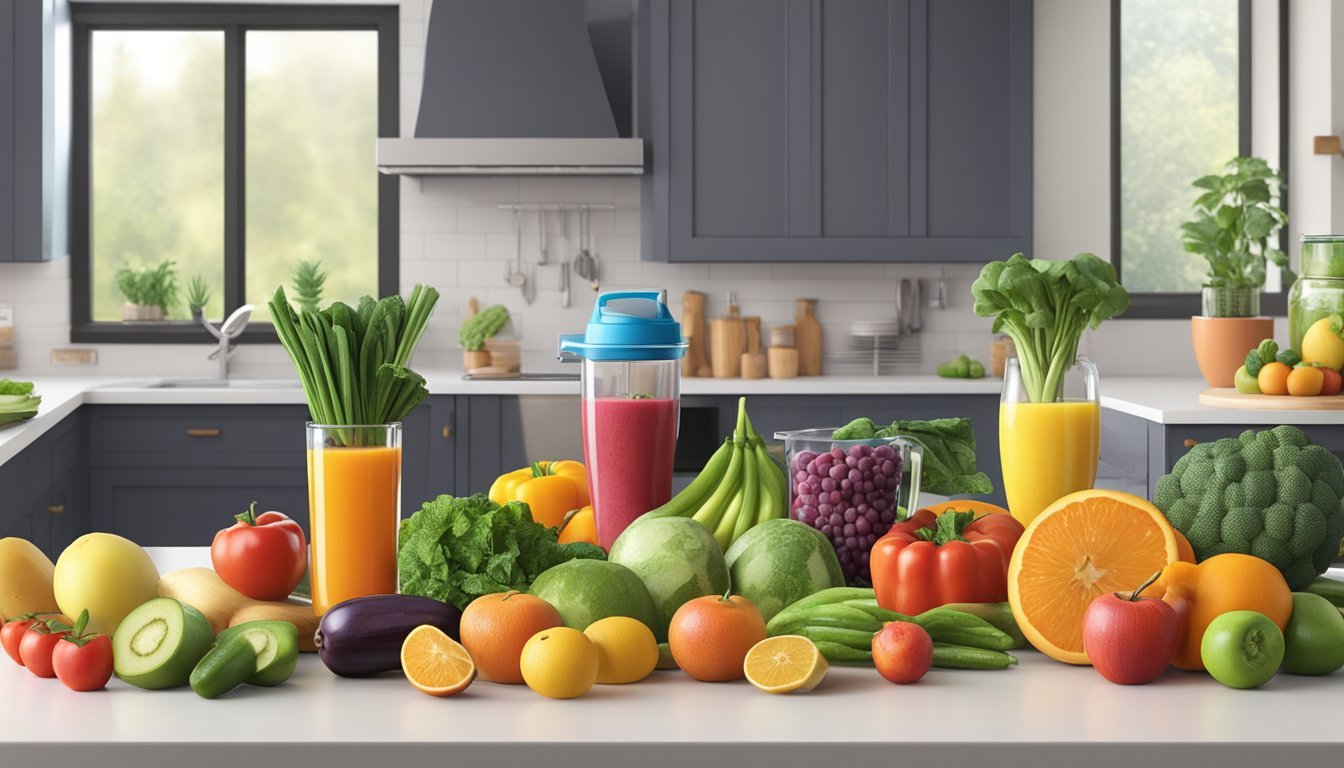
Making homemade baby food is a healthy and cost-effective option for parents. It allows them to know exactly what their baby is eating and to introduce fresh, nutritious ingredients at an early age. As babies grow, their dietary needs evolve; homemade preparations can cater to these changes while avoiding the preservatives and excessive sugars found in some store-bought options. Starting solids is a significant milestone, and homemade purees make it possible to gently ease into this new phase with a variety of textures and flavors designed to meet a baby's developing palate.
Parents can make baby food using simple kitchen tools like a blender or food processor. It involves steaming, baking, or boiling fruits and vegetables until tender, then pureeing or mashing them to the desired consistency. For convenience, these purees can be frozen in ice cube trays, providing portion-sized servings that are easy to thaw and serve. This method not only saves time but also ensures that there is always something healthy on hand for the baby.
Introducing homemade baby food also offers an opportunity to expose young ones to the tastes of family meals, laying the groundwork for healthy eating habits. It's important to introduce new foods one at a time and to avoid adding salt or sugar. Steering clear of potential allergens and choking hazards is crucial, as is knowing when a baby is ready to start solids, typically around six months of age. Homemade baby food is a practical choice that can support a baby's growth and give parents peace of mind about their child's nutrition.
Getting Started with Homemade Baby Food
When transitioning to solids, starting with homemade baby food can offer fresh, nutritious, and cost-effective meal options for babies. This section covers the foundational understanding, necessary kitchen tools, and timing to begin introducing solid foods.
Understanding the Basics
Introducing solids is a significant milestone in a baby's development. Homemade baby food ensures control over the ingredients, allowing for a variety of fresh fruits, vegetables, and eventually meats to be included in your child's diet. Solids should be introduced gradually, and a pediatrician should always be consulted before starting to ensure the baby is ready. Common signs include the ability to sit up with minimal support and showing interest in food.
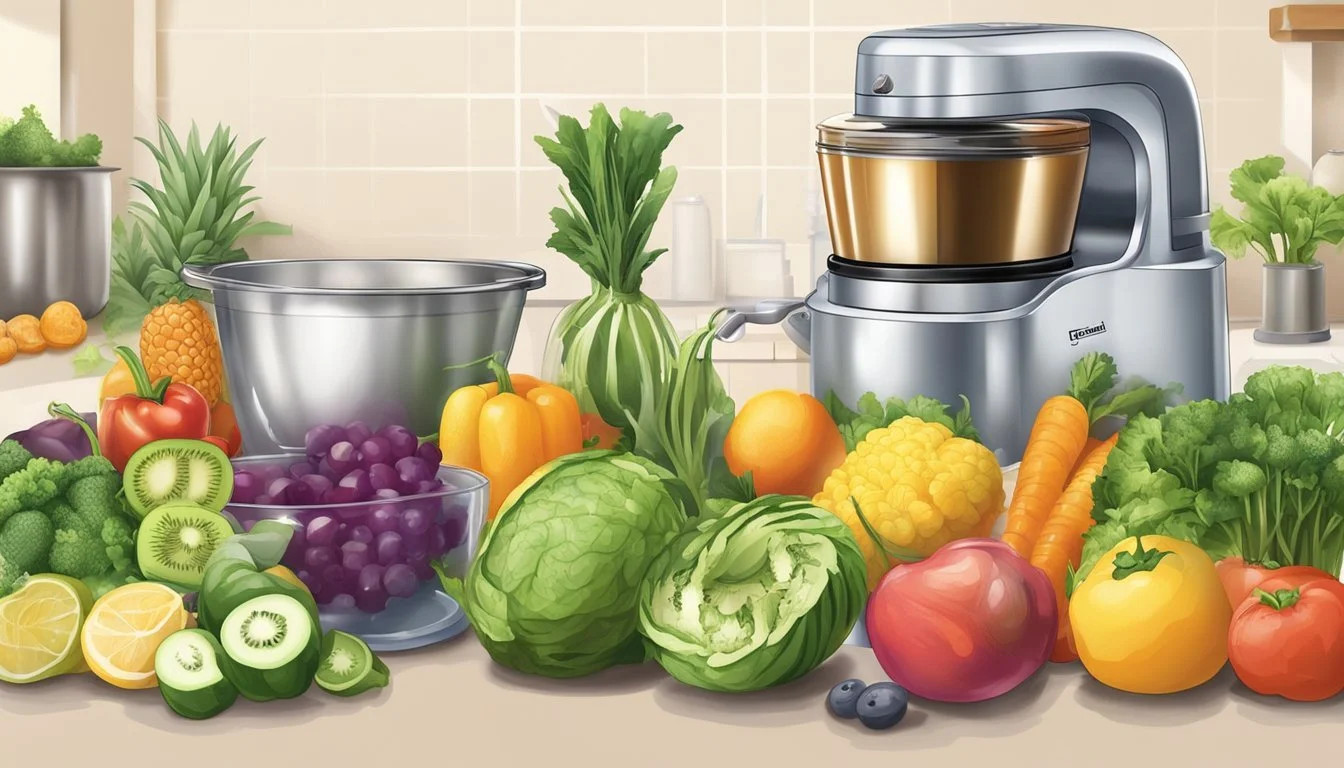
Essential Equipment
Having the right tools can simplify the process of making baby food. Key equipment includes:
Blender/Food Processor: For pureeing fruits and vegetables into a smooth consistency.
Steamer: To cook ingredients while retaining nutrients.
Strainer/Sieve: To remove any lumps and create a smooth texture.
Potato Masher: Useful for mashing up softer cooked foods.
Immersion Blender: Ideal for pureeing food directly in the pot.
Baby Food Maker: An all-in-one appliance that can steam and puree.
Food Mill/Grinder: For grinding down cooked foods to the right consistency.
Ice Cube Tray/Storage Containers: For portioning and storing purees.
Ensure that all equipment is clean and that the storage containers are airtight and freezer-safe for optimal food preservation.
When to Begin
Babies are typically ready to start solids around 4 to 6 months of age, but each child is different. They should be able to sit up with support and show interest in food. Parents should look for cues such as the loss of the tongue-thrust reflex, which makes them push food out of their mouth, and the ability to turn their head away when full. Begin with small quantities and gradually increase based on the baby's cues and appetite.
Nutritional Considerations
When preparing homemade baby food, it's essential to focus on nutrient-rich choices, maintain strict food safety protocols, and be vigilant about potential allergens to ensure the wellbeing of the infant.
Choosing the Right Ingredients
New parents should prioritize a variety of nutrient-dense ingredients when introducing solids. Foods rich in iron like meat, chicken, and beans, as well as zinc, like beef and squash, are excellent initial choices. Veggies such as sweet potatoes and carrots, and fruits like bananas (how long do bananas last?), applesauce, and avocados, provide essential vitamins and fiber. For optimal development, infants may also need grains such as barley or oat, and dairy products can be included for additional calcium and fats. Always consider incorporating fresh fruits and vegetables over processed options to ensure maximum nutritional value.
Food Safety and Hygiene
Safety in preparation is non-negotiable. Begin by thoroughly cleaning all produce to eliminate potential cross-contamination. Food should be cooked, stored, and reheated properly to prevent foodborne illnesses. Always use clean cutting boards and utensils, and keep raw meats separate from other foods. It's crucial to freeze or refrigerate homemade baby food in clean airtight containers, and water used for preparing formula or cleaning must be safe and free of contaminants.
Allergies and Food Sensitivities
Introduce new foods one at a time, typically spaced three to five days apart, to screen for allergies or sensitivities. Watch for signs of reactions, as common allergens include eggs, dairy, peanuts, tree nuts, fish, and berries. Precautions should be taken particularly with fish and eggs. Consultation with a pediatrician is advised to tailor food selections to the baby's specific needs and to receive guidance on managing allergens. Offering a diverse range of fruits and vegetables can help pinpoint any adverse responses while exposing the infant to a broad spectrum of tastes and nutrients.
Creating a Feeding Schedule
When incorporating homemade baby food into an infant's diet, a structured feeding schedule is crucial to ensure they receive the nutrition they need at appropriate times. Typically, around the age of 4 to 6 months, babies may be ready to begin solids, but their primary source of nutrition will still be breast milk or formula.
4-6 Months: Introduction Phase
Routine: Start with 1-2 tablespoons of pureed food twice a day.
Feeding: Soft fruits and vegetables like bananas and sweet potatoes are ideal.
6-8 Months: Establishing Consistency
Routine: Increase servings to 2-4 tablespoons, two to three times per day.
Feeding: Introduce a variety of textures, sticking with very smooth, lump-free purees.
9-12 Months: Advanced Textures
Routine: Offer thicker purees and soft, small pieces of food, aiming for three meals a day.
Feeding: Include finger foods to encourage self-feeding.
Table: Sample Daily Feeding Schedule
Time Food 7:00 AM Breast milk or formula 8:00 AM Breakfast puree 11:00 AM Breast milk or formula 12:00 PM Lunch puree 3:00 PM Breast milk or formula 5:00 PM Dinner puree 7:00 PM Breast milk or formula
It's important for caregivers to watch for the baby's hunger and fullness cues and be flexible with the schedule as needed. The consistency of purees can be adjusted by adding water, breast milk, or formula to achieve the desired texture. As babies grow, their dietary needs will change rapidly, necessitating adjustments to the feeding schedule. Pediatricians can provide personalized guidance suited to an individual baby's development.
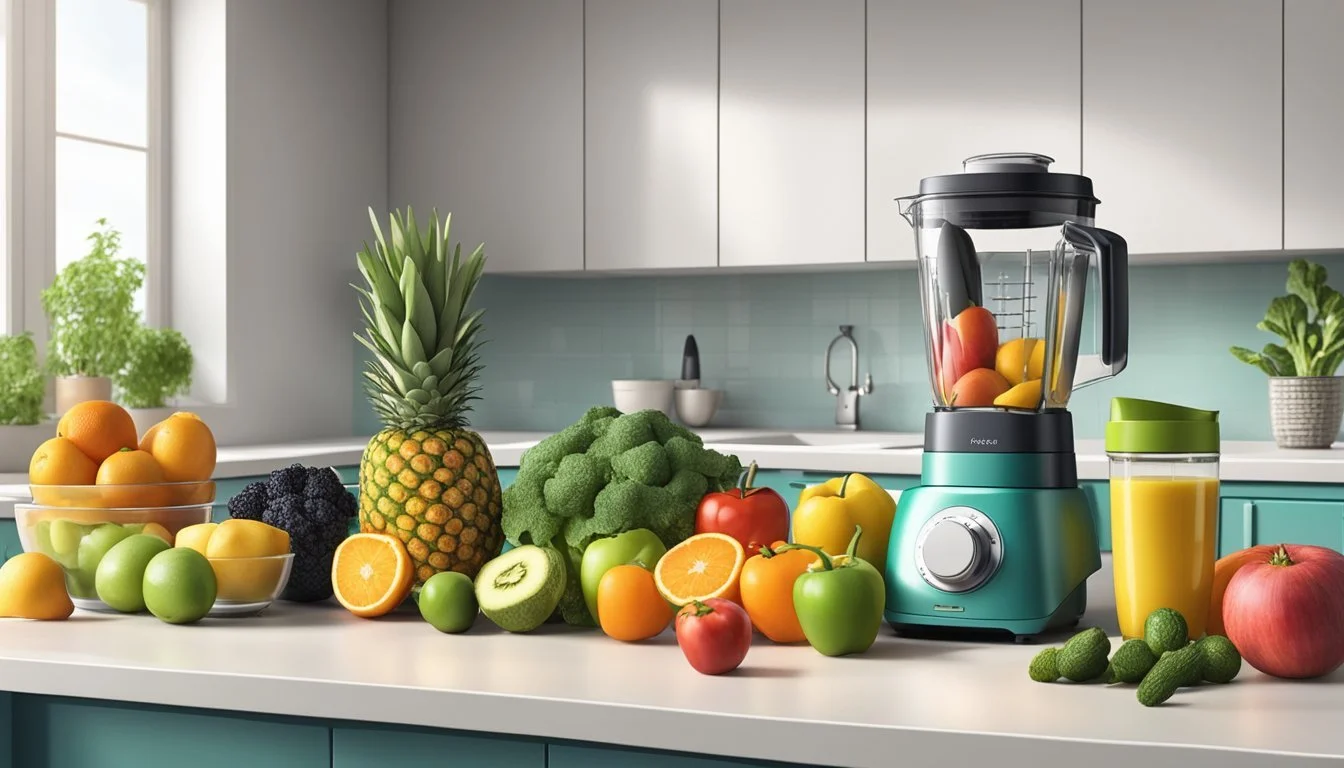
Preparation Techniques
Making homemade baby food involves several methods to ensure safe, nutritious, and appropriate consistency for the child's developmental stage. Proper cooking, pureeing, and tailoring food to each stage aid in a smooth transition to solid foods.
Cooking Methods
When preparing solid foods for babies, a parent can choose between various cooking methods. Steaming is highly recommended as it conserves most nutrients and makes the food easy to digest. Steaming can be done using a steaming basket over a pot of boiling water on the stove. Alternatively, one can use a standalone electric steamer. Boiling is another option, although it might result in a loss of some nutrients into the cooking water.
Batch cooking is an efficient process that allows caregivers to prepare large quantities of baby food at once. After cooking, the food can be puréed or mashed then stored for future use. It’s worth noting that some fruits and vegetables like bananas and avocados can be prepared with no-cook methods, as their natural consistency is already soft enough for a baby to eat when mashed.
Pureeing and Mashing
For most baby food recipes, transitioning to solid foods starts with pureed or mashed consistency. A food processor, blender, or hand-held immersion blender can be used to puree cooked fruits, vegetables, and meats until smooth. For a thicker consistency, less liquid should be added; for a thinner consistency, one can mix in a little water, breast milk, or formula. Parents can also use a fork or potato masher for mashing soft-cooked foods to a desired texture.
Making Food for Different Stages
As babies progress through different feeding stages, the texture and consistency of food must adapt:
Stage 1: Starts when babies are ready for solids, usually around 4 to 6 months. Food should be thin, single-ingredient purées.
Stage 2: Around 6 to 9 months, babies can handle thicker, multiple-ingredient purées with soft, lumpier textures.
Stage 3: Typically for babies 9 months and older, food can be more chunky and closer to the consistency of family meals as they improve on chewing skills.
In conclusion, homemade baby food should match the developmental stage of the child to ensure they are receiving the appropriate texture and nutrients necessary for their growth and development.
Flavor and Variety
Introducing a variety of flavors and textures to babies is crucial for their developing taste buds and acceptance of different foods as they grow.
Introducing New Flavors
When first introducing solids, babies often start with single-ingredient purees to check for potential allergies and to allow them to adjust to new tastes. Parents can gradually introduce new flavors by incorporating a small amount of herbs and spices like cinnamon—avoiding salt and sugar. For example, adding a pinch of cinnamon to sweet potato puree can gently acquaint a baby's palate with spice.
Combining Foods
Once a baby has safely tried individual foods, parents can begin combining them to enhance flavor and nutrition. This can be done by pairing vegetables with fruits—like mixing carrot puree with apple or pear puree, or blending meats with vegetables to offer a variety of textures and tastes. It's essential to keep combinations simple initially and progressively introduce more complex flavors, such as adding oat to fruit purees for a new texture and additional fiber.
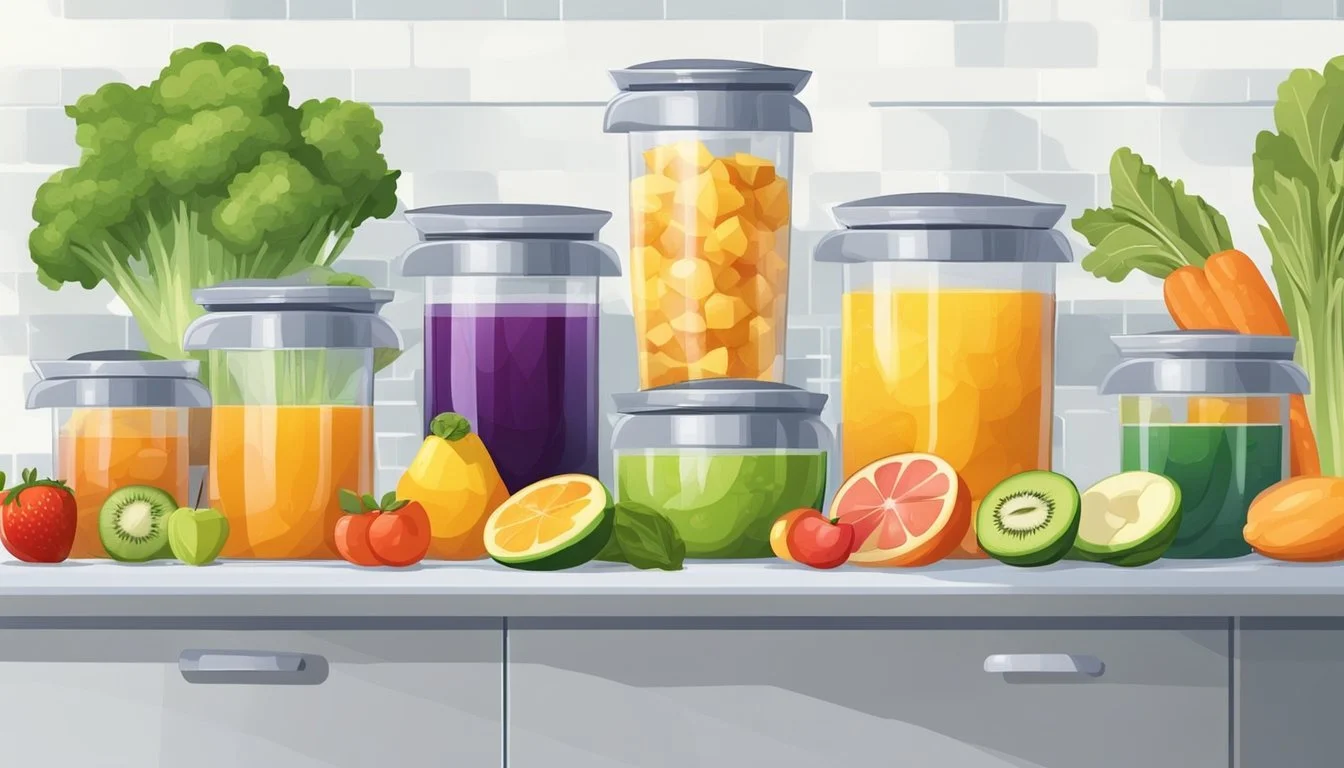
Storage and Preservation
Proper storage and preservation are critical in maintaining the safety and quality of homemade baby food. Parents and caregivers must ensure that baby food is stored safely to prevent spoilage and foodborne illnesses.
Short-term Storage
For short-term storage, baby food can be kept in the refrigerator for up to 48 hours. Store the puree in airtight containers to keep it fresh and prevent contamination. If using breastmilk to prepare the puree, follow the same guidelines that apply to storing plain breastmilk.
Long-term Storage
When storing homemade baby food for extended periods, freezing is the best option. To do so:
Pour the puree into an ice cube tray for portioned servings.
Cover the tray with cling film or a lid, and freeze until solid.
Once frozen, transfer the cubes into freezer bags labeled with the date of freezing.
Baby food can be stored in the freezer for up to 1-2 months, ensuring nutrients and taste remain intact.
Thawing and Reheating Food
To use frozen baby food:
Thaw the needed amount in the refrigerator overnight or use the microwave for quicker results. If using a microwave, transfer the food to a microwave-safe dish and defrost using the defrost setting or at 50% power to avoid cooking the edges.
Reheat thawed food until it is steaming hot, which usually means reaching an internal temperature of 165°F to kill any potential bacteria.
After reheating, stir the food thoroughly to eliminate hot spots and allow it to cool down to a safe temperature before feeding. Always test the temperature before serving to the baby.
Feeding Your Baby
Introducing your baby to new foods is an important milestone. This section will specifically address transitioning to solid foods, exploring baby-led weaning, and preparing homemade baby food recipes.
Transitioning to Solids
The transition to solid foods typically begins around 6 months of age, when babies show signs of readiness, such as the ability to sit upright and a developing interest in food. Parents should start with nutrient-rich purees, moving from single-ingredient purees to more complex blends over time. A soft-tipped spoon helps make the experience gentler on a baby's gums.
Baby-Led Weaning
Alternatively, some parents opt for baby-led weaning, allowing their child to self-feed with finger foods from the start of weaning. This approach encourages babies to explore taste, texture, color, and smell while also helping to develop their motor skills. Safe, baby-friendly finger foods may include soft fruits, cooked vegetables, or tender pieces of meat.
Homemade Baby Food Recipes
Preparing homemade baby food allows for control over ingredients and nutritional content. Simple homemade recipes include purees such as bean puree or blended fruits and vegetables. More complex dishes, like baby beef stew, (What wine goes well with beef stew?) can be introduced as the baby grows older and their eating skills develop. Parents should ensure all foods are soft enough to avoid choking hazards and avoid added salt or sugar.
Troubleshooting Common Issues
When making homemade baby food, parents may encounter several issues that can be addressed with simple solutions.
Problem: Picky Eaters
Solution: Introduce new flavors gradually and mix with familiar tastes. Offering a variety of foods and being patient are key.
Problem: Texture Concerns
Solution: Tailor the food's consistency to the baby's eating stage. For younger babies, a finer puree is suitable, while older babies can handle more texture.
Problem: Food Storage
Solution: Cool food rapidly after cooking and store it in the refrigerator for up to 72 hours. For longer storage, freeze portions using ice cube trays or small containers.
Problem: Nutritional Balance
Solution: Incorporate a variety of fruits, vegetables, grains, and proteins to ensure a balanced diet. Consult a pediatrician for personalized advice.
Problem: Contamination Risks
Solution: Practice impeccable hygiene. Wash hands, sterilize equipment, and thoroughly clean produce to avoid the spread of bacteria.
Overcoming these common issues can be achieved with consistent effort and adherence to food safety guidelines. They ensure the homemade baby food journey is both enjoyable and beneficial for a child's growth and development.
Benefits of Homemade Baby Food
Making homemade baby food offers parents control over their baby's diet, allowing for a nutritious, cost-effective, and environmentally-conscious approach to feeding their infant.
Health and Nutrition
Homemade baby food typically contains higher levels of nutrients than their store-bought counterparts, as they are made from fresh foods that retain more vitamins and minerals. Parents can select organic produce to ensure their child receives food free from pesticides and preservatives. This exposes the infant to a wide array of fresh flavors and textures, which can aid in developing a palate that appreciates a variety of foods.
Cost Savings
Preparing baby food at home can be significantly more economical. By purchasing fresh ingredients in bulk and avoiding the premium for pre-packaged convenience, caregivers can save money. A simple comparison of per meal costs often demonstrates that homemade baby food is less expensive over time.
Environmental Impact
Homemade baby food plays a role in waste reduction and sustainability efforts. By using reusable containers to store baby food, families decrease the reliance on single-use plastic packaging, lowering their carbon footprint. Moreover, making food in batches can lead to less food waste, as parents can control portion sizes and produce only what is needed.
Concluding Advice

When caregivers embark on the journey of making homemade baby food, it's important they approach the process with confidence and informed choices.
Safety First: Always prioritize the infant's safety by ensuring all ingredients are suitable for their age and any potential allergies are considered. A food processor or blender is ideal for creating smooth purees, and for older babies, more textured foods.
Balance and Variety: They must provide a balance of fruits, vegetables, grains, and proteins over time to meet their baby's nutritional needs. Introducing a variety of foods can help in developing a well-rounded palate.
Hygiene and Storage: Caregivers should maintain strict kitchen hygiene and store baby food properly. They can freeze purees in ice cube trays, transferring them to freezer bags once solid for easy portioning.
Introduce Gradually: Introducing new foods one at a time, with a gap of 3–5 days, allows for monitoring any adverse reactions or allergies.
Embrace Simplicity: The healthiest meals are often simple, with minimal additives. They should use fresh produce and consider organic options to limit exposure to pesticides.
Do's Don'ts Use fresh, high-quality ingredients. Rush the progression of food textures. Be mindful of nutritional balance. Overlook signs of allergies or intolerance. Follow safe food handling practices. Introduce too many new foods at once.
By keeping these final pointers in mind, caregivers can create nutritious and enjoyable meals that contribute to a love of wholesome food from the earliest stages of their child's life.
