
How to Make and Store Homemade Stock
A Step-by-Step Guide
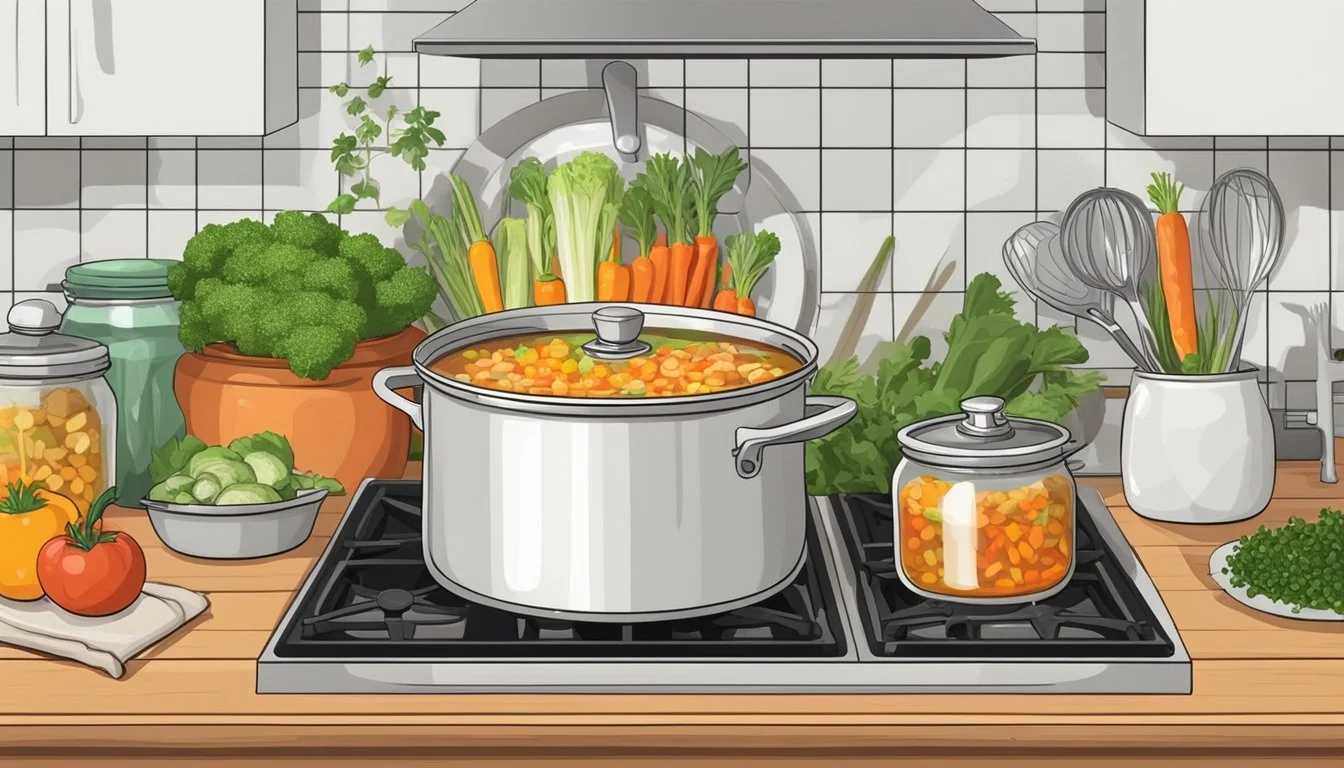
Making homemade stock is a fundamental skill for any home cook looking to add depth and flavor to their soups, sauces, and other recipes. The process involves simmering bones, meat scraps, vegetables, and herbs in water to extract their rich flavors. This produces a liquid far superior to store-bought varieties, free from preservatives and artificial additives. Homemade stock is both easy and economical, allowing chefs to fully utilize their ingredients and minimize waste.
To create a good stock, one begins with selecting high-quality ingredients. Bones from poultry, beef, or fish provide a rich base, while aromatic vegetables like onions, carrots, and celery (how long does celery last?) contribute to the stock's complexity. Herbs and spices, tailored to the cook's preference, infuse the liquid with additional flavors. The cooking process is simple: ingredients are combined with water and gently simmered, allowing time for the extraction of flavors. Patience is key, as a stock should never be rushed or boiled vigorously, which can make it cloudy and bitter.
Once the stock is cooked, it's essential to cool and store it properly to preserve its flavor and extend its shelf life. Refrigeration is suitable for short-term use, typically up to one week, while freezing extends usability for several months. Ensuring the stock is properly strained and sealed in appropriate containers is crucial for maintaining quality and freshness, making it a readily available ingredient for enhancing future culinary creations.
Choosing Your Ingredients
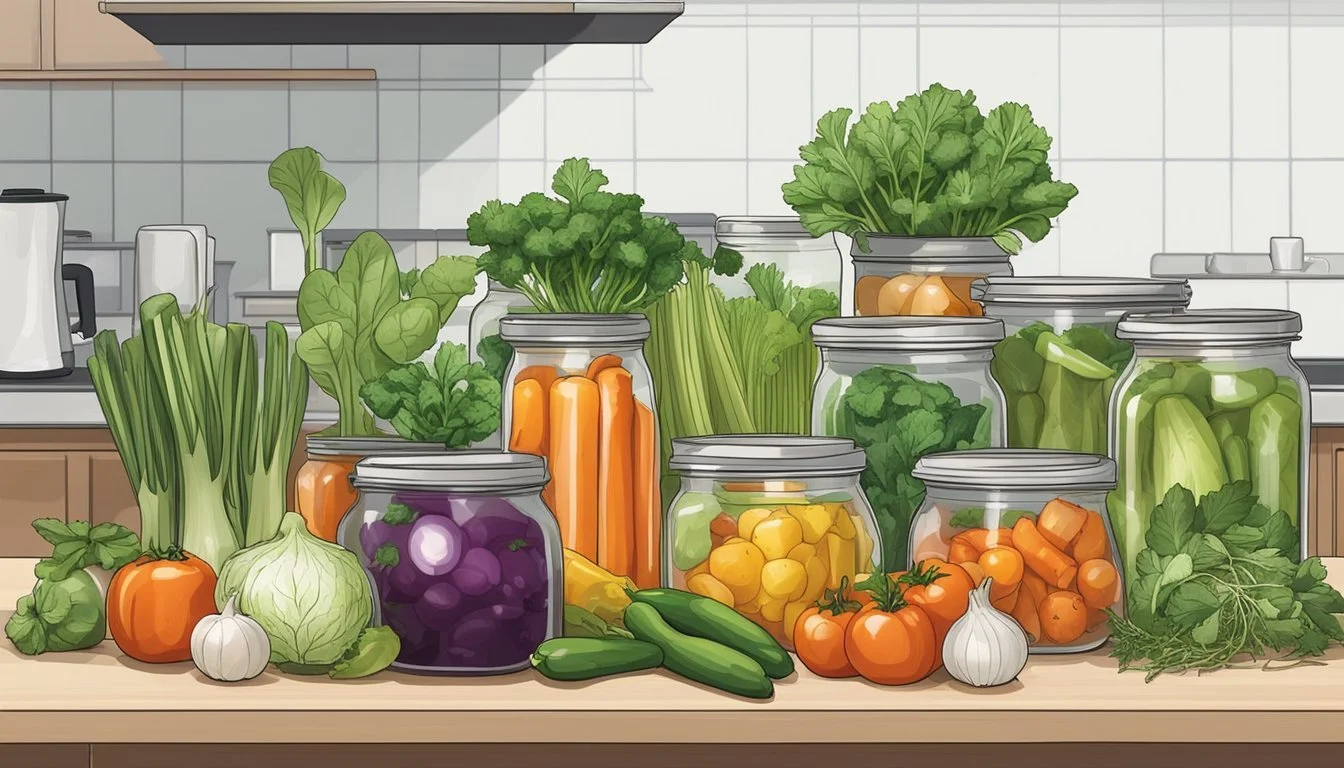
The foundation of a flavorful homemade stock lies in the quality of its ingredients. Selecting the right types of bones and vegetables is essential, as is the judicious use of herbs and spices to enhance the natural flavors.
Types of Bones and Their Benefits
Chicken and beef bones are the most commonly used for making stock, each imparting distinctive flavors and nutritional benefits. Chicken bones often result in a lighter, more delicate flavor and are abundant in collagen, which can contribute to a gelatinous consistency upon cooling. These bones are a good source of calcium and other minerals. In contrast, beef bones provide a richer, deeper taste and are high in iron and other nutrients. For both chicken and beef bones, including a mix of meaty remnants and marrow bones can add depth and complexity.
Aromatic Vegetables for Flavor
The classic aromatic vegetables - onion, carrot, and celery - are fundamental in stock making, often referred to together as 'mirepoix'. These vegetables lend essential flavors that are key to creating a well-rounded stock. One should aim for a balanced blend, typically two parts onion to one part carrot and one part celery. To this trio, leeks and garlic can be added for more pungency and sweetness when caramelized.
Additional Flavorings and Seasonings
Herbs and spices play a crucial role in tailoring the taste of the stock. Common seasonings include parsley, thyme, and bay leaf, which provide fresh and earthy notes. Salt helps to amplify the overall flavor profile, while black peppercorns, and optionally cloves or sage, introduce a warm and spicy undertone. A small splash of vinegar can help to extract minerals from the bones, subtly enhancing the overall mineral richness of the stock without imparting a strong vinegar taste.
Preparing the Stock
Making a high-quality stock requires careful prep work, an understanding of roasting for deeper flavors, and knowledge of proper simmering techniques.
Properly Cleaning and Prepping Ingredients
Before starting the stock, one must thoroughly clean all vegetables and bones. For vegetables like carrots and celery, this means scrubbing away any dirt and optionally peeling to remove tougher skins. Greens should be rinsed clean of any grit. When using a whole chicken or chicken carcasses, ensure they are free of leftover organs and rinse them under cold water. Beef bones may also require a rinse to remove any bone fragments.
Roasting Bones and Vegetables
Roasting is a crucial step for developing a deep, rich flavor, especially important for beef stock but also beneficial for chicken stock. Vegetables and bones can be roasted in a preheated oven at around 400°F until well-browned. This caramelization process adds complexity and richness to the stock. If using a roast chicken, the leftover bones already have a level of caramelization that will enrich the stock.
Combining Ingredients and Water
In a large stockpot, combine roasted bones or a chicken carcass with cleaned vegetables and cold water. The ratio of water to bones and vegetables should be such that the ingredients are covered by about 2 inches of water, allowing for even cooking and extraction of flavors. For vegetable stock, use vegetable scraps such as peelings and trimmings, along with your choice of additional herbs and spices. Place the pot on medium-high heat until boiling, then reduce to a low simmer. This slow cooking process allows the flavors to meld and the stock to become infused with the essence of the ingredients.
Cooking the Stock
When making homemade stock, one begins by cooking it properly to extract maximum flavor while maintaining clarity. This involves a sequence of steps that are crucial for achieving a high-quality stock.
Bringing to a Boil and Reducing Heat
To begin, place the bones or vegetables in a large pot and fill it with water to cover the ingredients. Turn the stove on medium-high heat to bring the water to a near-boil. As it reaches boiling, reduce heat immediately to transition the stock into a gentle simmer. This helps in maximizing flavor extraction without boiling too vigorously which can result in a cloudy stock.
Simmering and Skimming
Once at a low simmer, a layer of foam will form on the surface — this is comprised of proteins and impurities. Using a ladle or a spoon, skim this foam off periodically to ensure that the resulting stock remains clear. It’s also important to occasionally check for and remove fat that rises to the top. This keeps the stock more pure and light.
Timing and Concentration
The total cooking time varies depending on the type of stock. Vegetable and fish stocks typically require 1-2 hours, while bone-based stocks, like chicken or beef, benefit from 6-8 hours of simmering. This lengthy simmering allows for a full flavor concentration and a reduction that intensifies the stock. To avoid over-reduction, monitor the stove and adjust to maintain a consistent low heat.
Straining and Cooling the Stock

After simmering, it is essential to remove solids and impurities from the stock to ensure clarity and quality. Proper cooling techniques are also crucial for food safety.
Using a Fine Sieve or Cheesecloth
To effectively strain the stock, one should utilize a fine sieve or cheesecloth. This ensures that all solids, such as bones and spent vegetables, are discarded, and any smaller impurities are removed from the liquid.
Steps to Strain the Stock:
Place the fine sieve or cheesecloth over a large bowl.
Pour the stock through the sieve or cheesecloth.
Allow the liquid to pass through naturally without pressing the solids, which may introduce unwanted flavors and textures.
Cooling the Stock Quickly
Rapid cooling of the stock is important for both quality and safety. To cool the stock quickly, use an ice bath. Fill a sink or large container with ice and a small amount of water, then place the pot containing the stock into the ice bath. This will help bring down the temperature promptly.
Key points for cooling:
Stir the stock occasionally while it's in the ice bath to distribute the cooling evenly.
Once it reaches room temperature, transfer the stock to the fridge to cool completely.
Ensuring the stock is cooled quickly minimizes the risk of bacterial growth.
Storing and Preserving Homemade Stock
Proper storage methods are vital for maintaining the quality and extending the shelf life of homemade stock. Employing refrigeration, freezing, or canning techniques can preserve the freshness and flavor of your stock for various durations, from a brief period to several months.
Refrigeration for Short-Term Use
Stock can be refrigerated when intended for use within a short time frame. After cooling, the stock should be placed in airtight containers or jars, with any fat that has risen to the top left intact to create a natural seal. In the fridge, homemade stock typically maintains its quality for up to one week.
Freezing for Long-Term Storage
For longer preservation, freezing is an effective method. Stock should be allocated into manageable portions using freezer bags or airtight containers. For individual servings, one can utilize ice cube trays. Once frozen, transfer cubes to plastic bags to save space. Freezing extends the stock's shelf life to approximately 4-6 months. Remember to label with the date to ensure usage within optimal freshness.
Canning and Shelf Stability
Canning homemade stock can lead to a shelf life of up to 6 months to 1 year. Begin with hot stock and fill sterilized jars, leaving about one-inch headspace. Apply lids and process using a pressure canner according to manufacturer's instructions. This method requires strict adherence to safety guidelines to prevent foodborne illnesses. Always inspect the seal before use.
Using Your Homemade Stock

Homemade stock provides a rich, deep flavor that outshines store-bought variants. It is the cornerstone of many recipes, enhancing dishes with its hearty taste.
Incorporating into Soups and Stews
When it comes to soups and stews, homemade stock serves as a superior base, imparting a flavor that is both robust and nuanced. Using it in a soup recipe should be the first step, right after sautéeing the aromatics. For stews, one can add the stock gradually, allowing the meat and vegetables to absorb its essence throughout the slow cooking process.
Versatility in Various Dishes
The versatility of homemade stock extends beyond soups and stews. It can elevate simple rice dishes by replacing water during cooking, imbuing grains with savory notes. Sauce preparations also benefit from the addition of stock, achieving a layer of flavor that enhances the main ingredients. Stock can even add a new dimension to seasonings when used as a deglazing liquid, capturing the caramelized bits of food for richer sauces.
Substituting for Store-Bought
Replacing store-bought stocks with homemade versions can elevate home cooking to a higher level of quality and taste. One can use homemade stock in nearly any recipe that calls for stock as a base, providing a far superior flavor profile compared to that from the grocery store. As a substitute, homemade stock can be used directly, in equivalent amounts, and can be frozen in ice cube trays or portions for easy use later.
Tips and Tricks for Better Stock
Creating a rich and flavorful stock forms the foundation of countless recipes. A good homemade stock can elevate dishes by providing a depth of flavor that store-bought versions often lack. Here are some effective tips and tricks to ensure that every batch of stock is as delicious and efficient as possible.
Enhancing Flavor Without Adding Sodium
One can enhance the flavor of homemade stock without resorting to high sodium levels. Acidic components like white wine, lemon juice, or vinegar can brighten up the taste, adding balance and depth without the need for excessive salt. Additionally, incorporating a variety of herbs and spices such as thyme, bay leaves, peppercorns, or garlic can significantly enrich the flavor profile.
Herbs: Thyme, bay leaves, parsley
Spices: Peppercorns, garlic cloves, cloves
Acids: Lemon juice, vinegar splash
Utilizing Leftovers and Veggie Scraps
Making stock is an excellent method for waste reduction and increasing cost efficiency in the kitchen. One can utilize leftover bones from meals, as well as veggie scraps that might otherwise be discarded. Onion ends, carrot peels, and celery leaves are ideal candidates for a basic stock recipe. This approach also supports a more sustainable cooking practice by minimizing wastage.
Bones: Chicken carcasses, beef bones (roasted for flavor)
Veggie Scraps: Onion ends, carrot peels, celery leaves
Choosing the Right Cookware
The choice of cookware can influence the quality of your stock. For long, slow simmering, a traditional stockpot is ideal due to its size and efficient heat distribution. Alternatively, for a quicker stock, a pressure cooker can reduce cooking time substantially while still extracting ample flavor. If convenience and gentle cooking are priorities, a slow cooker allows one to prepare stock with minimal supervision.
Stockpot: Best for traditional, slow simmering
Pressure Cooker: Reduces cooking time significantly
Slow Cooker: Offers ease and gentle cooking
By mastering these tips and tricks, one can craft a rich, flavorful stock that is low in sodium yet full of taste, utilize kitchen leftovers efficiently, and select the best cookware for their stock-making needs.
