
How to Make Homemade Coconut Yogurt
Discover > Healthy Living Through Food > How to Make Homemade Coconut Yogurt
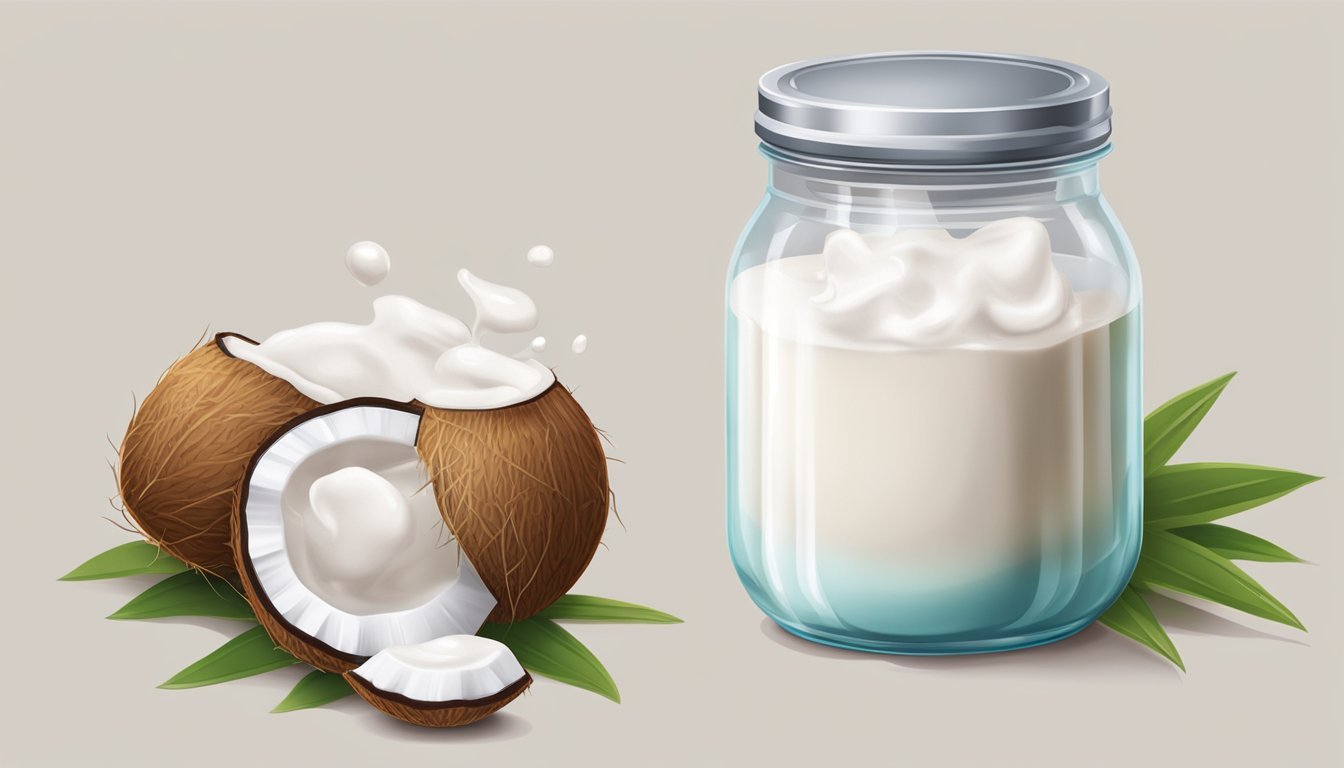
Making this homemade coconut yogurt recipe can be a delicious and healthy alternative to store-bought varieties of pre-made coconut yogurt, regular yogurt, or store-bought yogurt. Many people enjoy the unique taste and texture of this dairy-free option, which appeals to vegans and those with lactose intolerance. Besides, preparing it at home allows for greater control over the ingredients and flavors, ensuring that it caters to individual preferences and dietary needs.
To create a homemade coconut yogurt, all that is needed are simple, easy-to-find simple ingredients and a few tools that are likely already present in most kitchens. In this article, we will guide readers through the process, sharing tips and advice for achieving the perfect consistency, taste, and probiotic benefits.
Before diving into the recipe, it is essential to understand various elements that contribute to the yogurt's success, including the type of coconut milk, the choice of starter culture, and the fermentation process. Comprehending these components will significantly enhance the overall experience, ensuring a delightful and nutritious outcome every time.
Collecting Your Ingredients
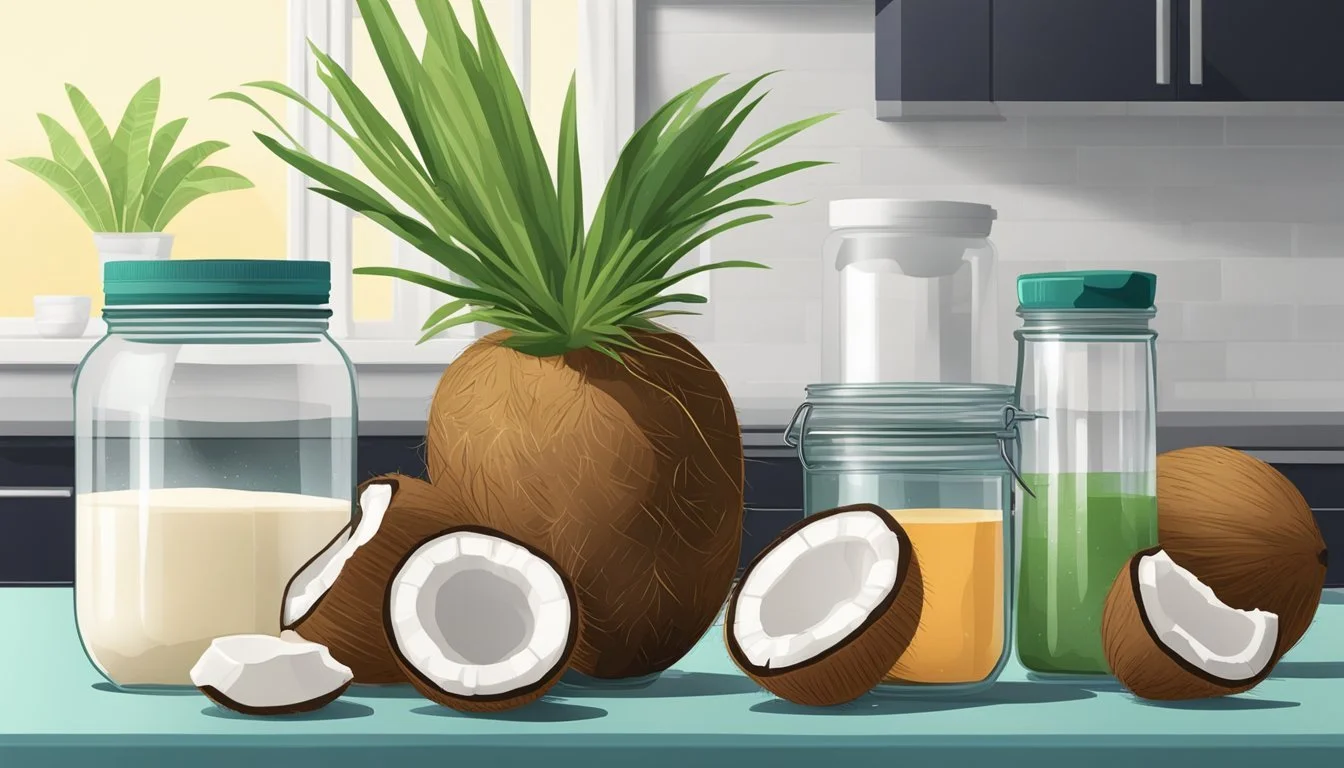
When making homemade coconut yogurt, it's essential to gather high-quality ingredients, yogurt cultures, and understand their roles in the final product. This section will guide you through selecting quality probiotic capsules, using quality full-fat coconut milk to attain that much needed cream, and understanding additional ingredient to make perfect batches of natural yogurt.
Choosing Probiotic Capsules
Selecting the right quality probiotic capsules is crucial for making coconut yogurt. Look for vegan and dairy-free probiotics, as they contain strains that can effectively ferment the coconut milk. Ensure the capsules have a high count of live billions CFUs (Colony Forming Units), ideally between 25-50 billion. Most importantly, make sure the probiotic capsules are fresh and have not been stored in direct sunlight or extreme temperatures. This will ensure the growth of good bacteria that's essential to maintaining gut flora like lactobacillus acidophilus.
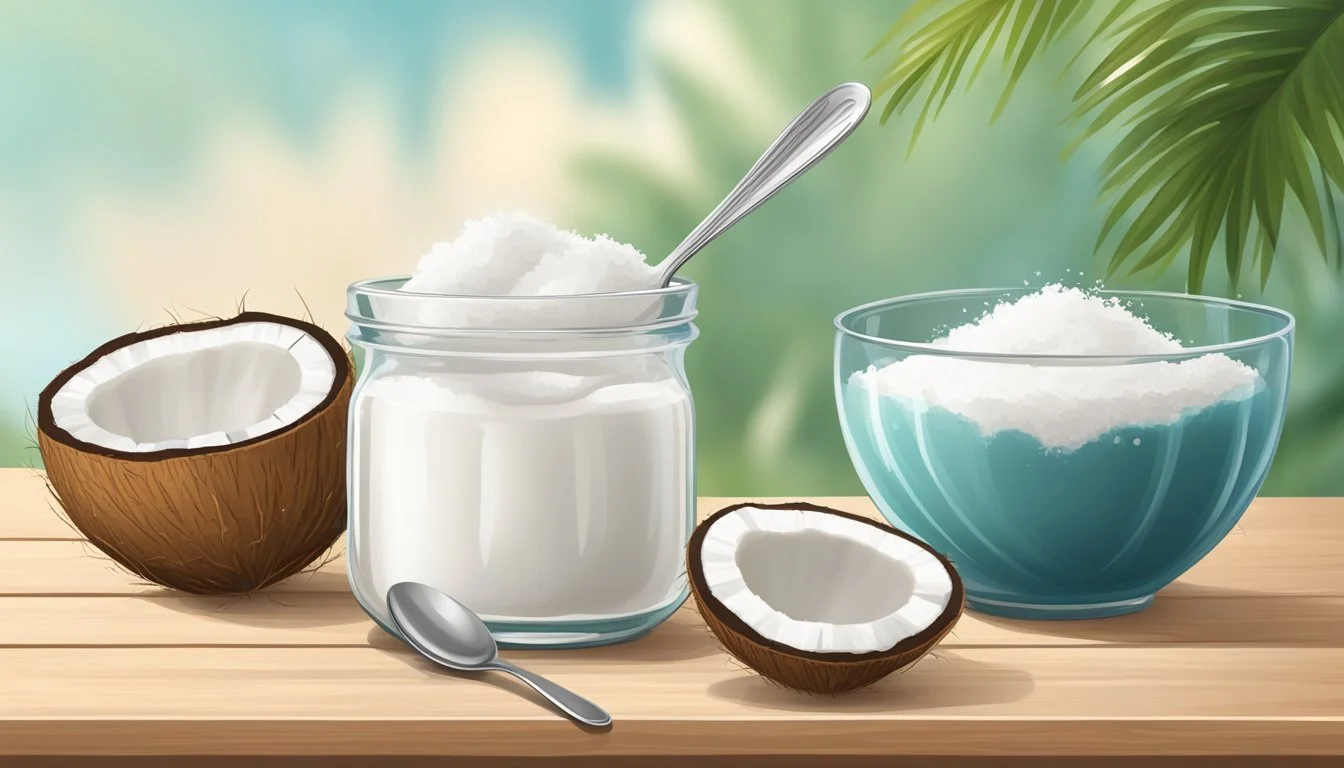
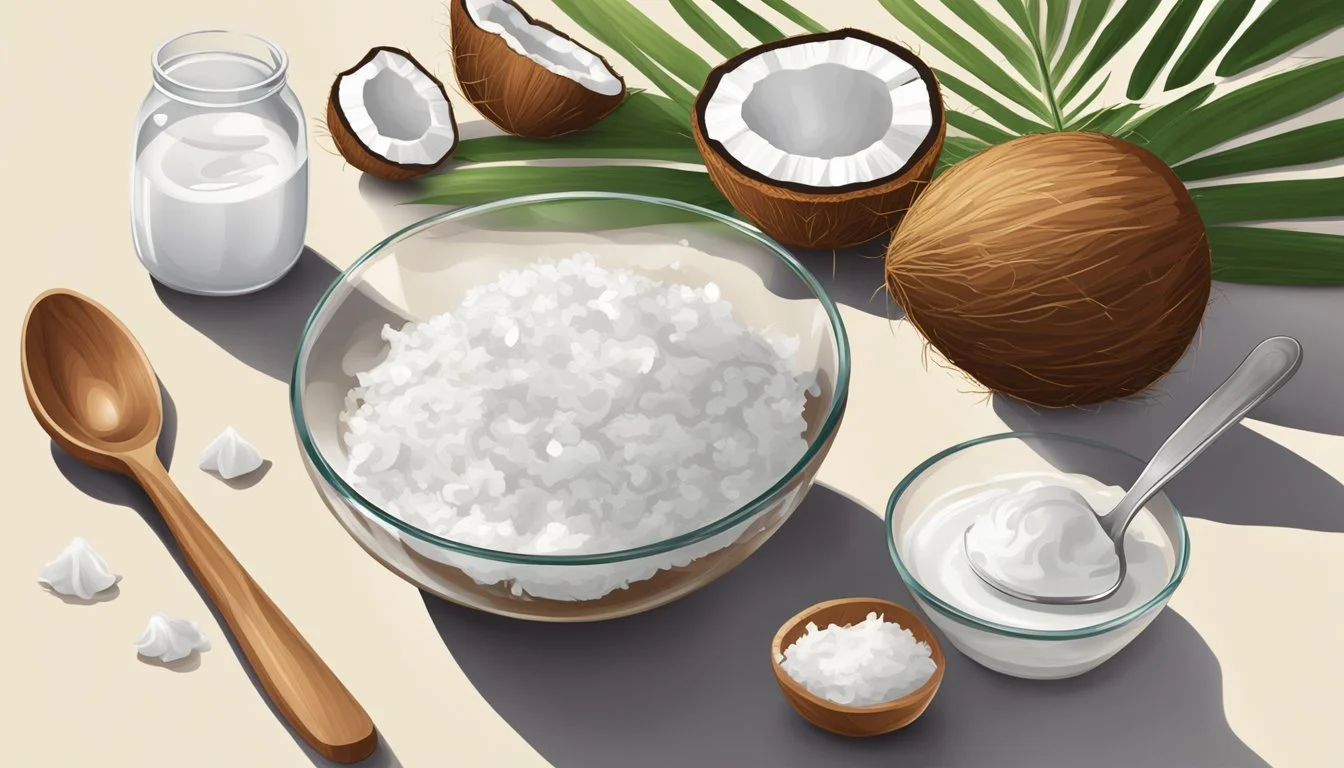
Using Quality Full-Fat Coconut Milk
To achieve the best texture and taste, use full-fat coconut milk. The high fat content is essential in yielding creamy, thick yogurt and will help minimize the risk of ending up with rubber band consistency. Look for brands with minimal additives and low levels of guar gum (how long does guar gum last?) or stabilizers. BPA-free cans are also preferable for health reasons. To improve the consistency, you may also want to separate and use only the creamy layer from the top of the coconut milk can.
Understanding Additional Additions
While coconut milk and probiotic capsules are the primary ingredients, you may want to add other ingredients to enhance the taste, texture, and nutritional value of this coconut milk yogurt recipe.
Sweeteners: Add sugar, maple syrup (how long does maple syrup last?), or agave nectar to suit your taste. Keep in mind that sweeteners should be added after fermentation to prevent any interference with the probiotics. Or, omit sweeteners altogether to make unsweetened coconut yogurt.
Protein powder (how long does protein powder last?): For a protein boost, try adding unflavored vegan protein powder to your yogurt. Mix it in after the fermentation process to maintain the texture and flavor.
Thickeners: If you find the plant-based yogurt too thin, try using dairy-free thickeners such as 1-2 tablespoons of agar flakes, chia seeds (how long do chia seeds last?), teaspoon of gelatin, or tapioca starch (how long does tapioca starch last?). Add them during the fermentation process for best results.
Striking the right balance between ingredients and choosing high-quality products will ensure that your homemade coconut yogurt is both delicious and nutritious.
Preparing Homemade Coconut Yogurt
Process of Heating
Making homemade coconut yogurt is a simple and straightforward process. First, you will need to heat coconut milk to a temperature suitable for the fermentation process. Pour the coconut milk into a saucepan and heat it over medium-low heat until it reaches a temperature of around 180°F. Do not forget that heating coconut milk is quite different to boiling hot water because it has a different boiling point. Remember to stir the mixture with a metal spoon frequently to prevent it from sticking or scorching. Once the appropriate temperature is reached, remove the saucepan from the heat.
Fermentation Details
To ferment the homemade coconut milk yogurt and create a delicious and thicker yogurt texture, you will need a yogurt starter or probiotic powder. Once the heated milk has cooled to around 110°F - 115°F, sprinkle your chosen starter culture into the saucepan and mix it in thoroughly. Transfer the mixture into a clean, sterilized container, like a glass jar, yogurt maker, Instant Pot or glass container, where it will be able to incubate undisturbed.
During incubation, the active cultures in the delicious coconut yogurt starter will transform the natural sugars in the coconut milk into lactic acid, giving the yogurt its signature tanginess. Allow the mixture to incubate at a consistent temperature between 100°F - 110°F for around 10-12 hours or until it reaches the desired level of sourness and thickness.
Refrigeration and Texture
After the desired fermentation time, you will need to refrigerate the yogurt to allow it to set and achieve its characteristic thick and creamy texture. Cover your container and place it in the refrigerator for at least 6 hours, or until the yogurt is set and firm to the touch. You may also choose to strain the yogurt through a cheesecloth to get rid of any excess water and achieve a thicker consistency.
For a more stable, denser texture, you can incorporate a thickening agent such as agar agar or gelatin into the mixture prior to fermentation. These agents are particularly helpful when making dairy-free and vegan yogurt alternatives.
Homemade coconut yogurt is a healthy and versatile option that can be enjoyed on its own, as a base for smoothies, or topped with fresh fruits and granola (how long does granola last?). With its dairy-free, gluten-free, and natural properties, it's an excellent choice for those seeking a delicious and nutritious addition to their diet.
Homemade Coconut Yogurt Recipe
If you're a fan of creamy, dreamy yogurt but prefer a dairy-free, vegan option, you're in for a treat. Imagine spoonful's of luscious, tangy dairy-free yogurt with a delightful tropical twist. This recipe promises just that – a dairy-free, plant-powered delight that's not only delicious but also customizable to suit your taste buds.
Ingredients:
2 cans (800ml) of full-fat coconut milk (unsweetened)
2-4 tablespoons of vegan yogurt starter culture or
2-4 probiotic capsules (make sure they are vegan)
2 tablespoons of maple syrup or any other sweetener (optional)
1-2 teaspoons of vanilla extract (optional)
Instructions:
Sterilize your equipment: Wash all of the utensils, containers, and jars that you will be using with soapy water. And, to ensure cleanliness, sterilize for five minutes or more all of the utensils, jars, and any equipment you'll be using for the yogurt-making process. This will be part of your prep time.
Prep the coconut milk: Shake the cans of coconut milk well before opening to ensure the cream is well combined. Pour the coconut milk into a clean saucepan and warm it gently over medium heat, stirring occasionally with a wooden spoon (never use a plastic spoon). You want it warm but not boiling.
Cool the milk: Let the warmed coconut milk cool down until it reaches about 110°F (43°C). Use a kitchen thermometer to ensure accuracy. If you don't have a thermometer, the milk should feel warm but not hot to the touch.
Mix in the starter: Once the coconut milk has cooled, add the vegan yogurt starter culture or the contents of the probiotic capsules to the milk. Whisk gently until fully combined. If you're using probiotic capsules, open them and empty the powder into the coconut milk.
Optional sweetener and flavor: If desired, add the optional sweetener (like maple syrup) and vanilla extract to the mixture and stir until well incorporated.
Incubation: Pour the mixture into clean, sterilized glass jars or containers. Cover the jars with a clean towel or paper towel secured with a rubber band or lid (not airtight). Place the jars in a warm place, around 100°F (37°C) for fermentation. You can use a yogurt maker, dehydrator, or simply keep them in a warm spot in your kitchen. Let it ferment for about 12-24 hours, depending on the desired tanginess and thickness of the yogurt. The longer it ferments, the tangier it will become.
Check for readiness: After the fermentation time, carefully remove the covering and check the yogurt. It should have thickened and have a tangy flavor similar to yogurt.
Refrigerate: Once the coconut yogurt reaches your desired taste and consistency, seal the jars with lids and refrigerate them for at least 4-6 hours before serving. Chilling will also help thicken the yogurt further. But if you really want to dig in, you can try it out after a couple of hours.
Serve: Enjoy your homemade vegan coconut yogurt plain or with your choice of toppings, fruits, granola, or as a substitute in recipes that call for yogurt.
Remember, this vegan yogurt recipe might produce a slightly different taste and texture compared to store-bought versions. Adjust the ingredients and fermentation time to suit your preferences.
Serving Suggestions and Storage
Versatile Serving Ideas
This homemade yogurt made out of coconut is a delicious and nutritious plant-based alternative to dairy yogurt. With its smooth and tangy consistency, it provides a variety of ways to enjoy. For a tasty breakfast or snack, serve your coconut milk yogurt with fresh fruit, nuts (how long do nuts last?), and seeds. Adding a spoonful (rough estimate) of fruit puree, strawberry jam, or a drizzle of maple syrup will enhance the flavor.
Another versatile option is to blend the yogurt into smoothies for an extra boost of creaminess. For a paleo-friendly recipe, consider mixing your yogurt with chia seeds, vanilla extract, and lemon juice for a delightful treat. There are endless possibilities with homemade coconut yogurt, so feel free to get creative and incorporate it as a side in various recipes.
Proper Storage Practices
To ensure your homemade coconut yogurt remains fresh, it is essential to follow proper storage practices. Transfer the yogurt to a clean jar, preferably BPA-free containers, and store it in the refrigerator. To maintain its tangy taste, place a paper towel on top of the jar before closing it. The paper towel will absorb extra moisture, preventing the batches of yogurt from turning too tangy.
If you have extra yogurt that won't be consumed in a week or two, consider portioning and storing it in the freezer. Frozen coconut yogurt can be an excellent base for frozen desserts too. When using quality coconut milks with brands for your coconut milk or coconut cream (how long does coconut cream last?), you can expect a shelf life of up to two weeks in the refrigerator. By adhering to proper storage practices, you can enjoy your delicious homemade coconut yogurt without any concerns.
