
How to Make Nutritious Goat Milk Yogurt at Home
A Step-by-Step Guide
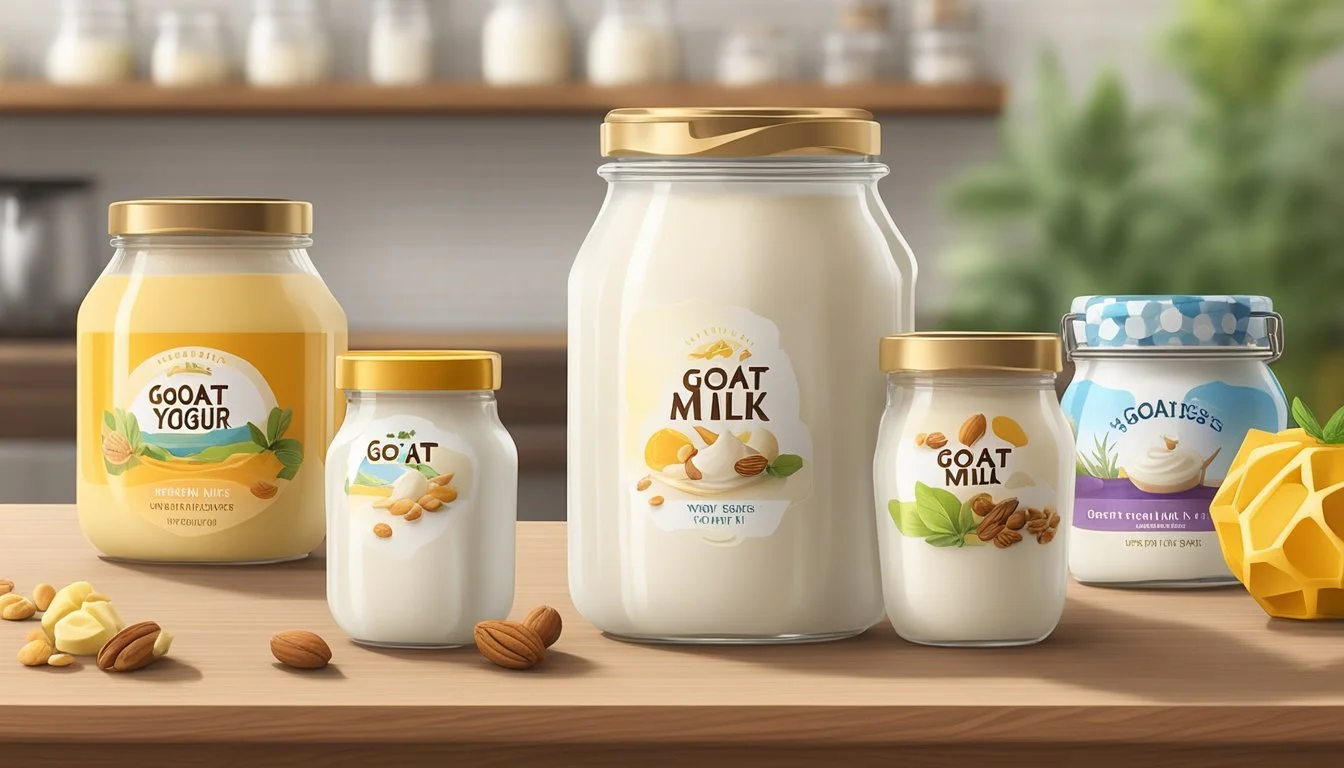
Making goat milk yogurt at home is a satisfying process that yields a product rich in nutrients, with a distinctively tangy flavor profile. Goat milk, which serves as an excellent base for yogurt, has some advantages over cow's milk, including easier digestibility due to its smaller fat globules and lower levels of lactose. As a source of protein, calcium, and probiotics, homemade goat milk yogurt is both a healthful and versatile dairy option.
The preparation of goat milk yogurt involves a simple fermentation process where beneficial bacteria are encouraged to grow, thickening the milk and enhancing its nutritional value. Those who choose to craft their yogurt at home have the advantage of controlling the ingredients and avoiding the preservatives and artificial additives found in some store-bought yogurts. Homemade yogurt is not only fresher but also allows for customization regarding texture and tartness, providing individuals with the freedom to create a yogurt that caters to their personal tastes.
Embracing the process of making goat milk yogurt at home can also serve as an educational experience, illustrating the value of probiotic foods in a balanced diet while also providing insight into the traditional methods of preserving dairy. It is a practical skill that combines nutrition and culinary artistry, resulting in a wholesome and satisfying yogurt that can be enjoyed in countless ways.
Understanding Goat Milk
In crafting goat milk yogurt, it's essential to recognize the distinct properties and advantages of goat milk, especially in comparison to other milk types.
Benefits of Goat Milk
Goat milk provides a rich source of essential nutrients, including vitamins A and D, calcium, and magnesium. Importantly, several probiotic strains, such as Lactobacillus acidophilus and Bifidobacterium lactis, thrive in the natural environment of goat's milk. These probiotics are beneficial for gut health, aiding digestion and bolstering the immune system. The unique composition of goat milk also includes Lactobacillus bulgaricus and Streptococcus thermophilus, making it an excellent base for creating homemade yogurt.
Vitamins: A, D
Minerals: Calcium, Magnesium
Probiotic Strains: Lactobacillus acidophilus, Bifidobacterium lactis
People with sensitivities to cow milk often turn to goat milk as an alternative, owing to its digestibility. Its smaller fat globules and higher amount of medium-chain fatty acids make goat milk easier to digest than cow's milk. For those with cow milk allergies, goat milk can be a suitable and nutrient-dense replacement.
Comparing Milk Types
Comparing goat milk to other milk types, like cow milk and plant-based alternatives such as almond milk, is crucial for consumers making dietary choices. Here's a concise comparative overview:
Milk Type: Goat Milk
Probiotic Presence: High
Allergenic Potential: Lower
Nutritional Content: Rich in vitamins and minerals
Milk Type: Cow Milk
Probiotic Presence: High
Allergenic Potential: Higher
Nutritional Content: High in protein
Milk Type: Almond Milk
Probiotic Presence: Low
Allergenic Potential: Low
Nutritional Content: Lower in calories, fewer nutrients
Pasteurized goat’s milk retains its nutritional benefits and is safer for consumption than raw milk due to the elimination of harmful bacteria during pasteurization. People choosing between raw and pasteurized goat milk should consider both the risks and nutritional impacts. Goat milk provides a nutrient-rich, probiotic-fortified option for yogurt making, which can be particularly beneficial to those with an intolerance to cow milk.
Yogurt-Making Essentials
In creating nutritious homemade goat milk yogurt, one must consider the pivotal role of selecting a suitable yogurt starter and equipping themselves with the essential tools for the process.
Yogurt Starter and Live Cultures
A yogurt starter is crucial for transforming goat milk into yogurt. Live cultures in the starter are responsible for fermenting the milk. Options include using a small amount of plain yogurt with live cultures or a freeze-dried yogurt starter. Each starter culture will yield a different taste and consistency. The live cultures are pivotal, as they not only ferment the milk but also contribute to the yogurt's health benefits.
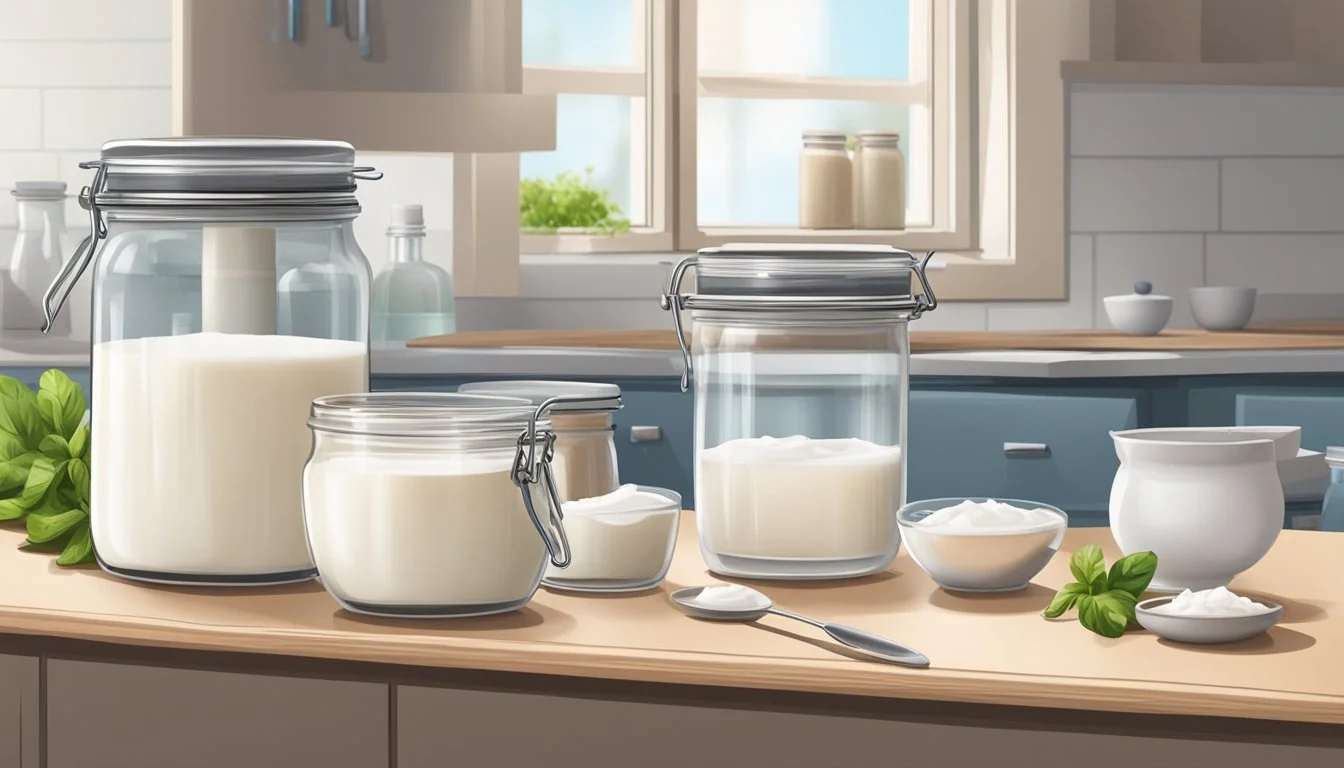
Essential Equipment
The equipment needed for making yogurt includes a thermometer to monitor the milk's temperature, a saucepan to heat the milk, and a whisk or large spoon for mixing. To ferment the milk, one can use various incubation tools such as a yogurt maker, insulated cooler, crock-pot, or a makeshift setup with mason jars and warm towels. After fermentation, straining the yogurt through a cheesecloth or coffee filter can enhance its texture, if desired. It's important to use clean equipment to avoid contamination and ensure a successful fermentation process.
Preparing to Make Yogurt
Making nutritious goat milk yogurt at home involves a methodical approach to ensure safety and quality. The process starts with sanitation, followed by precise heating and cooling of the milk before it’s inoculated with a starter culture.
Sanitization Process
Sanitizing your equipment is critical to prevent contamination. All utensils, including the saucepan, thermometer, and jars, should be thoroughly cleaned. Boiling water or a diluted bleach solution can be used for sterilization. One should ensure that everything is rinsed with clean water to remove any residual cleaning agents.
Heating the Milk
Heating the milk to the right thermal point is paramount to eliminate any harmful bacteria and to prepare the milk for fermentation. Pour the milk into a clean saucepan and heat it gradually, monitoring the temperature with a reliable thermometer. The milk should be heated to just before scorching, typically around 180°F, when small bubbles form around the edge of the saucepan. Avoid boiling to prevent altering the milk's flavor and composition.
Cooling and Inoculation
After heating, the milk must be cooled to a temperature that is hospitable for the yogurt starter. When the thermometer reads approximately 110°F, which is cool enough to not kill the starter culture, it's time to introduce the yogurt starter. Gently stir the starter into the milk to ensure an even distribution. The inoculated milk is now ready to incubate; maintain a consistent, warm environment to allow the transformation into thick, nutritious yogurt.
Incubation and Setting
To achieve the perfect consistency and nutritional value, the incubation of goat milk yogurt requires precise temperature control and timing. Understanding these elements is crucial to creating a delicious homemade yogurt.
Optimal Incubation Conditions
For yogurt to ferment properly, it needs to be kept at a warm, stable temperature typically around 110°F (43°C). Utilizing a reliable thermometer, such as a candy thermometer, helps maintain this precise temperature. Many home yogurt makers prefer an insulated cooler as an incubation space because it retains heat evenly. Just add warm water to the cooler to create a warm bath for the yogurt containers, or use a dedicated yogurt maker that regulates the temperature automatically.
Ensure the incubation area is free from drafts and temperature fluctuations.
The incubation period usually lasts between 6 to 12 hours, but it can take up to 24 hours for a tangier flavor and thicker consistency.
One should periodically check the temperature with a thermometer to ensure it remains consistent. If the temperature drops, one can add more warm water to the insulated cooler or adjust the settings on a yogurt maker.
Assessing Yogurt Thickness
After the incubation period, testers assess the thickness of the yogurt. At this stage, the yogurt should appear thicker, but it's not yet at its final consistency. It will continue to thicken once it is refrigerated.
If the yogurt hasn't thickened enough, one may choose to incubate it for a few hours longer.
Some prefer to use natural thickeners like gelatin to achieve the desired texture, though this is optional.
It's essential not to disturb the yogurt during incubation, as movement can prevent the formation of a smooth texture. Once the yogurt reaches the desired thickness, refrigerating it will halt the fermentation process and set the yogurt, ensuring the texture remains consistent.
Remember, making goat milk yogurt at home is an art that combines patience with precision. The right conditions and careful observation during the incubation and setting stages are the key to a nutritious and delightful batch of homemade yogurt.
Flavoring and Storing
After crafting a batch of nutritious homemade goat milk yogurt, the next steps are to enhance its flavor to your liking and store it properly to maintain freshness. The process is straightforward, allowing for personal taste preferences and ensuring your yogurt stays delicious until you're ready to enjoy it.
Adding Flavors and Sweeteners
To infuse your goat milk yogurt with a burst of flavor, consider incorporating organic sweeteners or fresh ingredients. Honey is a popular choice for its natural sweetness and health benefits. For a fruitier taste, mix in fresh fruit like berries or sliced bananas. To transform your yogurt into Greek yogurt, simply strain it until it reaches the desired thickness, which also increases its protein content.
Here's a brief guide on flavoring:
Sweeteners: Stir in honey, maple syrup, or agave to taste.
Fresh Fruit: Add chopped fruits before serving for a refreshing twist.
Greek Yogurt: To achieve a thicker consistency, strain the yogurt through a cheesecloth for a few hours.
Storage Guidelines
Storing homemade yogurt correctly is important to extend its shelf life and safeguard its quality. Always keep your yogurt in the refrigerator, ideally at temperatures below 40°F (4°C). Use airtight containers to prevent contamination and to keep the yogurt fresh. Homemade goat milk yogurt generally lasts up to two weeks when stored properly, which is comparable to many store-bought yogurts.
Consider the following for optimal storage:
Refrigeration: Store in airtight containers at 40°F or below.
Shelf Life: Expect homemade yogurt to last up to 2 weeks.
Containers: For individual servings, small jars can be convenient.
Remember, the freshness of your ingredients and cleanliness during the yogurt-making process also play a crucial role in how well your goat milk yogurt stores.
