
How to Create an Organized Kitchen Yogurt Making Station
A Step-by-Step Guide

Creating an organized kitchen space dedicated to yogurt making can streamline the process and ensure that homemade yogurt is a simple and enjoyable endeavor. An organized yogurt station acts as a central hub where all the necessary equipment and ingredients are easily accessible. By having a designated area, enthusiasts can cultivate yogurt-making as a routine rather than a cumbersome task, encouraging consistency and potentially better results.
The organization of a yogurt-making station involves more than just aesthetics; it facilitates cleanliness, efficiency, and inspiration. Well-thought-out organization can minimize the time spent searching for tools and ingredients, allowing makers to focus on the craft itself. One can even enhance their culinary expertise, experimenting with flavors and ingredients, when they're not preoccupied with disarray.
Having homemade yogurt as a dietary staple is not just a nod to healthier eating but also an embrace of culinary creativity. An organized kitchen yogurt-making station supports this lifestyle choice, combining convenience with the satisfaction of producing fresh, wholesome yogurt tailored to individual tastes and nutritional needs.
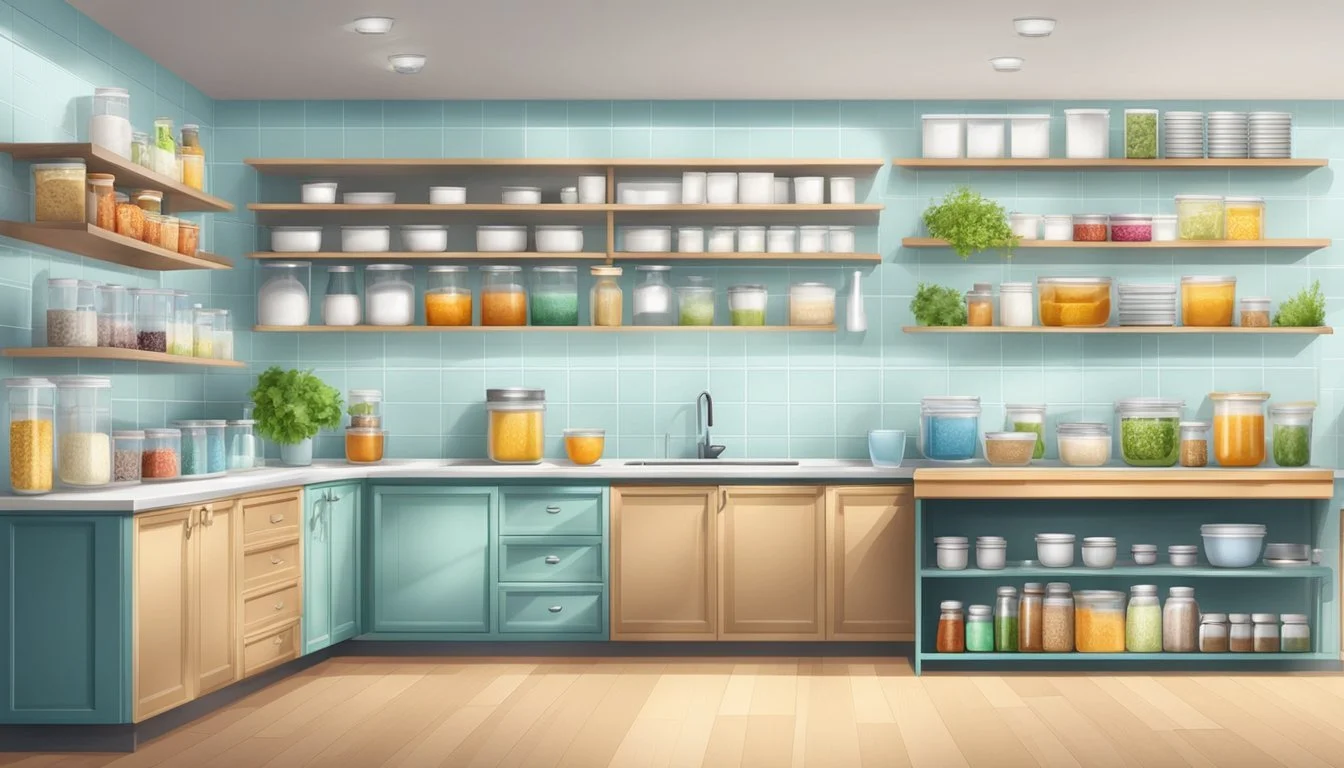
Planning Your Kitchen Layout

In creating an organized kitchen yogurt making station, one must meticulously plan the layout to ensure a functional and accessible environment. Efficiency and convenience are the cornerstones of the planning process.
Optimizing Counter Space
For an efficient yogurt making station, counter space is paramount. One should measure their available counter area and allocate a dedicated section specifically for yogurt preparation. This space should include room for:
Yogurt maker: Position it near an outlet for ease of use.
Ingredient prep: Reserve an area for bowls, measuring spoons, and utensils.
Storage: Ensure proximity to the refrigerator for storing perishables.
Utilizing Kitchen Island
If the kitchen contains a kitchen island, it can serve as a central hub for the yogurt making process. The island can offer additional surface for:
Prep work: The expansive surface is ideal for laying out ingredients.
Serving: Use one side of the island to dispense and personalize yogurt servings.
It's vital to maintain a clutter-free island, keeping only the essentials within reach.
Cabinet and Pantry Organization
Effective cabinet and pantry organization supports the yogurt making station with systematic storage solutions:
Cabinets: Install organizers in cabinets to store appliances and ingredients not in use.
Cabinet Organization Items to Store Upper level with tiered shelves Jars, toppings, and flavorings Lower level with pull-out racks Bulk ingredients and additional bowls
Pantry: Allocate a pantry section for surplus supplies. Keep it organized with clear, labeled containers for easy identification and replenishment of stock.
One should ensure all components are within arm's reach to streamline the yogurt creation process, incorporating these storage strategies into the broader kitchen layout.
Selecting the Right Equipment
Creating an organized kitchen for yogurt making requires careful selection of equipment. The right tools not only make the process more efficient but also enhance the quality of the homemade yogurt.
Choosing the Best Yogurt Maker
When selecting a yogurt maker, one's individual needs should dictate the choice. A basic model typically suffices for those new to yogurt making. It should maintain a consistent temperature, usually around 110 degrees Fahrenheit, which is crucial for culturing. For larger batches, a yogurt maker with multiple individual-sized containers or one with a large-capacity bowl might be preferable.
Capacity: 1-2 quarts for personal use, larger for families
Features: Timer, automatic shut-off, adjustable temperature
Essential Baking Utensils
While yogurt doesn't require baking, some baking utensils are indispensable in its preparation. A stainless steel pot is essential for heating milk, and a thermometer guarantees the milk reaches but does not exceed the right temperature. Bowls should be on hand for cooling the milk and mixing in the culture.
Utensils:
Stainless steel pot
Thermometer
Measuring spoons
Whisk or hand mixer for even culture distribution
Storage and Care for Appliances
Proper storage and maintenance of yogurt-making appliances ensure longevity and consistent performance. Small appliances like blenders or food processors, if used for making mixed flavors, should be cleaned promptly and stored dry. Dedicated space in cupboards or on countertops keeps equipment handy and organized.
Storage tips:
Dry appliances thoroughly before storage
Assign specific spots for each tool for easy access
Care advice:
Follow manufacturer's instructions for cleaning and maintenance
Regularly check seals and settings on electric mixers and yogurt makers
Utilizing the right equipment and keeping it well-organized is critical in creating an efficient yogurt making station in the kitchen.
Setting Up Your Yogurt Making Station
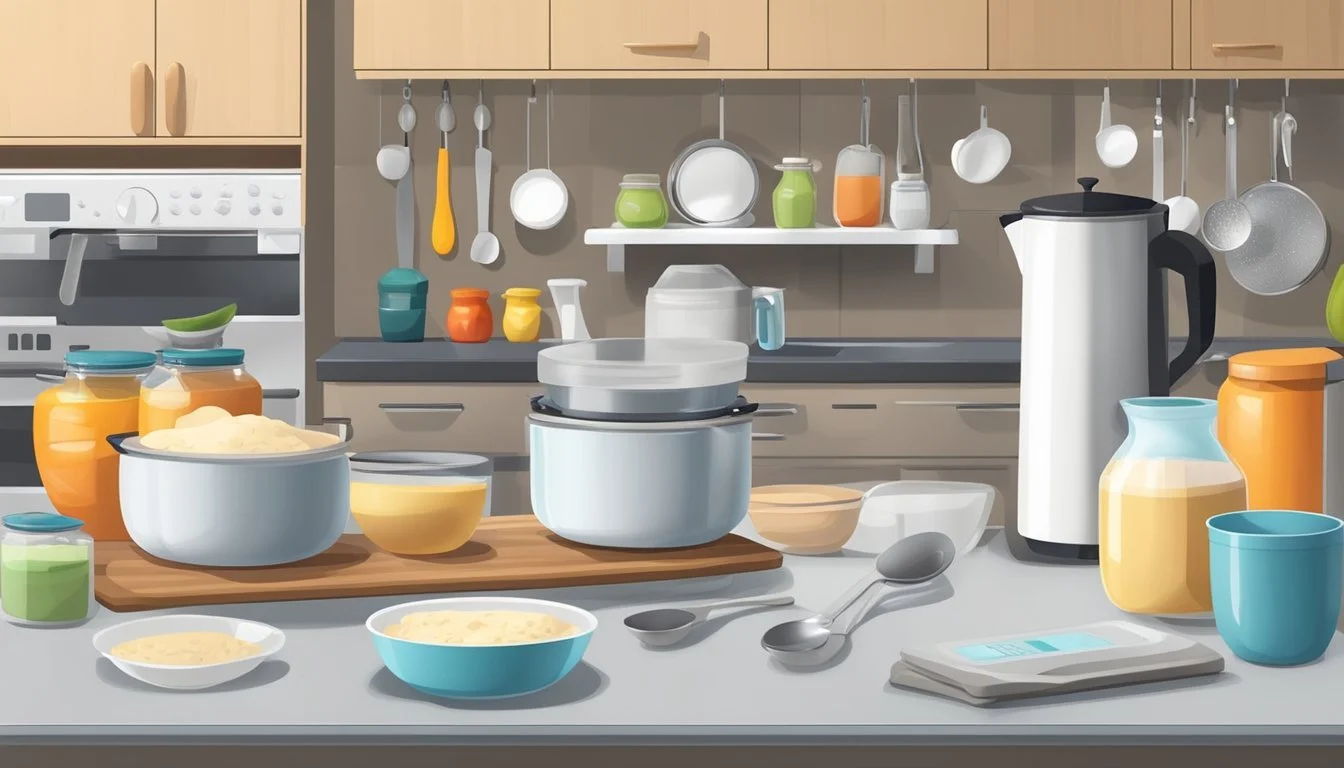
Creating a yogurt making station in your kitchen is about ensuring everything you need is within reach and your space is optimized for cleanliness and efficiency.
Organizing Ingredients and Supplies
Firstly, one should gather all the necessary ingredients such as milk, active yogurt cultures, and any desired flavorings. Organize these items in a designated area. Use clear storage containers to keep dry ingredients visible and easily accessible. For proper measurement, measuring cups and spoons should be readily available. Here's a checklist for a well-equipped station:
Milk (main ingredient for yogurt)
Active yogurt cultures (essential for fermentation)
Flavorings (e.g., vanilla extract or fruit purees)
Sweeteners (like honey or sugar)
Mixing bowls of various sizes
Whisk for combining ingredients smoothly
Storage containers for the final product
Maintaining a Clean Workspace
Maintaining a clean workspace is crucial while making yogurt. Before beginning, one should clean all surfaces and tools with hot, soapy water, ensuring they are thoroughly rinsed and dried to avoid contamination. After each use, immediately wash tools like whisk and measuring utensils, and keep a designated towel nearby for drying hands and spills. Implementing a system to differentiate clean tools from used ones can prevent cross-contamination. Here's a succinct guide to a clean yogurt station:
Task Action Item Prep Cleanliness Disinfect all surfaces before starting. During Process Keep a damp cloth for wiping spills; wash tools after use. Post Yogurt Making Store yogurt in clean containers; sterilize all used equipment.
By methodically organizing ingredients and maintaining a clean workspace, one can ensure their kitchen yogurt making station is functional and hygienic.
Ingredients and Additives
Creating an organized kitchen yogurt making station starts with choosing the right ingredients and understanding how additives can enhance the final product. This section explores the best practices for selecting base ingredients and incorporating a variety of mix-ins and flavors.
Selecting Quality Base Ingredients
For making homemade yogurt, milk is the foundational ingredient. A variety of milks can be used, ranging from whole milk for a creamier texture to skim milk for a lighter version. Quality milk leads to quality yogurt, so one should always opt for fresh and preferably organic milk, if accessible. Dry ingredients such as a yogurt starter or tapioca starch are often necessary to aid in the fermentation and thickening process.
Milk options:
Whole milk
Skim milk
Goat milk
Non-dairy alternatives (almond, coconut, soy)
Dry ingredients:
Yogurt starter (live cultures)
Tapioca starch (for thickness)
Mix-ins and Flavors
Once the yogurt has fermented, personalizing it with mix-ins and flavors elevates the taste experience. Sweeteners like honey or sugar can be added for sweetness. Vanilla extract is a popular choice for those preferring a classic flavor. For a more textured experience, one may add nuts such as almonds, flax seeds, or even dried cranberries.
Sweeteners:
Honey
Sugar
Flavors:
Vanilla extract
Spices (cinnamon, nutmeg)
Mix-ins:
Nuts: Almonds, flax seeds
Fruits: Dried cranberries, dates
Chocolate chips
Carefully measured mix-ins should be stirred in gently to maintain the integrity of the yogurt's consistency. Remember, the key to an exceptional yogurt making experience is the thoughtful selection and integration of these ingredients and additives.
Storage Solutions for a Clutter-Free Kitchen
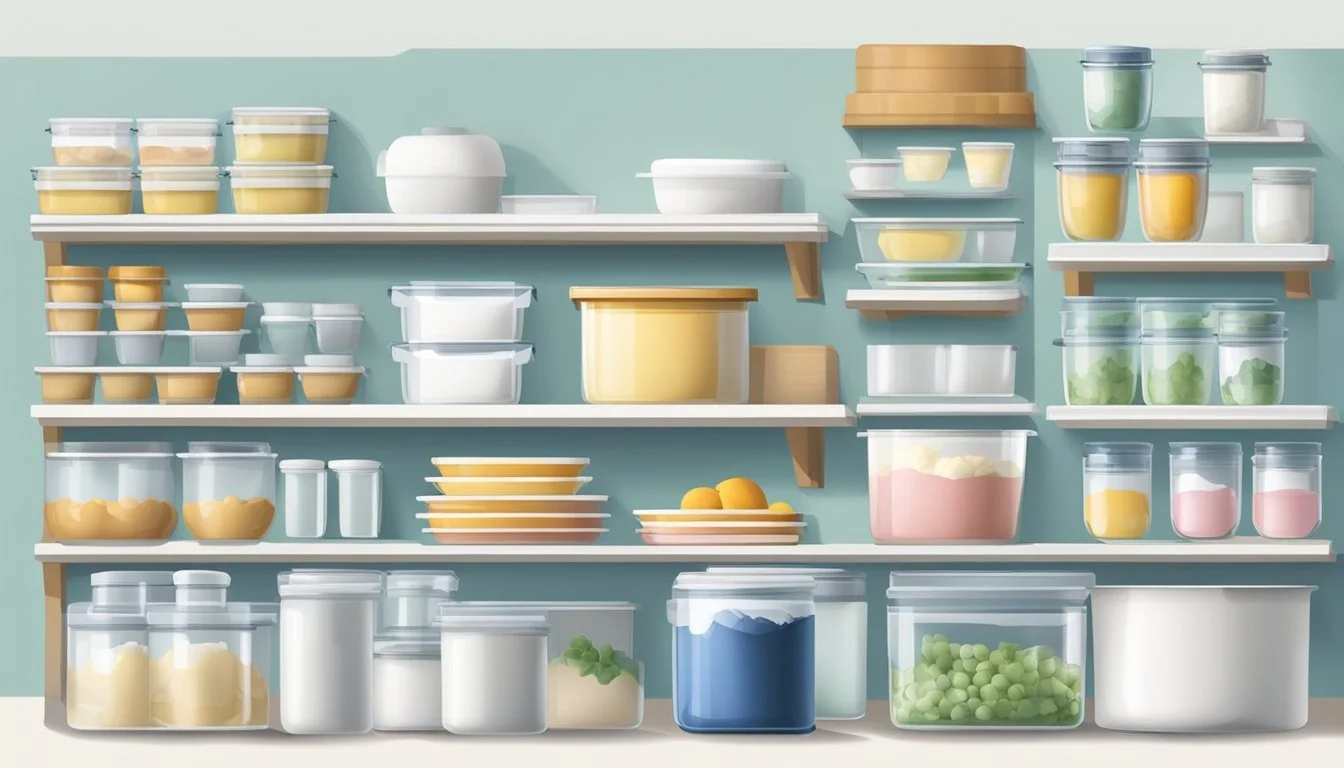
A well-organized yogurt making station requires strategic use of storage solutions to maximize counter space and maintain a clutter-free environment. Thoughtful selection of containers and implementation of shelving can transform the area into an efficient workspace.
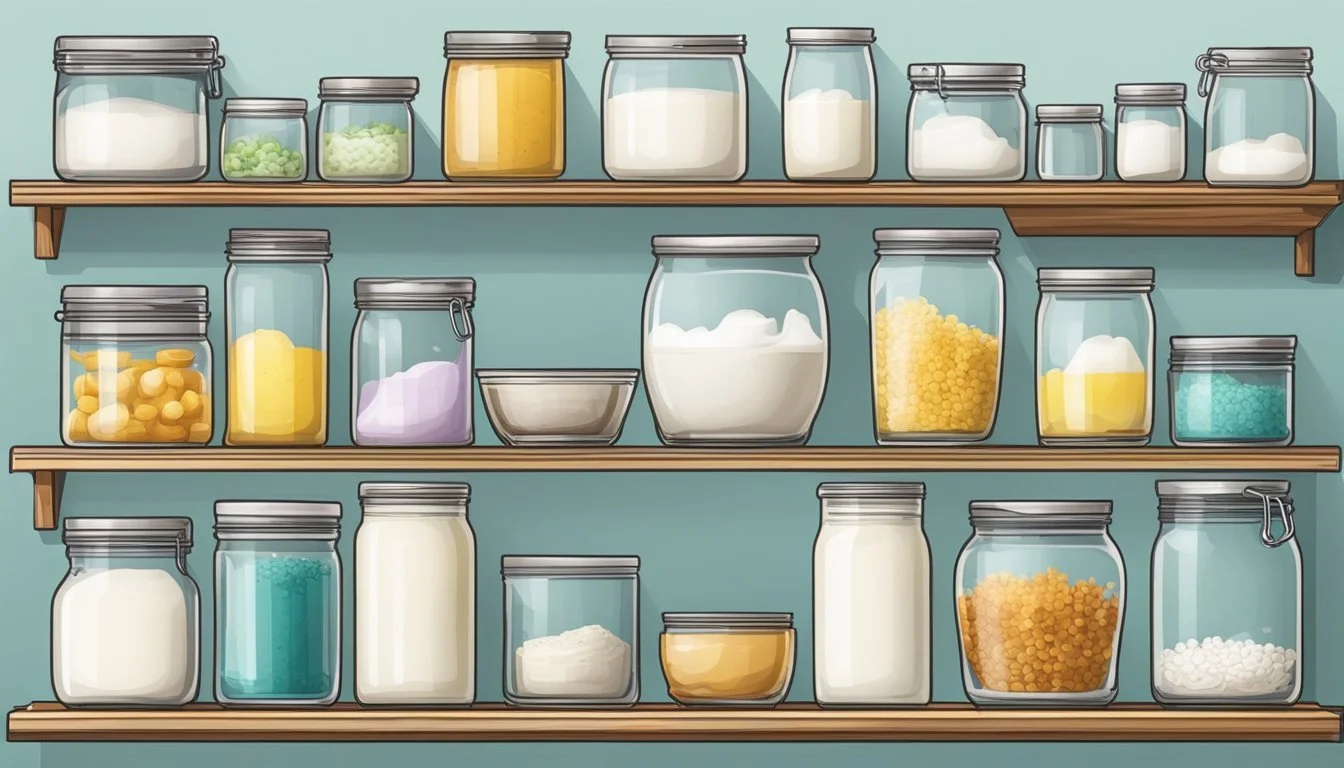
Using Containers and Canisters
For a yoga making station, clear storage containers offer visibility of contents while keeping ingredients fresh. Canisters are specifically useful for items such as yogurt starters, granola, and nuts. One should label each canister to streamline the yogurt-making process. Ideally, these containers should be stackable to optimize the use of vertical space. A baking drawer integrated below the station could store measuring spoons and cups, ensuring they are within reach yet neatly tucked away.
Integrating Open Shelves and Drawers
Open shelves are beneficial for organizing larger items that are used frequently, like bowls and jars. By positioning these shelves at eye level, they make it easy for someone to access and return items during the yogurt-making process. Additionally, installing a pullout shelf within cabinetry transforms hard-to-reach corner spaces into accessible storage for blenders or other bulky appliances. Drawers with dividers can segregate different types of tools and ingredients, making it simple for the user to find what they need without sifting through a cluttered drawer.
Preparation and Baking Process
Creating an organized kitchen yogurt making station involves meticulous prep work and the adept use of oven and countertop appliances. This ensures both yogurt and baked goods can be prepared efficiently and safely.
Prep Work for Yogurt and Baked Goods
Before starting, it's essential to ensure all ingredients for yogurt and baked goods are measured and separated. Yogurt requires a culture starter and milk, which should be heat-treated then cooled to the correct temperature. For baked goods like granola intended to complement the yogurt, ingredients such as oats, nuts, and sweeteners need to be measured accordingly.
Yogurt preparation steps
Heat the milk to just before boiling (185°F or 85°C)
Cool milk down to 110°F (43°C)
Mix in the yogurt culture
Baking goods preparation steps
Measure dry ingredients (e.g., flour, baking soda)
Combine wet ingredients (e.g., eggs, oil, flavorings)
Mix together to prepare the dough or batter
The use of separate bowls for dry and wet ingredients is advised. One should also prepare and set out baking pans, cookie sheets, and muffin tins before the baking process begins.
Using the Oven and Countertop Appliances
An oven must be preheated to the appropriate temperature for baked goods. Baking times will vary depending on the recipe and the size of the goods. One should place racks in the center of the oven to ensure even cooking and use a fan if available to distribute heat uniformly.
Oven usage for baking:
Preheat oven to the recipe's specified temperature
Position goods on the center rack
Utilize the fan for even heat distribution
Countertop appliances like yogurt makers or proofing boxes can greatly simplify the incubation process for yogurt. This steady temperature allows yogurt cultures to develop properly over several hours.
Countertop appliance usage for yogurt:
Fill the yogurt maker with the prepared mixture
Set the appliance to the correct incubation temperature, usually around 110°F (43°C)
Allow the yogurt to incubate for the required period, often 4-8 hours
With the right preparation and use of appliances, one can achieve a successful bake paired with homemade yogurt, offering a satisfying culinary experience.
Post-Baking Cleanup and Maintenance

After enjoying the process of making yogurt in the kitchen, proper cleanup and maintenance are crucial to ensure the area remains hygienic and ready for next use. A systematic approach to tidying up not only simplifies the task but also helps in maintaining a clutter-free kitchen.
Daily Cleanup Routine:
Wash all utensils and containers used in yogurt making immediately after use with hot, soapy water.
Wipe down any spills on the counter with a damp cloth to prevent the growth of bacteria.
Sanitize the workspace by using an appropriate kitchen sanitizer, especially where milk has been spilled.
Maintenance Tips:
Inspect all equipment regularly for wear and tear, replacing any items that no longer seal properly or have become damaged.
Declutter the yogurt making station periodically, removing any items that are no longer needed or that interrupt the workflow.
Regularly check dates on perishable items like milk and starters, ensuring freshness for the next batch.
Storage Solutions:
Use labels on containers to distinguish between different types of yogurt cultures and their respective dates.
Implement a first-in, first-out (FIFO) system in the refrigerator to avoid spoilage and waste.
Weekly Deep Cleaning:
Empty the entire yogurt making area and clean shelves or drawers thoroughly.
Organize and restock supplies, making sure everything is easily accessible for the next yogurt-making session.
By adhering to these straightforward and effective practices, one can maintain an organized and hygienic kitchen environment that promises a pleasant and efficient yogurt-making experience each time.
Creating a Family-Friendly Environment
Creating an organized kitchen yogurt making station that is family-friendly involves ensuring safety and accessibility for all family members as well as designing the space to encourage family involvement in the baking process.
Safety and Accessibility
For a family-friendly yogurt making station, safety comes first. Counters should be constructed at a height accessible to adult family members while also allowing older children to participate under supervision. Lowered sections or adjustable-height platforms can be included for younger family members. Safe storage for tools and ingredients, with sharp and electrical items out of children's reach, is essential.
Storage Solutions:
Install lockable cabinets for sharp tools
Use back-of-door racks for utensils out of young children's reach
When it comes to equipment, opt for utensils with safety features, such as covered blade graters or child-safe mixers. Non-slip mats can be placed around the area to prevent accidental falls.
Engaging Family in Baking
Encouraging family members to bake together builds bonds and fosters a love for cooking. The yogurt making station should have ample space to allow several people to participate without crowding. Here, it's not just about the physical space but also about creating an atmosphere that invites participation.
Tips for Engaging:
Visual Aids: Hang a chart with simple recipes to inspire family baking sessions.
Individual Tasks: Assign tasks based on ability to keep everyone actively involved.
Creating designated zones within the station for different tasks allows for multiple family members to work concurrently without interfering with each other's activities. It is helpful to have clear labels and organizational tools such as:
Transparent containers for ingredients
Drawer dividers for tools and equipment
By incorporating these elements, a yogurt making station in the kitchen can become an enjoyable and safe space for the whole family to engage in baking activities together.
Enhancing Your Kitchen Decor

Creating an organized yogurt making station involves more than just functionality; it's also an opportunity to enhance the kitchen's decor. Thoughtful selections in countertop materials and decorative elements can turn a practical space into an attractive focal point.
Countertop Choices
When setting up a yogurt making station, one must consider the countertop surface. Marble is a popular choice due to its natural beauty and cool temperature, which is beneficial for culinary tasks. However, quartz is another excellent option, offering durability and a wide range of color choices. A countertop must not only complement the kitchen's aesthetic but should also be practical for yogurt preparation and easy to clean.
Material Benefits Aesthetic Value Marble Cool surface ideal for dairy products High-end, classic look Quartz Non-porous, less maintenance Modern and customizable
Decorative Elements
In addition to the countertop, incorporating decorative elements such as unique utensil holders, stylish jars for yogurt toppings, and elegant trays can amplify the kitchen's charm. These elements should not only be decorative but also aid in keeping the station organized and accessible. Having a designated area for spoons, bowls, and ingredients with decorative touches adds to the efficiency and visual appeal of the kitchen.
