
How to Make Homemade Butter from Raw Milk
A Step-by-Step Guide
Discover > Homesteading > How to Make Homemade Butter from Raw Milk
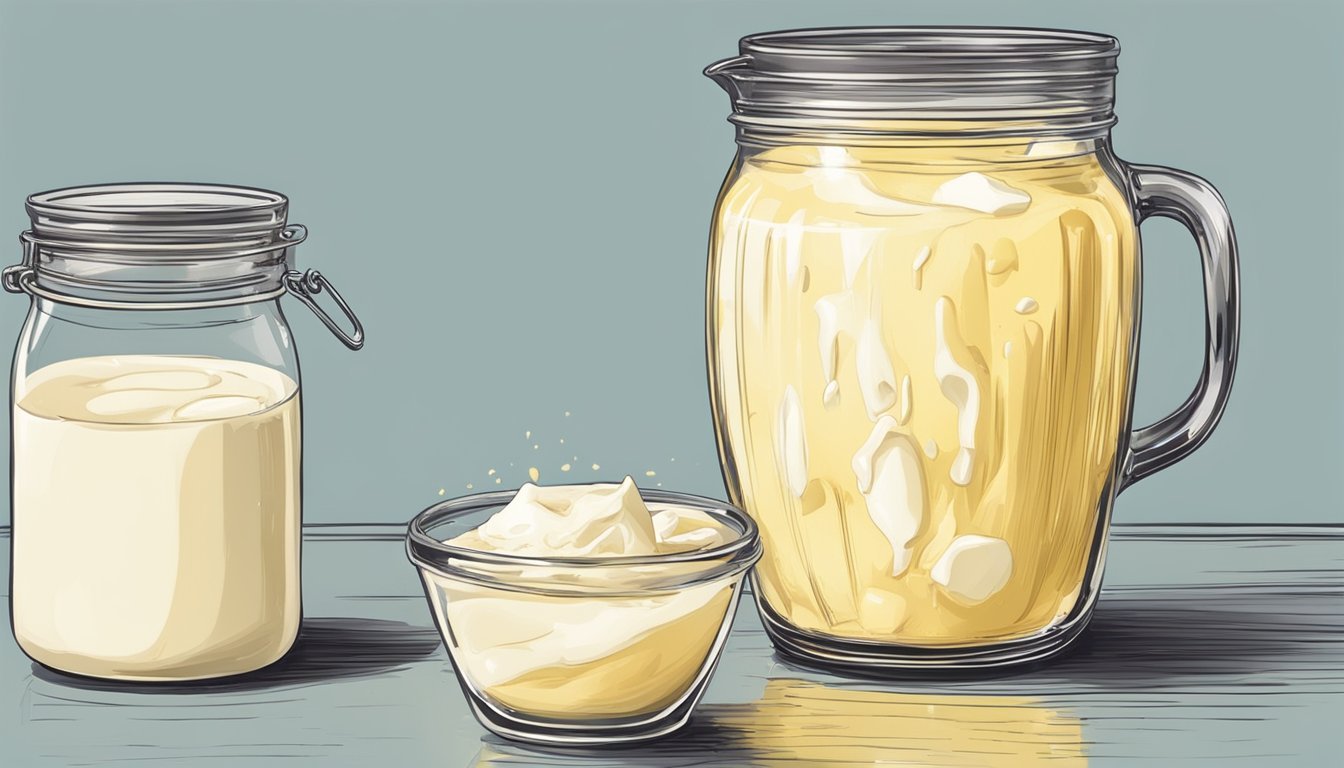
Making homemade butter (how long does butter last?) is a delightful process that reconnects people with traditional food preparation methods. By using raw milk, obtained from cows, goats, or sheep, individuals can produce butter that often boasts a richer flavor profile compared to store-bought options. The cream (how long does cream last?) from raw milk naturally rises to the top, which is then separated and used as the main ingredient.
The process of taking your farm-fresh milk and churning the raw cream into butter is a simple yet fascinating transformation. Through agitation, the fat molecules in the cream coalesce, creating the solid form of butter while also producing buttermilk as a byproduct. The good news is raw milk butter byproducts can be reserved for other culinary uses, such as baking or making pancakes.
Homemade butter has a taste of its own and can be customized by adding salt or herbs for flavor, offering a personal touch to this dairy staple.
Understanding Raw Milk Butter
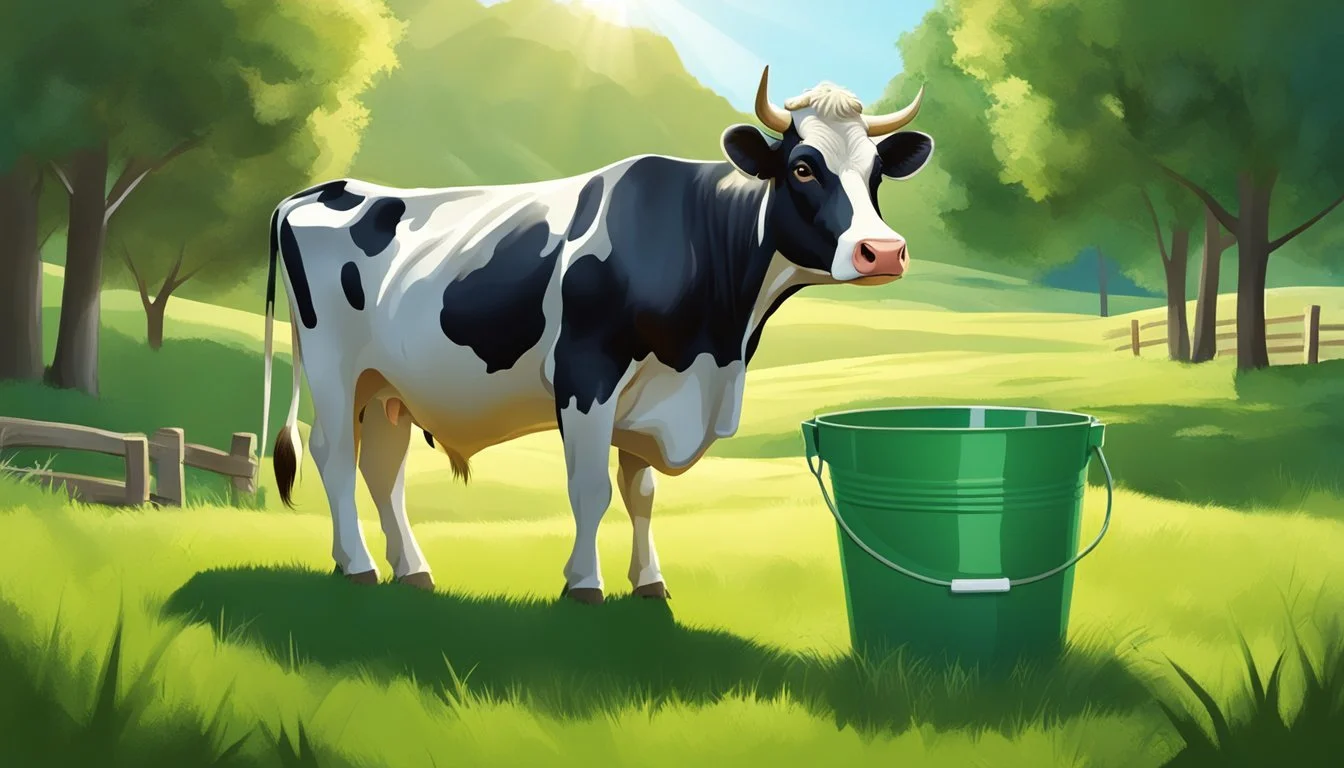
When making fresh butter, the quality of the raw milk used is paramount. As the foundation of butter, the properties and nutritional benefits of raw milk, especially from grass-fed cows, are crucial factors in the quality and flavor of the final product.
You don't need your own milk cow but you will need to find raw milk to make your own milk butter.
Raw Milk and Its Properties
Raw milk comes directly from the animal without undergoing pasteurization, a process that destroys pathogens but also some beneficial components. This milk retains its natural enzymes, which can aid in digestion and absorption of nutrients. Its full-fat content also provides a rich taste and creamy texture.
Nutritional Benefits of Raw Milk
Raw milk is a nutrient-rich liquid that contains a balance of proteins, fats, and carbohydrates. It is also a source of vitamins such as A, D, and B12, as well as minerals like calcium and phosphorus. Proponents argue that these nutrients are more bioavailable due to the presence of natural enzymes in unpasteurized milk.
Grass-Fed Cows and Raw Milk Quality
Milk from grass-fed cows typically has a superior nutritional profile, including higher levels of omega-3 fatty acids and fat-soluble vitamins, which are beneficial to human health. The quality of milk these cows produce can affect the taste and texture of the butter. Grass-fed raw milk is often considered the premium choice for artisanal butter.
Essentials of Churning Butter From Raw Milk
Before delving into the practical aspects of processing butter from raw milk, one must understand the three critical components: effective raw cream separation, the necessary tools to churn the cream into butter, and a comparison between raw cream and commercial heavy cream.
With these fundamentals in hand, the process becomes both accessible and rewarding.
Cream Separation Techniques
Let the raw milk sit in a refrigerator for at least 24 hours which allows the raw cream to rise to the top. The gathering of the cream can be achieved using a cream separator or manually, with implements such as a turkey baster or a ladle. It is essential to use clean equipment during this process to prevent contamination.
Tools Needed for Making Raw Milk Butter
To transform cream into butter, a churning device is necessary. This could be a:
Food processor
Stand mixer
Blender
Handheld mixer
In addition to a churning tool, one will need:
A large wooden spoon or spatula to gather and press the butter post-churning
Jars or bowls to separate and store the cream and finished butter
plastic wrap
Raw Cream and Heavy Cream Comparison
Raw cream is the unprocessed product skimmed from the top of raw milk; it has a variable fat content based on the milk's source.
In contrast, heavy cream found in stores is typically homogenized and has a consistent fat percentage of about 36%. While both can be used to make butter, raw cream can bring a unique flavor profile and texture owing to its natural state and the presence of beneficial bacteria.
Preparation Before Churning Raw Milk Butter
In the process of turning raw milk into butter, preparation is critical. The method involves two important stages: culturing the milk to potentially create cultured butter and allowing the cream to ripen, setting the stage for successful churning.
One has the option to make cultured butter by introducing bacteria to the cream which enhances the flavor. To culture raw milk, add 1/2 to 1 tablespoon of buttermilk to each 1/2 gallon of raw milk.
The addition of buttermilk introduces beneficial bacteria, initiating the culturing process. Allow the cultured cream to sit at room temperature for 12 to 24 hours until it thickens slightly.
The cream ripening process is about maximizing the butter yield from the cream. After skimming the cream from the top of the raw milk—referred to as the cream line—let it rest to reach the optimal temperature and consistency. This step usually involves leaving the cream at room temperature for several hours. A ripened cream should be around 75 degrees Fahrenheit, which facilitates the butter-making process as fats become more malleable.
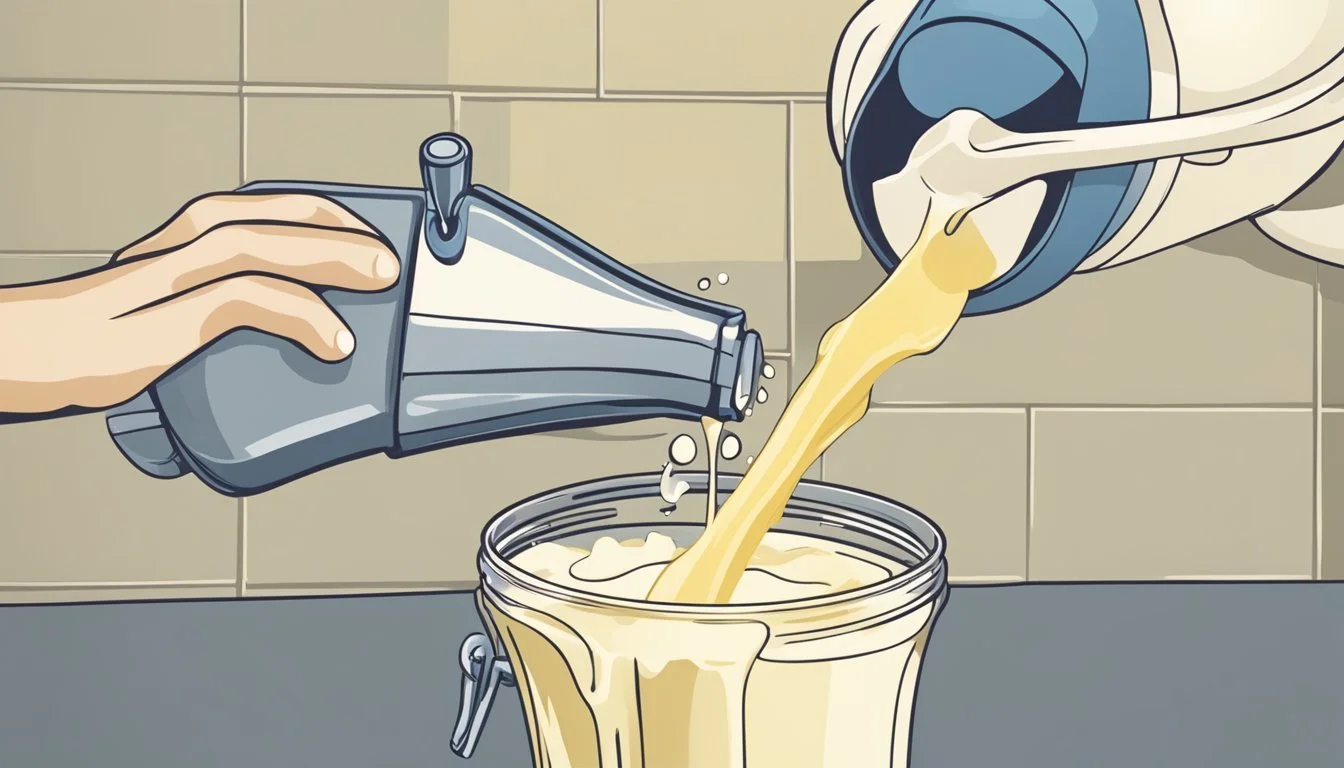
Churning Process
The churning process is the critical phase in transforming whipping cream into homemade butter. It involves agitation to separate butterfat from buttermilk and can be done using various techniques that cater to different preferences and equipment availability. Many people like the authentic experience of hand-churning others prefer to employ a stand mixer.
Churning Techniques
There are multiple churning techniques, each producing butter with distinct characteristics:
Hand Churning: Employing a hand-held churn, one vigorously shakes the cream until butter begins to clump together. Although labor-intensive, it allows for control and a traditional approach.
Stand Mixer Churning: Using a stand mixer with a whisk attachment provides a more automated method. The cream is beaten at a medium to high speed, which is less strenuous and time-saving.
Jar Churning: Shaking a jar filled with cream is a simpler, no-special-equipment-needed method, suitable for small batches.
From Whipping Cream to Raw Milk Butter
The journey from whipping cream to butter follows this course:
Preparation: The cream should be at a temperature of about 60°F (15°C) for optimal churning.
Whipping: Begin by whipping the cream until it progresses past the whipped cream stage and starts to separate.
Continued Agitation: Keep agitating. The mixture will then shift from whipped cream to granular particles, and eventually, clumps of butter will form.
Recognizing butter formation is key in the process:
When all the buttermilk separates from the butterfat; it usually turns into a yellowish clump surrounded by a liquid.
Listen for the change in sound, as a sloshing noise indicates the liquidity is separating from solids this can be harder with a stand mixer.
Feel the texture change when using manual methods like hand churning; the resistance increases as the butter solidifies.
Rinsing and Molding Raw Milk Butter Butter
After churning the raw milk cream, the resulting fresh butter contains buttermilk which must be rinsed away. This process is essential for flavor and preservation. Molding the butter then gives it a desirable shape for storage and presentation.
Once the churning process is finished and the solid butter has been separated from the buttermilk, the butter should be collected and transferred to a large bowl. The butter maker must rinse the butter to remove excess buttermilk. Thorough rinsing ensures the butter has a pure, clean taste and extends its shelf life.
The rinsing process includes:
Placing the butter into a bowl with cold, purified water.
Gently pressing the butter with a spatula or wooden spoon to expel buttermilk.
Draining off the cloudy water and repeating the rinse until the water runs clear.
It is crucial that the water used for rinsing is cold to prevent the butter from melting. The butter is often rinsed multiple times to ensure all the buttermilk is removed some butter makers like to use ice water.
After the butter has been rinsed thoroughly, it's time to shape it. One may use a butter mold to give the butter a decorative pattern or a uniform block for easier measurement and slicing.
Steps for molding:
Press the butter into a cleaned butter mold, removing air pockets.
Chill the butter within the mold to help it hold its shape.
Once chilled, carefully remove the butter from the mold.
For those without a mold, one can also shape butter into a log using parchment paper or simply form it into a desired shape using spatulas or butter paddles.
Regardless of the method, it is important that the butter is compacted firmly to maintain structure and eliminate air pockets which can affect preservation.
How to Flavor and Store Homemade Butter
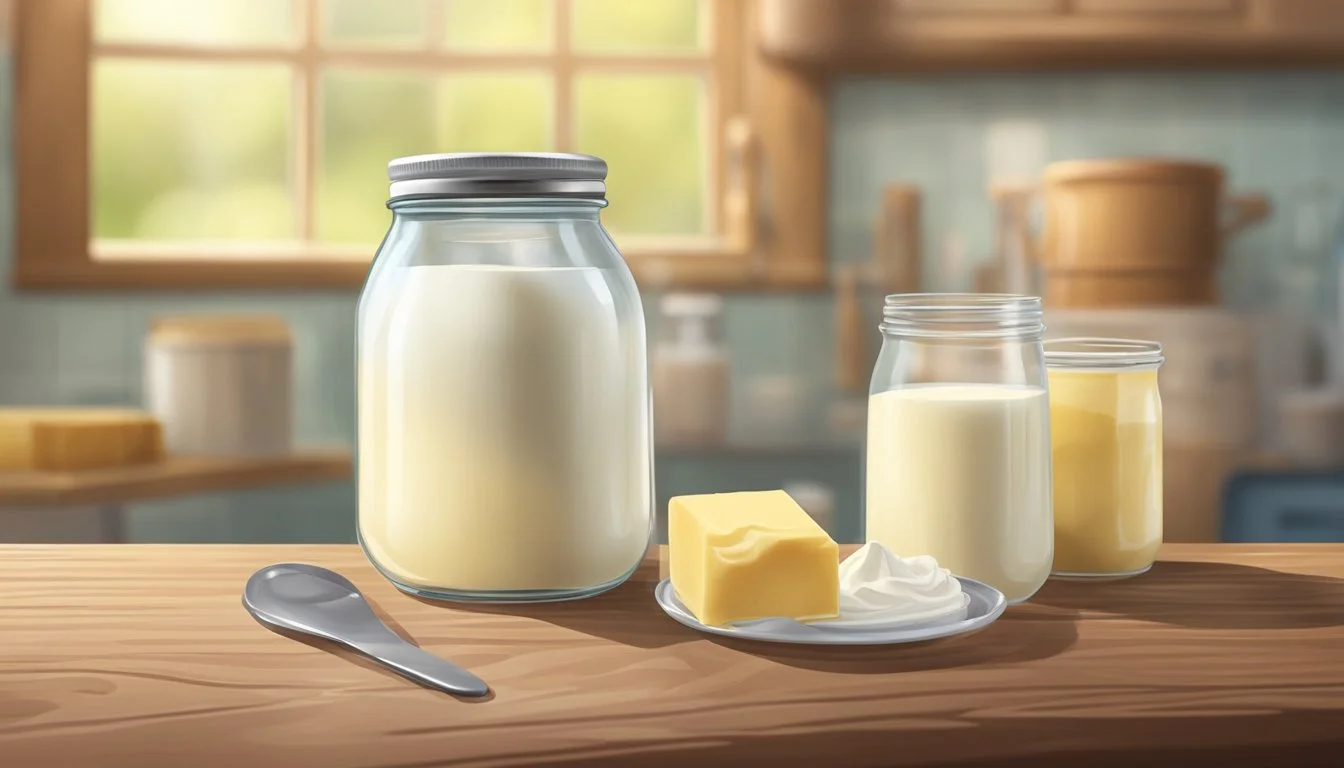
Once butter is churned from raw milk, enhancing its flavor and ensuring its freshness is critical for longevity and taste. The process of adding flavorings and appropriate storage can significantly influence the quality of the final product.
Salt is the most common flavoring added to butter, transforming it into salted butter, which is favored for its enhanced taste and preservative qualities but this depends on personal preference and use. If you want to bake cakes you will prefer unsalted butter over salted butter.
One can typically add about 1 to 2 percent of salt by weight to the butter. For example, for 100 grams of butter, one would add 1 gram of salt. It’s essential to distribute the salt evenly throughout the butter.
To add a unique flavor profile to the butter, one can incorporate herbs, spices, or other flavorings. This is often done after the churning and any washing of the butter solids. A few popular additions include:
Garlic or garlic powder (how long does garlic powder last?)
Fresh or dried herbs (how long do dried herbs last?) (such as dill, rosemary, or thyme)
Citrus zest
Cheese
Chili flakes
One should thoroughly mix any flavorings into the butter to ensure a consistent taste.
For butter made from unpasteurized milk, storing it correctly is crucial to maintain freshness and prevent spoilage. Butter should be kept in an airtight container with plastic wrap to protect it from absorbing odors and to minimize exposure to air, which can hasten rancidity.
The best storage temperatures are as follows:
Refrigerator: 32°F to 39°F (0°C to 4°C), ideal for short-term storage.
Freezer: 0°F (-18°C) or below, suitable for long-term storage.
In the refrigerator, wrapped or covered butter can last for several weeks, while in the freezer, it can maintain its quality for months. Nonetheless, one should note that freezing may alter the texture slightly upon thawing. For butter that will be consumed quickly, a butter dish in a cool part of the kitchen can keep it spreadable and fresh for daily use.
Comparing Homemade and Store-Bought Butter

When considering homemade versus store-bought options, one must evaluate differences in taste and texture as well as conduct a cost and value analysis to understand the nuances of each type.
Homemade butter typically offers a fresher flavor compared to its store-bought counterpart, which can be attributed to the absence of preservatives in the homemade version.
Texture-wise, the homemade product tends to be softer and more malleable before refrigeration, and consumers have the option to customize its salt content to their liking, which can subtly enhance the taste profile of the butter. In contrast, store-bought usually has a standard salt level and a consistent texture that is firmer due to the chilling and packaging process.
When analyzing the cost:
Homemade: The primary cost comes from the raw ingredients, particularly if one chooses high-quality, full-fat cream. The overall cost can be offset if the buttermilk byproduct is utilized.
Store-Bought: The price includes not just the product but also the costs associated with packaging, distribution, and branding.
In terms of value, homemade butter can be considered more cost-effective for those who value customization and freshness. On the other hand, store-bought butter is valued for its convenience and consistent quality.
Practical Tips and Tricks
Making raw milk butter can be straightforward if one is equipped with the right techniques and knows how to address common challenges that may arise during the process. Here are some practical tips and tricks for both troubleshooting issues and ensuring efficient practices.
Issues can appear during the process, but they can often be solved with simple adjustments:
Cream Won't Churn to Butter: Ensure the fresh cream is cold; room temperature cream is tough to churn, churning works best when the cream is around 55°F to 65°F. If the fresh cream is too warm, place it back in a refrigerator to chill before continuing.
Butter Has a Milky Appearance: Continue to process or churn until the buttermilk separates fully. A fine mesh strainer or cheesecloth can help remove any remaining buttermilk from the butter.
Butter Is Too Soft or Runny: This likely indicates excess moisture. One can press the butter with a wooden spoon or spatulas against the side of the container to expel more liquid.
Grains or Lumps in Butter: Butter needs to be kneaded after churning to ensure consistency you don't want watery or chunky butter. Cheesecloth or a splash guard can be used to knead and wash the butter without a mess.
Efficiency focuses on reducing effort and maximizing yield:
Cream Separation: Use a turkey baster or a ladle to separate the cream from milk. This works best after the raw milk has been refrigerated for over 24 hours to allow the cream to rise.
Churning Process: A food processor can be a quick tool for churning as opposed to manual methods. However, if using a churn, a splash guard can help in containing the mess.
Butter Washing: Once butter forms, it should be washed to remove buttermilk. Cold water can be poured over the butter and kneaded gently to release remaining liquid.
Straining Butter: A fine mesh strainer is useful for ensuring all of the buttermilk is removed without losing butter in the process. Pressing the butter through a strainer can also improve its texture.
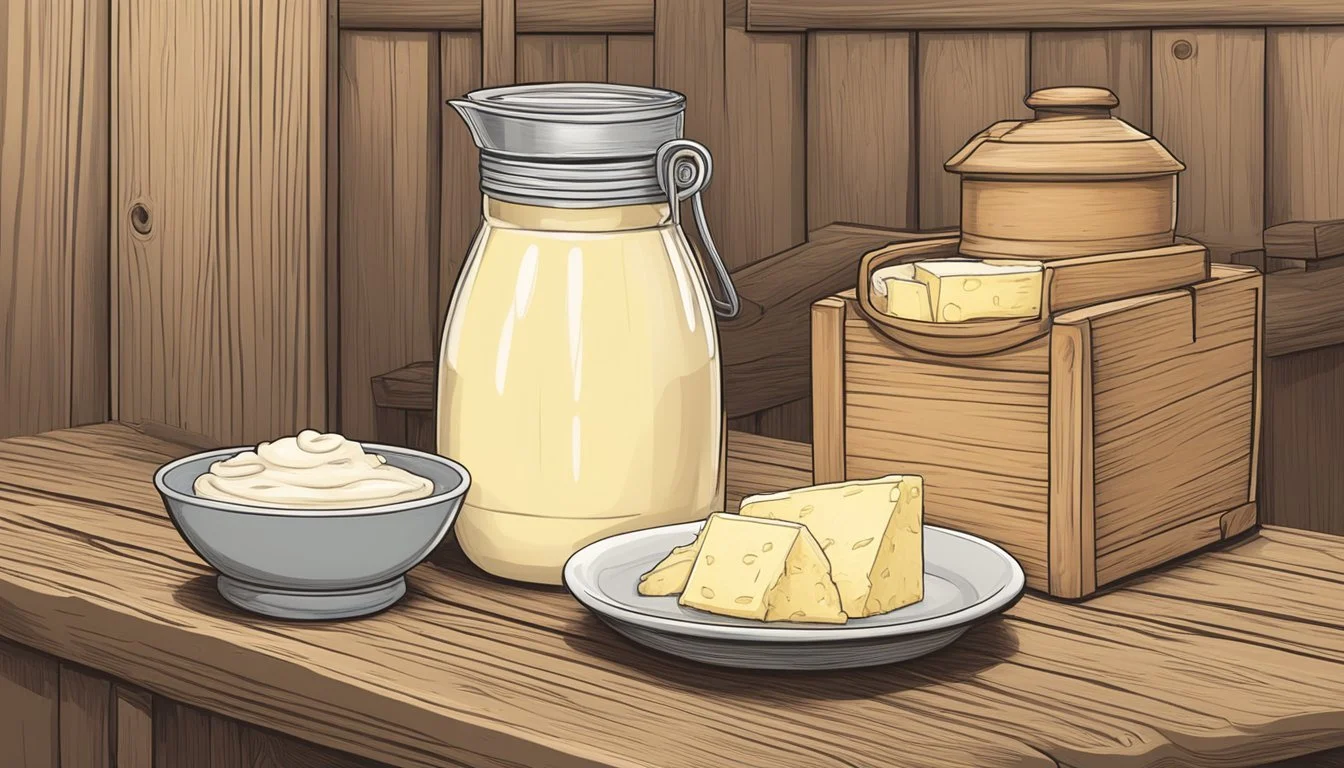
Raw Milk Butter Uses

Butter from raw milk not only provides a rich, creamy spread but also yields buttermilk, which can be used in various recipes. The homemade version enhances the flavors in baking and cooking, offering a fresh, pure taste that is often lost in supermarket versions.
Buttermilk Uses
Buttermilk, the liquid byproduct of the process, shouldn't go to waste. It can be utilized in various culinary applications, enhancing both the texture and taste of many dishes.
Baked goods: Buttermilk contributes to tender, flaky pastries and lends a slight tang to cakes, pancakes, and biscuits.
Marinades: It acts as a tenderizing agent for meat due to its acidic nature.
Dressings: It provides a creamy base for dressings and dips.
Incorporating Butter in Baking
Homemade raw milk butter imparts a freshness and flavor to baked goods that pre-packaged butter often lacks. When used in baking, it can have transformative effects:
Flakiness: In pastries like croissants (how long do croissants last?) and pie crusts, butter creates layers, trapping steam during baking and resulting in a flaky texture.
Richness: Adds depth and richness to cookies, cakes, and breads.
Utilizing your own butter in baking not only elevates the taste but also gives the satisfaction of using a self-made ingredient.
Raw Butter in Cooking and Recipes
Cooking with raw milk butter can introduce an unparalleled taste and texture to various dishes. Its high fat content means it can carry and enhance the flavors of other ingredients. Here's how raw butter can be used:
Sautéing and frying: Provides a delicious base for cooking and imparts a nuanced flavor.
Finishing sauces: A small dollop can add richness and a glossy finish.
Condiments: Mixed with herbs and spices, raw butter becomes a flavorful spread or topping.
Raw butter's versatility and superior flavor profile make it a valuable addition to one’s cooking repertoire.
Advantages of Making Butter at Home
Making butter at home can provide individuals with richer flavors and potential health benefits. It also supports a self-sufficient lifestyle by allowing them to create a staple dairy product in their own kitchen.
Homemade butter crafted from the cream of raw milk typically retains more of the natural vitamins and minerals found in milk, such as Vitamin A, D, and K2, and trace minerals.
The nutritional benefits of raw milk butter can also vary if different types of milk are used, such as goat milk, which can result in a product that is easier to digest for some people due to its distinct fat and protein structure.
Engaging in homesteading practices, such as making butter at home, instills a sense of self-reliance and reduces dependence on commercial products. It helps them control the quality of what they consume, ensuring that there are no added preservatives or artificial flavors that can be found in over-the-counter versions.
Making raw milk butter at home also connects them closer to the source of their food, fostering a greater appreciation for the effort that goes into producing it.
Guidance for Beginners
Making your own butter from raw milk is a rewarding process that yields a fresh, flavorful product. For first-timers, understanding the basic steps is crucial, and incorporating children into the activity can make it a fun family experience.
Step-by-Step Guide for First-Timers
1. Preparation of Raw Milk:
Start by refrigerating your raw milk for at least 24 hours to allow the cream to separate and rise to the top. Use a wide-mouthed jar with a lid for this purpose. How much butter you get is based on the quality of the raw cows' milk. Healthier dairy cows will have milk with more raw milk cream and more butter-milk content but first-timers shouldn't start with too much milk.
2. Separation of Cream:
After the cream has risen, skim it off the top of the milk. This can be done with a ladle or a turkey baster, taking care to collect as much cream as possible while leaving the milk behind.
3. Churning Process:
Transfer the collected cold cream into a food processor or a butter churn. Churn or process the cream until it separates into butter solids and buttermilk. This can take several minutes.
4. Rinsing and Shaping:
Once the butter forms, rinse it under cold water to remove any remaining buttermilk. This is important to extend the butter's shelf life. Then, shape or mold it as desired and chill it until it hardens.
Getting Children Involved
Encouraging Participation:
Children can take part in making the raw milk butter by helping with the skimming of the cream, an easy and safe step. Their involvement can be educational and enjoyable, teaching them about where food comes from.
Churning as an Activity:
Allow children to help with the churning process. Whether using a hand-crank churn or a food processor, they can observe the transformation of the cold cream into butter. Guided hands-on experience can be both exciting and memorable for them.
Final Thoughts
Making raw milk butter can be a rewarding process for those interested in creating homemade dairy products. Quality is paramount; the fresher the milk, the better the butter.
It is the only real way of knowing that your farm-fresh milk is truly farm-fresh. The transformation of cream to butter is a simple yet precise operation relying on temperature and handling.
Key considerations:
Temperature: Cream should be chilled properly to separate easily.
Cream Skimming: Gentle removal of cream preserves its structure.
Churning: Can be done using a food processor, jar shaking method, or churn.
Buttermilk: The byproduct should not be wasted, as it has culinary uses.
Culturing: This is optional but cultured butter adds depth of flavor.
One may find variations in flavor and texture due to differences in milk sources, the diet of the cows, and the specifics of the process used.
Experimentation can lead to a more tailored end product. For instance, culturing cream with yogurt can introduce a tangy profile, while adding salt or herbs can enhance flavor. With raw milk butter you can make a variety of other goods and the byproducts are useful too. Learning to make raw milk butter gives you the skills for homemade whipped cream, sour cream, even mozzarella.
Patience and attention to detail are significant factors in the butter-making process. There is value in the traditional skills employed, which are often overshadowed in our modern, fast-paced world. The maker's effort is literally churned into a spreadable, flavorful, and natural product that stands in contrast to commercially available options, often containing additives.
Incorporating homemade butter into one's diet not only adds a touch of handcrafted excellence but also connects the individual with traditional food preparation methods that have nourished generations.
Supplementary Resource
In this section, readers will find carefully curated additional readings. These resources have been selected to enhance understanding and provide further insight into making butter from raw milk.
For those looking to expand their knowledge on the topic the following books and materials can serve as valuable resources:
"The Butter Making Book" by Lacey Hubert
A comprehensive guide that covers the nuances of the process. (Affiliate link)"Raw Milk Basics" by Thomas O'Neal
This book delves into the benefits and processes involved in working with raw milk, including butter production. (Affiliate link)
