
Making Cheese at Home
A Simple Guide for DIY Dairy Delights
Discover > Homesteading > Making Cheese at Home
Making cheese (how long does cheese last?)at home has become an increasingly popular activity for both culinary enthusiasts and those seeking to know more about the food they consume. This age-old practice, once a household staple, has regained its appeal as people are drawn to the simplicity of the process and the satisfaction of creating their own artisanal products.
By understanding the basic techniques and ingredients involved, aspiring cheesemakers can produce a wide range of cheeses (What wine goes well with cheese?), from soft and creamy ricotta to more complex aged varieties. The key to successful cheesemaking lies in choosing high-quality milk and mastering the art of controlled fermentation.
Embarking on a journey into homemade cheese allows individuals to tailor their creations to their own tastes while gaining a deeper appreciation for this versatile and delectable food. With the right guidance, tools, and a bit of patience, anyone can become a skilled home cheesemaker.
Understanding The Basics of Cheesemaking
When it comes to making homemade cheese in your own kitchen, understanding the basic principles of cheesemaking is essential for beginners. Cheesemaking involves the process of transforming milk into a delicious cheese product with the help of specific ingredients and techniques. Knowing the fundamental elements of cheesemaking, including the types of cheese, necessary ingredients, and essential equipment, will set you up for success.
There are numerous types of cheese ranging from soft and fresh (like mozzarella) to hard and aged (like cheddar). Each type of cheese requires a unique combination of ingredients, as well as specific techniques and temperatures during the process. To simplify the process for beginners, it's helpful to start with a basic, easy-to-make cheese recipe before experimenting with more complex cheese varieties.
The essential cheesemaking ingredients include:
Milk - Raw or pasteurized milk is typically used, but avoid ultra-pasteurized (UHT) milk, as its proteins won't coagulate properly.
Citric acid (how long does citric acid last?) - A tart white powder produced from citrus fruit, used to acidify the milk.
Rennet - A coagulating agent, usually enzyme-based, that aids in separating the curds and whey.
Additionally, several key tools and equipment are needed in your kitchen for a successful cheesemaking experience:
Heavy-bottomed pot
Slotted spoon or ladle
Thermometer
Cheesecloth
Cheese mold or a simple strainer
The basic cheesemaking process generally involves the following steps:
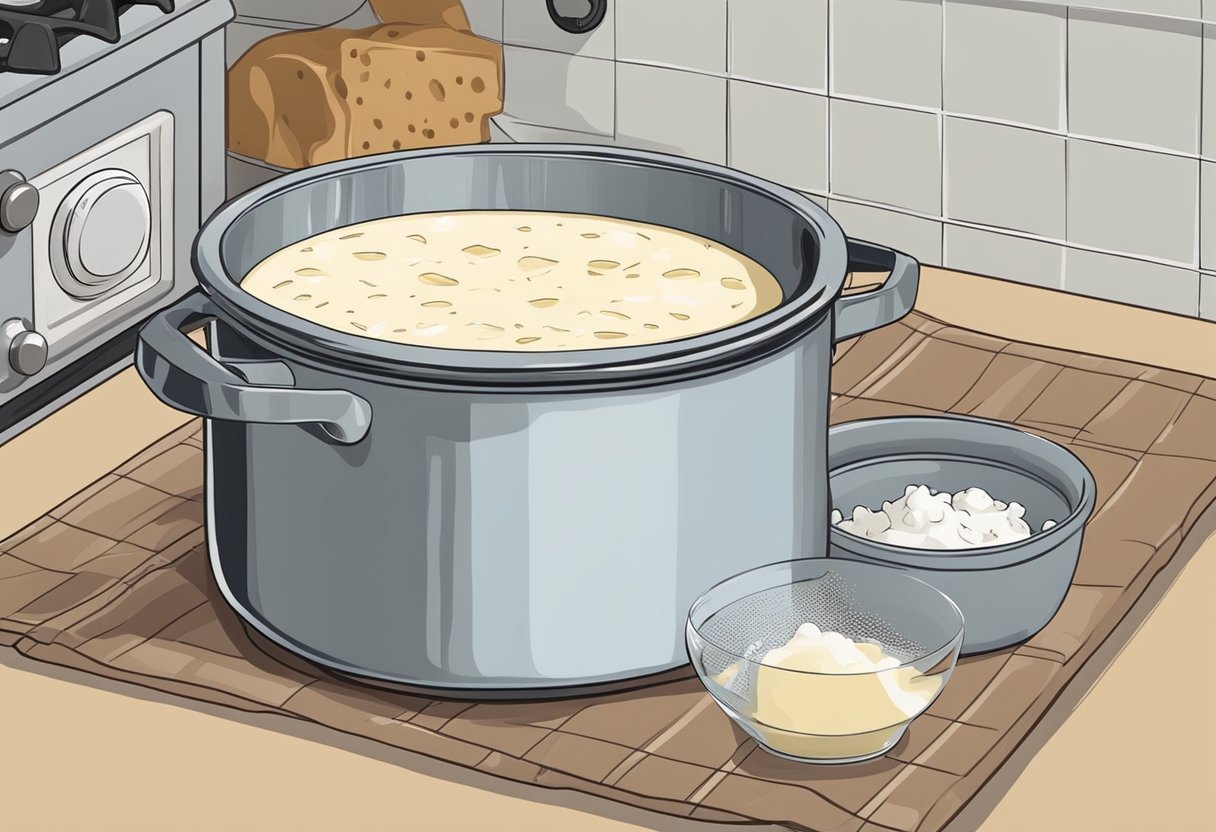
Warming the milk - Slowly heat the milk in a heavy-bottomed pot over low heat, ensuring it does not scorch.
Adding the citric acid - Dissolve the citric acid in water and slowly add it to the milk, stirring until the mixture becomes slightly acidic.
Adding the rennet - Dissolve the rennet in water and add it to the milk mixture, stirring gently to combine. The milk should now begin to coagulate.
Separating the curds and whey - Allow the mixture to rest until a firm curd forms, then cut the curd into small pieces to release the whey.
Draining the curds - Transfer the curds to a cheesecloth-lined mold or strainer, allowing them to drain and form the desired cheese shape.
Optional aging - Depending on the type of cheese, it may need to age for a specific amount of time under controlled conditions to develop its unique flavor and texture.
By following these basic steps and using the right ingredients, even a beginner can enjoy creating delicious homemade cheese in their own kitchen.
Necessary Equipment for Cheesemaking
Making cheese at home can be a fulfilling and fun activity, provided you have the right tools on hand. The process requires a combination of common kitchen items and specialized equipment to ensure the best results. Here is a list of essential tools for home cheesemaking:
Milk: The primary ingredient in cheesemaking, always choose high-quality, preferably pasteurized, milk to ensure a good yield and taste.
Large pot: A sizeable, heavy-bottomed pot is necessary for heating the milk and making the cheese.
Dairy thermometer: This is used for measuring the precise temperature of the milk during the heating process. Keeping the temperature within a specific range is crucial in cheesemaking.
Curd knife: A long, flat blade is needed to cut the curd into even-sized pieces, aiding in even drainage and proper texture.
Cheesecloth or butter muslin: A fine-weave cloth is necessary for straining and draining the cheese. Cheesecloth is generally used for harder cheeses, while butter muslin is more suitable for soft cheeses (What wine goes well with soft cheeses?).
Colander or strainer: This is used in combination with a cheesecloth or butter muslin for proper draining and pressing of curds.
Molds: These are shaped containers that help give the cheese its desired form. Molds can come in various sizes and shapes, depending on the type of cheese being made.
Cheese press: This specialized tool is used to apply pressure to the curds during the draining process, helping to form a compact, solid cheese.
The following table summarizes the necessary equipment for home cheesemaking:
Equipment Purpose Milk Primary ingredient in cheesemaking Large pot Heating milk and making cheese Dairy thermometer Measuring milk temperature during heating Curd knife Cutting curds into even-sized pieces Cheesecloth Straining and draining cheese (hard cheeses) Butter muslin Straining and draining cheese (soft cheeses) Colander Draining and pressing curds in combination with cloth Molds Shaping cheese into desired form Cheese press Applying pressure to form a compact, solid cheese
With the right equipment and knowledge of the cheesemaking process, creating delicious cheese at home can be easier than anticipated. By gathering all essential tools, you can set yourself up for success and enjoy the craft of home cheesemaking.
Recognizing and Procuring Quality Ingredients

The first step to making cheese at home is sourcing the best possible ingredients. Understanding the different materials required and identifying where to purchase them will have a significant impact on the quality and taste of your homemade cheese.
Milk is the primary ingredient in cheesemaking. The quality of milk directly influences the flavor and texture of your cheese. It is best to use fresh, whole milk, ideally from a local source or organic options in the grocery store; avoid ultra-pasteurized milk due to its higher heat treatment that can affect the final cheese. Commercial cheesemakers often use unhomogenized milk, but most home cheesemaking recipes call for homogenized milk, which results in a softer curd.
Cream might be needed in some cheese recipes, and it's essential to choose high-quality, pasteurized heavy cream.
Whey is a byproduct of the cheesemaking process, but it can also be used to make certain types of cheese like ricotta.
The rennet is the ingredient responsible for coagulating the milk and separating it into curds and whey. You can choose between animal or vegetable rennet, which is derived from microbial sources. The latter is more accessible and accommodates vegetarian diets.
Salt is used in cheesemaking as a seasoning and preservative. It's crucial to opt for non-iodized salt (how long does iodized salt last?), as iodine can inhibit the growth of certain cheese cultures.
Here are some essential ingredients you'll need for home cheesemaking:
Milk (preferably fresh, whole milk)
Cream (if required for certain cheese recipes)
Acid (such as citric acid, lemon juice, or buttermilk with active cultures, for quick-set fresh cheeses (What wine goes well with fresh cheeses?))
Rennet (animal or vegetable)
Cheese cultures (if making aged cheeses (What wine goes well with aged cheeses?))
Salt (non-iodized)
Make sure to research reputable suppliers in your area or reputable online stores for your cheesemaking ingredients.
In summary, using high-quality ingredients and understanding their role in the cheesemaking process is crucial to achieving the desired results in homemade cheese. Sourcing fresh milk, the right type of rennet, and other critical ingredients will help ensure a successful and enjoyable home cheesemaking experience.
Choosing The Right Milk
When making cheese at home, the quality of your milk plays a crucial role in determining the taste, texture, and overall success of the final product. Therefore, it's essential to choose the right kind of milk for your cheese-making endeavors.
Pasteurized milk is a popular choice for home cheese-making, as it can easily be found in grocery stores. This type of milk has been heated to remove harmful bacteria and extend its shelf life, but still retains most of the necessary properties for cheese-making. However, be cautious while selecting pasteurized milk: ultra-pasteurized milk has been heated at a higher temperature, and it is not suitable for cheese making due to the altered protein structure.
Raw milk is another option. Sourced directly from cows, goats, or sheep, raw milk contains natural enzymes and bacteria that contribute to unique flavors in cheese. Be aware that the use of raw milk can lead to a higher risk of foodborne illnesses, so you should ensure that it comes from a reputable source and go through proper procedures to minimize any potential risks.
When deciding between cow milk and goat milk, consider the desired flavor profile of your cheese. Cow milk generally offers a mild, creamy flavor, while goat milk imparts a tangy, unique taste. Some artisanal cheese-makers might opt for sheep milk that combines the creaminess of cow milk with the tanginess of goat milk. However, it is not commonly found in regular grocery stores.
Here's a comparison of pasteurized, raw, cow, and goat milk for cheese making:
Milk Type Pros Cons Pasteurized Milk Easily accessible Slightly less flavorful than raw milk Safer to consume Raw Milk Offers unique flavors and complexities Increased risk of foodborne illness May develop a richer final product Needs stringent safety measures Cow Milk Mild, creamy flavor Less tangy than goat milk Goat Milk Tangy, unique flavor Availability might be limited in some regions
In summary, the right milk for your cheese-making project depends on your preferences and the degree of safety you are willing to ensure. Store-bought pasteurized milk is a good starting point, while raw milk can provide richer flavors when handled with proper care. Choosing between cow and goat milk comes down to the taste you desire in your homemade cheese. Avoid ultra-pasteurized milk, as it will not yield satisfactory results in cheese making.
The Process of Making Cheese
Cheesemaking is a process that transforms milk into a delicious product through a series of steps. In this section, we'll outline the key stages of making cheese at home.
Step 1: Acidification
The first step in cheesemaking is acidification, where milk is turned from a liquid into a solid. This can be done by either adding an acid or by introducing starter cultures that consume lactose and convert it into lactic acid. Slowly heat the milk to 86°F (30°C), ensuring it's not overheated in order to preserve the milk's quality.
Step 2: Coagulation
Once the milk is acidified, it's time to add rennet. This enzyme helps to further coagulate the milk by separating it into curds and whey. Dilute the rennet in water before adding it to the milk, then stir it for a minute. Allow the mixture to rest for about an hour to form a solid curd.
Ingredient Amount Rennet 1/4 cup Water 1/4 cup
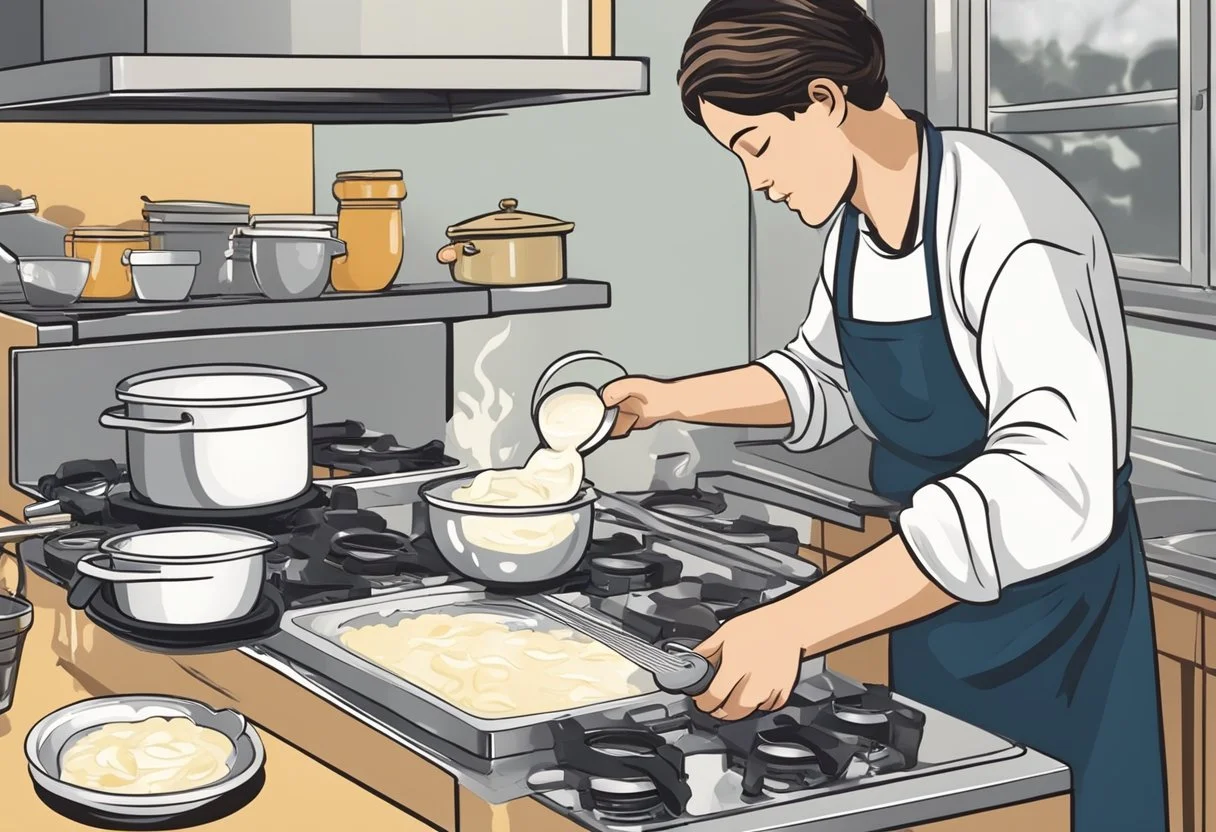
Step 3: Cutting and Draining Curds
After the curd has formed, cut the solid mass into small pieces using a knife or a curd cutter. Stir the cheese curds gently to release more whey, and then let them settle.
Next, separate the curds from the whey by pouring the mixture through a cheesecloth or a fine mesh strainer. You may need to apply light pressure to remove any excess liquid.
Step 4: Pressing
Depending on the type of cheese you're making, you may need to press the curds. Place the curds in a cheese press, lined with cheesecloth, and apply pressure according to the recipe's requirements. This step helps to form the final shape and texture of the cheese.
Step 5: Aging
The final stage in making cheese at home is aging. This process can last from a few weeks to several months, depending on the desired flavor and texture. Store the cheese in a cool, humidity-controlled environment, and make sure to turn it occasionally for even aging.
By following these steps and adjusting the variables to suit different cheese types, one can confidently create a variety of delicious homemade cheeses.
Simple Recipes for Beginners
Cheese-making can be a rewarding and enjoyable activity, and even beginners can try their hands at making simple types of cheese at home. In this section, we will discuss some straightforward recipes that use basic ingredients like milk, vinegar, lemon juice, yogurt, and buttermilk. From paneer to mozzarella, let's explore a few cheeses suitable for those just starting in cheese-making.
Ricotta cheese is a good starting point for beginners due to its simple recipe. To make it, heat a liter of milk until it's almost boiling, then stir in 2 tablespoons of lemon juice or vinegar to help separate the curds and whey. Let it sit for a couple of minutes, then strain through cheesecloth and let drain until you reach the desired consistency.
Paneer, a popular Indian cheese, is another easy-to-make choice. Similar to ricotta, paneer also requires milk and an acid like lemon juice or vinegar. Boil a liter of milk and add 2 tablespoons of lemon juice. Stir gently until curds form, then strain through cheesecloth and press to remove excess whey. Let it sit under a weight for around an hour to firm up.
Ingredients and Acid Alternatives:
Milk
Vinegar
Lemon juice
Yogurt
Buttermilk
Citric acid
If you prefer using an alternative acid, citric acid can be a good option. For example, mozzarella can be made using milk and citric acid, making it another beginner-friendly cheese. Heat a liter of milk, add 1 teaspoon of citric acid dissolved in 1/4 cup of water, and stir until curds form. Strain, press, and stretch the curds gently to achieve the desired texture.
Feta is another cheese that can be prepared at home using fairly simple ingredients. Mix a liter of milk and a cup of plain yogurt, then warm the mixture to room temperature. Add 1/4 cup of buttermilk and let it sit for 24 hours until curds form. Strain the curds using cheesecloth and press them to remove excess whey. Finally, cut the curds into cubes and brine them with 1/3 cup of salt and enough water to cover the cheese.
With these recipes, one can confidently embark on a cheese-making journey with manageable, delicious successes. Feel free to experiment with ingredients and techniques to make your own unique creations.
Advanced Cheesemaking Techniques
In the world of cheesemaking, there are various techniques you can employ to create a wide range of cheeses. Below are some advanced techniques to help you further your skills in this rewarding hobby.
Cultured Cheeses: One popular type of cheese is cultured cheese, which includes favorites like cheddar, jack, mozzarella, and feta. To make cultured cheeses, you need to use a starter culture (such as mesophilic powder) to introduce specific bacteria into the milk. These bacteria help ferment the lactose, giving the cheese its distinctive taste and texture.
Hard and Pressed Cheeses: Cheddar and jack cheeses are examples of hard, pressed cheeses. These require special attention during the cheesemaking process. You'll need to apply consistent pressure during the pressing stage to ensure the proper texture forms. Additionally, cheddar cheese typically goes through a "cheddaring" process, where the curds are cut into slabs, flipped, and stacked to expel the whey and encourage maturation.
Stretched-Curd Cheeses: Mozzarella and queso are examples of stretched-curd cheeses, which involve an additional step called "pasta filata." Once the curds form, they're heated in hot water or whey until they become elastic. The cheesemaker then stretches and kneads the curds until the desired consistency is achieved.
Acid-Ripened Cheeses and Enzymatic Coagulation: Cheeses like cottage cheese (how long does cottage cheese last?), queso fresco, and farmer's cheese are acid-ripened, meaning they're coagulated primarily through the addition of acid (such as lemon juice or vinegar) rather than rennet. Enzymatic coagulation, on the other hand, is used in making cheeses like mascarpone and cultured mozzarella, where specific enzymes are added to coagulate the milk proteins.
Additives and Flavoring: Advanced cheesemakers can experiment with various additives and flavors, such as calcium chloride to help coagulation or the incorporation of herbs and spices for added taste. You can also try smoking your cheese or brushing with a flavored wash during aging for a unique and complex flavor profile.
By exploring these advanced cheesemaking techniques, you can expand your repertoire and impress your friends and family with a wide variety of delicious homemade cheeses.
Exploring Additional Cheese Varieties
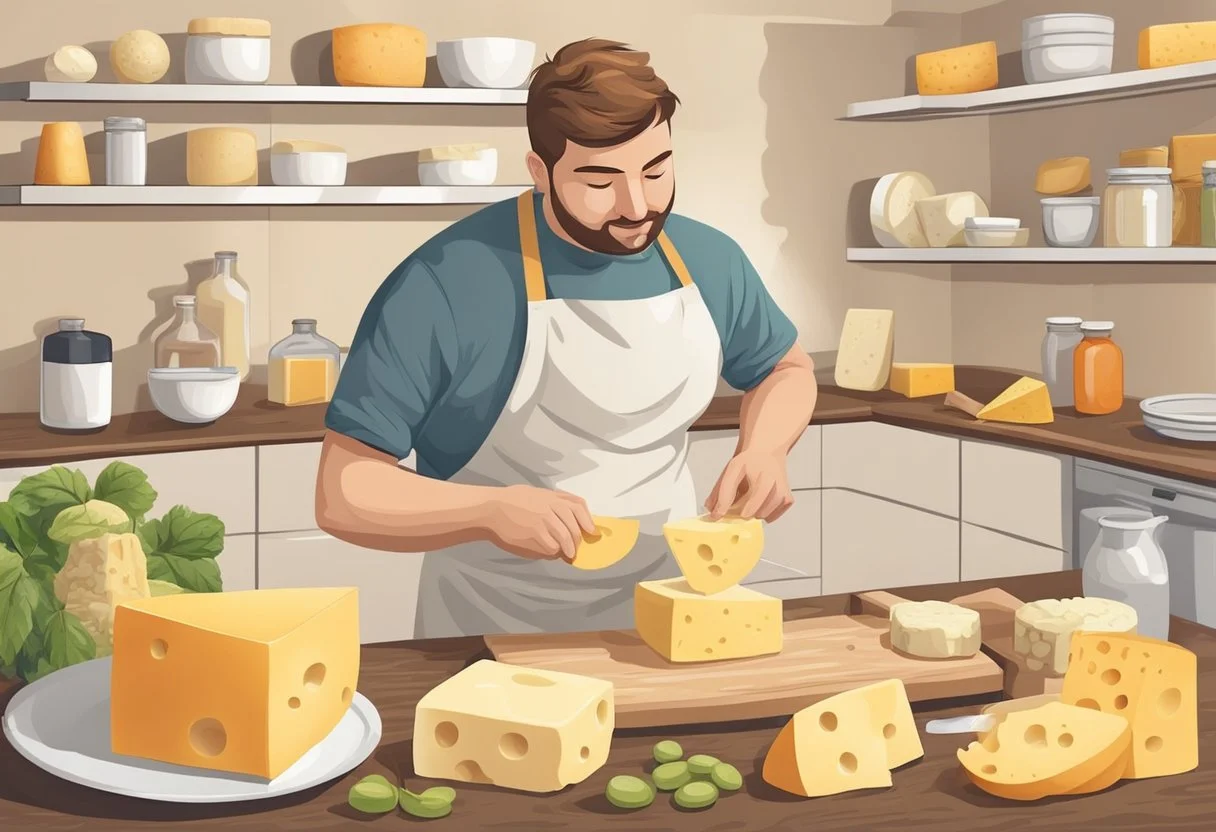
When venturing into the world of homemade cheese, there are countless cheese varieties to explore. Soft cheeses, like mascarpone and whole milk ricotta, can be made with minimal equipment and interest beginners as well as experienced cheesemakers. In addition to traditional cheeses, some adventurous DIY cheesemakers incorporate fruit, nuts (how long do nuts last?), and honey to create unique and flavorful combinations.
For those looking to start with fresh cheeses, options include:
60-Minute Mozzarella: A quick and easy-to-make cheese that requires only a few ingredients and an hour of your time.
Whole Milk Ricotta: Made with only whole milk and an acid, ricotta is a versatile and simple cheese to create at home.
Icelandic Skyr: A thick, creamy, and protein-packed yogurt-like cheese that is delicious on its own or combined with fruit and honey.
Cream Cheese: (how long does cream cheese last?) With its creamy and spreadable texture, homemade cream cheese is perfect for a wide variety of dishes and recipes.
Continuing on the journey, cheesemakers can expand their skills by creating cheeses like mascarpone and burrata. Mascarpone is a rich and creamy Italian soft cheese that adds depth and creaminess to both savory and sweet dishes. Burrata, another Italian cheese, is a more advanced option that entails stuffing fresh mozzarella with creamy stracciatella filling. These two cheeses offer a thrilling challenge for those looking to hone their home cheesemaking skills.
When making cheese at home, don't be afraid to experiment with different toppings and mix-ins. Cheese curds, for example, taste exquisite when paired with fruit, nuts, and a drizzle of honey. The combination of textures and flavors will leave any cheese lover craving more.
By exploring a variety of cheese types and additional ingredients, DIY cheesemakers can confidently create delectable homemade cheese offerings that cater to diverse palates. With a bit of time, practice, and experimentation, the possibilities for creating unique and delicious cheese combinations are virtually endless.
Cheesemaking as a Hobby
Cheesemaking has been a popular hobby for centuries, even more so with the rise of artisanal and home-based cheese makers. As a hobby, home cheesemaking provides the opportunity to learn about different cheese types, experiment with unique tastes, and create delicious, personalized treats for friends and family.
While it may seem like a daunting task at first, home cheesemaking is an incredibly satisfying and rewarding hobby. The process involves combining milk and a few other ingredients to create a wide variety of cheeses. Whether you are a beginner or a seasoned cheese enthusiast, making cheese at home offers endless possibilities for creativity, learning, and enjoyment.
The easiest cheeses to make at home are fresh cheeses, such as ricotta, mozzarella, and chèvre. These types of cheeses typically require minimal equipment, simple ingredients, and a shorter fermentation time. As you gain experience and confidence, you can move on to more complex cheeses like cheddar, brie, or gouda.
To get started with home cheesemaking, consider acquiring the following basic equipment:
Large stainless steel pot
Cheese thermometer
Cheese cloth or fine mesh strainer
Starter cultures (rennet, mesophilic, or thermophilic culture)
Cheese salt
Slotted spoon
In addition to the equipment, you will need to choose the right milk. Local, fresh, and non-homogenized milk is preferred, as it yields the best results. However, pasteurized milk from the store can also be used for certain cheese varieties.
Here are some basic steps to follow when making cheese at home:
Heat the milk.
Add cultures, rennet, or other necessary ingredients.
Allow the milk to coagulate and curds to form.
Cut, cook, or stir the curds as required.
Drain the whey and/or press the curds.
Age the cheese, if needed.
By following these steps and adjusting the process according to specific cheese recipes, you can create a vast array of delicious cheeses. Home cheesemaking offers the joy of discovery and the satisfaction of mastering a new skill, making it a truly rewarding hobby. Embrace the art of cheese-making, and enjoy the delectable results.
Resources for Further Learning
When embarking on the journey of home cheesemaking, it is important to have access to reliable resources to guide you through the process. This section provides a list of recommended books, websites, and other materials to deepen your understanding and improve your skills in the art of cheesemaking.
Books: For cheese enthusiasts who prefer learning through books, there are several titles on the topic. Some excellent cheesemaking books to consider include:
Mastering Artisan Cheesemaking by Gianaclis Caldwell
The Art of Natural Cheesemaking by David Asher
Artisan Cheesemaking at Home by Mary Karlin
These books cover various aspects of the cheesemaking process, from beginners' guides to more advanced concepts for experienced cheese makers.
Online guides and articles: The internet is a vast repository of knowledge on any subject, including cheesemaking. Websites like Cheese Making Supply Co, Cheese Grotto, and Practical Self Reliance offer tutorials, articles and inspiration for both novice and seasoned home cheese makers.
Courses and workshops: Hands-on learning can be incredibly effective for mastering the art of cheesemaking. Many local culinary schools or cheese shops offer workshops and courses on cheesemaking, where you can learn from experienced instructors in a group setting.
Cheesemaking kits: For those who prefer a more guided approach, cheesemaking kits are a great option. These kits usually contain the necessary ingredients and equipment, along with step-by-step instructions, allowing you to make a specific type of cheese from the comfort of your own home. Popular starter kits include the Mascarpone Cheese Making Kit and the 30 Minute Mozzarella Cheese Making Kit.
It is essential to explore the various resources available and select the ones that suit your learning style and level of expertise. With practice and dedication, you can master the art of home cheesemaking and enjoy the satisfaction of creating your own delicious, homemade cheeses.
