
Making Butter at Home
A Simple and Efficient Guide
Discover > Homesteading > Making Butter at Home
Making butter (how long does butter last?) at home is a simple, satisfying, and cost-effective activity that yields delicious results. With just one main ingredient – heavy cream – and a little bit of patience, anyone can create creamy, rich, and flavorful butter from scratch. The process of making homemade butter is not only enjoyable, but also offers the opportunity to customize the final product with preferred amounts of salt and other seasonings.
The foundation of homestyle butter revolves around agitating the cream until the fat and liquid components separate. This can be achieved using different methods, such as using a stand mixer, blender, or even shaking cream in a jar by hand. By incorporating this centuries-old technique into your modern kitchen, you can gain a deeper appreciation for the culinary craft while impressing family and friends with your very own homestyle butter.
Throughout the process, it's important to pay attention to various stages, from whipped cream to separated solids, in order to ensure the perfect texture and taste. As you experiment with different tools and methods, you may find that creating homestyle butter offers endless opportunities to surprise your taste buds and elevate your cooking.
Basics of Making Butter at Home
Understanding Butter Composition
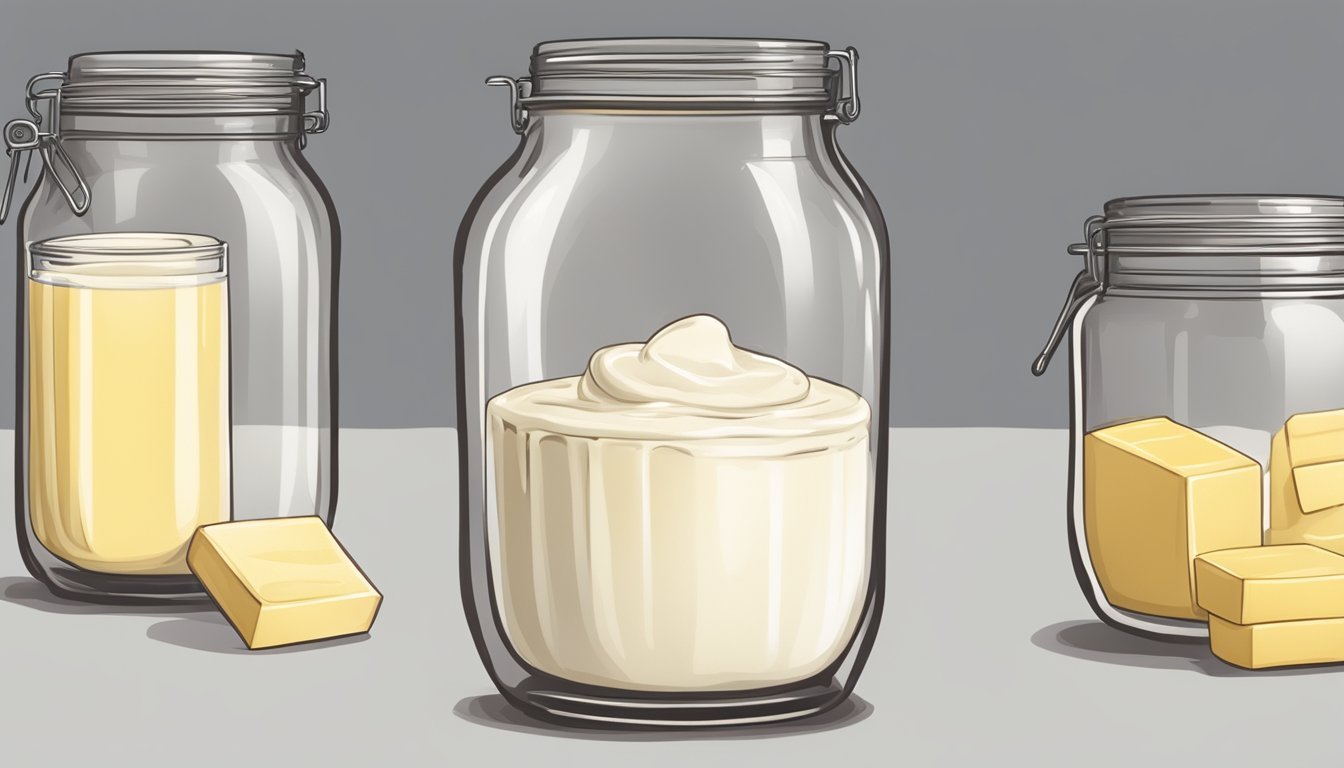
Butter is a dairy product consisting of approximately 80% fat, with the remainder being water and milk solids. It is made by separating the fat from the liquid components of cream, which is derived from milk. To make butter involves agitating cream, causing the fat globules to cluster together and eventually form a solid mass. This solid mass is the butter, and the remaining liquid is known as buttermilk.
Equipment Needed
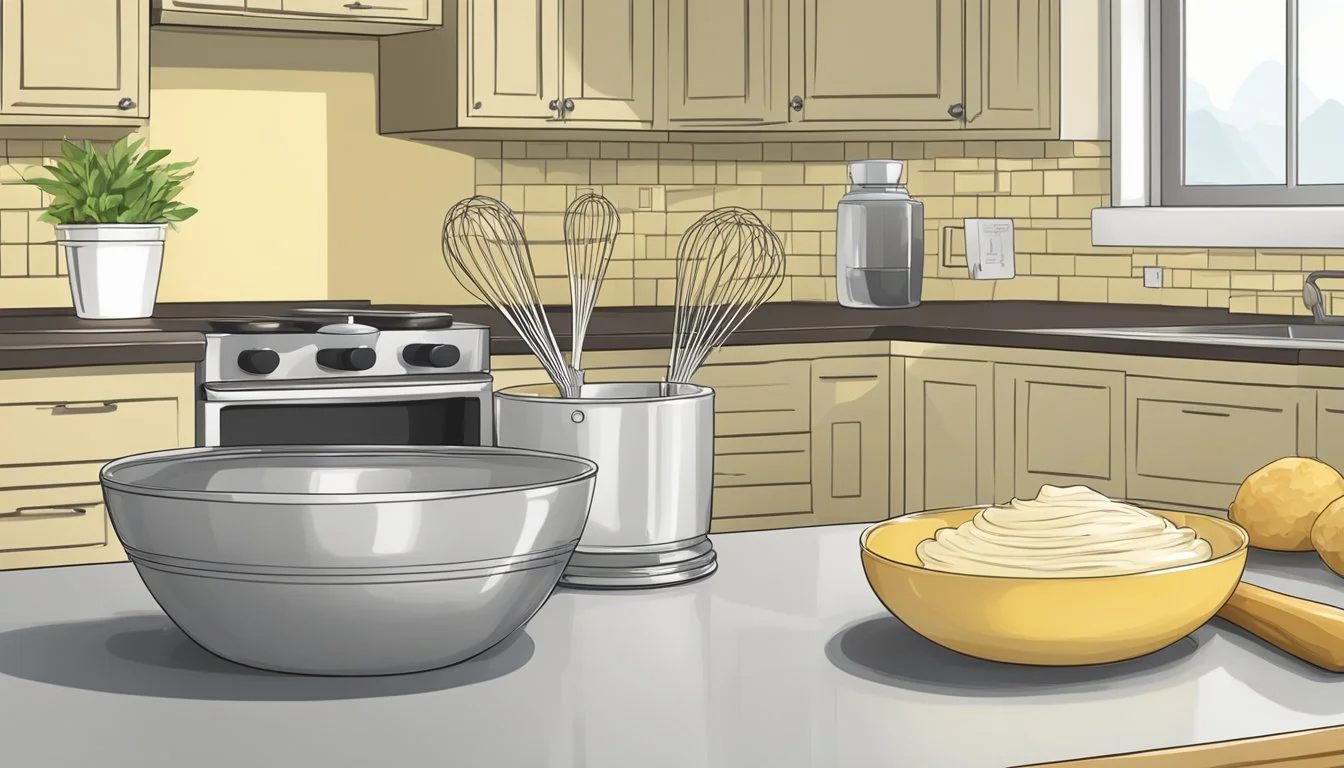
Kitchen Tools for Making Your Own Butter
To make homemade butter at home, you will need a few essential kitchen tools and a homemade butter recipe. These tools are used to whisk the cream, causing the fat molecules to separate from the liquid and form butter. The main tools you can use for this process include:
Stand mixer or hand mixer: Both types of electric mixers work well to make butter. They are easy to use and efficient at separating the butterfat from the liquid. Use the whisk attachment for the best results.
Food processor: This versatile appliance can also be used to make butter. Make sure to use a food processor with a strong motor and sharp blades, as it will need to agitate the cream vigorously.
Butter churn: Traditional manual butter churns can also be used to make butter at home. While this method may be slower and more labor-intensive, it provides a hands-on, authentic experience.
Mason jar: This simpler option requires shaking the cream in a tightly sealed Mason jar. Although this method takes longer and can be physically tiring, it is also quite effective in making butter.
Choosing a Suitable Mixer
When selecting a mixer for making butter, consider the following factors:
Power: Choose a mixer with a strong motor that can effectively agitate the cream. A stand mixer or a high-powered hand mixer should suffice. Look for mixers with at least 300 watts of power.
Speed settings: Having multiple speed settings is helpful for controlling the agitation process. Start slow and gradually increase the speed as the cream thickens for your own butter recipe
Capacity: The mixer's capacity should be large enough to accommodate the cream without overflowing. Food processors and stand mixers typically have larger capacities than hand mixers and Mason jars.
Ease of use: Select a mixer that you find comfortable and simple to operate. If you prefer a hands-free option, stand mixers are ideal. Alternatively, hand mixers, food processors, and Mason jars are more portable and easier to clean.
Here is a comparison table of the different methods for making butter:
Method Power Speed Settings Capacity Ease of Use Stand mixer High Yes Large Hands-free Hand mixer High Yes Depends on bowl Handheld Food processor High Yes/No Medium to large Quick setup Butter churn Manual No Medium Authentic Mason jar Manual/shaking No Small to medium Simple, portable
The Butter Making Process
Creating the Cream Base
Choose your homemade butter recipe first. Then start to make homemade butter by selecting a high-quality, chilled heavy cream as the base for your butter. Opt for heavy, heavy whipping cream or whipping cream with a fat content of around 35% to 40%. It is essential to choose the right heavy cream when you make homemade butter, as it directly impacts the final taste and texture of your own butter. Choose a heavy cream with the highest percentage of butterfat as this will produce the most butter. Some say that heavy cream from Jersey cows produces the best butter. This because their heavy cream or heavy whipping cream has a higher fat content, and that their fat is dispersed in larger globules than other milks.
Whipping the Cream
Pour the heavy cream into a stand mixer or food processor equipped with a whisk attachment. Start at a low speed and gradually increase to medium-high speed. The heavy cream will first turn into whipped cream and then from whipping cream will eventually transform into butter, as the fat separates from the liquid.
Separating the Butter and Buttermilk
As you continue to whisk the whipped cream, the butter solids will clump together and separate from the liquid (buttermilk). The whipping cream will be starting to separate so expect some splashing during this step. Once the cream breaks, the solids have separated and the butter forms, the buttermilk can be saved for other recipes.
Stages Time Required Chilled cream Immediately Whipped cream 1-2 minutes Butter clumping 3-4 minutes
Washing and Kneading Butter
After separation, transfer the solids into a clean bowl filled with cold water. Wash and knead the butter to remove any lingering butter milk. Not doing so could cause the butter to spoil quickly. Replace and continue to wash with cold water until it runs clear. This process may take up to 5-7 changes of water.
Adding Salt to Butter
Some prefer unsalted butter but if you prefer salted, now is the time to add it. Knead the salt evenly into the butter. The amount of salt can be adjusted according to personal taste. Some prefer to bake with unsalted butter but the finished taste is hardly noticeable.
Storing Your Homemade Butter
Once your own butter is washed, kneaded, and optionally salted, the fresh butter is ready for storage. Pat the butter dry before transferring it to an airtight container and refrigerating it. Storing the butter properly is essential for preserving its fresh taste and texture.
Store butter in an airtight container
Refrigerate butter
Use or freeze within 2 weeks
Overall, making butter at home is a straightforward process that can be easily mastered in any kitchen. Remember to choose high-quality cream, use proper techniques, and store the product efficiently to ensure the best butter possible.
Possible Variations and Types of Butter

Creating Compound Butter
Compound butter is a versatile and flavorful variation of regular butter that can be made at home. It is created by mixing a variety of ingredients into softened butter, then allowing it to harden once more. This type of butter is perfect for enhancing the taste of dishes like pancakes, grilled meats, or even corn on the cob. Some popular compound butter combinations include:
Herb butter: Mix fresh herbs like parsley, basil, or thyme with butter.
Garlic butter: Add minced garlic and seasonings to taste.
Citrus butter: Incorporate citrus zest, such as lemon or orange, for a tangy touch that is rich in vitamin C.
Sweet butter: Combine butter with honey, maple syrup, (how long does maple syrup last?) or even chocolate chips (how long do chocolate chips last?) for a delightful treat that pairs well with pancakes or chocolate chip cookies.
Making Cultured Butter
Cultured butter offers a unique, slightly sour taste that distinguishes it from regular butter. This type of butter is created by combining fresh cream with a starter culture containing bacteria, which ferments the cream and produces the sour flavor. Making cultured butter at home involves the following steps:
Ferment the cream: Mix pasteurized cream with a starter culture, and let it sit at room temperature for up to 24 hours. This allows the bacteria to ferment the cream, developing the desired tangy flavor.
Separate the butter: Once the cream has fermented, chill it in the refrigerator before beating it in a mixer at a medium speed. This process will separate the butter solids from the liquid (remaining buttermilk).
Drain and rinse: Pour the mixture through a fine-mesh sieve to remove the butter milk and retain the butter solids. Rinse the butter under ice cold water to remove any remaining leftover liquid, as this will prevent it from spoiling quickly.
Flavor and store: Finally, feel free to add salt or other seasonings to your homemade cultured butter, which provides not only taste but also valuable nutrients like vitamin A.
By experimenting with compound butter recipes and creating cultured butter at home, you can personalize and enhance the taste of your favorite dishes with your delicious butter. These versatile butter variations will delight your taste buds and impress your family and friends.
Using Homemade Butter in Recipes
Homestyle butter is versatile and can elevate the taste of your cooking and baking but some just prefer it on freshly baked bread. From pie crusts and biscuits to pancakes and sautéed vegetables, the rich flavor of homestyle butter adds depth to any dish.
Incorporating Butter into Baked Goods
Pie Crust: A flaky pie crust relies on cold, solid butter. Use chilled homestyle butter in a 3:2:1 ratio, where 3 parts flour (how long does flour last?), 2 parts butter, and 1 part water are combined. The butter should be evenly distributed throughout the dough, producing a tender, flaky crust.
Biscuits: For light and tender biscuits, cut cold homestyle butter into small cubes and gently work it into the flour mixture until it resembles coarse crumbs. This technique gives biscuits their distinctive layers, texture, and buttery taste.
Shortbread: Homestyle butter shines in shortbread recipes, where its taste is front and center. Use room temperature butter and cream it with sugar before adding flour. The result is a crumbly, melt-in-your-mouth cookie with a rich, buttery flavor.
Pancakes: Swap out store-bought butter for homemade butter in your pancake recipe. To achieve tender and fluffy pancakes, melt and cool the butter before whisking it into the wet ingredients.
Using Butter in Cooking
In the kitchen: Homemade butter is an excellent choice for cooking. From sautéing vegetables to pan-searing proteins, the depth of flavor it imparts elevates dishes to new heights.
Application Technique Toast Spread a generous layer of softened homemade butter on warm toast for a simple, delicious treat. Sautéing Use a small amount of homemade butter to sauté vegetables, such as onions and garlic, to infuse them with a rich, buttery flavor. Pan-searing Baste proteins like steak or fish with melted homemade butter as they cook, to create a golden, flavorful crust.
Remember, homemade butter is a valuable asset in any home cook's kitchen, providing a depth of flavor and richness that store-bought alternatives simply cannot match.
Health and Nutritional Considerations

Understanding Butter Nutrition
Butter is a dairy product made from milk or cream, and it is high in calories and fat. The nutritional content of butter can vary slightly depending on the milk it is made from, and whether it is homemade or store-bought. It is essential to understand the nutrients present in butter, so you can make informed choices about its consumption.
A typical serving size of butter is one tablespoon (about 14 grams), which contains 102 calories. It is made up of mainly fat, with 11.5 grams of total fat per serving. Of this, 7.3 grams are saturated fat, which can increase levels of LDL (bad) cholesterol and contribute to heart disease if consumed in excess. Butter also contains 30.5 milligrams of cholesterol and 88 milligrams of sodium per serving.
Though butter is not a significant source of minerals or vitamins, it does contain trace amounts of calcium, potassium, and proteins. A single serving provides approximately 1% of the percent daily value (DV) for calcium and potassium, and about 0.2 grams of protein.
Stats for Homemade Butter
When making butter at home, you control the ingredients, and as a result, some nutritional differences may arise compared to store-bought butter. For example, using grass-fed, organic cream may lead to a higher concentration of omega-3 fatty acids, which offer various health benefits.
Nutrient Homemade Butter (Per tbsp) Store-Bought Butter (Per tbsp) Calories (kcal) 102 102 Total Fat (g) 11.5 11.5 Saturated Fat (g) 7.3 7.3 Cholesterol (mg) 30.5 30.5 Sodium (mg) Varies 88 Protein (g) 0.2 0.2 Calcium (% DV) 1% 1% Potassium (% DV) 1% 1%
Keep in mind that the sodium content in homemade salted butter can vary, as you can control the amount of salt added. For those watching their sodium intake, unsalted homemade butter can be a more suitable option. Similarly, the number of servings and the overall calorie diet can be more flexible with homemade butter.
Using the information above, you can ensure that your homemade butter is consumed in moderation to maintain a balanced diet and enjoy its unique taste and texture while simultaneously being mindful of your health.
Final Thoughts on Making Homemade Butter
Making homemade butter is a rewarding and enjoyable process that provides a fresh, delicious alternative to store-bought butter. While it might not be cost-effective for every household, the superior taste and natural ingredients make it an appealing option for many.
One of the notable benefits of making butter at home is that it allows for greater control over its ingredients. By using quality heavy cream and adjusting the amount of salt, individuals can create unique flavors tailored to their preferences.
For families with kids, involving them in the butter-making process can be a fun and educational experience. It teaches them about where food comes from and encourages an appreciation for homemade goods. Additionally, the process is relatively simple, making it accessible for even the youngest family members.
Here is a concise list highlighting the process of making homemade butter:
Choose a high-quality heavy cream.
Combine the cream with a pinch of salt (optional).
Whip using a stand mixer, blender, or even shaking a jar until you have solid butter
Separate the butterfat from the buttermilk.
Rinse the butter to remove any remaining buttermilk and improve its shelf life.
It's important to note that homemade butter does have a shorter shelf life compared to store-bought options. To ensure the freshness and quality of your homemade butter, it is recommended to consume it within one to two weeks when stored in a refrigerator.
In conclusion, making butter at home can be a worthwhile endeavor for those who value the taste and quality of their food. While it may not be the most cost-effective option, the positive aspects of the process can make it a valuable experience for individuals and families alike.
