
How to Measure the Right Amount of Liquid for Bread Dough
Precision Baking Tips
Measuring the correct amount of liquid for bread dough is a fundamental step in baking that determines the dough's hydration. Hydration, a term familiar to bakers, describes the ratio of liquid to flour in a recipe and is critical in achieving the desired texture and quality of bread. A precise balance of ingredients is necessary because it influences the dough’s characteristics, such as its extensibility, fermentation rate, and the final crumb structure of the bread.
To understand hydration, one must consider that different types of bread require varying hydration levels. For example, a dense rye loaf may need less water, while a rustic ciabatta demands a higher percentage of liquid. The type of liquid used—whether it's water, milk, or another liquid—introduces different properties to the bread. Milk can tenderize the crumb and enhance browning due to its sugar and fat content, while water is neutral and focuses on developing gluten strength.
A baker must use the right measuring techniques to ensure accuracy. Weight, rather than volume, is the more reliable method to measure ingredients because it's not influenced by factors like flour compaction or liquid surface tension. Kitchen scales are essential tools for this task, allowing bakers to follow the formula given in the recipe. Accurate measurement directly translates to consistent results in bread making, where precision is not a mere suggestion, but the cornerstone of crafting quality baked goods.
Understanding Dough Hydration
Dough hydration is essential in bread making, affecting everything from the dough's manageability to the final texture of the bread. It is the baker's tool for crafting the perfect loaf.
Concepts of Dough Hydration
Hydration in bread dough refers to the ratio of liquid to flour in a recipe, typically water to flour, by weight. It is expressed as a percentage. For instance, if a recipe calls for 500g of flour and 350g of water, the hydration would be calculated as (350g water / 500g flour) x 100, resulting in a 70% hydration dough.
Importance of Correct Hydration
The correct hydration of dough is crucial for the chemical processes that occur during baking. It affects the gluten network formation, fermentation rate, and enzyme activity. A well-hydrated dough will result in bread with optimal volume and flavor development.
Hydration and Dough Texture
The hydration level has a direct impact on the dough's texture. A high hydration results in dough that is more wet and sticky, and it will typically produce bread with an open crumb. Conversely, low hydration dough tends to be firmer and will generally bake into bread with a dense crumb.
Hydration Ratios for Different Bread Types
Different types of bread require different hydration levels:
Baguette: around 65% for a traditional light and airy crumb
Ciabatta: often as high as 80% for that characteristically holey structure
Sourdough: a wider range, but often 75% to 85% for a chewy texture and open crumb
Whole wheat bread: typically lower, around 60% to 75% because whole grain flours absorb more water
Total hydration must take into account all sources of liquid, including those in pre-ferments like sourdough starters or poolish. Adjustments to hydration are standard practice for bakers seeking to achieve the desired dough consistency and bread texture.
Measuring Liquid Ingredients
Measuring liquids accurately is crucial for the consistency and quality of bread dough. Precision in measurement ensures the desired texture and flavor.
Using a Scale for Precision
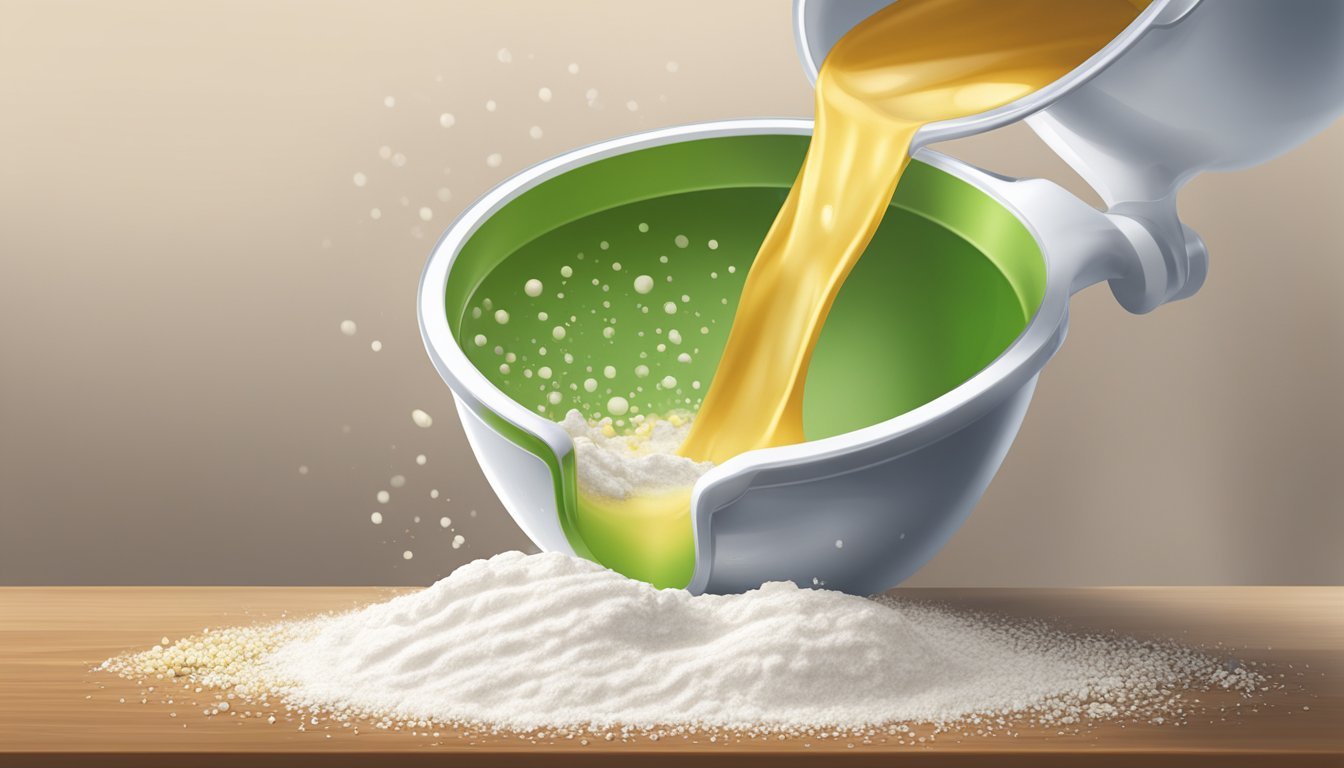
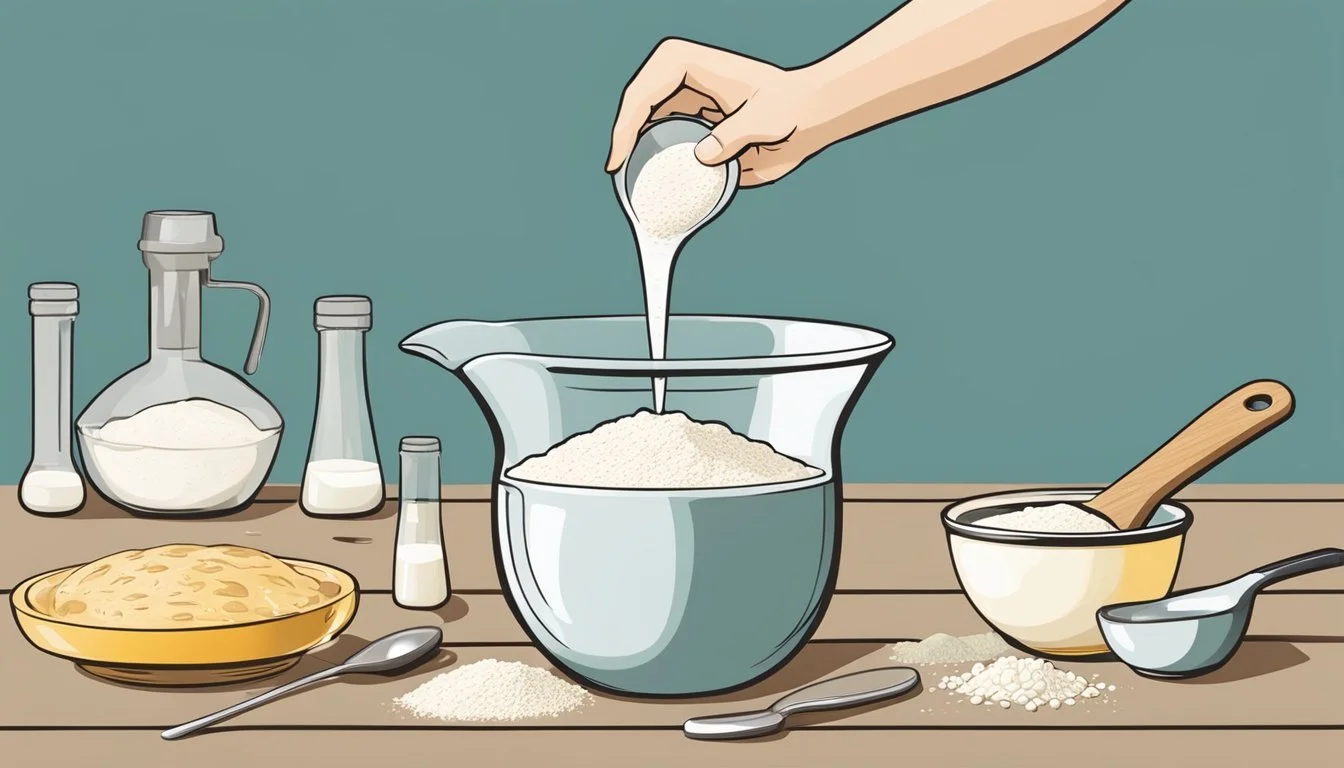
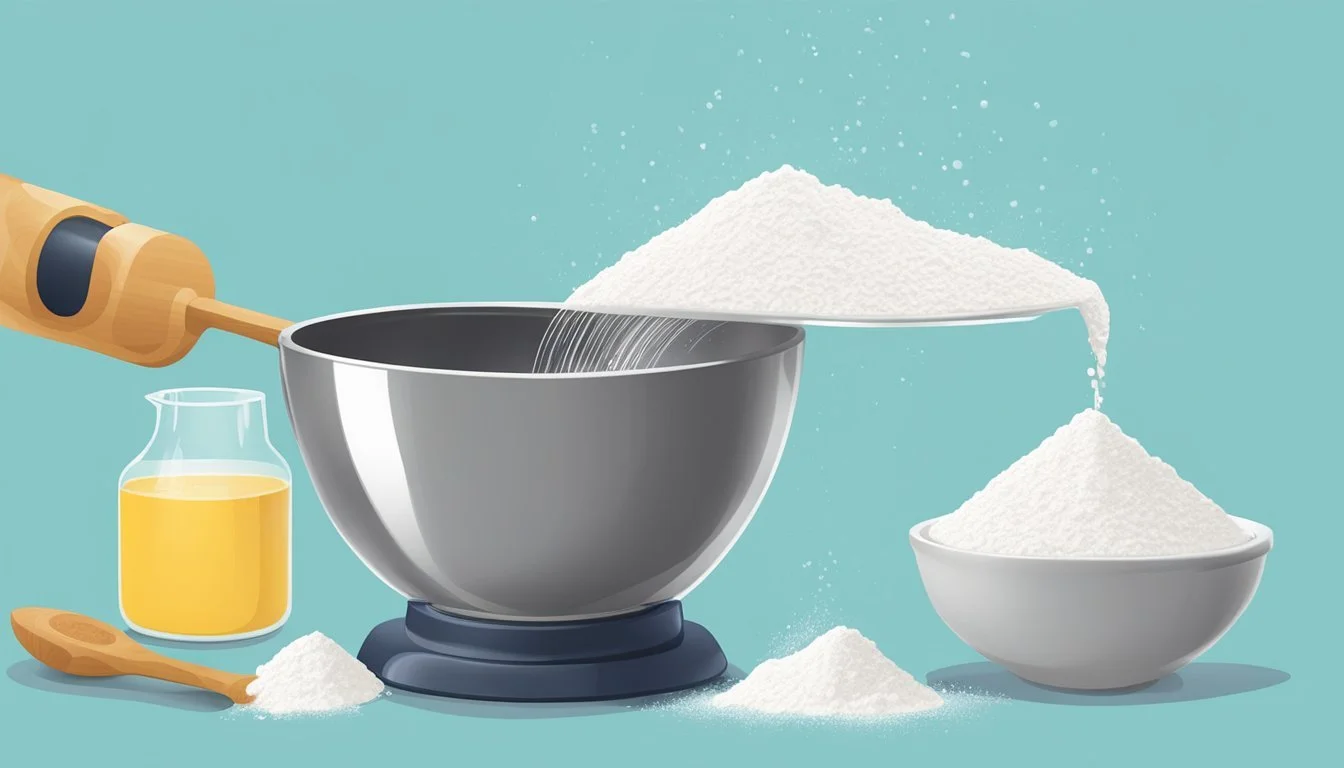
When working with liquids such as water, milk, or oil, using a digital scale can vastly improve accuracy. Scales should measure in grams for finer precision. When measuring liquids like water for bread dough, taring the scale after placing the mixing bowl ensures the measure is only for the liquid's weight. For instance, if a recipe calls for 300 grams of water, simply pour the water until the scale reads 300 grams.
Volume vs Weight
Liquids can be measured by volume using measuring cups, or by weight using a scale. While cups can be convenient, they are not as accurate as scales. Weight measurements account for the varying densities of liquids; for example, milk is heavier than water. A scale eliminates the common errors caused by surface tension, which can create a meniscus in a measuring cup leading to inaccurate readings.
Calculating Water to Flour Ratio
The hydration level of dough, the water to flour ratio, is essential in bread-making. To calculate dough hydration, divide the weight of the liquids by the weight of the flour, then multiply by 100 to get a percentage. Proper hydration affects the dough's total weight and character. A higher hydration ratio generally leads to a looser dough and a more open crumb structure. For example, to achieve a 60% hydration level for 500 grams of flour, one would need to add 300 grams of water.
For specifics, consider the following table for common ingredients:
Ingredient Grams per Cup Weight for 60% Hydration Water 237 142g (60% of 237g) Milk 245 147g (60% of 245g) Oil 216 130g (60% of 216g)
Note that for ingredients like tea, coffee, or juice, which may replace water in some recipes, the weight-to-volume ratio would have to be considered based on the specific liquid's density.
Selecting Ingredients
When preparing bread dough, the accuracy of measuring ingredients impacts the texture and flavor of the final loaf. The choice of flour, the balance of flavor enhancers like salt and yeast, and the type of liquid used, play pivotal roles in the bread-making process.
Types of Flour and Their Impact
Flour is the foundation of bread dough. The protein content in flour affects gluten development:
All-purpose flour: Moderately high protein content, versatile for many bread types.
Bread flour: Higher protein content, ideal for chewy, structured loaves.
Whole wheat flour: Provides more fiber and flavor, but can make dough denser.
Choosing the right flour depends on the desired bread texture. For instance, a chewier texture demands bread flour, while a lighter texture can be achieved with all-purpose flour.
Role of Salt, Yeast, and Other Ingredients
Salt and yeast are crucial for flavor and dough rise:
Salt: Enhances flavor and strengthens gluten structure.
Yeast: Active dry yeast needs activation in warm liquid, while instant yeast blends directly with dry ingredients.
Additional ingredients like sugar, eggs, or oil contribute to the bread's flavor, texture, and color. For example, sugar assists with browning and flavor, while oil adds softness.
Choosing the Right Liquid for Your Bread
The liquid hydrates the flour and activates yeast. Selection varies depending on the recipe:
Water: Most common, it creates a crisp crust and supports gluten formation.
Milk: Adds richness and softens the crumb.
Specialty breads might leverage other liquids like olive oil for a distinctive flavor or honey for a touch of sweetness. The temperature of the liquid should be warm to help yeast proof effectively, typically around 110°F (43°C).
Preparing Your Dough
The correct incorporation of liquids, appropriate kneading techniques, and effective folding and shaping are essential practices to achieve the desired consistency and texture of bread dough.
Incorporating Liquids into the Dough
When preparing the dough, one must add liquids carefully to ensure even distribution throughout the flour. Begin by adding three-quarters of the calculated liquid amount to the flour and mix until a shaggy dough forms. Gradually add the remaining liquid as needed, monitoring the dough's consistency. It should be tacky but not overly wet, allowing for proper gluten development without becoming too sticky.
Kneading Techniques for Hydrated Dough
Kneading develops the gluten structure necessary for bread with good volume and texture. When dealing with higher hydration doughs, use a technique called stretch-and-fold. Lightly flour or wet hands to prevent sticking, grab the far side of the dough, stretch it upwards, and fold it over towards you. Rotate the dough 90 degrees and repeat, typically for 10–12 minutes. This method strengthens the gluten network without adding too much flour.
The Role of Folding and Shaping
Folding serves a dual purpose: it helps to evenly distribute yeast and temperature in the dough, and it supports the development of gluten structure. After the initial bulk fermentation, the baker should fold the dough gently but firmly, deflating large gas bubbles. Shaping is the final step; it organizes the gluten structure and shapes the dough into a cohesive loaf—ensuring even baking and a uniform crumb. Gentle handling at this stage is crucial to preserve the air pockets created during fermentation.
Fermentation and Rising
In bread making, managing the fermentation process is crucial for the dough's rise, flavor, and texture. The right balance of hydration is essential to achieve the desired outcome, whether making sourdough bread or a classic French loaf.

Bulk Fermentation Process
During bulk fermentation, the dough undergoes its first significant rise after mixing. It is a critical phase where the yeast or starter culture actively consumes sugars, producing carbon dioxide gas and alcohol, which cause the dough to increase in volume. This process typically occurs at room temperature and can vary in duration depending on the recipe and dough's hydration levels. Sourdoughs and rustic breads with higher hydration might require longer fermentation times.
Assessing Dough Rise and Fermentation
The dough's rise during fermentation can be measured by simple visual cues. An effective method is to mark the starting level of the dough in a transparent or semi-transparent container and track its progress. An adequately fermented dough usually doubles in size and should not rise beyond triple its original volume. Indications of sufficient fermentation include a dome-shaped top, visible gas bubbles, and an increase in the dough's elasticity and smoothness.
Adjusting Hydration during Fermentation
The baker may need to adjust the dough's hydration during fermentation to achieve optimal results. If the dough is too dry, the fermentation process slows down, and the bread may turn out dense. Conversely, excess hydration might result in a dough that is too slack and difficult to handle. One should introduce adjustments gradually, adding small amounts of water or flour to achieve the right consistency and maintain the dough's structure throughout the rise.
Baking Considerations
In the delicate process of bread-making, the interaction between heat and dough hydration is pivotal in achieving the desired oven spring, texture, crumb, and flavor. Understanding how these factors play out during baking can yield consistent and high-quality results.
Oven Temperatures and Steam
Oven temperature is critical for optimal oven spring – the rapid rise of bread within the first minutes of baking due to steam and heat. To facilitate this, bakers often introduce steam into the oven during the initial baking period. Steam delays crust formation, allowing the dough to expand freely. Moreover, it dissolves sugars on the dough surface, which caramelizes during baking to form a flavorful crust.
Ideal Oven Temperature Ranges:
Preheat: 230-260°C (446-500°F) for robust oven spring.
Bake: Lower to 190-230°C (374-446°F) after steam is introduce to ensure even baking.
Evaluating Bread Hydration Post-Bake
The crumb – or interior texture – of bread is largely influenced by the hydration of the dough. Higher hydration typically results in an open, airy crumb with larger pockets, indicative of an artisan-style bread. Assessing the bread post-bake provides valuable feedback:
Texture: Should be moist but not gummy.
Consistency: Checks for variations in the crumb which might suggest uneven hydration.
Flavor: Balanced hydration contributes to a well-developed flavor, as water is essential in the Maillard reaction during crust formation.
Post-Bake Hydration Evaluation:
Visual Inspection: Look for a uniform crumb structure.
Tactile Assessment: Feel for a soft, springy texture.
Flavor Analysis: Taste for complexity and depth of flavor.
Advanced Tips and Troubleshooting
When measuring liquid for bread dough, bakers may face challenges with hydration levels. It's crucial to handle these with precision to maintain the intended texture and structure of the bread.
High-Hydration Dough Challenges
High-hydration breads are known for their desirable open crumb and chewy texture, but they can be challenging to handle due to their sticky nature. It's important for bakers to work on a well-floured surface and use a dough scraper to manipulate the dough without adding excess flour, which can alter the desired dough weight and hydration levels. Gentle folding techniques are more suitable for these doughs to preserve the gas pockets that contribute to their structure.
Dealing with Stiff or Too Wet Dough
Bakers may sometimes find their dough too stiff or overly wet. In such cases, for stiff dough, one can incorporate small amounts of liquid gently until the desired consistency is reached. Conversely, if the dough is too wet, a small amount of flour can be folded in cautiously. Bakers should strive to strike a balance, adding only what is necessary to achieve a manageable dough that still conforms to the recipe's intended hydration.
Using a Dough Hydration Calculator
To ensure consistent results, bakers might use a dough hydration calculator, which provides a precise way to adjust liquid amounts based on the total dough weight. By inputting the flour and water weights, these calculators give a hydration percentage—a helpful guide for achieving the desired dough consistency. Bakers should remember that different types of flour absorb water differently, so they may need to adjust their hydration percentages accordingly.
Bread-making is a balance of art and science, and mastering hydration can significantly impact the quality of the final product.
Recap and Final Thoughts
In summary, calculating dough hydration is a crucial step for any baker pursuing precision and consistency in bread making. Hydration, defined as the ratio of liquid to flour in a recipe, affects the dough's texture, crumb, and crust. It's an essential part of the baker's percentage, a standard system used to express ratios in bread recipes.
A recap of the key points:
Hydration Calculation: It's calculated by dividing the weight of the water by the weight of the flour, then multiplying by 100. For instance, if a recipe calls for 350 grams of water and 500 grams of flour, the hydration would be (350g/500g) * 100, resulting in a 70% hydration level.
Baker's Percentage: This system allows bakers to scale recipes up or down with ease and manage recipe proportions accurately. All ingredients are expressed as a percentage of the flour weight, which is always set at 100%.
When preparing a bread recipe, a baker should consider the desired outcome. Higher hydration leads to wetter dough and open crumb structures, suitable for artisan bread. Lower hydration doughs are firmer, easier to shape, and result in finer crumb bread, like sandwich loaves.
The presented guide is a foundation for both beginners and seasoned bakers. By mastering hydration, one can adapt recipes to suit different flours and environmental conditions, ensuring the bread's quality and consistency.
Remember:
Use precise measurements.
Adjust hydration based on specific flour types and desired dough consistency.
Practice and experience are paramount to perfect hydration judgment.
Armed with this knowledge, bakers can approach their craft with confidence and flexibility, yielding delectable bread with the desired characteristics each time they bake.
