
How to Measure Liquid Ingredients Accurately
Tips for Precise Cooking and Baking

Accurate measurement of liquid ingredients is fundamental to the success of many recipes, particularly in baking where precision is paramount. When liquids are measured correctly, they combine with dry ingredients to create the right consistency, flavor, and texture. This level of accuracy ensures that recipes perform as intended, delivering the desired results whether one is creating a delicate sauce, a thick batter, or a smooth soup.
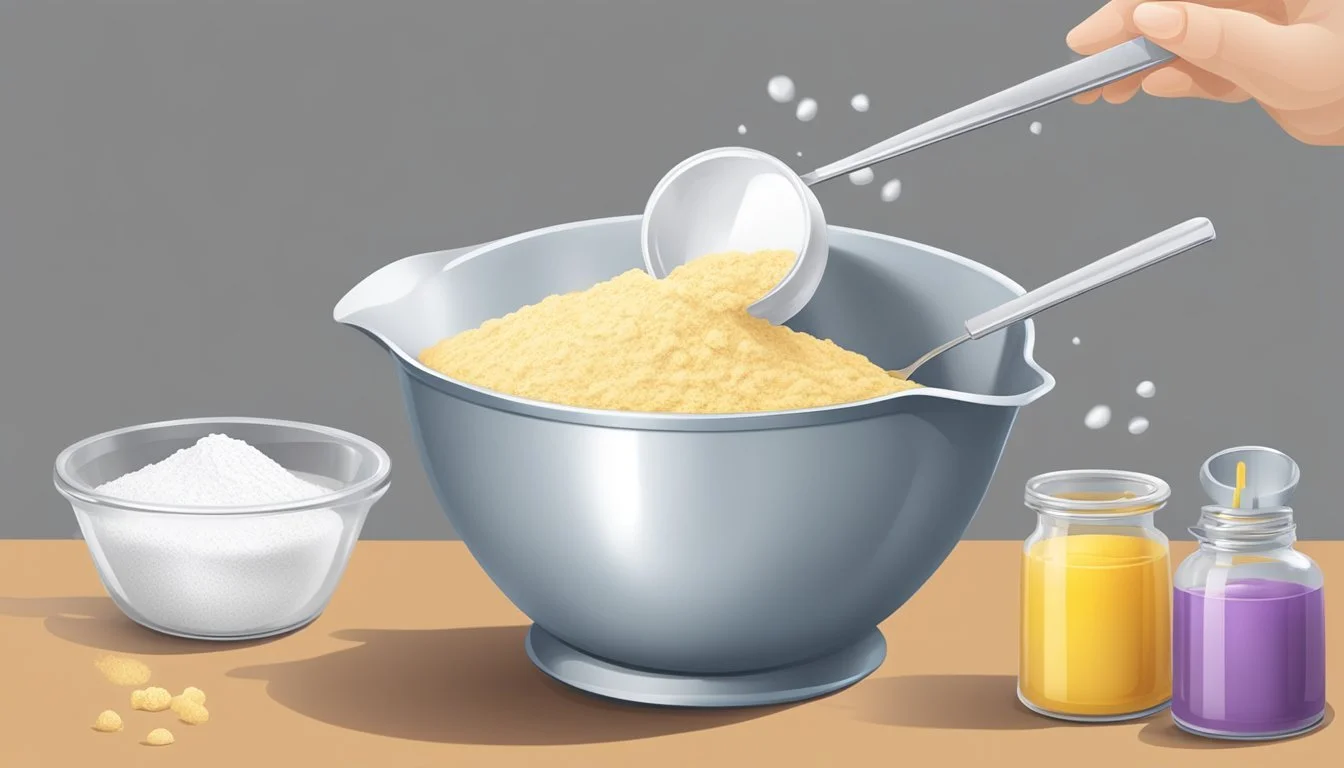
To measure liquid ingredients properly, one should use tools specifically designed for liquids such as liquid measuring cups, which typically come in plastic or glass with clear markings denoting measurements. These cups have a pouring spout and extra space at the top to avoid spills when moving liquids. It’s important to place the measuring cup on a flat surface and pour the liquid in steadily until it reaches the mark for the required amount, checking at eye level for accuracy.
Measuring spoons, while frequently used for both dry and liquid ingredients, are vital for precision when small quantities of an ingredient are needed. Ensuring liquids are measured at room temperature and using the proper measuring tools significantly improves the reliability of one’s cooking and baking outcomes.
Understanding Measurement Basics
Accurate measurement is crucial in cooking and baking to achieve the intended results. The following subsections detail the essentials of measuring liquid ingredients with precision.
Units of Measurement
Liquid ingredients are typically measured in units such as fluid ounces (fl oz), teaspoons (tsp), tablespoons (tbsp), cups, pints (pt), quarts (qt), and gallons (gal). These are the common units of volume used in recipes.
Volume vs. Weight
Measuring by volume is different from measuring by weight. Volume measures the space an ingredient occupies, while weight measures the mass of an ingredient. For liquids, volume measurement is more common and often requires specific tools like liquid measuring cups.
The Importance of Precision
Precision in measuring ingredients leads to better results, particularly in baking where the balance of ingredients is crucial. Even small discrepancies can affect the texture and flavor of a dish.
Conversion Chart Essentials
A conversion chart is an essential tool for cooking, as it lists measurement conversions between different units of volume and weight. Keeping this handy ensures one can easily switch between, for example, cups (volume) and grams (weight), when necessary.
Reading Recipes Correctly
Recipes often specify the amounts of ingredients needed in a particular measurement. It is vital to read recipes correctly to understand whether the ingredients are listed by weight or volume, and to note any specific instructions regarding measurement.
Selecting the Right Tools
Selecting the proper utensils is key to accurate volume measurement. Essential tools for measuring liquids include:
Liquid measuring cups: Designed specifically for liquid ingredients, they usually have markings for various measurement units.
Measuring spoons: Suitable for both dry and wet ingredients, often used for smaller quantities such as teaspoons and tablespoons.
Digital kitchen scale: Ideal for those recipes that require precise weight measurements, it can provide more accuracy than volume-based tools for certain ingredients.
These tools help ensure the precise amounts of ingredients are used, contributing to the overall success of a recipe.
Measuring Liquid Ingredients
Accurate measurement of liquid ingredients is essential for the success of many recipes, particularly in baking. Precise measurements can make the difference between a perfect dish and one that does not turn out as intended.
Using Liquid Measuring Cups
Liquid measuring cups are designed specifically for fluids and typically include a spout for easy pouring. They come marked in both cups and fluid ounces to cater to different recipes. When measuring liquid ingredients, one should always use measuring cups intended for liquids rather than those meant for dry ingredients to ensure accuracy.
Accurate Measuring Techniques
The precise measurement of liquids involves filling the liquid measuring cup to the desired mark and checking the level at eye-level. The surface of the liquid will form a slight curve known as a meniscus. For accurate measurements, the lowest point of the meniscus should align with the measurement marking—not the edges of the curve.
Handling Sticky Liquid Ingredients
When dealing with sticky liquids such as honey, molasses, or syrup, one should lightly coat the inside of the liquid measuring cup with a neutral oil or use a cup made of non-stick material. This preparation helps ensure that all of the ingredient is easily poured out and accounted for in the measurement.
Measuring Small Amounts
For smaller amounts of liquid ingredients, where precision is key, one should use measuring spoons. These come in increments of teaspoons and tablespoons. When filling a measuring spoon, one must fill it to the brim to ensure a level spoonful, which provides the accuracy required for the recipe's success.
Measuring Dry Ingredients
When measuring dry ingredients, precision is key for achieving the desired results in baking. From using the right measuring cups and spoons to the techniques of scooping and leveling, these methods ensure accuracy and consistency.
Measuring Cups for Dry Ingredients
Dry measuring cups come in standard sizes—1 cup, 1/2 cup, 1/3 cup, and 1/4 cup. For accurate measurements of dry ingredients like flour, one should fill the measuring cup using a spoon and then level it off with a straight edge to ensure that the cup contains the exact amount needed.
Precise Spoon Measurements
Measuring spoons are essential for smaller quantities and usually include sizes such as 1 tablespoon, 1 teaspoon, 1/2 teaspoon, and 1/4 teaspoon. To measure dry ingredients such as salt or baking powder, a cook fills the measuring spoon and levels it off for precision.
Scooping and Leveling Techniques
The dip-and-sweep method is a standard for measuring dry ingredients like flour. To use this technique, the baker dips the measuring cup into the ingredient container and uses a flat tool, like the back of a knife, to sweep across the top, removing excess and creating a level surface.
Dealing with Packed Ingredients
Materials like brown sugar need to be packed into the measuring cup to ensure the right amount. The cook presses the sugar down into the cup until it's compacted and level with the cup's rim, accounting for the ingredient's tendency to hold air.
Measuring Add-ins and Bulky Items
For irregularly shaped items such as chocolate chips or oats, the best approach is to gently fill the measuring cup and level it off without compacting, to avoid altering the intended volume. This ensures that add-ins like nuts or fruit are measured correctly.
By following these outlined methods when dealing with dry ingredients, one can enhance their culinary precision and achieve better baking outcomes.
Special Considerations for Baking
In baking, precision is paramount. Accurate measurements lead to consistent results. The nature of ingredients like flour, sugar, and fats demands careful attention to how they're measured to ensure the intended outcome of the recipe.
Measuring Flour Correctly
Flour settles and compacts easily; therefore, flour should be measured using the "spoon and level" method. Care must be taken to spoon the flour into the measuring cup and level it off with a straight edge, avoiding packing or shaking the cup. One cup of all-purpose flour should weigh approximately 120 grams or 4.29 ounces.
Precise Measurements for Baking Ingredients
Baking ingredients like baking powder, cocoa powder, and baking soda require accuracy, as they impact the chemistry and structure of baked goods. For small quantities, it's crucial to use measuring spoons and level them off for an exact measure. Use these conversions to aid precision:
1 tablespoon = 3 teaspoons
1 cup = 16 tablespoons = 8 fluid ounces
Handling Fats and Oils
Fats such as butter, oil, and shortening should be at the correct temperature as specified by the recipe. To measure butter, align with the marked wrappers or press into a dry measuring cup and level it off. When dealing with oil, a liquid measuring cup ensures that the oil reaches the desired volume mark without going over.
Measuring Sticky Solids
Ingredients like peanut butter, sour cream, or cream cheese often adhere to measuring devices. For accurate measuring, use a dry measuring cup and a flexible spatula to press the ingredient into the cup and scrape it level. A helpful tip is to coat the measuring cup with a non-stick cooking spray to ensure easy removal of sticky solids.
Utilizing Kitchen Scales
When measuring liquid ingredients, kitchen scales provide precision and accuracy that are essential for consistent results in recipes.
Digital vs. Analog Scales
Digital scales are highly precise, capable of displaying weight in increments of grams or ounces. They often feature a "tare" function allowing the user to reset the scale to zero after placing a container on it, which aids in measuring liquids directly into the bowl or container. In contrast, analog scales use a mechanical system of springs and are less precise, with accuracy reducing over time.
Scale Type Precision Readability Features Digital High Immediate digital Tare function Analog Moderate to Low Gauge needle Mechanical operation
Measuring with a Kitchen Scale
To accurately measure liquids using a kitchen scale:
Place the container on the scale.
Press the "tare" or "zero" button to negate the container's weight.
Pour the liquid in, checking the reading as you go.
Stop when you reach the desired weight, noted in grams or ounces depending on your recipe requirements.
Advantages of Using a Scale
Utilizing a digital kitchen scale ensures accuracy and precision in measurement, which is particularly crucial for liquid ingredients where even slight deviations can impact the quality of a dish. Scales are not subject to the variances that measuring cups can present and do not require leveling or checking for meniscus at eye level, thus making them more reliable.
Advanced Measuring Techniques
When measuring liquid ingredients for culinary purposes, it is imperative to apply precise methods for accuracy. This section provides insights into advanced techniques to ensure that recipes are followed with exactness and consistency.
Layering Method for Mixed Ingredients
When a recipe calls for a combination of liquids in a single mixing bowl, the layering method is crucial for precision. One should carefully pour the denser liquids first and then gently layer lighter liquids on top to prevent them from mixing prematurely. This technique is essential when specific gravity differences are critical for the recipe's success.
Aeration and Its Impact on Measuring
Air introduces volume variability to liquid measurements. Thus, allowing liquids to settle after pouring reduces aeration, resulting in a more reliable measure. Vigorous stirring or shaking of liquid ingredients can incorporate air, which might lead to miscalculation of the actual volume needed. Gentle handling maintains measurement integrity.
Temperature's Effect on Ingredients
Different temperatures can alter the density and volume of liquids. For example, when liquids are heated, they expand, so a cold liquid might measure slightly less than when it is warm. Measuring liquids at the temperature at which they will be used is critical to achieve precise results. A standardized room temperature, typically around 68°F (20°C), is the baseline for measuring liquids unless a recipe states otherwise.
Tips for Consistent Results
When baking, achieving consistent results relies heavily on the accuracy of measuring liquid ingredients. Here are several techniques that ensure precision:
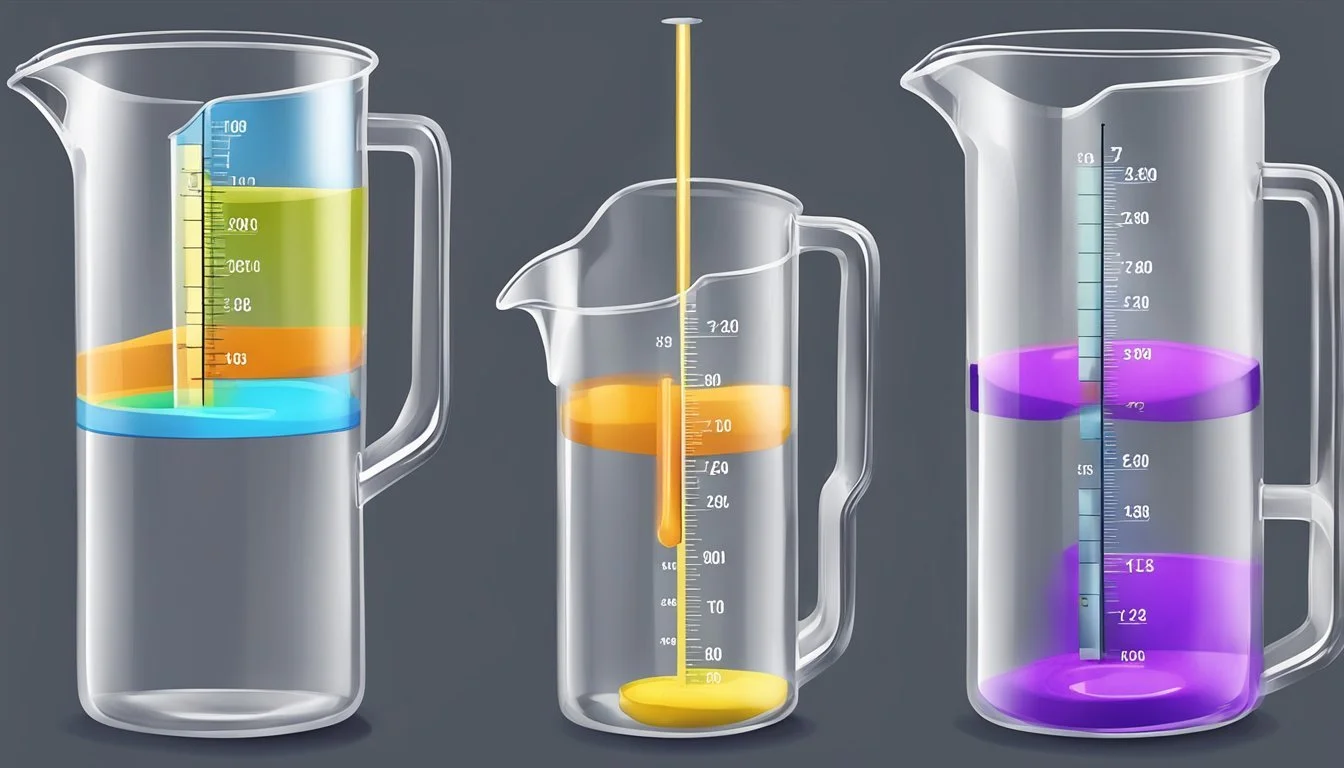
Use Transparent Measuring Cups: For liquids, opt for clear, graduated measuring cups with pouring spouts. It's easier to read measurements at eye level on a flat surface to avoid over or under-pouring.
Check at Eye Level: To measure liquids accurately, place the measuring cup on a flat surface and stoop down to check the amount at eye level. The surface of the liquid should align exactly with the graduation for the desired volume.
Pour Steadily: Add the liquid slowly and steadily to avoid splashes or bubbles, which can affect the accuracy of the measurement.
Don't Do Rush the pouring process. Pour slowly and with control. Fill above eye level. Check the measure at eye level.
Measure Sticky Liquids with Care: For ingredients like honey or syrup, lightly coat the inside of the cup with oil or non-stick spray. This allows the liquid to slide out completely, ensuring an accurate measure and less waste.
Use the Right Tools: Employing liquid measuring cups for wet ingredients and dry measuring tools for dry ingredients is essential. Never interchange them, as this can cause discrepancies in measurement.
Remember: Precision in measurement is crucial; even small deviations can impact the outcome of your baking. Consistent practice with these techniques can lead to more reliable and satisfying results.
Troubleshooting Measurement Mistakes
When measuring liquid ingredients, accuracy is paramount. Common problems and solutions are outlined below to ensure precision in liquid measurements.
Problem: Inaccuracy due to measuring liquids in dry measuring cups. Solution: Always use liquid measuring cups for liquids. They have markings that account for the meniscus and are designed to prevent spills.
Problem: Misreading the meniscus. Solution: Place the measuring cup on a flat surface and view the meniscus at eye level. The lowest part of the curved surface is the accurate measure.
Problem: Residual liquid left in measuring tools. Solution: Swirl or tap the measuring cup to collect all the liquid or use a rubber spatula to ensure complete transfer.
Problem: Using the wrong unit of measurement. Solution: Double-check the recipe and confirm units. Use a conversion chart if necessary to translate between volume and weight or metric and imperial.
Common Measurement Solution Air bubbles in syrups Tap the measuring spoon or cup to settle the liquid. Ingredients sticking to the spoon Lightly coat the spoon with oil before measuring sticky liquids.
Tips for avoiding problems:
Before pouring, ensure measuring tools are clean and dry.
For thick liquids, allow time for the ingredient to fully settle in the cup.
Do not hold the measuring cup in the air while reading the measurement.
By following these guidelines, cooks can achieve a high level of accuracy when measuring liquid ingredients, avoiding the common pitfalls that can lead to inconsistencies in recipes.
Learning Resources
Learning how to measure liquid ingredients accurately is a fundamental skill for any cook or baker. Key resources such as measurement tutorials and guides can provide clarity and structure, while practicing over time enhances one's techniques for consistency and precision.
Measurement Tutorials and Guides
Various resources are available for those seeking instructions on measuring liquids correctly. Video tutorials can provide visual learners with a step-by-step understanding of the process:
Food Network's Guide: They offer comprehensive video tutorials that cover basics and advanced techniques for measuring various types of liquid ingredients.
Cooking Blogs and Websites: Many provide detailed articles and infographics, applying both fundamental and intricate tips for precise measurements.
One can often find printable conversion charts that serve as quick reference tools. These charts are crucial for converting between different measurement units like cups, milliliters, and fluid ounces.
Improving Techniques over Time
Consistent practice is key to mastering liquid measurement. Cooking classes, both in-person and online, present opportunities for one to receive direct feedback and refine their skills. In addition to classes:
Regular baking or cooking allows for frequent application of measurement principles for enhanced accuracy.
Keeping a baking journal can help track progress and document techniques that yield better results.
Precision can be further improved by using quality measuring devices and learning how to read them correctly — for instance, ensuring that one’s eye is level with the measurement marking on a liquid measuring cup.
By utilizing tutorials, guides, and consistent practice, cooks and bakers at all levels can achieve greater precision and confidence in their culinary endeavors.
Frequently Asked Questions
How does one ensure they're measuring liquids correctly?
One should use liquid measuring cups for accuracy. Fill the cup to the desired level and check at eye level. The liquid should be even with the measurement marking.
What if the liquid forms a meniscus?
For clear liquids, position oneself so the meniscus, the slight curve at the liquid's surface, is at eye level. The bottom of the meniscus should align with the measurement mark. For opaque liquids, one should fill until the top surface is even with the marking.
Can the same measuring tools be used for both dry and liquid ingredients?
No, it's recommended to use liquid measuring cups for liquids and dry measuring cups for dry ingredients. Liquid cups are designed to account for spillage and to accurately measure the volume of liquids.
Is it important to set the liquid measuring cup on a flat surface while measuring?
Absolutely. Placing the measuring cup on a flat surface ensures that one can accurately read the level of the liquid at eye level to avoid over or under-pouring.
How should sticky liquids like honey or syrup be measured?
For sticky liquids, lightly coat the inside of the measuring tool with a neutral oil or nonstick spray. This will make it easier to get all of the liquid out and ensure a more precise measurement.
What common mistakes should be avoided?
Do not measure liquids in a cup intended for dry ingredients.
Avoid holding the measuring cup in the air while filling; always use a level surface.
Do not fill above or below the mark for the intended measure.
Do not eyeball amounts; using proper measuring tools is crucial for accuracy.
Conclusion

Accurate measurement of liquid ingredients is critical in culinary practices, especially in baking where precision can greatly affect the final product. They should equip themselves with the appropriate tools, such as clear liquid measuring cups and measuring spoons, for best results.
Liquid Measuring Cups: It is recommended to use them on a flat surface and bend down to eye level to ensure measurements align with the gradation marks.
Measuring Spoons: These are suitable for both wet and dry ingredients when precise small quantities are needed.
Their responsibilities include using these tools correctly to avoid discrepancies in recipes. Key steps to remember include:
Always measure liquids at eye level
Use the 'tare' function on a digital scale for accuracy
Clean tools thoroughly between uses to prevent cross-contamination
Practitioners in the kitchen should also keep a conversion chart accessible to facilitate the translation between volume and weight measurements, enhancing their efficiency and proficiency.
One must note that the proper care and use of measuring instruments are indispensable in achieving consistent and satisfactory cooking and baking outcomes. With practice and adherence to these guidelines, their skill in measuring liquids will improve, fostering success in their culinary endeavors.
