
How to Cook While Mastering the Art of Bread Baking
Learning to bake bread (What wine goes well with bread?) is a rewarding endeavor that caters to a variety of skill levels. As a foundational staple, bread consists mainly of flour, water, yeast, and salt, with this simple quartet forming the backbone of countless recipes. Whether one opts for a classic loaf or ventures into flavored breads with garlic, herbs, or sweeteners, baking bread encourages creativity while adhering to scientific principles. The key lies in understanding how ingredients interact, particularly the role of yeast as the leavening agent, which is stimulated by sugar and activated by water to help the dough rise.
For beginners, the process may seem daunting, but it starts with basic steps: mixing ingredients, kneading the dough, and allowing it to rise. Patience is essential, as bread making is often a slow process, where time allows flavors to develop and dough to achieve the right texture. Embracing this time can turn baking into a meditative and satisfying activity.
Mastering bread baking doesn’t require complicated techniques or professional equipment. One can start with no-knead bread recipes to bypass the physically demanding kneading process. These recipes rely on longer fermentation times for the dough to develop gluten, resulting in bread with a robust flavor and artisanal texture. As amateur bakers gain confidence and understanding, they can advance to recipes involving more ingredients and technical steps. The journey from mixing bowl to oven to table not only yields delicious homemade bread but also nurtures a valuable life skill.
Essentials of Bread Ingredients

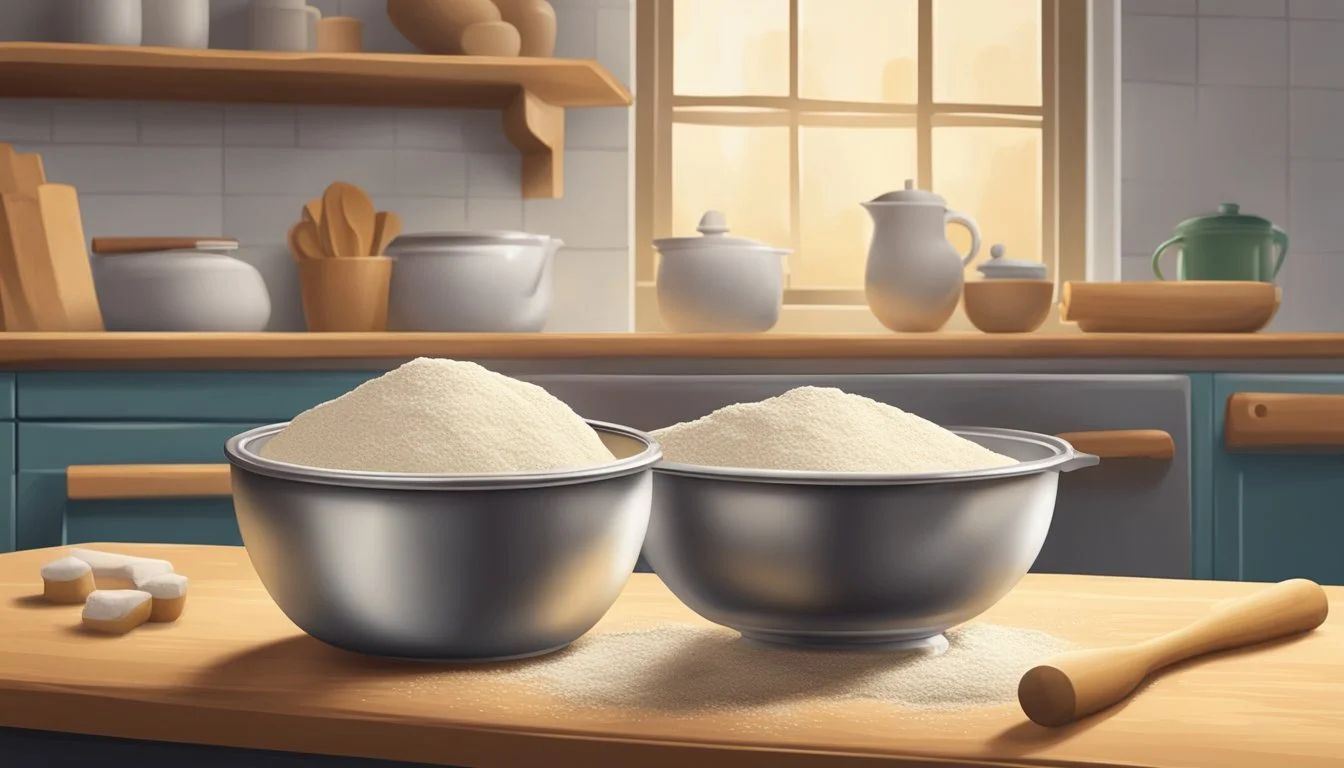
The foundation of successful bread baking lies in understanding the roles and functions of essential ingredients. Each component interacts to create the texture, flavor, and structure of the bread.
Flour Types and Their Roles
Bread flour: Contains high protein content, typically about 12-14%. It creates stronger gluten networks, offering bread its chewy texture and structure.
All-purpose flour: More versatile with a protein content around 8-11%, suitable for a wide range of bread recipes but yields a less chewy texture.
Whole wheat flour: Made from the entire kernel of wheat, adding nutritional content and a denser, heartier texture to bread.
For optimal results, some bread recipes may combine different types of flour to balance texture and flavor.
Yeast and Fermentation
Yeast: A living organism that ferments sugar, releasing carbon dioxide that causes dough to rise.
Active dry yeast needs to be dissolved in water before use.
Instant yeast can be mixed directly with dry ingredients.
Yeast not only leads to the rising of bread but also contributes to the characteristic flavor through the fermentation process.
Understanding Liquids: Water and Milk
Water: The primary hydrator of flour, it activates yeast and gluten formation. Water temperature should be between 105°F to 115°F to properly activate yeast without killing it.
Milk: Can be used to replace water in some bread recipes, contributing to a richer flavor and tender crumb due to its fat content and sugars, which also facilitate browning of the crust.
Salt, Sugar, and Fat: Flavor and Texture Enhancers
Salt: Crucial for flavor, it also strengthens gluten structure and controls yeast fermentation.
Sugar: Provides food for yeast, enhances browning, and contributes sweetness and tenderness to the crumb.
Fats (butter, oil): Enrich flavor and soften the texture. These also help in preserving the bread by retaining moisture.
Understanding each ingredient's purpose and the correct proportions ensures the bread will have the desired flavor and texture.
Bread Making Techniques
In bread making, each technique is critical to achieving a perfect loaf. They are sequential steps—kneading, proofing, shaping, and scoring—that transform raw ingredients into a baked masterpiece. The techniques influence the bread's texture, structure, and appearance.
Kneading: Developing Gluten
Kneading is the process of working the dough to develop gluten, which gives the bread its structure and chewiness. A proper kneading technique is essential for forming the gluten network. For most bread recipes, one should knead the dough for about 10 to 15 minutes by hand, or 5 to 8 minutes if using a mixer with a dough hook.
Proofing: The Rise of the Dough
Proofing, also referred to as rising, is when the dough is left to rest, allowing the yeast to ferment. This fermentation process causes the dough to rise and develop flavor. Typically, dough is proofed twice—after kneading and shaping. Bakers use loaf pans to ensure the dough maintains its shape during this stage. The dough should be proofed in a warm, draft-free area until it has almost doubled in size.
Shaping: Forming Your Loaf
Shaping is the step where the proofed dough is formed into its final shape before baking. This step is not just for aesthetics; it also affects the bread's crumb structure and the final rise in the oven. Shaping methods vary depending on the type of bread being made, but generally, the dough is gently deflated, rounded, and then molded into the desired form.
Scoring: A Baker's Signature
Scoring involves making shallow cuts on the surface of the shaped dough with a sharp knife or a razor blade right before baking. These cuts allow the gas inside the dough to escape, control how the bread expands in the oven, and can profoundly affect the final texture and appearance of the crust. It also gives bakers an opportunity to add their signature style to each loaf.
Baking Bread: Mastering the Oven
When it comes to baking bread, understanding how to effectively use an oven is crucial. Achieving the right bake requires precise control of temperature, steam, and timing.
Oven Temperature and Preheating
For successful bread baking, a consistent and accurate oven temperature is essential. Most recipes require an oven preheat to 350°F (175°C) to 475°F (245°C), depending on the bread type. It's advisable to use an oven thermometer to confirm the accuracy of the oven's settings. Preheating the oven for 20 to 30 minutes ensures a stable environment for the dough to bake.
Using Steam for Oven Spring
Steam plays a major role in achieving a good oven spring—the initial rapid rise of dough once it enters a hot oven. Introducing steam during the first few minutes of baking helps the dough expand by keeping the surface flexible. A common method involves:
Preheating a cast iron pan on the oven floor.
Placing the dough in the oven and pouring a cup of hot water into the preheated pan, quickly closing the door to trap the steam.
Baking Time and Doneness
The size and shape of the bread considerably affect the baking time. As a general guideline, a loaf of bread typically requires 20-35 minutes of baking. A loaf is done when it reaches an internal temperature of 190 to 200°F (88 to 93°C)—a digital thermometer can confirm this. The crust should be golden-brown, and if tapped on the bottom, the bread should produce a hollow sound.
Cooling: Preserving the Crust
After baking, it's important to transfer the bread to a cooling rack. This stops the baking process and prevents the crust from becoming soggy. A clear sign of well-baked bread is a crisp crust, which is best preserved by cooling the bread in an area with good airflow. The bread should be left undisturbed during this stage to set the crumb and develop flavor.
Beyond Basics: Special Bread Types
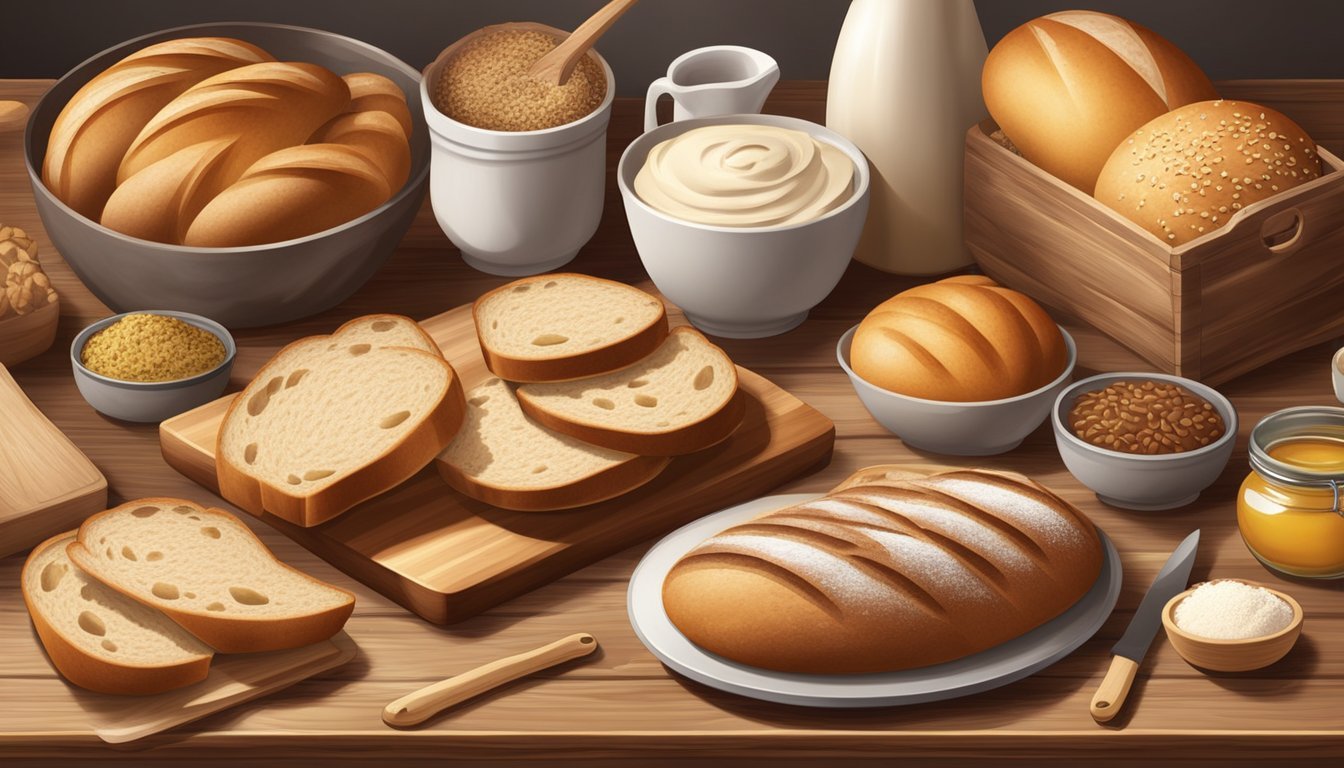
Once a baker is comfortable with the fundamentals, exploring special bread types can be both challenging and deeply rewarding. They offer a variety of flavors, textures, and nutritional profiles that cater to diverse tastes and dietary needs.
Sourdough and Starters
Sourdough bread stands out with its distinctive tangy flavor, attributed to the fermentation of the dough using a sourdough starter. This starter is a mixture of flour and water that cultivates natural yeasts and lactic acid bacteria over time. Whole wheat sourdough bread is a popular variation that incorporates whole wheat flour, offering a nuttier taste and enhanced fiber content.
Sweet and Savory Variations
Sweet breads and savory loaves expand the baker's repertoire significantly. Sweet breads often include ingredients like fruits, nuts, chocolate, or spices, while savory breads might be enhanced with olive oil, dried herbs, cheese, or meats. For example, Babka is a sweet, braided bread filled with chocolate or cinnamon, and focaccia is an Italian olive oil-rich bread that may be sprinkled with herbs and salt.
Dietary and Health-Conscious Breads
For those with dietary considerations, there are numerous health-conscious breads that cater to specific needs. Alternatives to traditional wheat flour breads can include those made with almond flour, coconut flour, or other gluten-free options. Bakers seeking to reduce their sodium intake might opt for bread recipes that utilize natural salt substitutes or simply lower quantities of added salt.
Flatbreads and International Styles
Flatbreads provide a window into global bread-making traditions and can be simpler to make than their leavened counterparts. Naan, an Indian flatbread, is typically cooked in a tandoor, but can be made in a standard home oven as well. Pizza crust is another beloved style of flatbread, and it serves as a versatile base for a variety of toppings.
No-Knead and Quick Bread Alternatives
Embracing alternative bread-making methods can be both a time-saver and a doorway to creativity. No-knead breads and quick breads offer simple processes and rely on time or chemical leaveners rather than intensive labor.
The No-Knead Revolution
The no-knead bread technique has transformed home baking by removing the physically demanding task of kneading. Bakers simply mix flour, water, salt, and a small amount of instant yeast, then allow the dough to slowly ferment. This method leverages time to develop gluten, which typically is formed through kneading. Doughs are typically wetter and will rise for anywhere from 6-18 hours. When ready, they're baked in a preheated covered pot which replicates a steam-injected oven, crucial for achieving a professional-quality crust.
Quick Breads: From Muffins to Scones
Quick breads are a category of non-yeasted baked goods that are leavened with chemicals such as baking soda and baking powder. Items like muffins and scones fall into this bracket. They mix together swiftly, with the batter remaining lumpier than that of no-knead breads. Muffins and scones are versatile, with recipes ranging from savory options incorporating cheese and herbs, to sweet varieties laden with fruits or spices.
Baking Soda and Baking Powder: Chemical Leaveners
Baking soda and baking powder serve as the primary leavening agents in quick breads. Baking soda is sodium bicarbonate and requires an acidic ingredient to activate. Baking powder, on the other hand, contains sodium bicarbonate and an acid, only needing moisture and heat to initiate the reaction.
Baking Soda: It reacts immediately upon mixing with an acid, so bakers must bake recipes utilizing baking soda without delay.
Baking Powder: Available as either single-acting or double-acting, it's more forgiving than baking soda. Double-acting baking powder reacts in two phases – once when moistened, then again when subjected to heat.
These leavening agents are responsible for the light, airy textures of quick breads and are measured carefully to avoid overexpansion or a metallic taste.
Advanced Baking Tools and Equipment
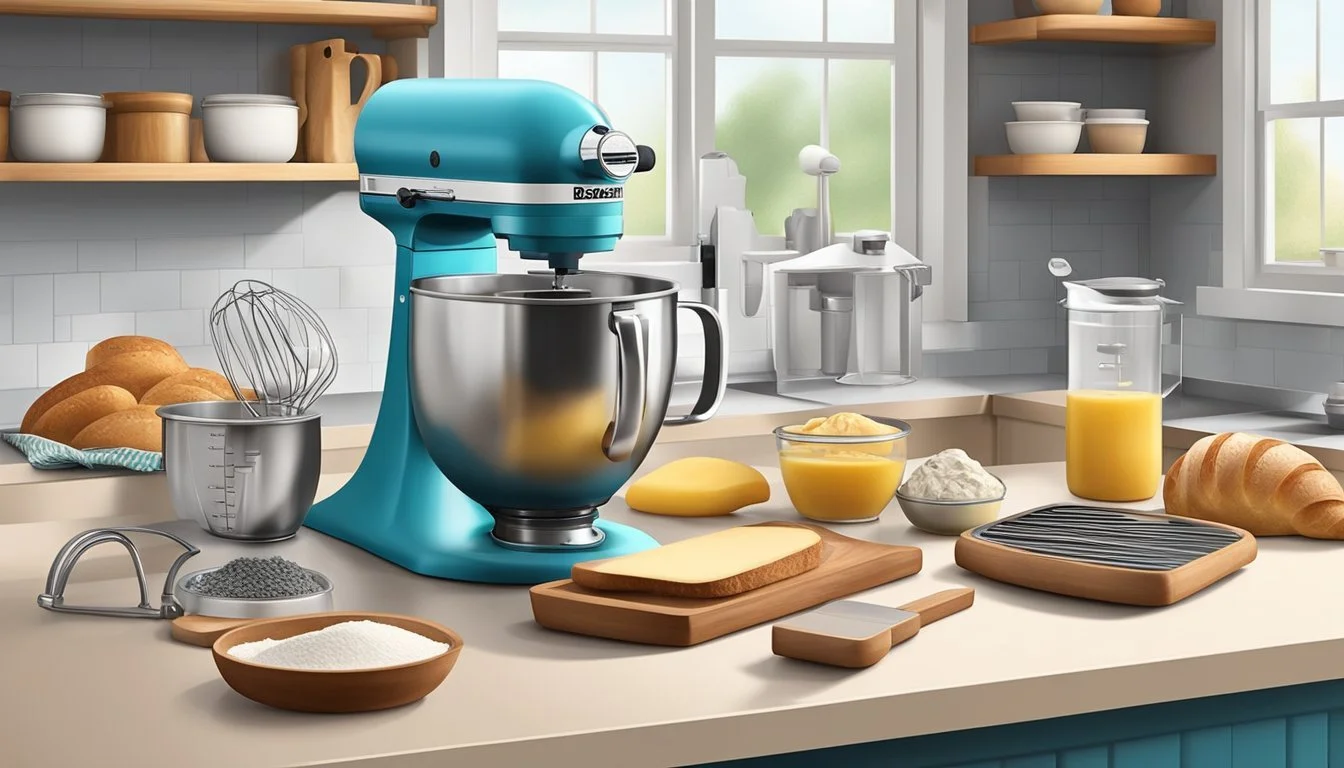
When learning to bake bread, having the right equipment can make the difference between good and exceptional results. This section focuses on the advanced tools and equipment essential for those serious about bread baking.
Choosing the Right Baking Pan
A baker's arsenal should include heavy-duty baking pans. The choice of pan affects heat distribution and the bread's crust. For instance, cast iron skillets pre-seasoned with oil enhance the crust's texture and color. Loaf pans made of aluminized steel or tempered glass maintain even heat and are ideal for classic bread shapes.
Utilizing a Dough Hook and Stand Mixer
For efficient kneading, a stand mixer with a dough hook attachment is indispensable. It replaces the strenuous hand kneading, ensuring a consistent dough texture. A digital scale is crucial for measuring ingredients accurately, as baking is a precise science.
Baking Stones and Dutch Ovens
Baking stones provide a stable, high heat environment, mimicking a professional oven's floor, leading to a well-risen loaf with a crisp crust. A Dutch oven's enclosed space traps moisture around the bread, replicating steam-injected ovens. This steam is key for a glossy crust and excellent oven spring.
Proofing Baskets and Scoring Tools
Using bannetons or proofing baskets gives structured shape and support to dough during proofing. They also impart a rustic pattern. Before baking, a lame or sharp scoring tool is utilized to control where the bread expands, preventing tears and ensuring visual appeal.
Troubleshooting Baking Problems
Perfecting the art of baking yeast breads requires attention to detail and understanding how various factors affect the final outcome. This section is dedicated to identifying common baking problems and providing reliable solutions.
Common Issues with Yeast Breads
Yeast is a crucial ingredient in bread making, responsible for fermentation and the rise of the dough. If dough fails to rise, it may be due to inactive yeast or a cold environment. To rectify, one should proof the yeast by ensuring the water is between 105°F and 115°F before combining it with the yeast. For an optimal fermentation climate, the dough should rise in a warm area, shielded from drafts.
Texture and Volume Challenges
The quest for the perfect texture and volume in bread is often met with challenges like denseness or overproofing. Underproofed, dense bread can occur if the dough is rushed through its proofing stage. Stick strictly to the recipe's recommended proofing time. Conversely, if the bread is too airy or has large holes, consider reducing the proofing time to avoid excessive fermentation.
Dealing with Oven Variations
Inconsistent oven temperatures are common culprits in baking mishaps. An oven thermometer can help assess actual oven temperatures compared to the dial settings. If bread is undercooked, return it to the oven preheated to 350°F for an additional 10-20 minutes. Ensure the oven door is kept shut during baking to maintain a stable temperature.
Adjusting Recipes for Consistency
Each baker's environment is unique, and as such, recipes might need slight adjustments for consistency. If bread consistently comes out bland, consider a slow overnight rise in the refrigerator to enhance flavor complexity. Moreover, keeping detailed notes on adjustments helps in achieving consistent results across different baking sessions.
Storing and Enjoying Homemade Bread
After mastering the art of bread baking, the next step is ensuring that the fruits of one's labor can be enjoyed to the fullest. Proper storage is key to maintaining the freshness and flavor of homemade bread, and there are efficient techniques for both short-term enjoyment and long-term preservation. Here are the essentials for keeping bread at its best.
Keeping Bread Fresh
To maintain the freshness of homemade bread, it is crucial to store it correctly after it has cooled completely to room temperature. For sandwich bread or similar soft loaves, a breadbox or a tightly closed paper bag in a cool, dry place helps retain moisture without creating condensation. Crusty bread requires a slightly different approach; a paper bag can help preserve the crust's texture, but for peak freshness, consuming it within a day is optimal. Unlike commercial bread, homemade bread lacks preservatives, which means it can go stale faster and should be consumed within a few days.
Freezing and Thawing Bread
For extended storage, freezing bread is an effective method:
Slice the bread before freezing to easily thaw only as much as you need at a time.
Wrap slices or whole loaves in wax or parchment paper.
Place wrapped bread in a heavy-duty freezer bag or an airtight container.
Label the bag or container with the date to track how long it's been stored.
To thaw, leave the bread at room temperature in its wrapping, ensuring that condensation doesn't make it soggy.
When ready to eat, for crusty varieties, one can warm them in a 350-degree oven for about 10 minutes to revive the crust's texture.
Creative Uses for Leftover Bread
Should you find yourself with leftover bread that’s begun to go stale, there are numerous ways to use it:
Breadcrumbs: Process stale bread in a blender or food processor to make breadcrumbs.
Croutons: Cube the bread, toss with olive oil and seasonings, and bake until crispy.
Bread Pudding: A classic way to repurpose stale bread into a delicious dessert or savory dish.
French Toast: Stale bread absorbs egg mixture well, making for a perfect French toast.
Each of these methods not only reduces waste but also provides an opportunity to enjoy the homemade bread in a new, delightful form.
Business of Baking: Selling Your Bread
Transitioning from baking as a hobby to selling your homemade loaves can be a rewarding endeavor. This section explores the practical steps bakers need to consider to legally sell their bread, attract and retain customers, and manage finances for a sustainable business.
Navigating Health Codes and Regulations
Every baker must ensure they are in full compliance with local health codes and business regulations before selling their bread. This typically involves:
Obtaining necessary permits and licenses, which vary by location.
Adhering to food safety practices for preparation, storage, and handling.
Understanding and implementing proper labeling in accordance with local laws.
Key Steps for Compliance:
Research: Determine specific requirements by consulting with local health departments.
Inspection: Prepare for kitchen inspections, if required, to certify the baking space.
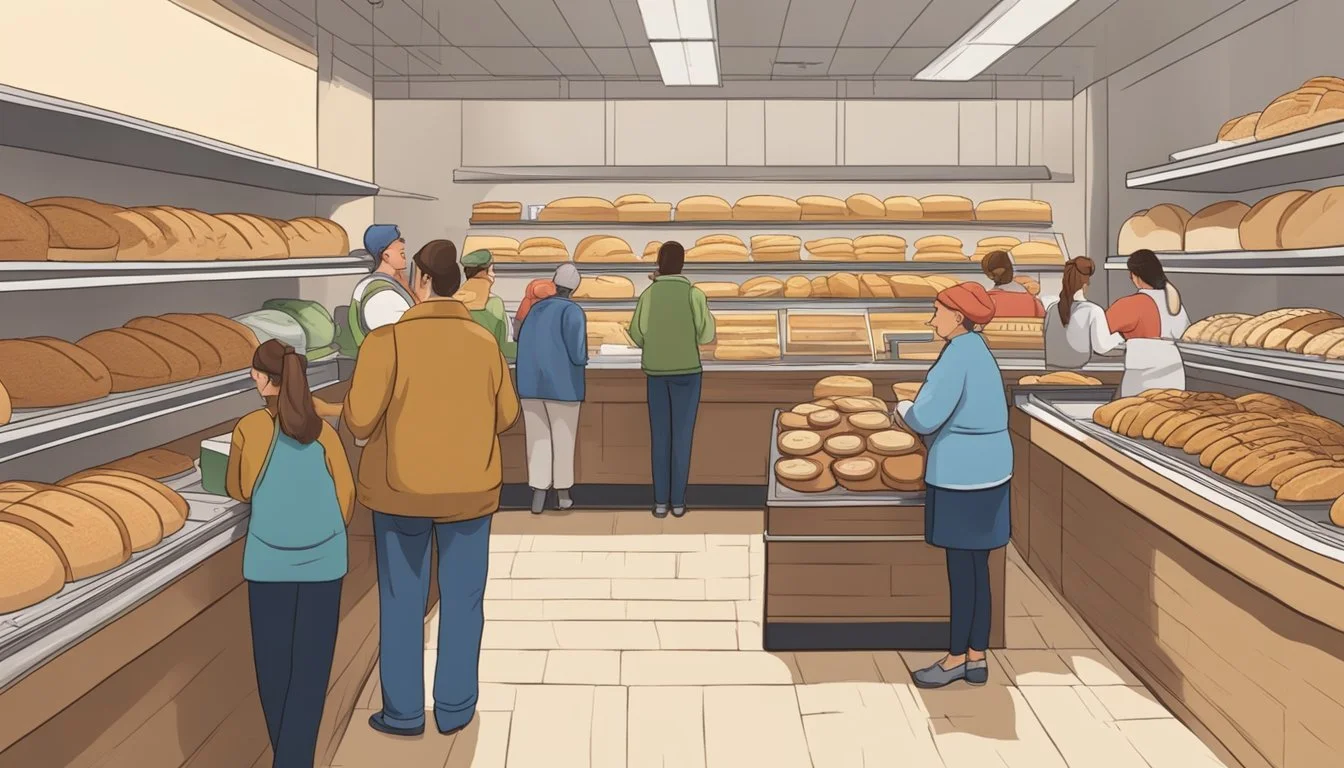
Marketing Your Bread
Successful marketing for a baking business demands a tailored strategy that highlights the unique qualities of your homemade loaf. Consider these focal points:
Brand Identity: Develop a brand that reflects the qualities of your bread and resonates with your target audience.
Sales Venues: Choose appropriate places to sell, such as farmers' markets or local gourmet stores.
Bread Marketing Essentials:
Utilize social media to create a presence and engage with potential customers.
Invest in attractive packaging that reinforces your brand and product quality.
Costs and Pricing for Profit
To ensure profitability, one must carefully calculate the costs of production and set appropriate price points. This includes:
Material Costs: The price of ingredients and equipment.
Time Costs: The hours spent in preparation, baking, and selling.
Profit Calculation Table:
Cost Type Example Costs Consideration Ingredients Flour, water, yeast, salt Bulk purchasing to reduce costs Equipment Ovens, mixers, baking sheets Initial investment vs. long-term use Time Preparation, baking, sales efforts Value of time and labor Operational Overheads Utilities, marketing, packaging Spread across the total loaves sold
Customer Engagement and Feedback
Engaging with customers and actively seeking feedback are crucial for business growth and improvement. Strategies include:
Offering samples to potential buyers to encourage purchase.
Gathering feedback through surveys or direct communication.
Customer Service Tips:
Build rapport with regular updates and responsiveness to inquiries.
Show appreciation for customer loyalty with special offers or recognition.
By focusing on regulatory compliance, strategic marketing, cost-effective pricing, and active customer engagement, bakers can establish a reputable and profitable bread business.
