
The No-Knead Dutch Oven Loaf
A Guide to Easy Artisan Bread at Home
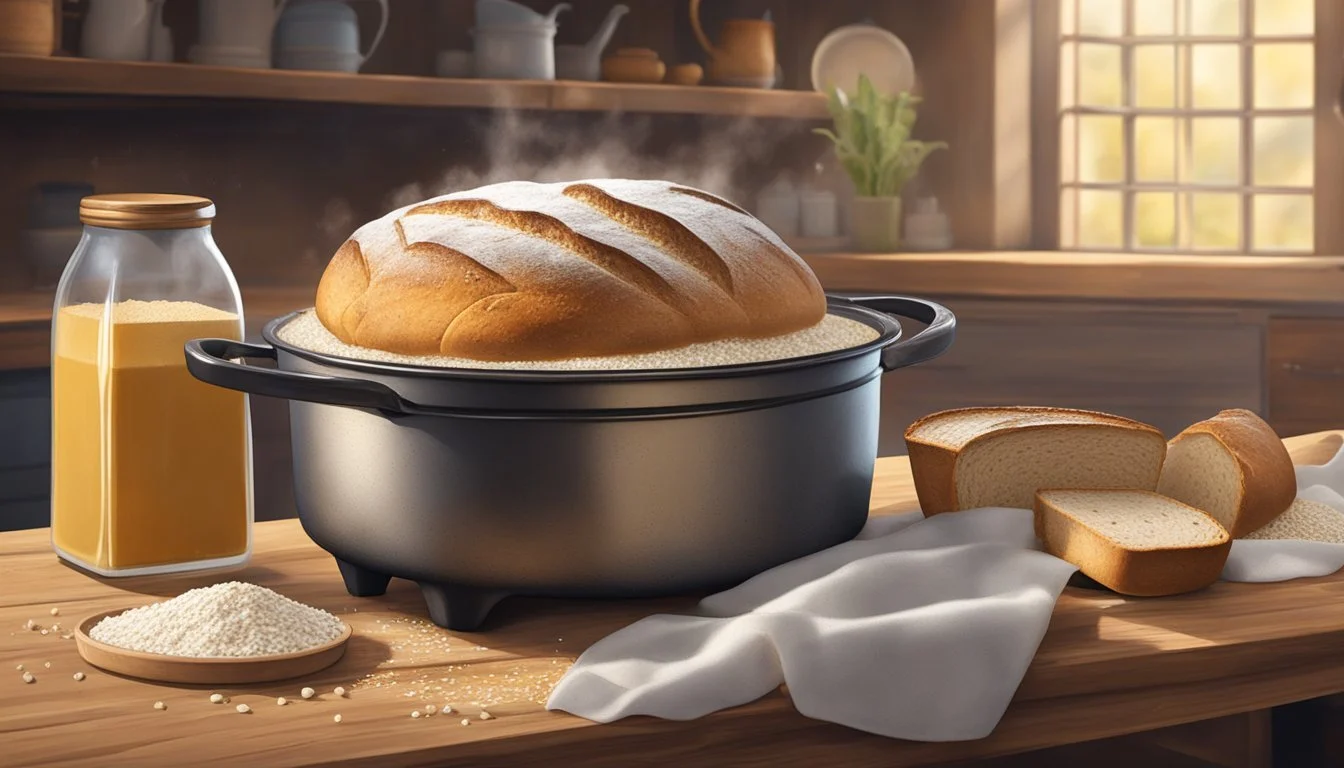
The No-Knead Dutch Oven Loaf stands as a testament to the beauty of simplicity in baking. This method revolutionizes the traditional, labor-intensive process of bread (What wine goes well with bread?)-making by eliminating the need for extensive kneading. Instead, it relies on a long fermentation period to develop the bread's flavor and structure. The introduction of the Dutch oven mimics a professional steam oven, ensuring that the bread achieves a superior crust and crumb with no specialized equipment required, making artisanal-quality bread accessible to home bakers.
Artisan bread is often associated with skillful techniques and a certain level of culinary expertise, but the No-Knead Dutch Oven method welcomes even novices into the world of baking high-quality loaves. By following this approach, one can expect a bread with a crisp, blistered crust and a tender, airy interior, hallmarks of artisanal bread, all while using the most basic kitchen tools. The technique typically involves mixing a simple dough with just a few ingredients, followed by a rest that can last from several hours to overnight, thus allowing time to do the heavy lifting.
While traditional artisan bread-making might appear daunting due to the exacting kneading and shaping skills it requires, the simplicity of the No-Knead Dutch Oven Loaf breaks down these barriers. Bakers of all levels can now engage in creating a rustic bread that is both satisfying to make and delightful to eat, reaffirming the adage that less can indeed be more in the craft of bread-making. The straightforward process combined with the utilization of the ever-versatile Dutch oven offers a foolproof way to achieve a bakery-style loaf at home.
Essentials of No-Knead Bread

No-knead bread brings the pleasure of fresh, homemade bread with a simplified process that any home baker can master. This section will provide the foundational details about the ingredients and the science that contribute to making a successful no-knead loaf.
Overview of Ingredients
Bread fundamentally consists of four basic ingredients - flour, water, salt, and yeast. In a no-knead bread recipe, the proportions and quality of these ingredients are pivotal.
Flour: Typically, bread flour is recommended due to its higher protein content which is crucial for gluten development. However, all-purpose flour can also be used.
Water: It activates the yeast and hydrates the flour. The water temperature should be lukewarm to optimize yeast activity without denaturing it.
Yeast: A small amount of yeast is used in no-knead bread; it can be either active dry yeast or instant yeast.
Salt: Besides providing flavor, salt regulates yeast activity and strengthens the gluten structure.
The simplicity and minimalism of ingredients reflect in the tag 'no knead bread' and allow bakers of any level to produce a loaf that boasts a crusty exterior and a soft interior.
Understanding the Science of Bread Making
The science behind bread making, especially no-knead bread, includes two main processes: fermentation and gluten development.
Yeast Fermentation: Yeast consumes sugars in the flour, producing carbon dioxide and alcohol as by-products. This gas gets trapped by the gluten network, causing the bread to rise.
Gluten Formation: By simply combining water and flour, gluten proteins (gliadin and glutenin) bond to form a stretchy network. The no-knead method relies on time rather than physical kneading to develop this gluten network.
The unique method of no-knead bread capitalizes on a long, slow fermentation process, which enhances flavor and texture while also making the bread-making process accessible to bakers looking for a less labor-intensive method. It's an excellent choice for those seeking to create artisan quality bread with minimal equipment.
Dutch Oven 101
When baking artisan-style bread, the choice of cookware is crucial. A Dutch oven’s ability to retain heat and produce steam plays an integral role in achieving a golden-brown crust.
Choosing the Right Dutch Oven
One must consider the size and material of the Dutch oven for baking bread:
Size: A 4 to 7-quart Dutch oven is typically sufficient for most bread recipes.
Material: Cast iron is the preferred material due to its heat retention properties.
Brand Examples:
Lodge: Known for its robust cast iron Dutch ovens.
Le Creuset: Offers high-quality enameled cast iron Dutch ovens.
Dutch Oven Type Notable Brands Heat Distribution Maintenance Level Cast Iron Dutch Oven Lodge Excellent Moderate Enameled Cast Iron Le Creuset Excellent Easier
Benefits of Baking Bread in a Dutch Oven
Steam: The enclosed space within a Dutch oven traps steam, which is vital for the bread's rise and formation of a crisp crust.
Even Heat: Cast iron provides consistent heat, aiding in uniform baking and the development of a desirable golden-brown color.
The Dough Preparation Process
The preparation of No Knead Bread dough involves a straightforward yet carefully timed process. Beginning with a simple mixture of ingredients, the dough is given ample time to rest, encouraging the development of flavor and structure without the need for mechanical kneading.
Mixing the Ingredients
Combine 3 cups of all-purpose flour or bread flour with 1/4 teaspoon of instant yeast or active dry yeast, 1 1/4 teaspoons of kosher salt, and 1 1/2 cups of warm water in a large mixing bowl. Stir together until a shaggy dough forms, making sure no dry patches of flour remain. This basic recipe can also be amended to include whole wheat flour for a more robust flavor.
Ingredients:
3 cups all-purpose or bread flour
1 1/4 teaspoons kosher salt
1/4 teaspoon instant, active dry, or rapid rise yeast
1 1/2 cups warm water
Resting and Rising Time
Cover the mixed dough tightly with plastic wrap or place it into a plastic bag to prevent drying out. Let the dough sit in a warm spot in your kitchen for a duration ranging from 8 to 18 hours. This long resting period allows the dough to rise and the yeast to ferment, which develops complex flavors. You should expect the dough to at least double in size, becoming bubbly and puffy.
Rising Guidelines:
Cover with plastic wrap or a plastic bag.
Rest in a warm spot.
Wait 8 to 18 hours for the dough to rise.
Shaping the Dough
After the rising time, transfer the dough onto a floured work surface, folding it over itself once or twice to form a ball. Avoid overworking the dough, as the light structure and air pockets that have formed are crucial for the final bread texture. The soft and wet dough should then be moved to a piece of parchment paper for an additional rise, generally lasting about 30 minutes, or until the dough has visibly expanded. This stage sets the shape of your loaf and prepares it for baking.
Shaping Steps:
Gently fold on a floured surface.
Shape into a ball.
Transfer to parchment paper for a final 30-minute rise.
Baking the Bread
Baking no-knead Dutch oven bread is a simple process that hinges on precise temperature control and timing. A well-preheated Dutch oven and accurately following the baking stages are essential to achieving a golden-brown loaf with a crispy crust. This section will guide the reader through the steps of preheating, baking, and serving the bread.
Preheating Techniques
To ensure even cooking and the iconic crunchy crust associated with artisan bread, preheating the Dutch oven is crucial. Begin by placing the Dutch oven with its lid on into the cold oven. Then:
Set the oven temperature to 450°F (230°C).
Allow the oven and the pot to heat together for at least 30 minutes to 1 hour.
This will bring the Dutch oven to a high temperature, creating an optimal baking environment.
The Baking Process
Once the Dutch oven is preheated:
Prepare the Dough:
The dough should have been allowed to rise until it has at least doubled in size.
Once risen, transfer the dough to a piece of parchment paper using a spatula or a well-floured wooden spoon.
Into the Oven:
Carefully remove the hot Dutch oven using oven mitts.
Lift the dough with the parchment paper and place it inside the Dutch oven.
Cover with the lid to create a steam chamber which contributes to the bread's crispy crust.
Bake:
Bake for 30 minutes with the lid on.
Then, remove the lid to allow the crust to brown and crisp up.
Continue to bake for an additional 10 to 15 minutes until the crust is golden brown.
Bread Temperature:
An instant-read thermometer inserted into the center of the loaf should read around 210°F when the bread is done.
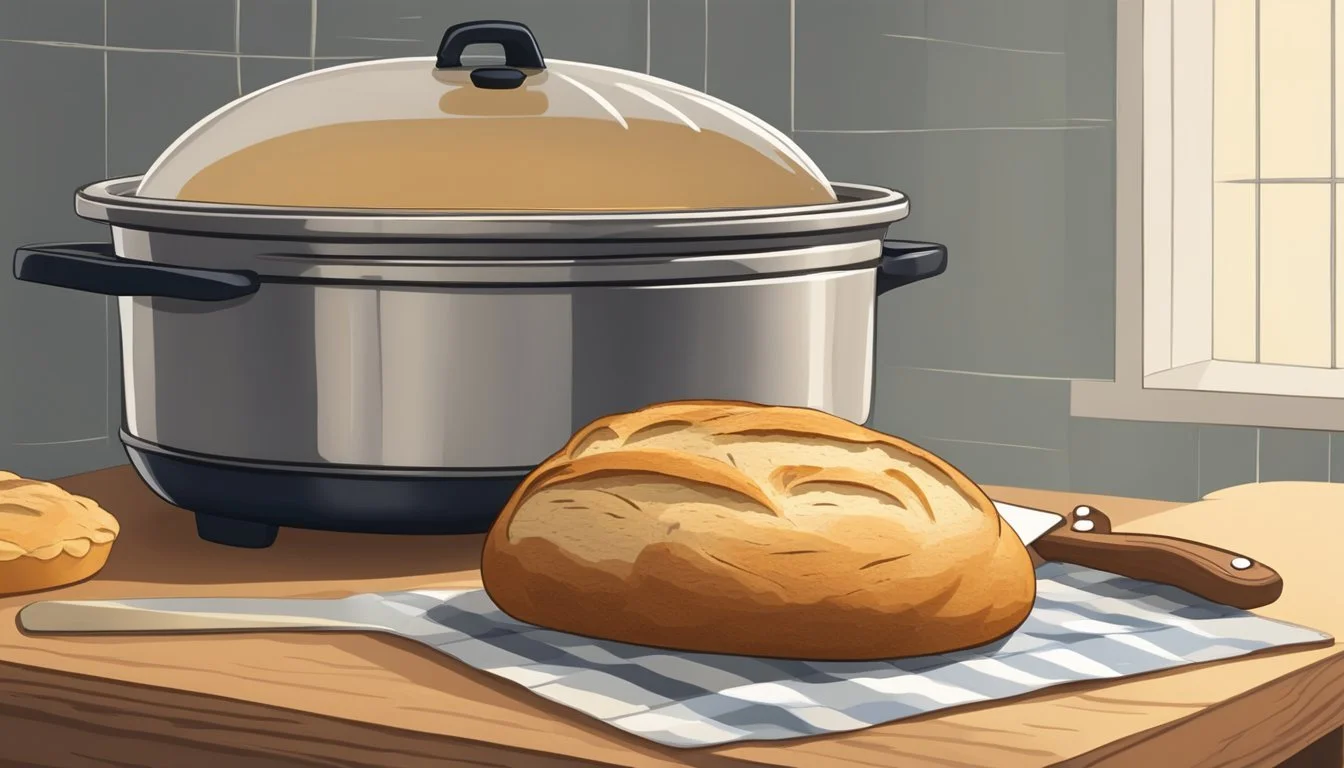
Cooling and Serving
After baking, it's essential to cool the bread properly to complete the texture development:
Use a spatula or oven mitts to carefully lift the bread out of the Dutch oven and place it onto a wire rack.
Allow the bread to cool for at least an hour before slicing. This ensures the interior structure sets properly.
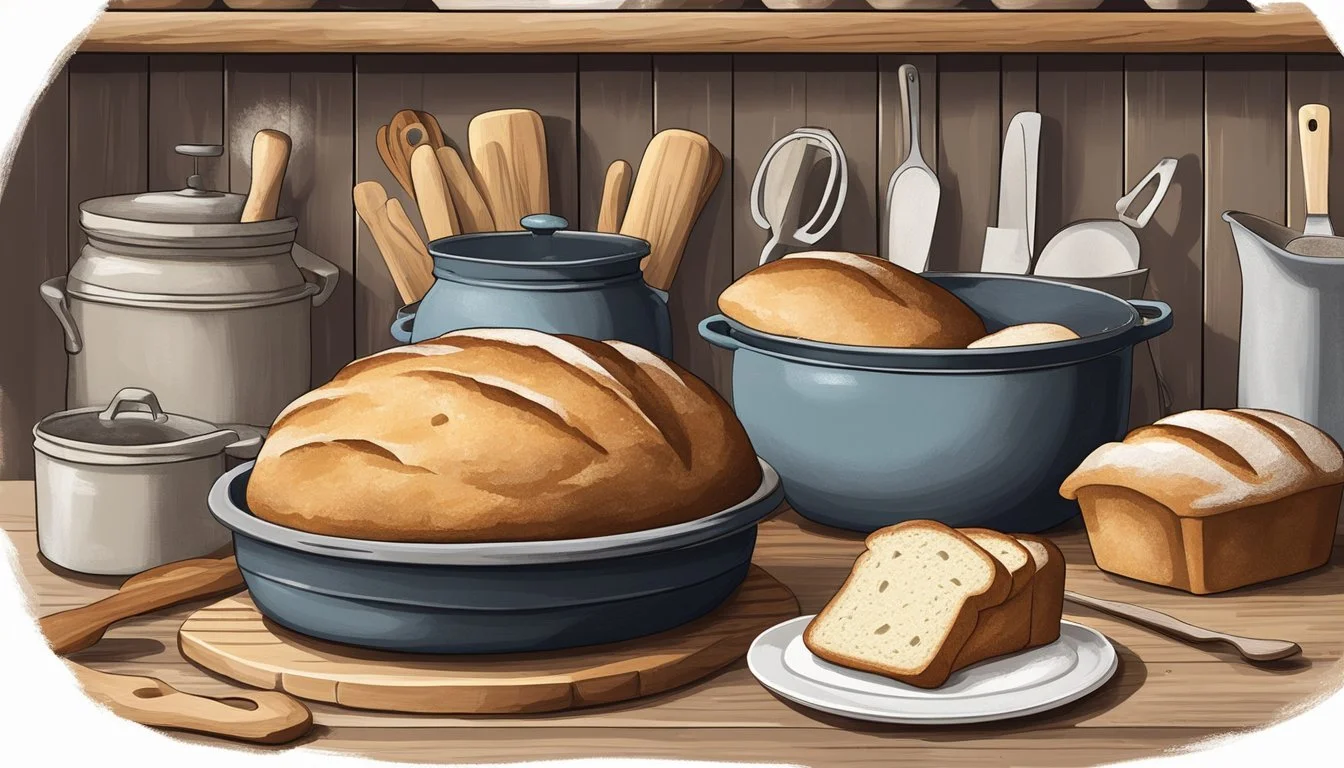
To serve, cut the artisan bread into desired sizes with a serrated knife. The crust should be deeply colored, with a crackling sound when pressed, and the interior should be airy, soft, and chewy. This no-knead Dutch oven bread can be savored with a range of accompaniments or enjoyed on its own, delivering the satisfaction of fresh-baked, artisan-quality bread straight from your kitchen.
After Baking: Storage and Maintenance
After your no-knead Dutch oven loaf is baked to perfection, its longevity and taste greatly depend on proper storage and care of the cooking vessel. It's important to understand the ideal conditions to keep the bread fresh and the routine maintenance to ensure your Dutch oven's longevity.
Proper Bread Storage
To maintain the freshly-baked quality of the loaf, storing it correctly is essential.
Room Temperature: Keep the bread at room temperature for a couple of days wrapped in a paper bag. This allows the crust to stay crisp while the interior remains soft.
Avoid Plastic Bags: Storing in a plastic bag can make the crust soft and should be avoided unless you prefer a chewier crust.
Refrigeration: It's a common misconception that bread should be kept in the fridge. Storing bread in the fridge can actually increase the rate of staling.
Freezing: For longer storage, wrap the loaf in aluminum foil and place it in a freezer bag before freezing. It can last up to three months when frozen.
Cleaning and Caring for Your Dutch Oven
The care for your Dutch oven directly affects the quality of your baking.
Cool Down: Always allow the Dutch oven to cool completely before cleaning to prevent thermal shock.
Cleaning Method: Use warm water and a sponge or brush to clean the Dutch oven. If needed, a small amount of mild dish soap can be used, but it's best to avoid soap if your Dutch oven is cast iron, as this may strip the seasoning.
Dry Thoroughly: After washing, drying the Dutch oven completely is crucial to prevent rust, especially for cast iron.
Seasoning: For cast iron Dutch ovens, occasional seasoning is beneficial. Lightly coat the interior with oil and heat it in the oven to reinforce the non-stick surface.
Storage: Store the Dutch oven with the lid off or ajar to prevent moisture buildup, which can lead to rust, particularly in cast-iron types.
The life of artisan bread and the trusty Dutch oven it's baked in can be significantly extended with proper care and storage following these tips.
Troubleshooting and FAQs
In this section, you'll find solutions to common problems encountered when making no-knead Dutch oven bread, along with advanced tips to refine your techniques.
Common No-Knead Bread Issues
Issue: Bread isn't rising properly.
Cause: Yeast is not active. Ensure the yeast is fresh and the water temperature is warm (between 110°F-115°F) to activate the yeast effectively.
Solution: Check the expiration date on your yeast and test it in warm water with a pinch of sugar; it should bubble if it's active.
Issue: Crust is too thick or hard.
Cause: Oven may be too hot or bread overbaked.
Solution: Reduce preheating time, lower baking temperature slightly, or minimize uncovered baking time.
Issue: Bread bottom is burning.
Cause: Dutch oven is over-preheated or absorbs too much heat.
Solution: Try placing a baking sheet under the Dutch oven to diffuse heat or reduce preheating time.
Issue: Dense or gummy texture.
Cause: Insufficient rise time or not enough water in the dough.
Solution: Extend rise time, especially in colder environments, and ensure proper hydration of the dough as per recipe.
Advanced Tips and Variations
Tip: Experimenting with Flour Types.
Alternative flours can introduce new flavors and textures. Use a strong bread flour for added chewiness, or a portion of whole wheat for a nuttier taste, but adjust water as these flours absorb more liquid.
Tip: Creating Sourdough Loaf.
Replace commercial yeast with a sourdough starter. Maintain the starter at a proper feeding schedule for best results, and give the bread ample time to rise, which might be longer than with commercial yeast.
Tip: Incorporating Oils or Sweeteners.
Adding a small amount of oil can soften the crumb, while sweeteners like honey or sugar can offer a touch of sweetness and color to the crust. Add these sparingly to maintain the structure of the artisan loaf.
Variation: Herbs and Spices.
Fresh or dried herbs and spices can be added for flavor. Incorporate them into the dry ingredients before adding water to ensure even distribution throughout the dough.
Economical Aspects of Home Baking
Home baking, particularly the making of no-knead Dutch oven bread, offers significant cost savings and versatile equipment options. This section examines the financial benefits of homemade bread and explores budget-friendly Dutch oven alternatives.
Cost-Effectiveness of Homemade Bread
When one bakes bread at home using the no-knead Dutch oven method, they can see substantial savings over store-bought artisan loaves. The primary ingredients -- flour, water, salt, and yeast -- are inexpensive, especially when purchased in bulk from retailers like Walmart and Costco. For instance, a bag of all-purpose flour can range from $2 to $5, yeast packets are around $1 each, and salt costs merely pennies per loaf.
Here's a breakdown of the cost per loaf, assuming the use of table salt and basic all-purpose flour:
Flour (3 cups): $0.30
Yeast (1/2 teaspoon): $0.10
Salt (1/2 teaspoon): $0.01
Water: $0.00 (negligible cost)
Total cost per loaf: roughly $0.41
Compared to an average price of $3 to $6 for an artisan bread from a bakery, one can see considerable savings, making it a highly cost-effective and satisfying endeavor.
Dutch Oven Alternatives: Finding Value
While traditional Dutch ovens are made of cast iron and can be pricey, one does not need to invest in high-cost equipment to achieve similar baking results. Enamel-coated cast iron provides an excellent, often more affordable option for the home baker. Brands like Lodge offer American-made options that are relatively less expensive compared to their European-made counterparts.
Additionally, bakers can also use alternative, uncovered baking vessels such as:
A stainless steel pot with an oven-safe lid
A heat-proof ceramic casserole dish covered with aluminum foil
A preheated pizza stone with a large stainless-steel bowl as a cover
What matters most is that the cooking vessel can retain heat and create a warm place for the bread to bake properly. By choosing cost-effective tools and ingredients like Kosher salt or sea salt over premium brands, home bakers can make bread that's as delicious as it is economical.
Additional Resources and Community
Embarking on the journey of making your own artisan bread at home, specifically the no-knead Dutch oven loaf, invites a multitude of resources for bakers of any skill level. The community and support systems that exist online can be integral in mastering this process. Whether it's troubleshooting a dough that won't rise or seeking that perfect crust, the collective knowledge of experienced bakers can help guide anyone through the nuances of breadmaking.
Leveraging Online Communities for Support
Online forums and social media groups offer a wealth of knowledge and experience for both novices and seasoned bakers. These platforms provide:
Immediate feedback and troubleshooting tips from bread enthusiasts around the world.
Shared experiences with various no knead bread recipes, including sourdough bread recipes and other artisan bread recipes.
Details on how different bread machines or Dutch ovens might affect the outcome of your fresh bread.
One can find several Facebook groups dedicated to Dutch Oven Bread and Artisan Loaf recipe exchanges where members post their successes and learnings. Instagram and Pinterest are also rich with visual guides and personal insights into crafting the perfect no-knead artisan bread.
Exploring Bread Recipes Beyond the Basics
For those ready to expand their repertoire, exploring beyond the foundational no-knead bread recipe is made seamless by:
Blogs specializing in homemade bread, which often provide step-by-step guides and present a variety of artisan bread recipes.
YouTube channels that demonstrate the subtleties of breadmaking, from mixing dough in a bread machine to achieving a golden crust in a Dutch oven.
Recipe databases that organize Dutch oven bread recipes by difficulty level, ingredients, or type of bread, like sourdough.
Recipe Variants:
Classic No-Knead Bread: Ideal starting point with simple ingredients: flour, yeast, salt, and water.
Sourdough No-Knead Bread: Requires a sourdough starter for a more tangy flavor.
Whole Grain and Specialty Flours: For bolder textures and flavors beyond white artisan loafs.
Equipment Discussions:
Dutch Oven Brands: Recommendations for types and brands that best retain heat for a consistent bake.
Bread Machines: Discussions on using machines for mixing dough before baking it in a Dutch oven.
Bakers interested in fresh-baked bread are encouraged to delve into these resources, as they provide a platform to ask questions, share experiences, and continually learn from the community.
Appendix
This section is designed to serve as a supplementary resource for bakers looking to enhance their understanding of the craft. It provides a glossary of terms and measurement conversions pertinent to the array of bread recipes mentioned throughout the article, including no knead, sourdough, and artisan breads made in a Dutch oven.
Glossary of Baking Terms
Artisan Bread: A type of bread that is traditionally handcrafted with high-quality ingredients, without the use of mechanical dough processing.
Dutch Oven: A thick-walled cooking pot with a tight-fitting lid that's excellent for no knead bread recipes, creating an oven-like environment which is key to achieving a crusty exterior.
No Knead Bread Recipe: A method that involves long fermentation instead of hands-on kneading, resulting in a bread with a pleasing texture and a well-developed flavor.
Sourdough Bread Recipe: Bread made from naturally occurring yeast and bacteria in flour, which gives it a tangy flavor.
Measurement Conversions
For the precision that bread recipes demand, it is crucial to understand and correctly convert measurements.
1 cup = 120 grams
½ cup = 60 grams
¼ cup = 30 grams
Water (liquid):
1 cup = 240 milliliters
½ cup = 120 milliliters
¼ cup = 60 milliliters
Yeast:
1 packet (2¼ tsp) active dry yeast = 7 grams
1 teaspoon = ~3.1 grams
These conversions are geared to assist the reader in achieving the correct proportions for any bread recipe, be it no-knead, sourdough, or artisan, when using a Dutch oven. Accurate measurements are critical to the bread-making process to ensure the desired outcome.
