
Baking Sourdough Bread in a Dutch Oven
A Step-by-Step Guide

Baking sourdough bread (What wine goes well with bread?) in a Dutch oven is a practice steeped in tradition, leveraging the even heat and steaming capability of this thick-walled cooking pot to create loaves with a golden crust and tender crumb. The process typically involves nurturing a live sourdough starter—a mixture of flour and water that captures wild yeast and bacteria from the environment—which is then mixed with additional flour and water to form the bread dough. This dough undergoes a slow fermentation process that not only helps it rise but also develops the bread's characteristic tangy flavor.
The Dutch oven, with its tight-fitting lid, creates a miniature oven within an oven, trapping steam released by the dough during the baking process. This steam is crucial as it gives the bread a crispy crust that is hard to achieve in a standard home oven. The pot's heavy construction also provides a consistent heat source, mimicking the conditions of a professional baker's oven. This results in a more reliable rise, a better crust, and typically an improved overall texture compared to baking bread on an open oven rack.
Understanding the specifics of this method is key to achieving bakery-quality sourdough bread at home. It requires careful attention to the hydration level of the dough, timing for fermentation and rising, and an optimal baking temperature. These variables, once mastered, can enable even a novice baker to produce artisanal-quality sourdough bread using a Dutch oven, combining simplicity with sophisticated results.
Understanding Sourdough
Sourdough bread stands out due to its unique fermentation process involving natural yeast and bacteria. This section delves into the essentials of sourdough, the pivotal role of the starter, and the transformative effects of fermentation.
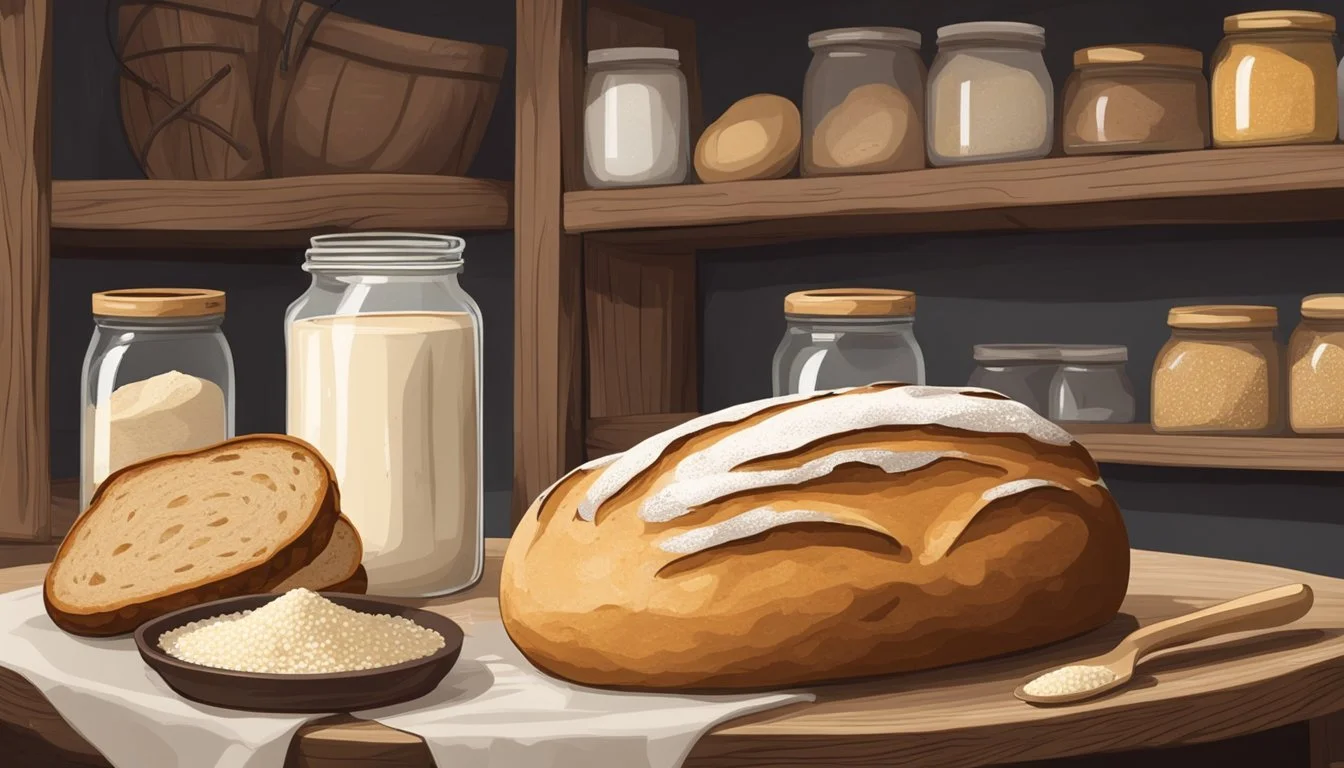
The Basics of Sourdough
Sourdough refers to a method of breadmaking that has been used for centuries. It relies on a mixture of flour and water that has been allowed to ferment, capturing wild yeast and bacteria from the environment. These microorganisms are the driving forces behind the dough's rise and development of flavor. Unlike commercial yeast, the wild yeast in sourdough contributes to the bread's characteristic tang and complex taste.
The Role of Starter in Sourdough Bread
A starter is the heart of sourdough bread – it’s a live culture of flour and water that contains a colony of bacteria and wild yeast. The starter must be maintained and kept active through regular feedings of fresh flour and water, allowing the microorganisms to thrive. When a portion of this active sourdough starter is mixed with more flour and water to make the dough, it leads to a natural leavening process, foregoing the need for commercial yeast.
Fermentation and Its Effects
Fermentation is the metabolic process where the wild yeast and bacteria in the dough convert carbohydrates into alcohol and carbon dioxide. This not only causes the dough to rise but also impacts the texture, taste, and aroma of the bread. Fermented sourdough is known for its improved digestibility, lengthy shelf-life, and rich, complex flavor profile compared to bread made with commercial yeast. The process can take much longer – often several hours to days – but the result is a moist crumb and a crust with a delightful chew.
Getting Ready for Baking
To achieve the best results when baking sourdough bread, it's essential to choose the right Dutch oven, properly preheat it, and prepare your parchment paper. These initial steps are foundational to the success of baking sourdough bread.
Choosing the Right Dutch Oven
Selecting an appropriate Dutch oven is crucial for baking sourdough bread. Ideally, one should opt for a heavy cast-iron Dutch oven, which retains and evenly distributes heat. The size of the Dutch oven should accommodate the loaf's size, usually between 5 to 7 quarts for most recipes.
The Importance of Preheating
Preheating the Dutch oven is a vital step that should not be overlooked. The oven needs to be heated to the specified temperature, which is commonly placed at 450°F (232°C). Preheating should be done for at least 30 minutes before baking to ensure the Dutch oven is evenly heated, aiding in the dough's rise and crust development.
Preparing the Parchment Paper
Proper preparation of parchment paper ensures the dough can be easily transferred into and removed from the hot Dutch oven. A piece of parchment paper should be cut slightly larger than the base of the Dutch oven. Placing the dough on this paper also assists in heat distribution and prevents sticking, promoting an excellent bake.
Creating Your Dough
The foundation of any great sourdough bread lies in the creation of a well-made dough, which involves precise ingredient mixing, understanding the autolyse process, and managing hydration levels. Mastery of these fundamentals paves the way for a successful bake.
Mixing Your Ingredients
When a baker begins the dough-making process, they combine water, salt, and a blend of all-purpose and bread flour to create a mixture that will ferment and eventually form the bread. The use of whole wheat flour can also be added for more flavor and nutrition. A standard recipe might look like this:
Bread Flour: 80%
Whole Wheat Flour: 20%
Water: 75% of the total flour weight (hydration level)
Salt: 2% of the total flour weight
The baker ensures that these components are thoroughly mixed to promote even hydration and gluten development.
The Autolyse Method
The autolyse method is a critical step where the flour and water are combined and left to rest typically for 20 to 60 minutes before adding salt or starter. This rest period allows the flour to absorb the water, beginning gluten formation, and making the dough easier to shape later. By delaying the addition of salt, which can tighten gluten strands, the baker ensures better fermentation and overall dough strength.
Hydration Levels Explained
Hydration impacts the final texture and crumb of the sourdough. Bakers refer to hydration as the ratio of water to flour by weight in the dough. Higher hydration typically yields a more open crumb and lighter texture, while lower hydration results in a tighter crumb structure. Here is a general guideline:
Hydration Level Dough Type 60-68% Tighter Crumb, Easier to Handle 69-75% Open Crumb, Slightly More Complex 76-85% Very Open Crumb, Sticky and Wet
Bakers adjust hydration levels based on the specific flours used and the desired outcome of the bread, making note that whole grain flours often require more water than refined ones.
Working the Dough
Working the dough is a critical stage in sourdough bread making that involves developing gluten structure and gas retention through folding and kneading, impacting the final texture of the loaf.
Stretch and Fold Technique
The stretch and fold technique is used during the bulk fermentation process to strengthen the gluten network within the dough. It involves gently stretching the dough upwards and folding it over itself. This process is typically repeated multiple times at set intervals, usually every 30 minutes, during the initial phase of bulk fermentation. The method enhances the dough's elasticity and volume without the need for traditional kneading.
Key Actions for Stretch and Fold:
Stretch: Gently lift and extend the dough upwards.
Fold: Fold the dough over towards the center.
Rest: Allow the dough to rest before the next series of folds.
Bulk Fermentation Process
Bulk fermentation, or the first rise, is when the dough is left to rise at room temperature. This stage can last from 3 to 5 hours depending on the dough's composition and the ambient temperature. The dough's volume will increase and bubbles will form as the yeast ferments the sugars. Keeping the dough in a warm environment, ideally between 75-80°F (24-27°C), is vital for optimal yeast activity and gas production.
Bulk Fermentation Checklist:
Temperature: Maintain a warm, consistent environment.
Volume: Look for a 30-50% increase in dough size.
Bubbles: Observe small bubbles on the dough surface as a sign of fermentation.
Shaping the Loaf
After bulk fermentation, shaping gives the sourdough loaf its final form and ensures even baking. Techniques vary, but commonly, the baker forms a taut surface by folding the dough over itself and creating tension. A well-shaped loaf will hold its structure during the final proof. To prevent sticking, the loaf can be placed in a banneton or proofing basket dusted with rice flour. The final shape not only contributes to the aesthetic of the baked bread but also affects crumb structure and maximum rise.
Steps for Shaping the Loaf:
Pre-shape: Gently shape the dough into a round without deflating it.
Final shape: Form the dough into the desired shape with a tight skin.
Proofing Basket: Place the shaped dough into a banneton for final proofing.
Scoring and Baking
Proper scoring and baking are crucial for achieving a crispy crust and perfect golden-brown color in homemade sourdough bread. This section will guide the baker through the necessary steps for scoring the dough and baking the bread to perfection.
Scoring Your Dough
Scoring the dough is an essential step before baking as it controls the expansion of the bread during the baking process. One should use a sharp knife or a bread lame to make a shallow cut on the dough's surface. The score should not be too deep; a quarter-inch deep is often sufficient.
Tools Required: Sharp knife or bread lame
Depth: Approximately 1/4 inch
Benefits of Scoring:
Allows the dough to expand naturally
Contributes to a more uniform shape
Helps in achieving a better crust
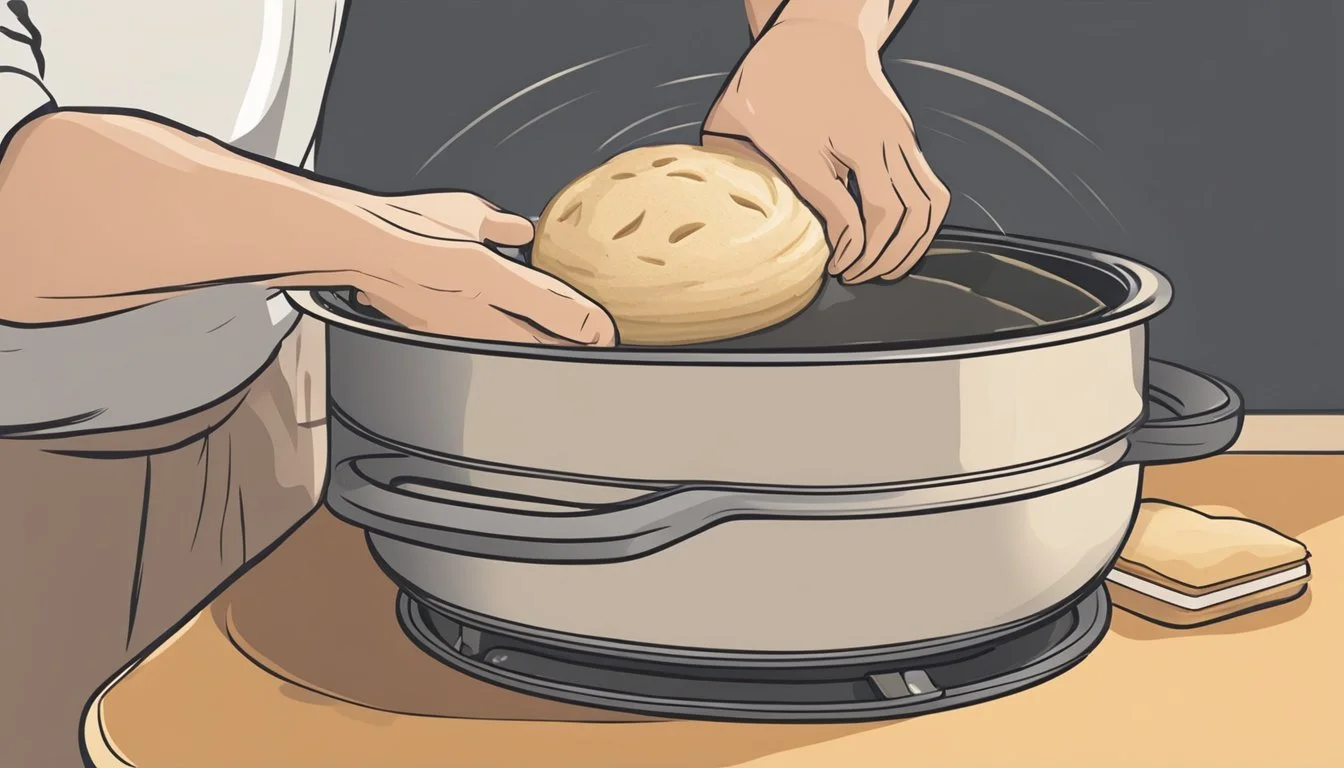
Baking Your Sourdough Bread
To bake the bread, one should first place the dough into a preheated Dutch oven. The temperature is a critical factor and should be set high initially to enable oven spring and steam creation, which contributes to the development of a crispy crust.
Temperature and Time:
Initial Baking: Bake with the lid on at 230°C (450°F) for 25-30 minutes. This traps steam which improves the bread's rise and crust texture.
Final Baking: Continue baking with the lid off at 210°C (410°F) for 10-15 minutes to achieve the desired golden-brown color and crispiness.
Purpose: Creates oven spring, traps steam for crust formation, and bakes the bread to completion.
Indicator of Doneness: A deep golden brown crust indicates that the bread is thoroughly baked.
By adhering to these instructions, bakers can achieve a consistent results when baking sourdough bread using a Dutch oven.
After Baking
Once the sourdough bread has finished baking in the Dutch oven, the next steps are crucial to ensure the best texture and flavor. The bread needs time to cool and set before it can be stored or enjoyed.
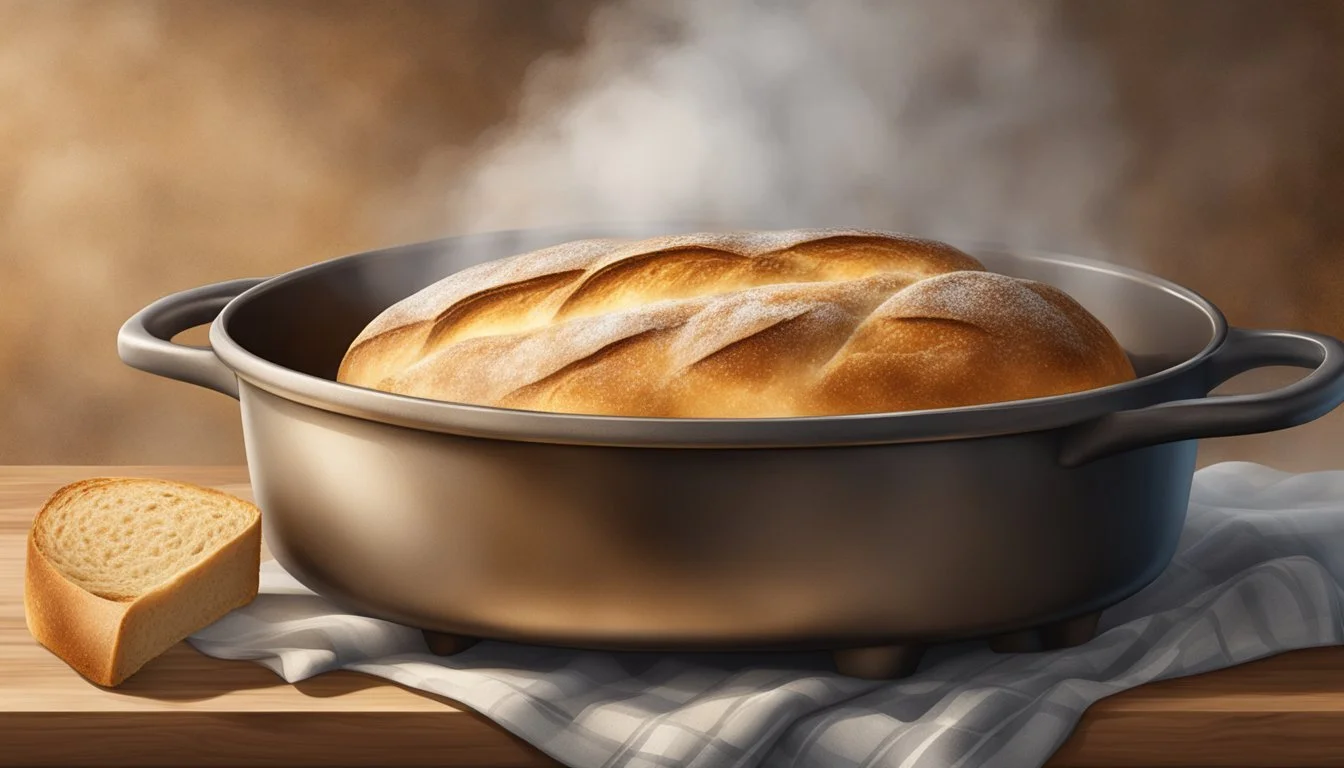
The Cooling Phase
After removing the bread from the Dutch oven, it should be placed on a wire rack to cool. Cooling on a wire rack prevents moisture from collecting on the bottom of the loaf, which can make the crust soggy. The cooling phase is vital as it allows the texture of the bread to develop properly. A good sourdough should have a crusty exterior and a chewy, airy interior. As the bread cools, the aroma becomes more pronounced and the crunchy crust firms up.
Cooling Time: Generally, a full-size loaf should cool for at least an hour.
Wire Rack: Essential for airflow around the entire loaf.
Storing and Enjoying Your Bread
To maintain the crusty texture, store the completely cooled bread in a paper bag or bread box at room temperature. For long-term storage, sourdough can be sliced and frozen, then thawed or toasted when needed.
The size and texture of the loaf make it versatile; the bread can be used for sandwiches or simply enjoyed as toast. Its distinctive tangy flavor pairs well with both sweet and savory toppings. Whether enjoyed fresh or days later, sourdough bread baked in a Dutch oven offers a satisfying crunch and rich aroma that enhances any meal.
Storage Method:
Short-term: Paper bag or bread box.
Long-term: Freeze in slices.
Remember, the sourdough's crust loses some of its characteristic crunch if stored in a plastic bag, which traps moisture.
Advanced Tips and Troubleshooting
Mastering sourdough bread baking in a Dutch oven involves understanding the nuances of crust formation, hydration levels, and common pitfalls. The following tips help refine the baking process towards achieving an artisanal-quality loaf.
Achieving the Perfect Crust
To attain a crispy crust while maintaining a chewy and airy interior, managing the baking environment is key. During the initial baking phase, ensure the Dutch oven is preheated and the dough is covered to trap steam. Remove the lid halfway through the bake to allow the crust to develop a beautiful golden brown color. A consistent temperature of 220° C (430° F) is recommended.
Managing the Hydration Level
Hydration level is crucial for a sourdough's texture and the formation of open crumb with bubbles. Ideally, one should aim for a dough that is moist but not overly sticky. Adjustments in hydration may be necessary depending on the flour type and ambient conditions. Consistent results are often a product of careful measurement and attention to the feel of the dough.
Avoiding Common Mistakes
Patience and precision are vital in sourdough breadmaking. Allow the bread to cool for at least 90 minutes post-baking to prevent a gummy texture. Overproofing or underproofing during the final rise can lead to a dense loaf without the desired open crumb. Additionally, ensure that scoring the loaf is not too deep or too shallow, as this can affect the final expansion and crust appearance. With practice, one can avoid these mistakes for a consistently high artisanal quality.
Tools and Equipment

Successful sourdough bread baking in a Dutch oven requires precise tools. Key to this process are the essential tools that facilitate accurate measuring, correct dough handling, and optimal baking conditions.
Choosing the Right Tools for Baking
Dutch Oven: A preheated cast-iron Dutch oven mimics a professional oven's steam injection, crucial for a well-baked sourdough crust. It retains high heat and provides an enclosed space for the dough to rise and develop a crispy crust.
Banneton Basket: To shape the dough and provide it structure, bakers use a banneton basket. It wicks moisture from the dough surface, contributing to a better crust.
Lame: A lame is a razor-blade tool used to score the dough. Scoring controls the expansion of the bread as it bakes, creating a more appealing look and allowing for greater volume.
Baking Stone or Baking Sheet: For those without a Dutch oven, a baking stone or a heavy-duty baking sheet can be used as an alternative baking surface. They must be preheated to achieve a similar bottom crust.
Kitchen Scale: Precise measurements are critical. A kitchen scale ensures the ingredients are measured accurately for consistent results.
Bread Knife: A quality bread knife with a serrated edge is necessary for slicing through the crust without crushing the tender, soft crumb inside.
Maintaining Your Baking Equipment
Cleaning: After baking, once cooled, clean the Dutch oven with a dry cloth or brush to remove any flour or bread crumbs. Avoid using soap if the Dutch oven is cast iron, as it can strip the seasoning.
Storing: Store the banneton basket in a dry place to prevent mold growth. A lame should be kept clean and dry, with the blade replaced as needed to maintain sharpness.
Regular Weighing: Periodically check the accuracy of the kitchen scale with calibration weights to ensure measurements remain reliable.
Blade Care for Lame and Bread Knife: The lame and bread knife should be handled with care, and blades should be replaced or sharpened regularly to maintain a clean cut when scoring or slicing.
Exploring Variations and Styles
When venturing into sourdough bread making, bakers often experiment with different bread shapes and ingredient twists. This allows for a range of flavors, textures, and appearances that can cater to various preferences and occasions.
Different Types of Sourdough Bread
Sourdough breads come in various shapes and sizes, each with its unique characteristics and methods required for mastering their form. The boule is a classic round loaf with a rustic appearance. It's often the choice for those wanting a traditional artisan sourdough bread, and it's suitable for a range of dishes from hearty sandwiches to a simple bread service with dinner.
In contrast, the batard is more of an oval-shaped loaf, and a favored approach for those looking to serve larger slices for meals. Both boule and batard require a thorough rising process and are benefited by techniques such as the stretch and fold method to develop their gluten structure.
For those preferring a more familiar shape suitable for daily use, especially for toasting or sandwich making, sandwich bread provides a more uniform crumb and a softer crust. This style typically uses a loaf pan to ensure a consistent shape that is perfect for slicing.
Experimenting with Flavors and Ingredients
Flavor variation in sourdough bread is achieved by adjusting the types of flour, as well as by incorporating different ingredients into the dough. Ingredients can include, but are not limited to:
Sea salt or kosher salt for nuanced flavor enhancements.
Mix-ins such as olives, seeds, nuts, or dried fruits for texture and flavor.
Altering hydration levels to affect the bread's crumb and crust.
Ingredient Purpose Whole Wheat Provides a nuttier flavor and denser texture. Rye Adds a deep, robust flavor, and modifies texture. Spelt Contributes a mild, slightly sweet and nutty flavor. Mix-ins Olives, cheese, herbs, and seeds for variety. Hydration Higher water content for more open crumb structure. Salt Sea salt or kosher salt to affect flavor and dough structure.
Adjusting the sourdough starter’s feeding routine can also lead to variations in sourness and complexity of the bread. Utilization of commercial yeast is rare in traditional sourdough recipes since the natural yeast in the starter culture is responsible for the dough's leavening. Nevertheless, some recipes introduce a small amount of commercial yeast to ensure a more consistent rise.
Water temperature is critical—using warm water can accelerate the rising process, whereas cooler water can slow it down, leading to different flavor profiles. Experimentation with these variables enables bakers to tailor their sourdough to their personal taste or dietary needs while maintaining the essential characteristics of traditional sourdough bread.
The Science of Sourdough

In crafting sourdough bread, the processes of gluten development and fermentation are crucial to its distinctive taste and texture.
Understanding Gluten Development
Gluten is a network of proteins found in wheat flour that gives bread its structure and chewy texture. The development of gluten begins with the hydration of flour, as water mixes with glutenin and gliadin proteins to form gluten. Proper hydration is key—the amount of water added to the dough affects gluten development and the overall texture of the sourdough. A well-hydrated dough is more extensible and results in a bread with an open crumb structure and satisfactory chew.
Kneading the dough contributes to gluten development by aligning and stretching the gluten strands, which enhances the bread's ability to retain gas produced during fermentation. As gluten develops, it creates a network that traps the carbon dioxide released by the yeast, which contributes to the rise and final volume of the sourdough.
The Chemistry of Sourdough
Sourdough differs from other bread due to its unique fermentation process, involving both wild yeast and bacteria (Lactobacillus). In the right conditions, yeast and bacteria thrive, with yeast converting sugars into carbon dioxide and alcohol, while bacteria produce lactic and acetic acids. This action of microbes not only helps the bread rise but also imparts the classic sour taste.
The balance between different strains of bacteria and yeast, along with fermentation time and temperature, dictates the flavor profile and texture of the sourdough. Temperature regulation is crucial; warmer temperatures generally accelerate fermentation, leading to a quicker rise, whereas cooler temperatures slow down the process, resulting in more complex flavors due to prolonged fermentation.
The Culture and History of Sourdough
Sourdough bread, known for its artisanal quality, has a rich history that reflects its cultural significance and the resurgence of interest in traditional, homemade bread baking techniques.
Sourdough in Different Cultures
Sourdough has been a fundamental part of human diets across various civilizations, owing to its basic yet nourishing composition. The discovery of sourdough dates back to ancient Egypt around 3000BC, where the combination of flour and water was found to ferment with wild yeast from the environment, causing the dough to rise. This serendipitous discovery led to the development of leavened bread, which quickly became widespread. The Greeks and Romans adopted sourdough techniques from the Egyptians, with the Romans advancing both bread-making technologies and oven construction. Across continents, each culture infused their unique ingredients and methods into sourdough preparation, creating diverse bread styles that continue to be enjoyed today.
The Resurgence of Sourdough
In recent times, there has been a notable resurgence in baking sourdough at home. This rekindled interest is attributed to a growing appreciation for the slow fermentation process that imparts a distinct flavor and improved digestibility to the bread. Moreover, people have been increasingly committed to learning the art of making sourdough to attain that characteristic tangy taste and artisanal quality that is often lacking in commercially produced bread. As individuals seek to reconnect with traditional food preparation, sourdough baking has become a symbol of culinary authenticity and a bridge to centuries-old baking customs. This movement not only reflects a cultural shift towards valuing handcrafted food but also the joy and satisfaction derived from the act of creating something with one's own hands.
