
Sourdough Baking Timelines
From Starter to Finish - A Step-by-Step Guide
Sourdough bread (What wine goes well with bread?), with its characteristic tangy flavor and chewy texture, is the product of patience and careful planning. Baking sourdough bread is distinctly different from preparing quick-rise breads because it relies on a fermented mixture of flour and water, commonly referred to as a starter. This living culture is the heart of sourdough baking and requires consistent feeding and maintenance. The timeline for creating sourdough bread stretches beyond mere hours, often involving days, to cultivate the desired flavor and texture.
The process begins with the preparation of a sourdough starter—a task that can take anywhere from five to fourteen days to establish a vigorous culture. Once the starter is active, bakers need to create a schedule that accommodates the various stages of bread making: mixing the ingredients, resting, stretching, folding, and the final proofing. The art of sourdough baking is understanding the subtleties in these steps, each critically influenced by factors such as temperature, hydration, and timing.
Artisanal sourdough baking is as much a science as it is a creative pursuit, with the timeline serving as a guide to achieve the perfect loaf. The bulk fermentation or proofing stage is a key phase where the dough rises slowly at room temperature, and adjustments to the starter may be necessary to suit specific environmental conditions. Knowing when and how to perform techniques like autolyse and stretch and folds, as well as judging the dough's readiness for baking, are skills developed through experience, leading to the satisfaction of slicing into a beautifully crafted sourdough loaf.
The Science of Sourdough
Sourdough bread is an intricate balance of biology and chemistry. Mastery of its science transforms simple ingredients into a loaf with distinct taste and texture.
Microbiology of Sourdough
Sourdough fermentation is driven by a symbiotic relationship between wild yeast and lactic acid bacteria. The starter—a mixture of flour and water—serves as a medium for these microorganisms to thrive. The yeasts are primarily responsible for producing carbon dioxide, which helps the dough rise, while the bacteria generate lactic and acetic acids, contributing to the sourdough's tangy flavor.
Gluten Structure and Development
The key to sourdough's texture is gluten, a network of proteins found in wheat flour. When the dough is mixed and kneaded, gluten strands form and create an elastic structure capable of trapping the gases produced during fermentation. This results in the light and airy interior typical of sourdough bread. The strength of the gluten network also affects the bread's shape and the crispness of its crust.
Importance of Temperature and Humidity
Temperature and humidity play critical roles in the fermentation process of sourdough. Optimal conditions for yeast and bacterial activity vary, but generally a warm environment (around 75°F to 80°F) accelerates fermentation, producing a more pronounced sour flavor. Conversely, cooler temperatures lead to slower fermentation and can result in a milder flavor profile. Humidity influences the dough's texture and can affect the crust's development during baking.
Creating and Maintaining a Starter
Creating and maintaining a sourdough starter is an essential process that involves regular feeding, discarding, and monitoring. It requires precision and adherence to a schedule to yield a bubbly, ripe starter that can be used for baking.
Mixing Your Initial Starter
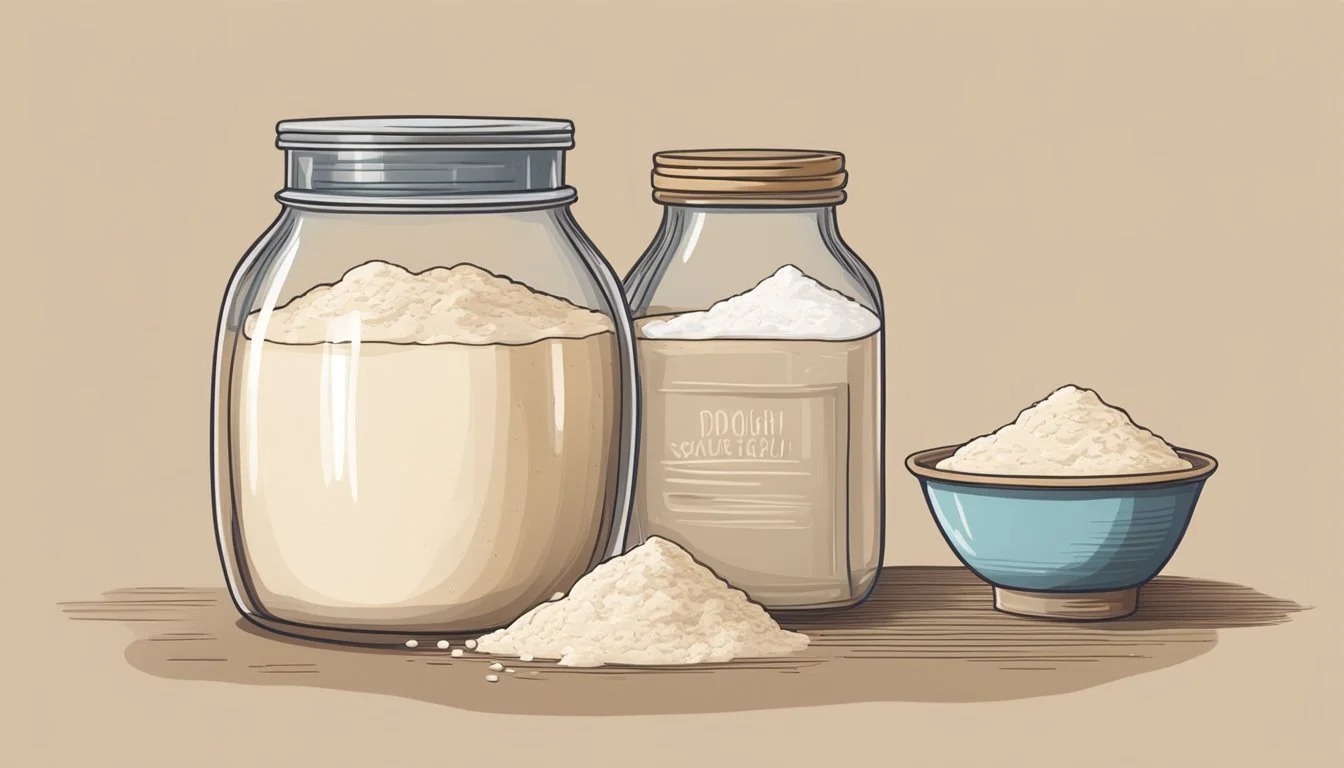
To begin your sourdough journey, mix equal parts flour and water in a jar. This typically starts with 1 cup (120g) of flour and 1 cup (120g) of lukewarm water. Stir the mixture until it's smooth and cover it loosely to allow air to circulate. It's crucial to use a container that will not react with the acidic nature of the developing starter.
Daily Feeding and Discarding
After creating your initial mix, daily feeding of your starter is required to promote yeast activity and development. Each day, at a consistent time, discard about half of the starter and replenish it with fresh flour and water. Feeding ratios, often at 1:1:1, will keep the starter at a consistent fermentation level. Practically, this would mean adding equal amounts, by weight, of starter, flour, and water.
Signs of a Healthy Starter
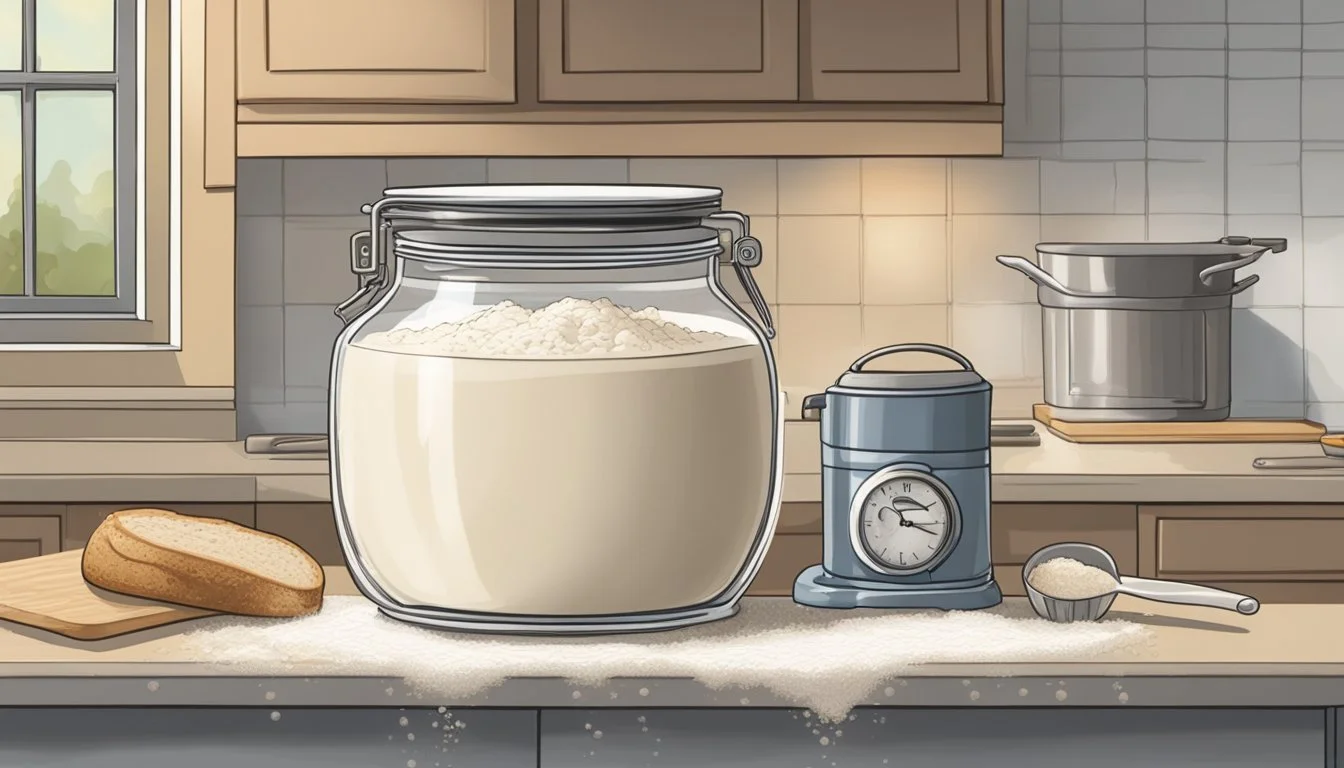
A healthy sourdough starter should be bubbly and should have at least doubled in volume within about 12 hours of feeding. An indication that the starter is ripe and ready for baking is a slightly sour but pleasant aroma and a consistency that is web-like or spongy when pulled apart.
Starter Maintenance Schedule
Regular maintenance is the key to a vigorous sourdough starter. A typical schedule for upkeep might include feeding the starter twice a day, once in the morning and once in the evening. A basic maintenance ratio of flour to water may start at 100g each for every 100g of existing starter, but can be adjusted depending on the consistency and activity level of your sourdough starter.
Time Task 8 AM Feed starter (1:1:1 ratio) 8 PM Check for bubbliness; Feed starter 10 AM (Sun) Start weekly maintenance feeding 2 PM (Sun) Discard excess; feed as necessary
By sticking to these guidelines, one can develop a robust sourdough starter that will become the cornerstone for many sourdough recipes.
Preparation of Sourdough Bread
The preparation of sourdough bread is a meticulous process that requires careful selection of ingredients and precise timing during each stage of development. Each step is crucial to developing the flavor and structure of the final loaf.
Choosing Your Flour
The choice of flour greatly impacts the taste and texture of sourdough bread. All-purpose flour is versatile and commonly used, but bread flour with its higher protein content yields a stronger gluten network for better rise and chew. For more complex flavors, bakers may add rye or other whole grain flours.
Autolyse: The First Step of Dough-Mixing
Autolyse is a process where flour and water are mixed and left to rest for about 20 to 60 minutes. This rest period allows for better water absorption, enzymatic activity, and gluten development, leading to improved dough structure and reduced kneading time.
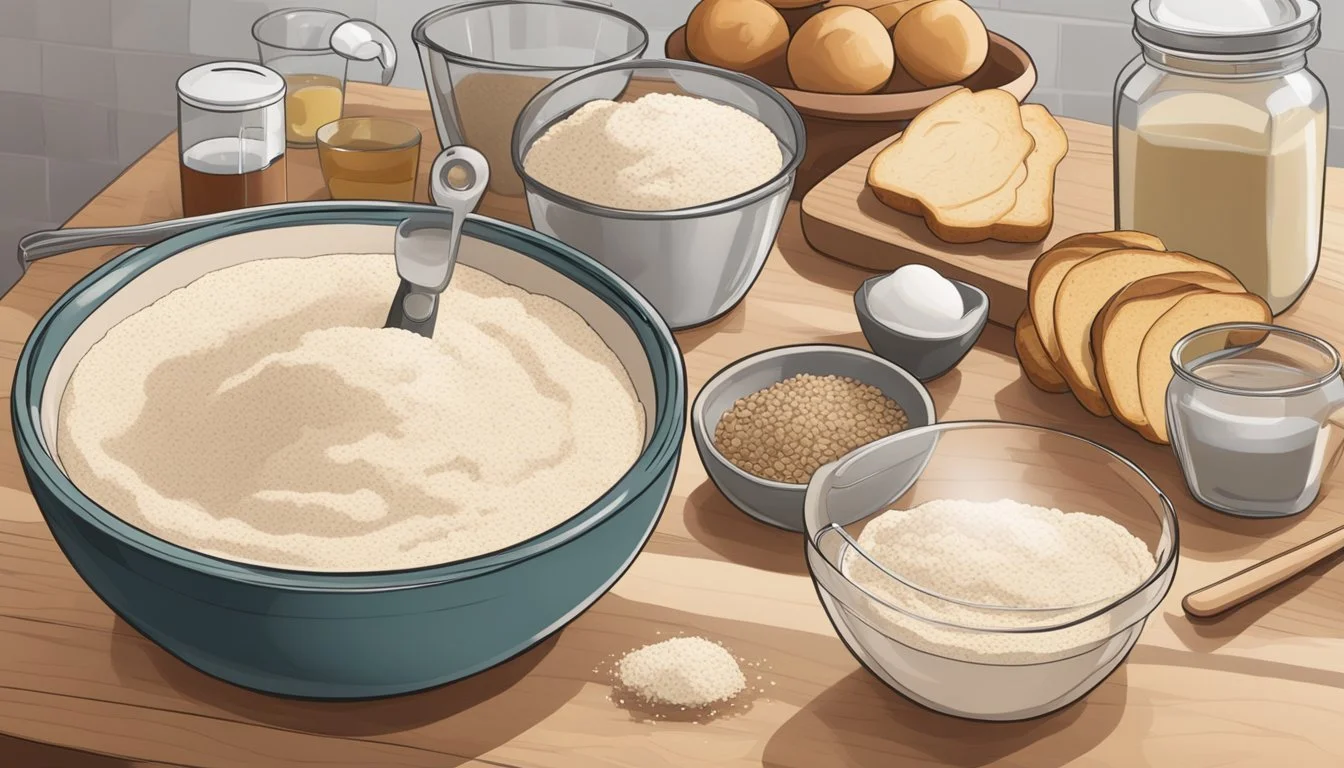
Mixing and Developing the Dough
After autolyse, the starter is incorporated into the dough. Then, a series of stretch and fold techniques are employed to further develop gluten strength. This method involves folding the dough over itself several times at regular intervals, enhancing elasticity and gas retention.
Bulk Fermentation
During bulk fermentation, the dough is left to rise, typically overnight or for several hours at room temperature. In this stage, the yeast and bacteria in the sourdough starter ferment the sugars in the dough, creating gas bubbles that cause the dough to expand and develop flavor.
Shaping and Preparing for the Bake
Post-fermentation, the dough is shaped into loaves. Proper shaping creates tension on the dough's surface, which helps in holding its shape and promotes even rising during baking. The shaped dough is usually placed into a basket or a lining, to support it during the final proofing stage.
Scoring and Steaming
Right before baking, the dough is scored with a sharp blade to control its expansion in the oven. Adding steam during the initial phase of baking keeps the crust soft momentarily, allowing the bread to reach its maximum volume. As the steam evaporates, a crunchy crust forms.
Baking and Cooling
Baking sourdough bread requires a clear understanding of your oven's characteristics, the right equipment like a Dutch oven, and an accurate approach to timing. When done correctly, one can achieve a golden, crusty exterior and a well-baked interior. Proper cooling and storing are essential to preserve the bread's texture and flavor.
Understanding Your Oven
Every oven has unique heat distribution and temperature accuracy. It is important to know if your oven runs hot or cold and adjust the timer or temperature accordingly. Use an oven thermometer to verify the actual temperature against the one set. Preheating is crucial to ensure a steady baking environment.
Baking in a Dutch Oven
A Dutch oven mimics a professional steam oven, producing a moist environment that allows the bread to rise properly before forming a crust. For a round loaf, the baker should preheat the Dutch oven at the baking temperature for at least 30 minutes. Place the dough inside carefully to avoid deflation and burns, and bake with the lid on for the initial part of the bake, removing it towards the end to allow the crust to become golden and crisp.
The Final Bake
The last phase of baking is critical in achieving the desired crust and crumb. The bread should be rotated for even coloring, if necessary. If the loaf sounds hollow when tapped on the bottom, it indicates it is done. Most recipes require a temperature reduction partway through to avoid burning while completing the bake.
Cooling and Storing Bread
Once baking is completed, the bread needs to cool on a wire rack to prevent the bottom from becoming soggy. The ideal cooling time is around 3-4 hours or until it reaches approximately 35°C (95°F). Sourdough should then be stored in a bread box or paper bag to maintain its crusty exterior. Plastic bags are to be avoided as they can cause the crust to soften.
Troubleshooting and Tips
When baking sourdough, bakers might encounter various issues ranging from improper fermentation to texture flaws. This section provides solutions to common problems, enhances the bread's quality, and aids in planning an efficient baking schedule.
Common Issues and Their Remedies
Temperature: A sourdough starter thrives at 70°F (21°C). If the ambient temperature is low, fermentation slows down. Keeping the starter in a consistently warm environment can prevent sluggish behavior and aid in a more predictable rise.
Slow Rise: To remedy a slow rise, one can place the sourdough starter in a warmer area or use a proofing box to maintain a stable temperature.
Hydration: Adjusting the water content in the dough can have a significant impact on the bread's texture.
Dense Crumb: For a lighter crumb, increase hydration. However, be cautious as too much water can make the dough unmanageable.
Improving Texture and Flavor
Folding: Stretch and fold techniques, performed at intervals during the bulk fermentation, develop the dough's structure while incorporating more air.
Chewy Texture: To achieve a desirable chewy texture, one should perform 4-6 sets of stretch and folds over a span of 2 hours.
Flavor Development: Longer fermentation periods often lead to a more complex, tangy flavor profile.
Flat Taste: An overnight bulk ferment on the bench (when temperatures are suitable) can deepen the flavor.
Scheduling Your Baking
Patience: Sourdough is not a quick bread; it requires patience and a clear schedule to yield the best results.
Schedule: Start with feeding the sourdough starter at a set time then map out each phase, including mixing, autolysing, shaping, and baking, to better manage one's time.
Environment: The environment plays a crucial role in planning the baking schedule by affecting proofing and fermentation times.
Consistent Results: By understanding one's specific environment, one can adjust the schedule accordingly for consistent sourdough quality.
Advanced Techniques and Variations

In sourdough baking, embracing advanced techniques and exploring variations can significantly enhance the quality and characteristics of the final bread. Bakers may adjust grain types, hydration levels, and leavening agents to produce unique textures and flavors.
Incorporating Whole Grains
Using whole grains in a sourdough recipe introduces a wealth of flavors and textures. Whole grains absorb more water and often require adjustments to the hydration levels of the dough. A general approach is to start with a substitution of 20% of the total flour with whole grain flour and increase it according to one's preference and the dough's performance.
Tip: When adding whole grains, it's crucial to:
Increase water incrementally to achieve the desired dough consistency.
Extended autolyse period to soften whole grain flours.
Experimenting with Hydration Levels
Hydration, the ratio of water to flour in a recipe, is a key factor in the dough's consistency and the bread's crumb structure. High hydration can create a more open crumb, while lower hydration results in a tighter crumb.
Basic Hydration Levels:
Low: 60-65%
Moderate: 65-75%
High: 75-85% (or more)
Adjusting hydration should be done carefully, as too much water can make the dough difficult to handle, and too little can lead to dense bread.
Using Alternative Leavening Agents
While traditional sourdough relies on natural leavening from the starter, variations may include sourdough discard or commercial yeast to alter the fermentation process and flavor profile.
Using Sourdough Discard: Incorporate discard into recipes for a tangy flavor without the lengthy fermentation.
Commercial Yeast Addition:
Speeds up the proofing process.
Hybrid Approach: Combine natural leavening with a small amount of yeast for consistency.
Remember, each variation will influence the dough differently, and bakers should expect to make multiple adjustments through trial and error to achieve their desired outcome.
Beyond Bread: Other Uses for Sourdough Starter

Sourdough starter is a versatile ingredient commonly reserved for bread making, but its potential extends far beyond that. There are countless recipes that benefit from the unique tang and leavening properties of sourdough starter, especially when it comes to using the discard to reduce waste.
Creative Ways to Use Sourdough Discard
Pancakes and Waffles: Sourdough discard can be incorporated into pancake or waffle batter, imparting a subtle tang and fluffier texture due to its natural leavening qualities.
Example: Mix 1 cup of sourdough discard with eggs, milk, and a touch of sugar for a delightful breakfast twist.
Crackers: Turning sourdough discard into homemade crackers is a simple process that yields a snack with a satisfying crunch and depth of flavor.
Example: Combine sourdough starter discard with flour, butter, and seasonings, then roll thin and bake.
Expanding Your Sourdough Repertoire
Cakes and Muffins: Use sourdough starter as an ingredient in bakes to add moisture and a mild tang to cakes and muffins, enhancing the overall flavor profile.
Example: Replace a portion of the liquid in a cake recipe with sourdough starter for a tender crumb.
Flatbreads and Pizza Dough: Sourdough starter contributes to the dough's rise and imparts a distinctive character to the crust of flatbreads and pizzas.
Example: Blend sourdough discard with flour, salt, and water to form a pizza dough that ferments slowly, developing rich flavors.
Savory Dishes: Incorporate sourdough discard into savory applications like fritters, dumplings, or as a thickening agent in soups and stews.
Example: Stir sourdough starter into stew for added body and a hint of acidity.
Tools and Resources
When crafting quality sourdough bread, selecting the right tools can streamline the baking process and enhance the final product. Maintenance of these tools is essential for consistent results.
Essential Baking Tools
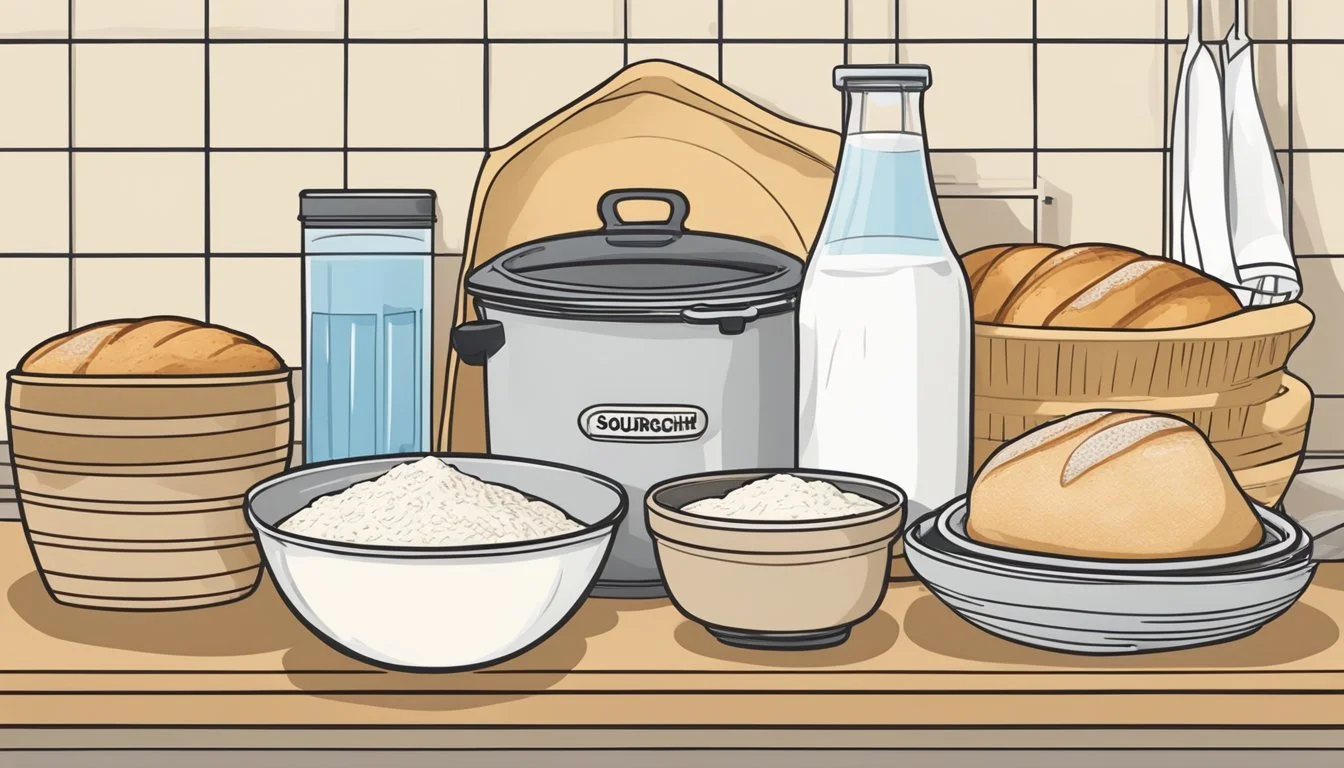
To embark on the journey of sourdough baking, one requires several essential tools:
Challenger Bread Pan: For those baking regularly, a high-quality pan such as the Challenger Bread Pan is recommended. It's constructed with a heavy cast-iron base and lid that effectively trap heat and steam—key for achieving excellent oven spring and crust development.
Banneton: This wicker basket or container shapes the dough and helps it maintain structure during the final rise. Dusting the banneton with flour prevents sticking, ensuring a smooth release.
Digital Scale: Precision is crucial in baking. A digital scale ensures accurate measurements of ingredients for consistency.
Dough Scraper: A scraper assists in handling sticky dough and cleaning work surfaces easily.
Kitchen Thermometer: Monitoring the dough's temperature is necessary for successful fermentation.
Further Reading and Education
For bakers seeking to deepen their knowledge, the following resources are beneficial:
E-books: They simplify the learning process with structured information and are often available for download.
Baking Timetables: A sourdough baking timetable can provide guidance on scheduling the starter feeding and dough development stages.
Online Tutorials: These can offer step-by-step visual instructions for techniques like the autolyse process, forming smooth dough balls, and executing stretch and folds.
Access to the right resources and diligent use of these tools are integral to producing high-quality sourdough bread.
Conclusion: The Journey of Sourdough Baking

The process of creating sourdough bread, from the initial mixing of the starter to the final bake, can be a meticulously gratifying experience. A sourdough starter, the bedrock of any good bread, typically requires a few days to develop its active culture. Bakers feed their starters regularly with equal proportions of flour and water to maintain vitality.
The bulk fermentation stage is essential in the timeline, where the dough rises and the flavors mature. This step influences not only the bread's texture but also its signature aroma, imbuing the sourdough with its distinctive tang. Allowing the dough to ferment overnight on the bench if the temperature allows supercharges both the development of flavor and the health benefits associated with fermented foods.
Baking Timelines vary, offering flexibility to suit the baker's schedule. Some may choose to engage in the practice over consecutive hours, while others might stretch the process across multiple days. The commitment one makes to the sourdough journey can enhance the satisfaction derived from a delicious home-made loaf. It's not merely about following steps but adapting them, ensuring that bread-making remains more than a recipe—it's a personal craft.
Upon completion, the baker is rewarded not just with a loaf of bread, but also with the soul-warming deliciousness that only home-baked sourdough can provide. They witness firsthand how simplicity—flour, water, salt, and time—transforms into something wonderfully complex and healthy. Every slice becomes a testament to the time and care invested, making the journey of sourdough baking immensely fulfilling.
Glossary
Starter: This is the initial mixture of flour and water that undergoes fermentation to cultivate wild yeast and bacteria. To maintain its activity, regular feedings are essential.
Feeding Ratios: The proportions of flour and water added to sustain the starter are critical. Consistent feeding is necessary to keep the starter active and ready for bread making.
Bulk Fermentation: After mixing dough ingredients, the dough undergoes a first rise, known as bulk fermentation. It allows dough development and flavor maturation.
Autolyse: A process where flour and water are mixed and then rested before adding starter and salt. This step helps with gluten development and overall dough structure without mechanical kneading.
Folding: A gentle dough-handling method used during bulk fermentation. It helps to strengthen the dough without over-kneading and distributes temperature evenly.
Hydration: Expressed as a percentage, it is the ratio of water to flour in the dough. It influences the dough's consistency and final bread texture.
Baking Timeline:
Starter Preparation: Usually begins at least 7 days before baking. Involves daily feeding of equal parts flour and water.
Leaven Creation: 4-12 hours before mixing dough, part of the starter is mixed with flour and water to create the leaven.
Autolyse Process: Can range from 20 minutes to several hours before the actual mixing of the dough.
Bulk Fermentation: Typically lasts from 2 to 5 hours, but can extend based on dough temperature and desired sourness.
Proofing: The final rise of shaped loaves before baking, often done in a basket or mold, varying from 1 to 4 hours.
Baking: Usually around 20 to 45 minutes, depending on the size and shape of the loaf, in a preheated oven.
Acknowledgments
The journey of crafting sourdough bread from starter to finish is a rich tapestry woven with the expertise and tradition of numerous artisans and enthusiasts. In recognizing the contributions that make this age-old practice thrive, one must highlight the bakers and communities who share their insights generously.
Baking Communities: Through various forums and social media groups, many bakers have found support and advice that propel their sourdough adventures forward. They serve not just as sources of information but as pillars of encouragement.
Authors and Educators: The clarity and knowledge present in this subject matter owe much to those who have dedicated their time to teaching. Their instructional content, whether in books, blogs, or video tutorials, has laid the groundwork for amateurs and seasoned bakers alike.
Researchers: It is through the diligent efforts of food scientists and microbiologists that the understanding of sourdough fermentation has evolved. Their studies ensure that baking advice rests on solid scientific foundations.
Lastly, an acknowledgment is extended to the readers and home bakers whose quest for the perfect loaf keeps the tradition alive. Their experiments, successes, and even failures contribute to the collective wisdom surrounding sourdough bread baking.
Each acknowledgment, a reflection of the collaborative spirit that defines the sourdough community, demonstrates a collective commitment to the craft. The author extends sincere gratitude to all who continue to shape this vibrant baking culture.
References

Barley, Kyle. Homemade Sourdough Bread from Start to Finish.
Overview: It delineates a concise sourdough schedule, including feeding the starter at 7am and ending with bread ready for dinner at 6pm.How to Bake Sourdough. King Arthur Baking Company.
Insight: Discusses the science behind sourdough baking, providing details on the fermentation process and yeast activity.Sourdough Bread Timeline: How To Create A Sourdough Baking Schedule.
Schedule Snapshot: Offers a detailed timeline commencing with feeding the starter at 1pm, and ending with an overnight bulk ferment.Baking timetables - The simplest way to make sourdough.
Routine: Suggests a less stringent timeline, with a focus on a practical approach that fits into one's daily routine.The Sourdough Timeline: From Start to Perfect Bread.
Fundamentals: Emphasizes the importance of a healthy starter, detailing the initial days of starter creation and feeding regimen.
Each source provides different perspectives on sourdough baking schedules. They collectively underscore the vital importance of starter health and the timing of various steps, including autolyse, stretch and folds, shaping, proofing, and baking. These resources can serve as a guide for home bakers looking to understand and master the art of sourdough bread making.
