
Sourdough Baking for One
Simplified Strategies for Single-Serving Loaves

Sourdough baking often conjures images of large, aromatic loaves that can feed a family, but it can be a challenge for individuals who wish to enjoy fresh bread without the waste. Recognizing this, sourdough enthusiasts and bakers have honed the craft of small batch sourdough recipes to suit the needs of single households or those simply wanting to bake in smaller quantities. These small batch methods allow for the full experience of creating sourdough with all the nuanced flavors and textures, scaled down to a more manageable size that ensures every slice is savored and no crumb goes to waste.
The process of small batch sourdough baking adheres to the same fundamental principles as making larger loaves, including the importance of using a mature, active starter. Bakers can test their starter's readiness with a float test in water, ensuring it is ready to leaven the dough effectively. Small batch recipes require a careful balance of ingredients and attention to the fermentation process, but the result is a perfectly sized loaf with a crispy crust and open crumb that doesn't compromise on the sour flavor characteristic of traditional sourdough bread.
By adjusting sourdough recipes to yield smaller loaves, bakers cater to those who bake for one or prefer not to have excessive bread at hand. This approach to bread making is not only practical but also presents an opportune way for individuals to practice their baking techniques more frequently. With a smaller scale, there's less risk and more opportunity for experimentation, making it an ideal venture for both novice and experienced bakers looking to refine their skills and enjoy freshly baked sourdough more often.
Understanding Sourdough Basics
Sourdough bread-making is an art that combines flour, water, salt, and a starter to achieve its characteristic taste and texture. The starter, a mixture of flour and water, serves as a home for wild yeast and bacteria. Over time, this starter ferments, a process in which yeast converts the carbohydrates in flour into carbon dioxide and alcohol, leading to a natural leavening effect.
The hydration level, or the ratio of water to flour, is crucial in sourdough recipes and is often expressed as a baker's percentage. For instance, a 70% hydration means there are 70 grams of water for every 100 grams of flour. This influences the dough's consistency, fermentation rate, and ultimately the bread's texture.
Here is an essential breakdown for creating sourdough bread:
Starter: Maintain a sourdough starter by feeding it consistently to keep the yeast active.
Mixing: Combine starter with flour and water. The type of flour can affect flavor and fermentation.
Autolyse: Allow the mixture to rest, which helps with gluten development without extra labor.
Salt: Add salt after the autolyse phase, as it tightens the gluten structure and adds flavor.
Bulk Fermentation: During this stage, the dough rises and sour flavors develop.
Shaping: Form the dough into the desired shape before a final proofing.
Baking: Bake in a preheated environment, often using a dutch oven to mimic a professional oven's steam.
Each step is critical in the journey of making a robust and flavorful loaf of sourdough bread. The baker must carefully balance these factors while observing the dough through its stages of development.
Creating Your Sourdough Starter
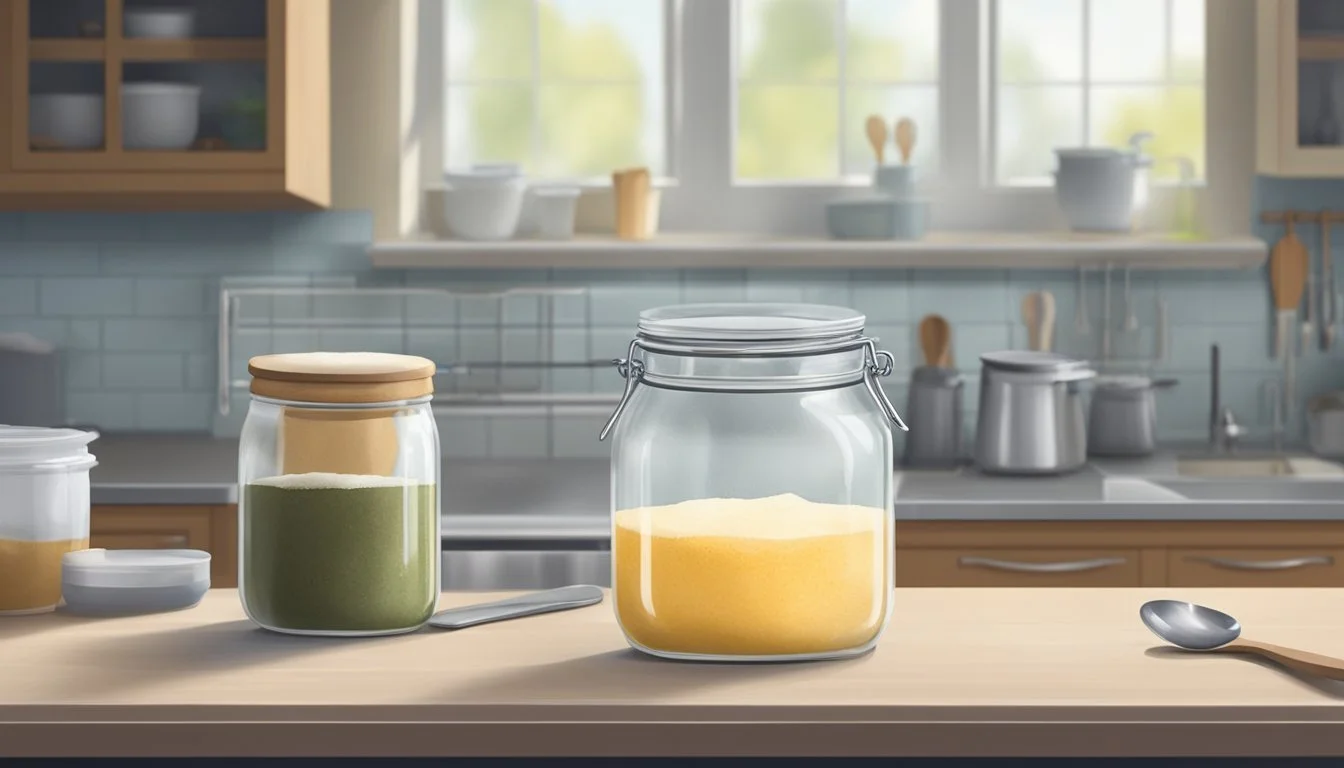
Creating a sourdough starter involves a simple mixture of flour and water left to ferment. Proper feeding and maintenance are key to cultivating a thriving starter.
Day 1: Initiating the Starter
On the first day, one commences with 20g of flour and 20g of water. These are mixed in a jar, which should then be left loosely covered in a warm area. Fermentation begins as natural yeasts and bacteria start colonizing the mixture.
Day 2: Feeding and Growth
The day after initiation, the starter needs its first feeding. One should discard half of the starter; the remaining part gets an additional 20g of flour and 20g of water mixed in. This sustains the starter’s growth and encourages the development of a strong and active culture.
Float Test: Checking Starter Readiness
A fully mature starter will pass the float test. To perform this, one simply drops a spoonful of starter into water; if it floats, it’s ready for baking. This indicates enough gas has been produced through fermentation, which is crucial for leavening bread.
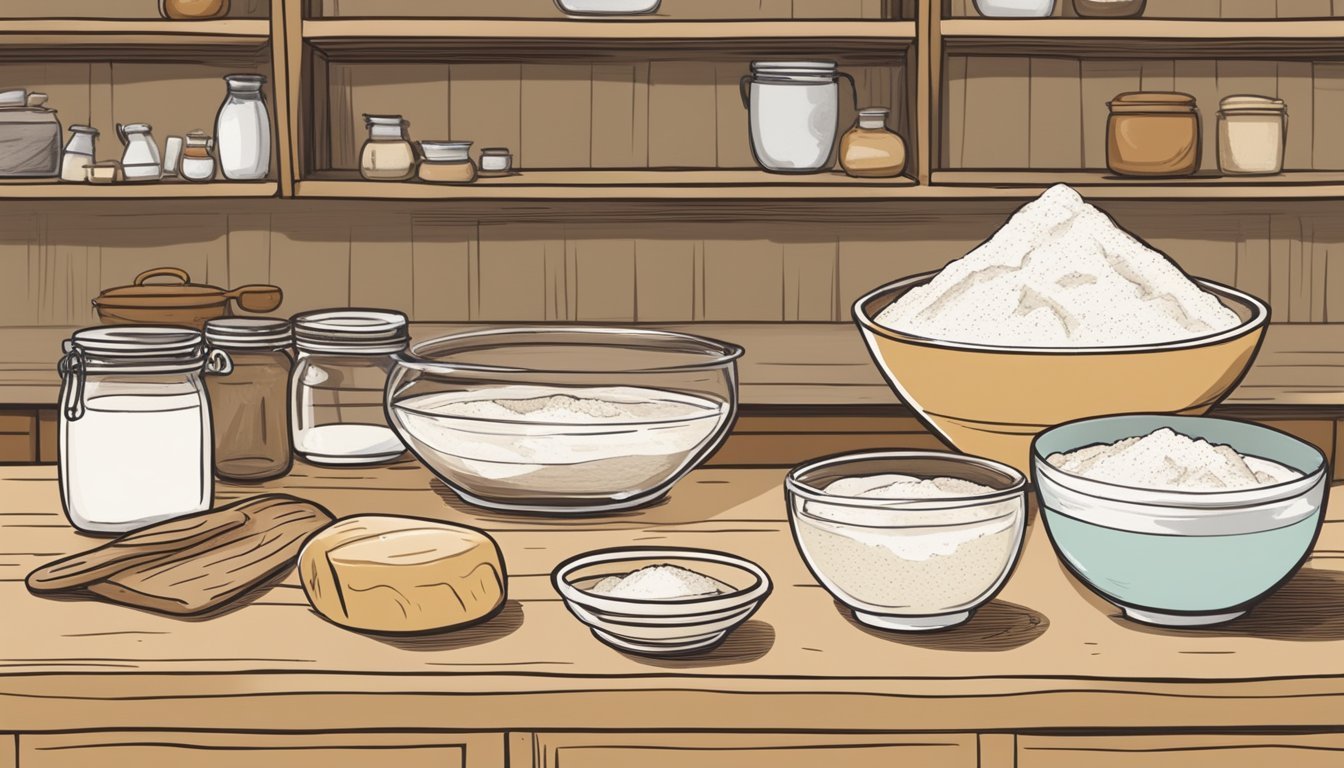
Kneading and Mixing Techniques
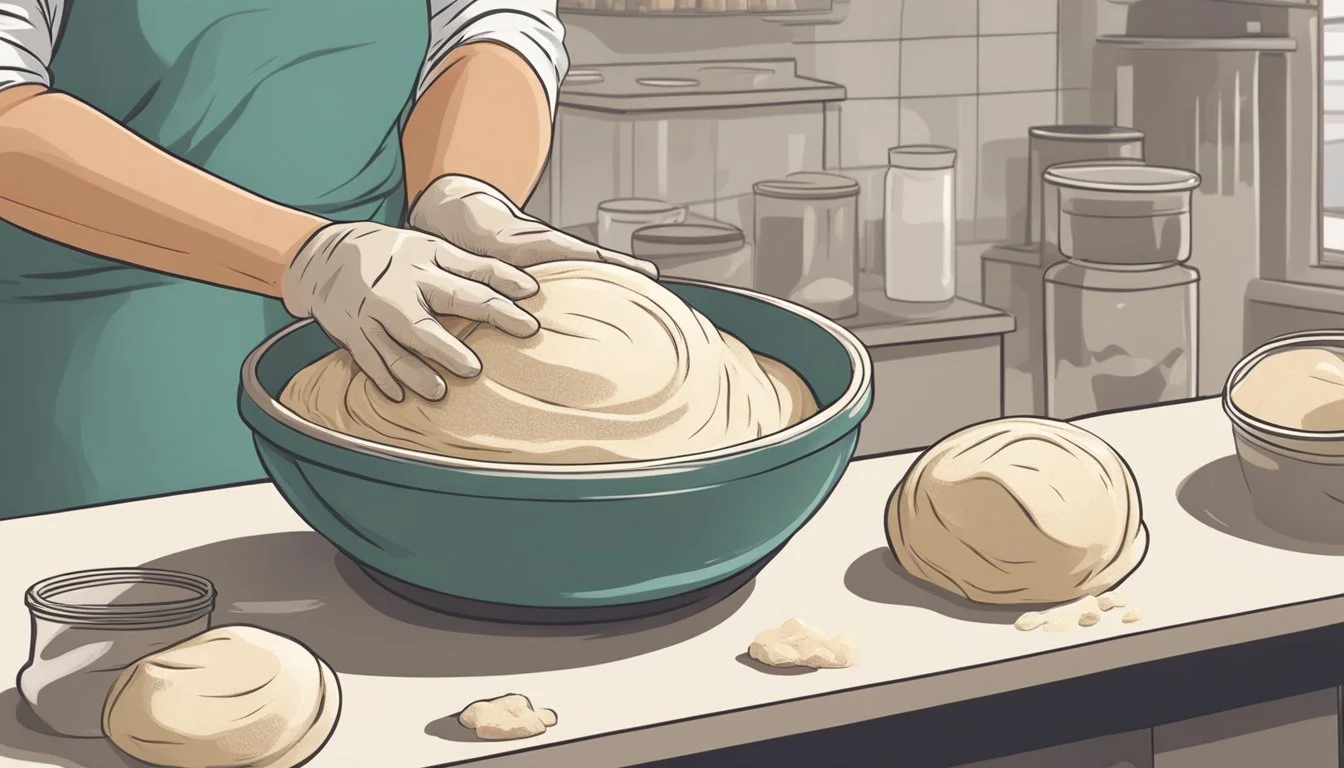
When making a small batch of sourdough, precise kneading and mixing techniques can dramatically affect the final quality of the bread. These processes are essential to develop gluten strength, which determines the dough's elasticity and the bread's texture.
Initial Mixing: Bakers should start combining flour, water, and sourdough starter using a method that evenly distributes ingredients without overworking the dough. They can mix by hand or utilize a stand mixer on low speed until ingredients are just combined.
Gluten Development:
Stretch-and-Fold: This technique involves stretching the dough upward and folding it over onto itself. It's recommended to perform multiple stretch-and-fold actions at roughly 30-minute intervals during the first two hours of bulk fermentation. This method enhances gluten networks without over-kneading.
Slap and Fold: For those who prefer a more hands-on approach, the slap and fold technique is suitable. The baker lifts and slaps the dough onto the counter, then folds it over itself, repeating this motion to strengthen gluten.
Room Temperature: The dough's environment affects gluten development. Warmth accelerates fermentation, but excessive heat may lead to over-fermentation. Bakers should aim to knead and ferment the dough at room temperature, providing an optimal balance for gluten structure.
Technique Purpose Frequency Stretch-and-Fold Increases gluten strength gently Every 30 mins Slap and Fold Quickly strengthens gluten As needed Stand Mixer Combines ingredients evenly Until combined
Bakers should monitor the dough's texture, looking for a smooth and elastic feel that springs back when poked, indicating proper gluten formation. Finally, the counter used for kneading should be clean and, if needed, lightly floured to prevent sticking without incorporating too much additional flour into the dough.
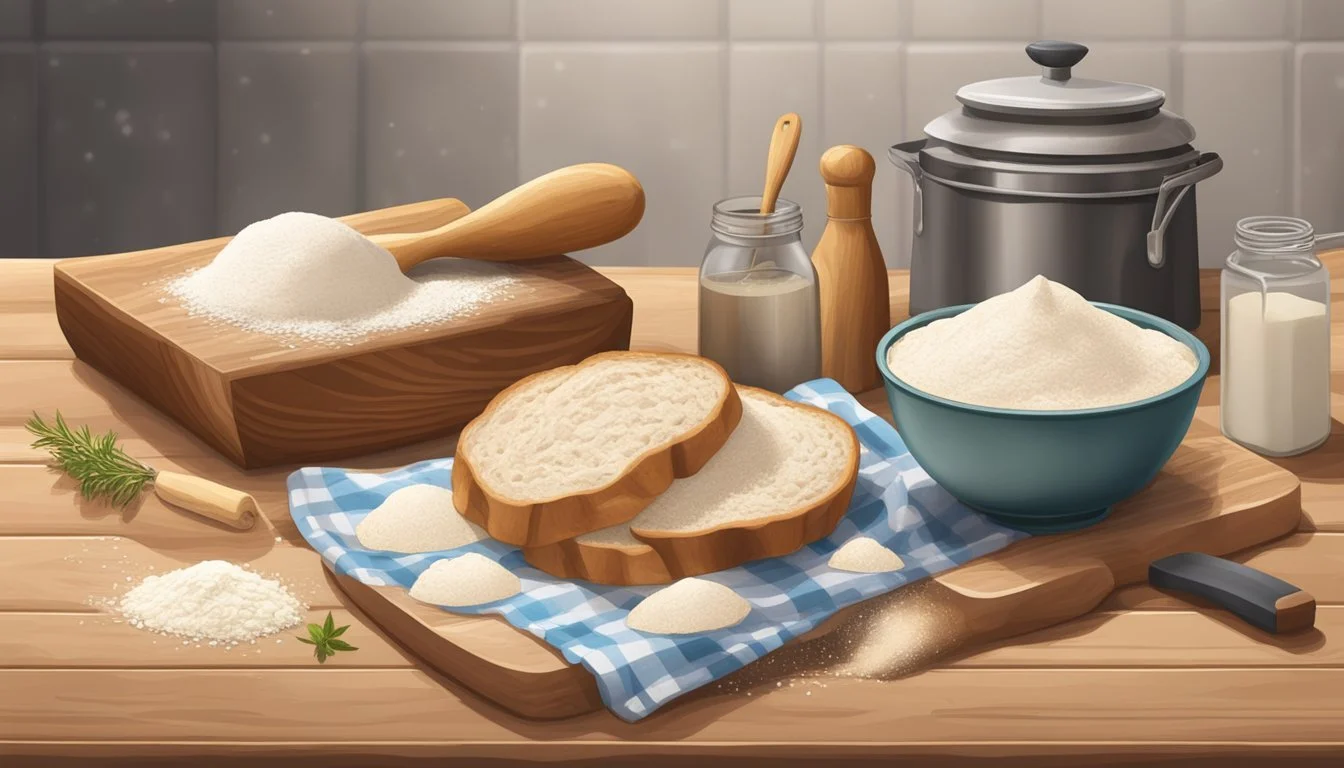
Small-Scale Sourdough Recipes
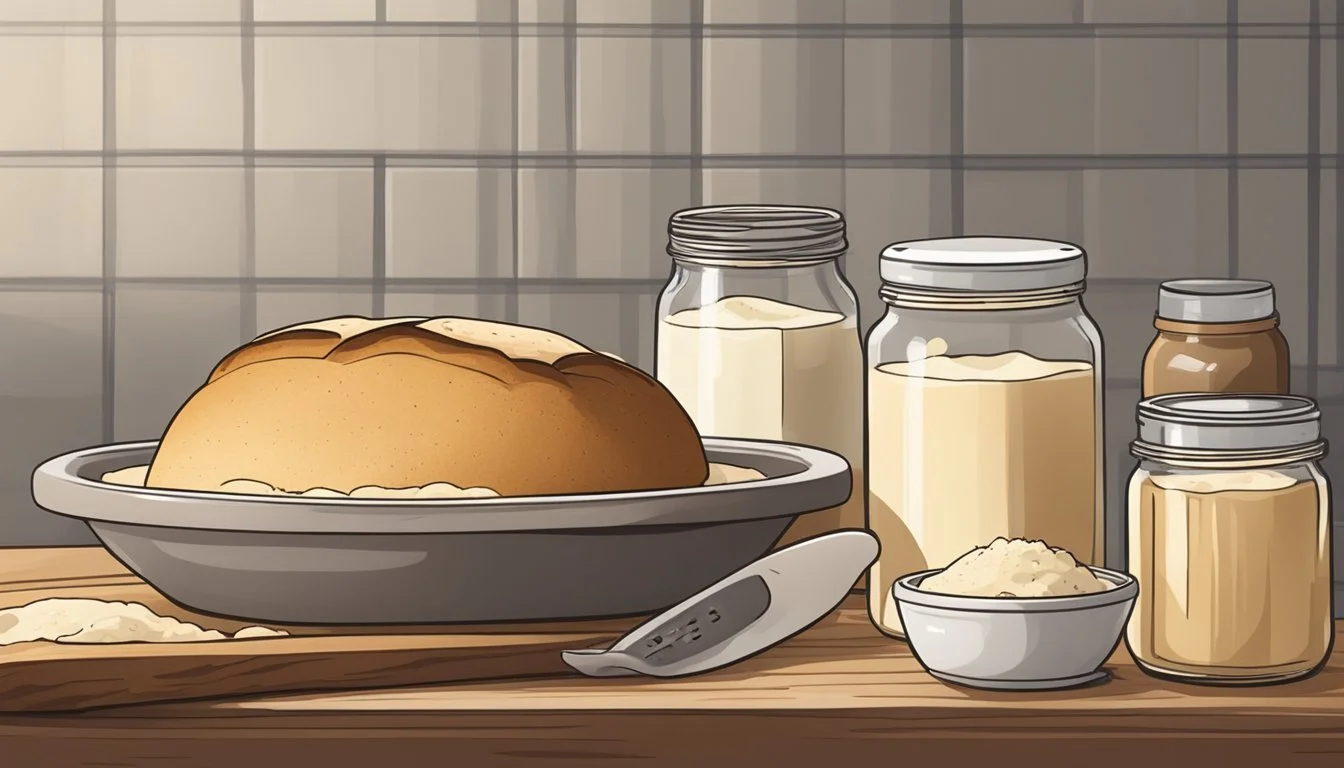
Crafting small-batch sourdough bread is ideal for those who appreciate home bakery delights but prefer not to have an abundance of bread. The small-batch sourdough recipe allows one to enjoy the entire process, from starter to finish, with a manageable amount of bread as the final product.
Small Batch Sourdough Recipe:
Ingredients:
All-purpose flour: Ideal for a tender crumb in small loaves.
Bread flour: Adds elasticity and strength to the dough.
Whole wheat flour: Infuses a nutty flavor and robust texture.
Water: Preferably filtered or dechlorinated, at room temperature.
Mixing Dough:
Combine a 1:1 ratio of sourdough starter with water, then blend in the flours.
After mixing, rest the dough to allow the gluten to develop.
Baking Process:
Preheat a dutch oven, as its heavy lid and walls provide optimal heat for the bread to rise and form a crispy crust.
Dust the shaped dough with flour, if using whole wheat, and score.
Bake in the preheated vessel at high heat to set the crust, then lower the temperature.
Results: The resulting small loaf sourdough is perfect for personal consumption, with a crisp, artisanal crust and soft interior.
By using simple ingredients and detailed methods, small-scale sourdough bread baking becomes an accessible culinary adventure yielding satisfying and delicious results. It enables enthusiasts to bake frequently without waste, making it an eco-friendly choice for the avid baker.
The Bulk Fermentation Process
When making sourdough in small batches, the bulk fermentation process is crucial to achieving the right flavor and texture. Bulk fermentation is the stage after mixing the dough where the yeasts and bacteria in the sourdough starter work to ferment the flour, creating gasses that cause the dough to rise.
Temperature is a significant factor; the ideal range for bulk fermentation is typically around 78ºF (25.5ºC). Room temperature can influence the proofing time substantially. A cooler room may extend fermentation, while a warmer environment could hasten it.
During fermentation, bakers should observe their dough for signs of progress. One ought to look for:
A smoother dough surface
Increased volume (ideally, the dough should double)
The presence of bubbles
Dough resilience: it should hold shape when poked
Temperature Estimated Bulk Fermentation Time Below 78ºF (25ºC) May exceed 4.5 hours At 78ºF (25ºC) Approximately 4–4.5 hours Above 78ºF (25ºC) Could be less than 4 hours
If the dough is fermenting too quickly or slowly, adjustments can be made. Reducing hydration or performing additional stretches and folds can strengthen the dough. Conversely, if fermentation is sluggish, extending the proofing time may be necessary.
For small batch sourdough, proper bulk fermentation yields bread with the ideal texture, elasticity, and flavor. A baker needs to be flexible with timings, as environmental factors and dough characteristics can influence the fermentation process.
Shaping and Proofing
When baking sourdough, particularly small batches, the baker’s shaping and proofing techniques are pivotal in achieving the desired texture and final shape of the bread. A well-shaped dough means even baking and an aesthetically pleasing loaf, whether it be boules or batards.
Shaping: Once the dough has completed its initial fermentation, it should be gently shaped. For small batches, one shapes the dough into either a round boule or an oblong batard by folding and gently rolling the dough, creating surface tension. The tight skin formed during shaping holds the dough's structure and contributes to the final rise.
Boules are formed by folding the corners of the flattened dough towards the center and then pinching them together.
Batards require the dough to be folded lengthwise, slightly off-center, before sealing the edges.
Proofing: After shaping, sourdough must undergo a final rise, or proof. Bakers often place the shaped dough into a well-floured banneton or proofing basket.
Proofing stages Description Bulk Fermentation Allows for flavor and gas development Final Proof Dough size increases; gluten relaxes
During the proof, the dough should be covered to prevent it from drying out. Ideal proofing temperature is around 75°F (24°C) which allows for optimal yeast activity. Small batch sourdough requires careful monitoring since the smaller volume can proof faster.
Proofing times can vary, but the dough is ready when it has risen sufficiently and shows a slight resistance when gently poked; it should slowly spring back, leaving a small indentation. Properly proofed dough yields a bread with an even crumb structure and excellent flavor.
Scoring and Baking Techniques
In the realm of small-batch sourdough baking, precision in scoring and adherence to proper baking techniques are essential for achieving optimal oven spring and crust development in the final loaf.
Scoring Dough with a Lame
To score the dough, one should utilize a lame, which is a razor blade attached to a handle designed for bread-making. The blade should be held at a 30 to 90-degree angle to create an incision approximately 1/4-inch deep. This controls where the bread will expand during baking. A single, swift, and decisive slash is often preferred. However, intricate designs can be achieved with multiple careful cuts.
Preheating and Baking
Preheating the oven is crucial for sourdough baking. One should aim to preheat the oven to 230°C (450°F) with a cast iron dutch oven inside. After placing the scored dough into the hot dutch oven using a silicone sling or parchment paper, it is covered with the lid to trap steam. The initial bake time under the lid should be about 30 minutes. Then, bake uncovered for an additional 10-15 minutes at a reduced temperature of 210°C (410°F) to darken and crisp the crust.
Cooling and Storing
Once baked, the sourdough loaf should be transferred to a wire rack to cool completely, which is vital for the structure and flavor to set. For storing, keep the bread in a bread box or a paper bag at room temperature for short-term use. For longer storage, one may wrap it in foil, place it in an airtight bag, and refrigerate or freeze. Thawing and reheating will help restore texture and warmth to the bread if frozen.
Advanced Sourdough Variations

Exploring advanced sourdough variations allows for a delightful twist on the classic recipe. By using different types of flours such as whole wheat and rye, or by incorporating seeds and nuts, bakers can elevate their small batch sourdough breads with unique flavors and textures.
Whole Wheat and Rye Flour Recipes
Whole wheat sourdough bread offers a robust flavor and denser crumb due to the higher fiber content of whole wheat flour. When creating a whole wheat sourdough loaf, bakers might start with a blend, substituting a portion of the bread flour with whole wheat flour to maintain a good balance of texture and flavor.
Sample Recipe Blend:
70% Bread Flour
30% Whole Wheat Flour
Start with a well-fed sourdough starter for optimal rise.
Rye flour, known for its earthy taste and ability to retain moisture, can be used similarly to whole wheat when creating a small batch sourdough bread. Rye sourdough bread is usually denser with a particular tanginess that complements the natural sourness of the starter.
Rye Sourdough Tips:
Begin with a small amount of rye flour to gauge its impact on the dough's hydration.
Use a strong sourdough starter to ensure a good rise despite rye flour's low gluten content.
Incorporating Seeds and Nuts
Adding seeds to sourdough bread introduces not only a pleasant crunch but also additional nutritional benefits. Popular choices include pumpkin seeds, sunflower seeds, sesame seeds, and flax seeds. One can either mix seeds directly into the dough or sprinkle them on top before baking.
Seeds Addition:
Mix in 1 to 2 tablespoons of seeds per cup of flour for a subtle texture.
Soak seeds like flaxseeds to prevent them from absorbing too much moisture from the dough.
Nuts can be added similarly to seeds, providing a rich flavor and hearty texture. Chopped walnuts or almonds are great options that pair well with whole grain flours.
Nuts Incorporation:
Toast nuts lightly before adding to enhance their flavor.
Use 1/4 cup of chopped nuts per cup of flour to ensure the dough is not overwhelmed.
Troubleshooting Common Sourdough Issues
When baking small batch sourdough bread, bakers often face specific challenges that can affect the quality of their bread. Here are solutions for common issues:
Overproofing: This occurs when the dough ferments for too long. The signs are dough that is overly puffy and deflates when scored or baked. To avoid overproofing, one must be watchful of the dough's rise and perform the poke test—when a lightly floured finger leaves an indentation that springs back slowly, it's ready to bake.
Open Crumb: Desirable for many sourdough lovers, an open crumb requires proper gluten development and gas retention. Techniques such as autolyse, folding during bulk fermentation, and gentle handling during shaping can help achieve this. On the flip side, an excessively open crumb with large, irregular holes may signify underproofing or too-vigorous shaping.
Sourdough Flavor: Flavor development hinges on fermentation. For a milder taste, a shorter fermentation at warmer temperatures may be preferred. Conversely, for a stronger sourdough tang, a longer and cooler fermentation can help enhance those flavors.
Texture: Sourdough should feature a chewy texture and crisp crust. If the texture is off, consider factors like hydration levels, flour type, and adequate steam during baking. A proper balance ensures a delightful bite.
Environment: Temperature and humidity play crucial roles in fermentation. Maintaining an environment at 75-80°F (24-27°C) helps the sourdough culture thrive. If the kitchen is cooler, bakers can find warmer spots or invest in a bread proofing box to maintain consistency.
By addressing these factors, even small batch sourdough can yield impressive results. Should issues persist, bakers are encouraged to experiment with variables such as starter hydration, dough consistency, and baking times to perfect their loaves.
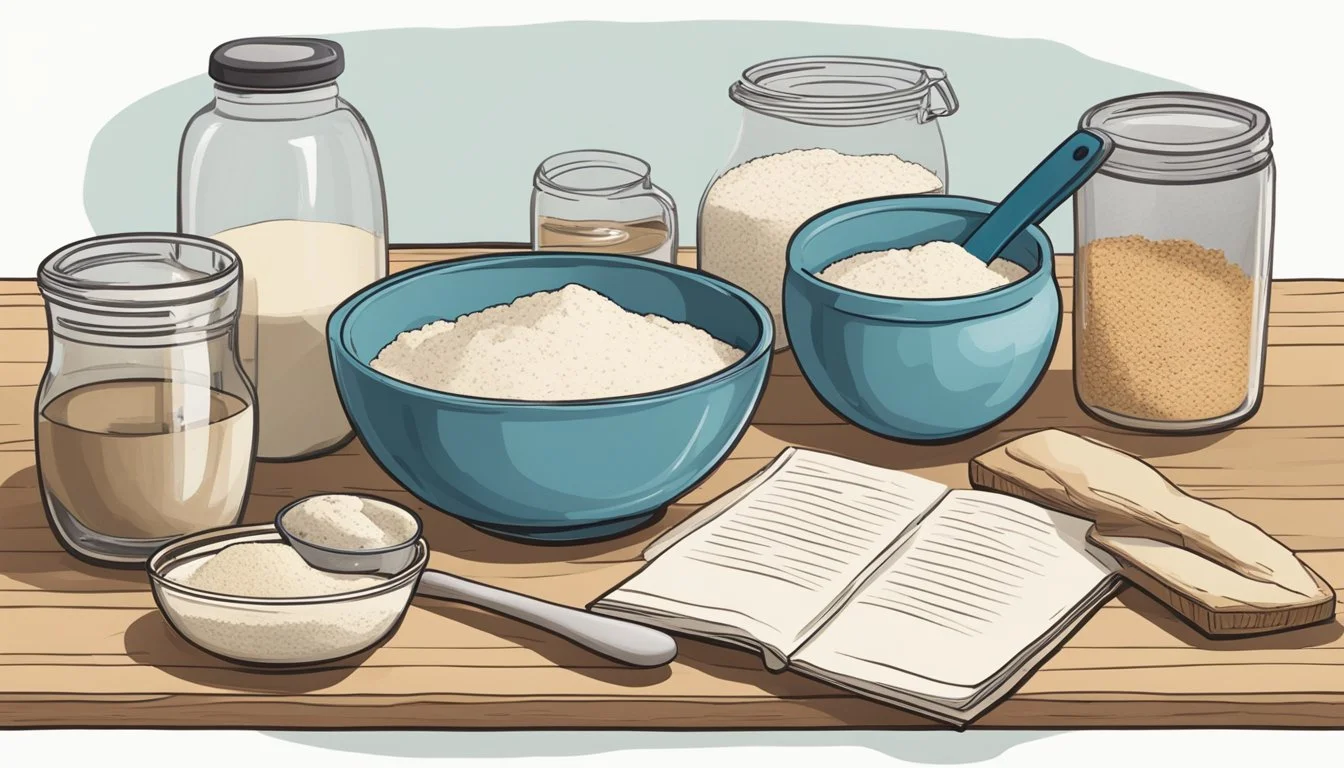
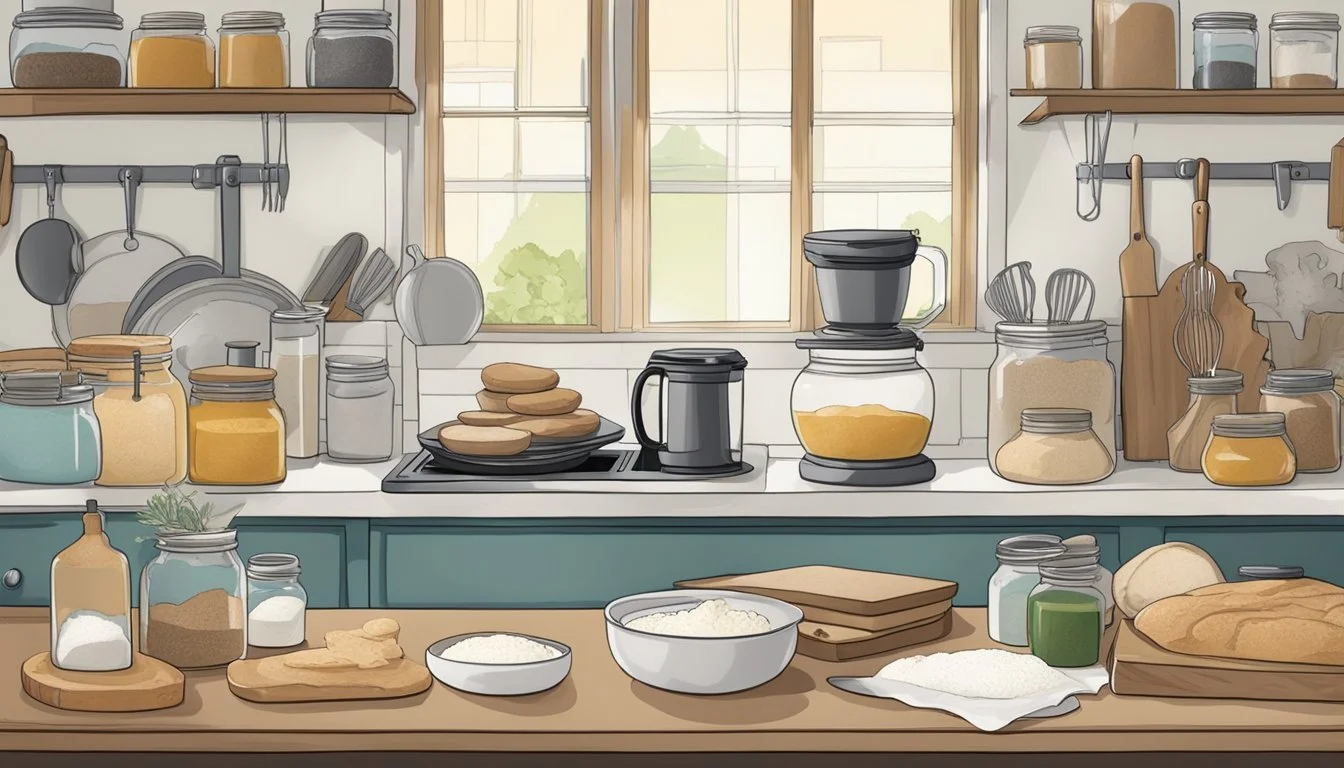
Sourdough Baking Equipment Essentials

A successful small batch sourdough bake hinges on precise measurements and proper dough handling. Ensuring one has the right equipment is crucial for accurate mixing and shaping.
Selecting the Right Oven
An oven with reliable temperature control is non-negotiable for sourdough baking. Convection ovens are preferred for their ability to circulate air and maintain even temperatures. Home bakers should look for an oven that can reach and sustain 450°F (232°C), the typical baking temperature for sourdough bread. Using an oven thermometer can help monitor the actual temperature inside the oven, as built-in gauges might be inaccurate.
Tools for Mixing and Shaping
Mixing and shaping tools are essential for small-batch sourdough bread. Below is a list of the fundamental equipment a baker should have:
Digital Scale: A digital scale ensures that ingredients are measured with precision, which is vital for the sourdough's consistency and development.
Mixing Bowls: Sturdy, large bowls allow for easy mixing of the dough. Glass or stainless steel options are durable and easy to clean.
Bench Scraper: Also known as a pastry scraper or dough cutter, this tool helps divide and shape the dough and clean the workspace.
Parchment Paper: Parchment ensures that the loaf doesn't stick to the baking surface and simplifies transferring the dough to and from the oven.
Bannetons: Banneton baskets, lined with cloth, are used for proofing the dough. They provide structure to the loaf and can impart a pattern on the crust.
Bakers should acquire these tools to tackle each step of the sourdough process with confidence and ease.
Sourdough Baking Tips for Beginners
Starting on the journey of sourdough baking can be exciting but also daunting for beginners. Here are some fundamental tips to help novices navigate the sourdough process confidently.
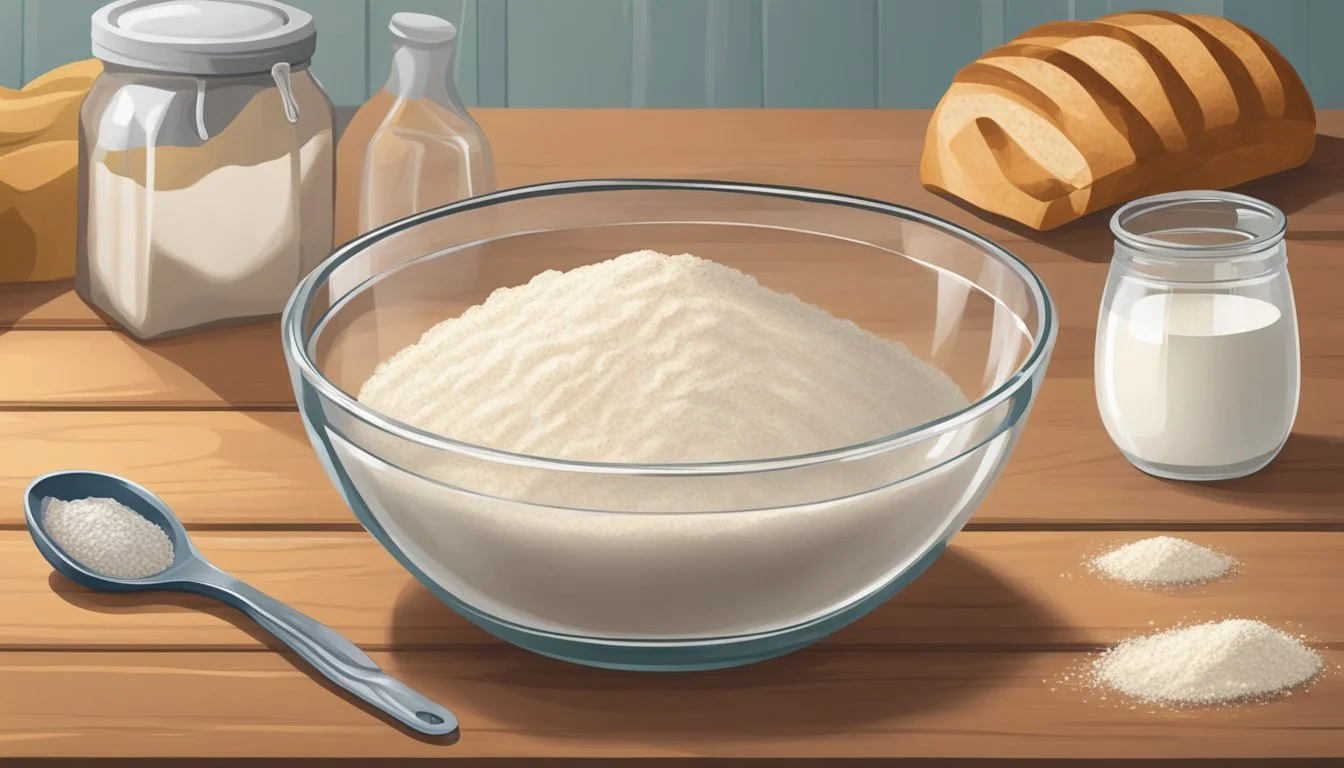
Starting Your Starter: One's sourdough starter is the lifeline of their sourdough bread. To initiate a starter, mix equal parts flour and water. Maintain this by regularly discarding a portion and replenishing with fresh flour and water. Patience here is key, as a vibrant starter can take a few days to develop.
Hydration Matters: Hydration, the ratio of water to flour, is crucial in sourdough recipes. It affects the dough's texture and the bread's final crust and crumb. Beginners should start with a lower hydration level to manage the dough more easily before moving on to higher hydrations for lighter, airier bread.
Autolyse for Better Dough: The autolyse process involves mixing flour and water and allowing it to rest before adding salt and starter. This rest period allows for better gluten development and can result in a dough that's easier to shape and has more volume.
Mastering Stretch and Fold: Instead of traditional kneading, incorporate the stretch and fold technique to strengthen gluten and distribute air pockets evenly. Perform several stretch and fold sequences spaced 30 minutes apart during the initial fermentation stage.
Understanding Fermentation: Fermentation time is not set in stone and will vary based on the room's temperature and the starter's activity. A well-fermented dough should have expanded noticeably and exhibit a web of bubbles when gently pulled.
By adhering to these techniques with dedication, beginners can develop the foundational skills necessary for successful sourdough baking.
Sourdough Baking as Sustainable Practice

Sourdough baking is often praised for its ability to merge culinary art with environmental stewardship. Artisan sourdough bread is not just savory fare for the table; it is a testament to a baker's commitment to sustainability. In the case of small batch sourdough, the benefit is twofold: it generates less waste while still providing the deeply satisfying experience of homemade bread.
Small batch recipes are tailored for one or a few, ensuring that every crumb is savored, and leftovers are minimal. By reducing the scale of production, individuals can avoid the unnecessary consumption of ingredients, translating to lower food waste.
When bakers choose to make same day sourdough bread, they are adopting a pace that matches consumption. This means baking fresh bread precisely when needed, thus circumventing the likelihood of stale leftovers.
For those who opt to bake multiple loaves simultaneously, the practice is still anchored in sustainability. By efficiently using the oven's capacity, energy is conserved. Furthermore, the additional loaves can either be frozen for future consumption or shared, promoting community and reducing the redundant use of resources.
Energy Conservation: The oven heats once for several loaves.
Community Sharing: Excess bread becomes an opportunity for generosity.
Ingredients Optimization: Precise quantities mitigate surplus.
As they nurture their starters—a blend of flour and water that ferments and leavens the bread—bakers participate in a cycle that epitomizes low-waste practices. One's starter can be maintained indefinitely with proper care, reinforcing a philosophy of renewal and responsible resource use.
Ultimately, sourdough baking for one embodies a full-circle approach to sustainability: it respects ingredients, savors the craft, and honors the environment.
Perfecting Sourdough Artisan Techniques
Creating a small batch of artisan sourdough bread involves mastering a few key techniques. These methods enhance the texture and flavor of the bread, making each loaf a work of art.
Stretching and Folding: This technique develops the gluten network without overworking the dough. Bakers typically perform several sets of stretch and folds during the bulk fermentation phase. They gently stretch the dough and fold it over itself, usually every 30 minutes during the first 2 hours.
Timeline for Stretch and Folds
Time Interval Action 0 min Initial mix 30 min First stretch and fold 60 min Second stretch and fold 90 min Third stretch and fold 120 min Fourth stretch and fold 150+ min Continue bulk fermentation
Bulk Fermentation: It's crucial to allow the dough to rise undisturbed after the stretch and folds. During this stage, the dough continues to ferment, developing flavor and strength. The duration of this phase can vary, ranging anywhere from 3 to 5 hours at room temperature, though times may adjust based on dough behavior and ambient conditions.
Cold Ferment: For more complex flavors, the dough can undergo a cold ferment. This slow fermentation occurs in the refrigerator and can last from 12 hours up to a few days. It allows for a more nuanced sourdough character and improves the final crust texture.
Baking Timeline: Once the dough has fermented adequately, it should be scored with a razor blade or sharp knife to allow for expansion. Bakers typically preheat their oven with a dutch oven inside to approximately 450°F to 500°F to ensure a crisp crust. Initial baking often takes place with the lid on for about 30 minutes, followed by an additional 10-15 minutes with the lid off to achieve the desired golden-brown crust.
By carefully managing these steps, the baker ensures that their small batch of sourdough bread has the classic artisanal texture and taste.
Creating a Baking Schedule
When one embarks on the journey of sourdough baking, creating a schedule is paramount. This ensures that each stage of the bread-making process receives the necessary attention while fitting into one's daily routine. Below is a structured baking timeline tailored to small batch sourdough recipes.
Day 1:
1:00 PM: Begin by feeding the starter to ensure it is active for the dough.
5:00 PM: Mix flour and water for autolyse; this process develops gluten and flavor before adding the starter.
Day 2:
Morning: Incorporate the active starter into the autolysed mix and add salt.
First 2 Hours: Perform a series of stretch and folds every 30 minutes to build strength in the dough. These movements enhance the bread's structure during bulk fermentation.
Afternoon (Variable): Allow the dough to undergo bulk ferment. This crucial stage is where the dough not only rises but also develops flavor and texture.
1:30 PM: Pre-shape the dough and let it rest briefly.
2:00 PM: Perform the final shaping, then let the dough rest again, allowing it to reach its final proofing stage.
3:45 PM: Begin preheating the oven. A well-preheated oven is critical for optimal oven spring and crust development.
4:15 PM: Bake the bread, following specific temperature guidelines for your recipe: usually starting hot to set the crust, then reducing the temperature to finish baking without burning.
Scheduling is flexible and can be adjusted to fit one’s particular daily plans, but care should be taken not to rush fermentation processes. Proofing and bulk fermentation times can vary based on kitchen temperatures, so bakers should watch the dough and not the clock.
For the best results, bakers should record their schedules and observations, tweaking as needed to perfect their sourdough routine.
Frequently Asked Questions about Sourdough Baking
What gives sourdough bread its unique flavor?
Sourdough bread boasts a distinctive taste due to the fermentation process. The lactic acid bacteria present in sourdough imparts a tangy flavor, while also contributing notes of earthiness and a hint of sweetness.
How does one feed their sourdough starter?
Feeding a sourdough starter involves adding equal parts flour and water to the existing starter. They should expect the mixture to become bubbly and increase in size as the yeast consumes the nutrients and releases gas—a sign of a healthy and active starter.
What are the signs of a ready-to-use starter?
A starter is ready for baking when it has doubled in volume and exhibits a consistent pattern of bubbliness after being fed. This indicates active yeast production and sufficient fermentation.
How does temperature affect sourdough baking?
Higher dough temperatures, typically around 89-91 degrees F, favor bacterial growth, which can enhance the sourness of the bread. Maintaining the dough within this temperature range is often practiced to achieve the desired flavor profile.
Does sourdough bread require special ingredients?
While sourdough bread doesn't need special ingredients, using whole grains can increase the sour flavor since they provide more nutrients for the bacteria to thrive on. Bakers often experiment with different flour blends to alter the taste and texture.
Can sourdough be baked in small batches?
Yes, sourdough can be scaled down to suit single servings or smaller households. This requires adjusting ingredient proportions accurately to maintain the balance of flour, water, and starter for the fermentation process.
For those looking to purchase baking supplies, they may find affiliate links useful for sourcing quality ingredients or equipment tailored for sourdough baking. However, it's important to select products wisely to meet individual baking needs.
Concluding Thoughts on Small Batch Sourdough Baking
Small batch sourdough baking offers enthusiasts the joy of creating their artisanal bread in a quantity that is more suitable for individual consumption. The process requires attention to detail and patience, but the outcome is a freshly baked loaf that's both rewarding and consumable without waste.
Individual-size: Perfect for those who bake for themselves, small batch sourdough ensures there's no excess.
Taste and Texture: These recipes yield bread with a desirable crust and tangy flavor—hallmarks of traditional sourdough.
Technique: Essential skills include proper scoring and handling delicate dough into a preheated pot for baking.
One must consider that small batch baking also translates to a shorter shelf life; therefore, one should plan to consume the bread within a few days for optimal freshness.
In terms of equipment, a small Dutch oven or oven-safe pot makes an ideal baking environment for these loaves, promoting steam retention and crust development. A scale is recommended for precise ingredient measurement to maintain the delicate balance needed for sourdough.
Baking temperatures and times are adjusted down compared to larger loaves. A preheated Dutch oven typically starts at a higher temperature before the lid is removed to finish baking at a slightly reduced heat, ensuring a hearty crust and fully cooked interior.
Maintenance of Starter: Sourdough starter maintenance is paramount, with regular feeding even when stored in the fridge. A small batch sourdough approach must still respect the fermentation process—feeding the starter at least twice a week to keep it active.
Embracing the craft of small batch sourdough baking not only fits the solo baker's lifestyle but also nurtures an understanding of the artisan bread-making process. It's an intersection of science and art, yielding a loaf that is as personal as it is delicious.
Additional Resources and References
For enthusiasts seeking sourdough recipes that cater to single servings or smaller batches, several online resources stand out as go-to references. These resources provide precise instructions, helpful tips, and troubleshooting advice for the novice and experienced baker alike.
1. Online Blogs and Guides:
The Pantry Mama: A treasure trove of sourdough insights, including techniques for managing dough using silicone slings or parchment paper during baking.
Ahead of Thyme: Offers step-by-step instructions for preparing and baking sourdough loaves with a focus on using small pots conducive to smaller batches.
Farmhouse on Boone: Provides expert guidance on pre-baking preparations, including scoring the dough and tips for handling dough straight from the fridge.
2. Detailed How-To Articles:
crave the good: They host a comprehensive guide that steps through the sourdough process including how to effectively incorporate salt into your dough.
3. Sourdough Starter Maintenance:
Care and feeding of a small batch sourdough starter are essential for the health and longevity of the culture. Guides are available for maintaining starters in the fridge, including how often to feed and the appropriate ratios of flour and water for feeding.
Affiliate Links and Structured Reviews:
Individuals looking for baking accessories and ingredients can refer to affiliate links often provided in the above resources. These links offer a convenient means to purchase recommended products, while also supporting the content creators.
Note: It is advisable for bakers to assess the credibility of each resource and read multiple sources to gather a consensus on best practices.
