
How to Calibrate Your Oven
Achieving Perfect Baking Results
Calibrating an oven is a crucial step for anyone who loves baking or relies on their oven to produce consistent results. When an oven's temperature deviates from the setting on its dial, the consequences can range from undercooked meals to burnt desserts. Oven calibration ensures that the temperature inside the oven matches the temperature that bakers set it to, creating an environment where baked goods can cook as intended. By taking the time to calibrate an oven, home chefs can avoid the guesswork involved in baking and ensure that their recipes turn out perfectly every time.
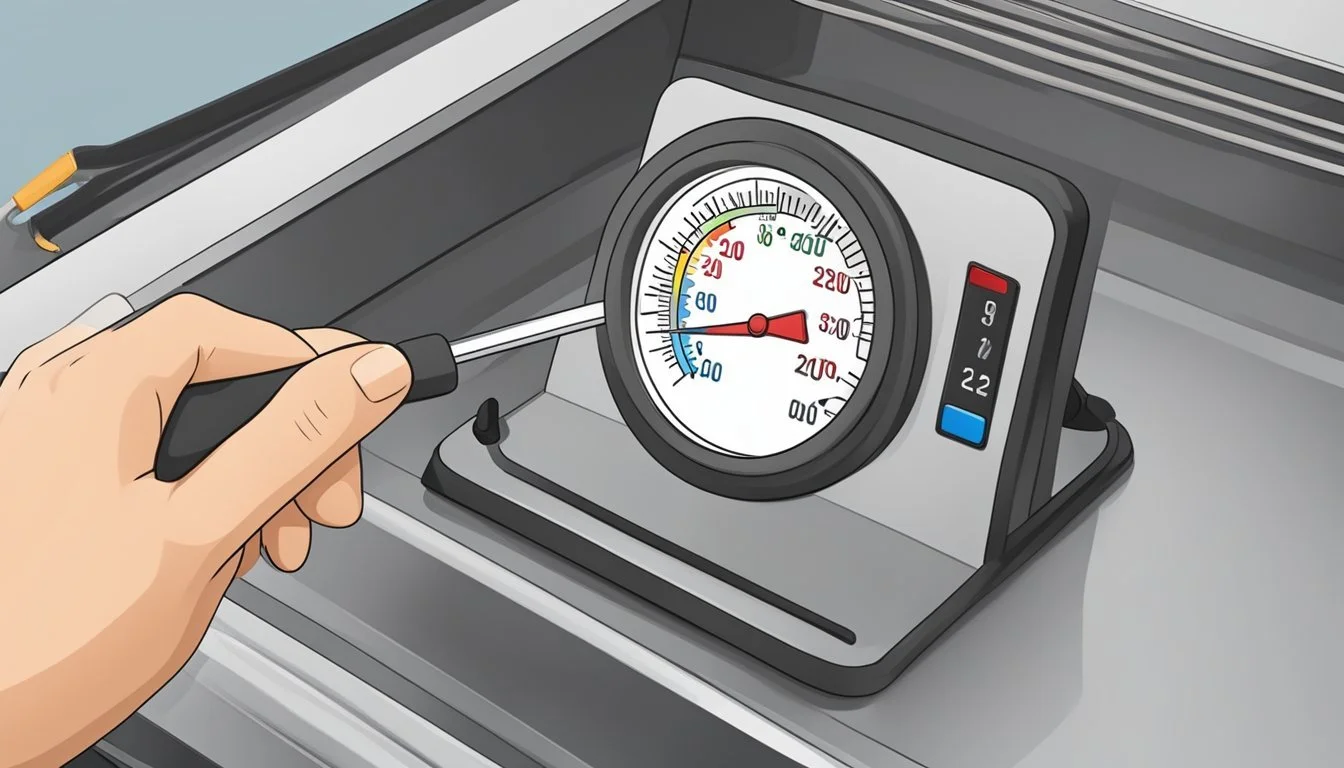
To begin oven calibration, a reliable oven thermometer is essential. This allows the user to accurately measure the actual temperature inside the oven. Since most oven temperatures fluctuate during a heating cycle, checking the temperature at several intervals provides a more comprehensive understanding of the oven's overall performance. Users should adjust the oven's temperature setting according to the thermometer's readings. The process may involve heating the oven to a standard temperature, such as 350°F, and allowing it to maintain that temperature for a set period before measuring and recording the heat.
While the calibration process may vary slightly depending on the specific make and model, the fundamental steps remain the same. Users will typically need to consult their oven's manual for instructions on how to adjust the temperature dial or digital settings. Modern ovens might have a calibration mode, while others may require manual adjustments. Proper calibration can have a significant impact on the quality of baked goods, and it's a straightforward exercise that can lead to the best possible outcomes in baking endeavors.
Understanding Oven Calibration
Calibrating an oven is essential to ensure precise baking results. Oven temperature discrepancies can lead to undercooked or overcooked food, making accuracy paramount for culinary success. Calibration involves adjusting the oven's temperature controls to match the actual temperature inside the oven.
A reliable oven thermometer is the cornerstone for obtaining an accurate reading. It's crucial to place the thermometer in the center of the oven, the area most recipes assume as the cooking temperature. The oven should then be preheated to a common baking temperature, such as 350°F, and allowed to stabilize.
Temperature calibration is typically needed when you find a consistent discrepancy between the set temperature and the thermometer's reading. These steps outline the calibration process:
Preheat the oven and let it rest for at least 30 minutes.
Place the thermometer in the center of the middle rack.
Take note of the temperature reading after the oven stabilizes.
If the oven temperature deviates from the thermometer's reading, an adjustment is needed.
In some ovens, the calibration dial is located on the back of the temperature knob or on a digital display menu. Minor clockwise turns will increase the heat, whereas counterclockwise turns decrease it. Adjustments should be made gradually, in small increments, and then retested for accuracy. Remember, even a small turn can result in a significant temperature change.
By taking careful steps to calibrate your oven, you assure that your baking results consistently match your expectations.
Types of Ovens and Their Calibration Needs
Calibrating an oven is crucial for achieving the desired baking results, as it ensures that the internal temperature matches the setting. Different types of ovens have their unique calibration processes that can range from simple adjustments to involving technical service.
Calibrating Electric Ovens
Electric ovens, known for their even heating, may have digital or analog controls that affect the calibration method. For those with digital controls, such as models from GE and Whirlpool, one usually accesses a calibration setting through the oven's electronic menu. This typically involves pressing a combination of buttons to enter the calibration mode, where the oven’s temperature can be adjusted up or down in small increments, typically by 5°F to 10°F per adjustment.
Steps:
Preheat the oven and allow it to stabilize at the chosen temperature.
Use an oven thermometer to check the accuracy and record the temperature.
If the reading is off, adjust the temperature setting accordingly through the calibration menu.
In contrast, analog electric ovens require manual adjustment of the oven thermostat, which is sometimes located at the back of the temperature knob. Adjusting may involve removing the knob and turning the screw or calibration dial inside to increase or decrease the temperature.
Key Considerations:
Always refer to the owner's manual for specific instructions.
Calibrate in small increments to avoid over-adjusting.
Calibrating Gas Ovens
Gas ovens typically heat more quickly and can have either electronic controls or analog dials. For those with electronic controls, the calibration is similar to electric ovens with digital controls. One navigates through the settings to find the calibration menu and adjusts the temperature settings as needed.
For analog gas ovens, the calibration commonly involves adjusting the oven thermostat directly. This might be done by loosening a screw within or behind the temperature knob and manually changing the setting. It’s important to note that if a gas oven's temperature is off by more than 30°F, it may indicate a need for repair beyond simple recalibration.
Steps:
Light the oven and allow it to reach the set temperature.
Use an accurate oven thermometer to note the temperature difference.
Adjust the temperature knob or screw behind the knob accordingly, turning it slightly toward "hotter" or "cooler."
Given the potential complexity of adjusting analog controls and the inherent risks associated with gas ovens, it is often recommended that a professional technician performs the calibration.
The Importance of Preheating
Preheating an oven is a critical preliminary step before baking or roasting. Bringing the oven up to the designated temperature ensures consistent cooking conditions from the very beginning. This process is essential for both the texture and flavor of the final product.
Listed below are key reasons why preheating matters:
Even Cooking: Heat distribution becomes more consistent once the oven reaches the stated temperature, decreasing the likelihood of uneven baking or roasting.
Accurate Timing: Recipes specify cooking times starting at a certain temperature; preheating ensures that these times are reliable indicators of doneness.
Proper Rise for Bakes: Goods with leavening agents like baking powder or yeast require an immediate burst of heat for a proper rise.
A step-by-step approach to preheating:
Turn on the Oven: Set it to the recipe’s specified baking temperature.
Wait: Allow the oven to heat for the necessary period, usually 10-15 minutes.
Verify: Use an oven thermometer to check if the oven has properly preheated to the right temperature.
Remember:
When roasting, the high heat at the start is crucial for searing the outside of meats, locking in juices.
For baked items, especially those that are delicate or leavened, starting at the right temperature is non-negotiable for an appealing rise and texture.
Preheating is a simple yet pivotal practice in baking and roasting to achieve desired culinary results.
How To Calibrate Your Oven
To ensure consistent results with your recipes, calibrating your oven is crucial. This process includes using an oven thermometer to check temperatures, identifying temperature variances, and making adjustments to settings.
Using an Oven Thermometer
An oven thermometer is an essential tool for calibration. To calibrate:
Place the thermometer in the center of the oven to gain an accurate reading.
Set the oven to 350°F and wait for at least 30 minutes.
Record the temperature from the thermometer.
Repeat this process, checking the temperature every 20 minutes to account for cycling.
Identifying Hot and Cold Spots
Determining hot and cold spots involves:
Baking test items, such as bread or cookies, in different parts of the oven.
Taking note of areas where food cooks quicker or slower.
These areas indicate potential hot and cold spots, which might require moving items during cooking to achieve even results.
Adjusting Temperature Settings
For temperature calibration:
Access the back of the temperature knob on the oven, which may involve removing it.
Locate the adjustment screw(s). Turning the screw clockwise will increase the temperature, while turning it counterclockwise will decrease it.
Making small adjustments is crucial; even a slight turn can impact the temperature significantly.
Advanced Calibration Techniques
Advanced calibration techniques provide bakers with the opportunity to achieve precise oven temperatures, ensuring consistently excellent baking results. These methods often involve the use of specialized tools or professional assistance to fine-tune the oven's performance beyond basic adjustments.
Using ChefAlarm for Precision
The ChefAlarm is a high-quality kitchen thermometer that can significantly enhance oven calibration through precision monitoring. This tool comes equipped with a grate clip, which attaches directly to the oven rack, allowing for consistent temperature readings at the location where food is cooked. Here’s how to use it:
Position the ChefAlarm's probe in the center of the oven using the grate clip.
Use count-up mode to observe temperature fluctuations over several cycles to determine the oven's average operating temperature.
By tracking these temperatures, bakers can identify if the oven is heating consistently or if there are specific hot or cold spots that need attention.
When to Call a Service Technician
Sometimes, oven calibration requires expertise beyond what can be achieved with at-home tools. When an oven's internal thermostat is faulty or if temperature inconsistencies cannot be resolved through DIY methods, it's time to call a service technician. The technician will:
Conduct a thorough inspection and identify any underlying issues that might be causing temperature variations.
Perform professional calibration, often using advanced diagnostic equipment to adjust the oven's thermostat settings, ensuring precise temperature control.
It’s advised to seek a technician's help if repeated calibration attempts do not yield accurate results or if the oven is advanced and requires proprietary tools for calibration.
Maintenance Tips for Consistent Baking Results
To ensure consistent baking results, regular maintenance of the oven is essential. One crucial aspect is oven calibration. Home bakers should check their oven's accuracy by using an oven thermometer. It's recommended to place the thermometer in the center of the oven, set at 350°F, and let it preheat fully. The temperature should be recorded after 30 minutes to confirm if the oven heats to the correct temperature.
Oven racks also play a significant role in consistent baking. It's important to regularly inspect the racks for even placement and stability. Uneven racks can cause uneven baking and heat distribution issues. Racks should be positioned according to the specific baking requirements of the recipe being used.
A well-calibrated oven, in conjunction with proper rack positioning, lays the foundation for consistent results in baking. It's advisable for bakers to not only calibrate their ovens when they notice inconsistencies but also as a periodic check-up to prevent issues before they arise.
Maintenance Task Frequency Notes Calibrate Oven Biannually or as needed Use an oven thermometer to test accuracy. Inspect and Adjust Oven Racks Monthly Ensure they are level and positioned according to your needs. Clean Oven As directed by manual Follow manufacturer's guidelines for cleaning cycles.
Maintaining an oven's efficiency ensures that every baking endeavor yields the desired outcome. By following these maintenance tips, bakers can be confident that their appliance operates at its best.
