
Perfecting Your Sourdough
Mastering Crust Texture and Flavor
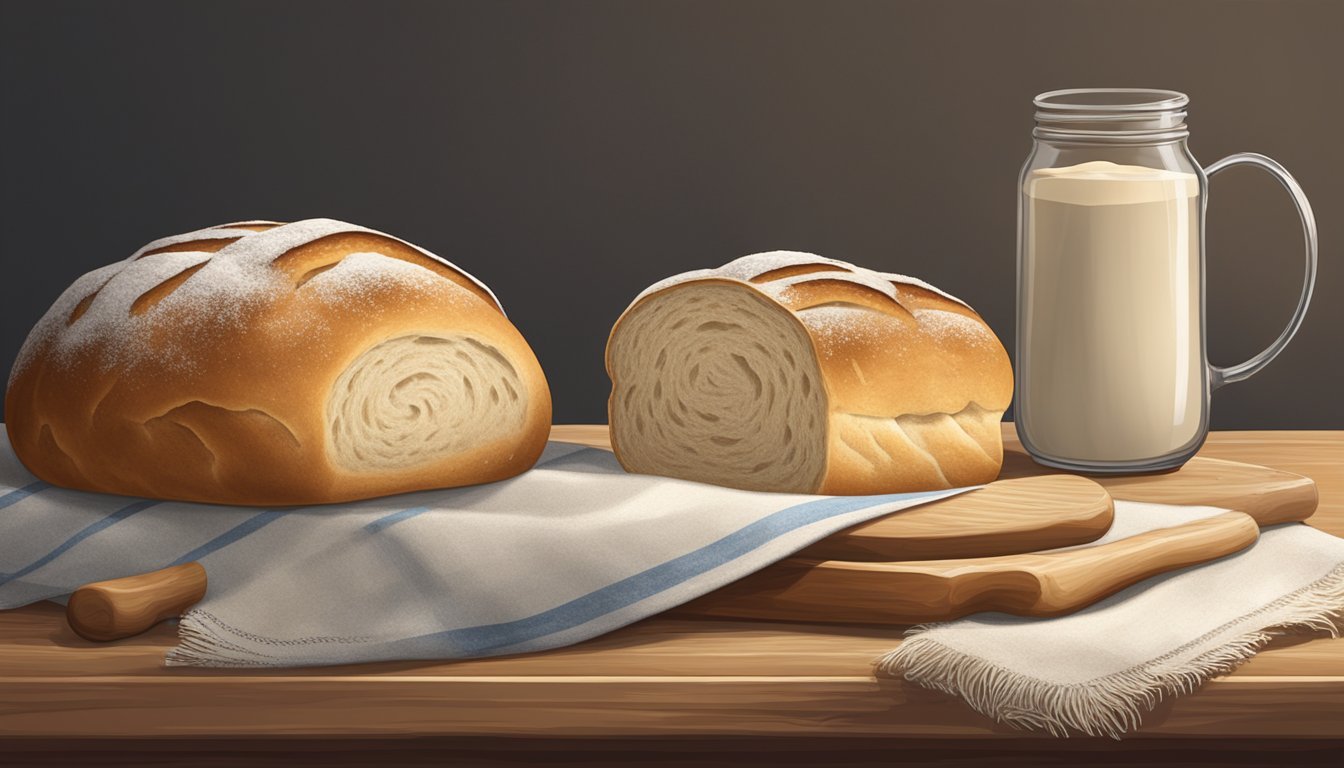
Perfecting sourdough bread (What wine goes well with bread?) is as much an art as it is a science. Sourdough enthusiasts know that achieving a crispy crust is crucial to the character and flavor of the bread. A crispy crust contrasts delightfully with the tender, airy crumb, providing a textural experience that is one of the hallmarks of a well-baked sourdough loaf.
The journey to a crispy crust begins with understanding the various factors that contribute to the outer shell of the bread. The manipulation of oven temperature plays a pivotal role; a high initial heat is essential to achieve the desired oven spring and to set the crust’s structure quickly. Following this, reducing the temperature allows the loaf to cook through without burning the crust, balancing crispiness with a fully baked interior.
Additionally, mastering the crust requires attention to the hydration levels of the dough, along with the fermentation process. Proper hydration affects the dough's extensibility and the final crumb structure, while a meticulously controlled fermentation—whether it be at room temperature or through a slow, cold retard in the refrigerator—contributes significantly to the flavor profile and the development of a thick, hearty crust. These technical elements, when managed accurately, help bakers produce sourdough bread with a crust that is as visually appealing as it is satisfying to eat.
Understanding Sourdough Basics
To craft the perfect sourdough bread, one must comprehend the fundamentals, from the biological mechanisms behind sourdough to the selection of flour and starter maintenance that play critical roles in the final product.
The Science of Sourdough
The sourdough process is essentially a symbiotic relationship between yeast and lactic acid bacteria present in the sourdough starter. As they feed on the flour's starches, these microorganisms produce carbon dioxide, which leavens the dough, and lactic acid, which gives the bread its characteristic tangy flavor. The dough's hydration — the ratio of water to flour — is also pivotal in determining the bread's texture and crust.
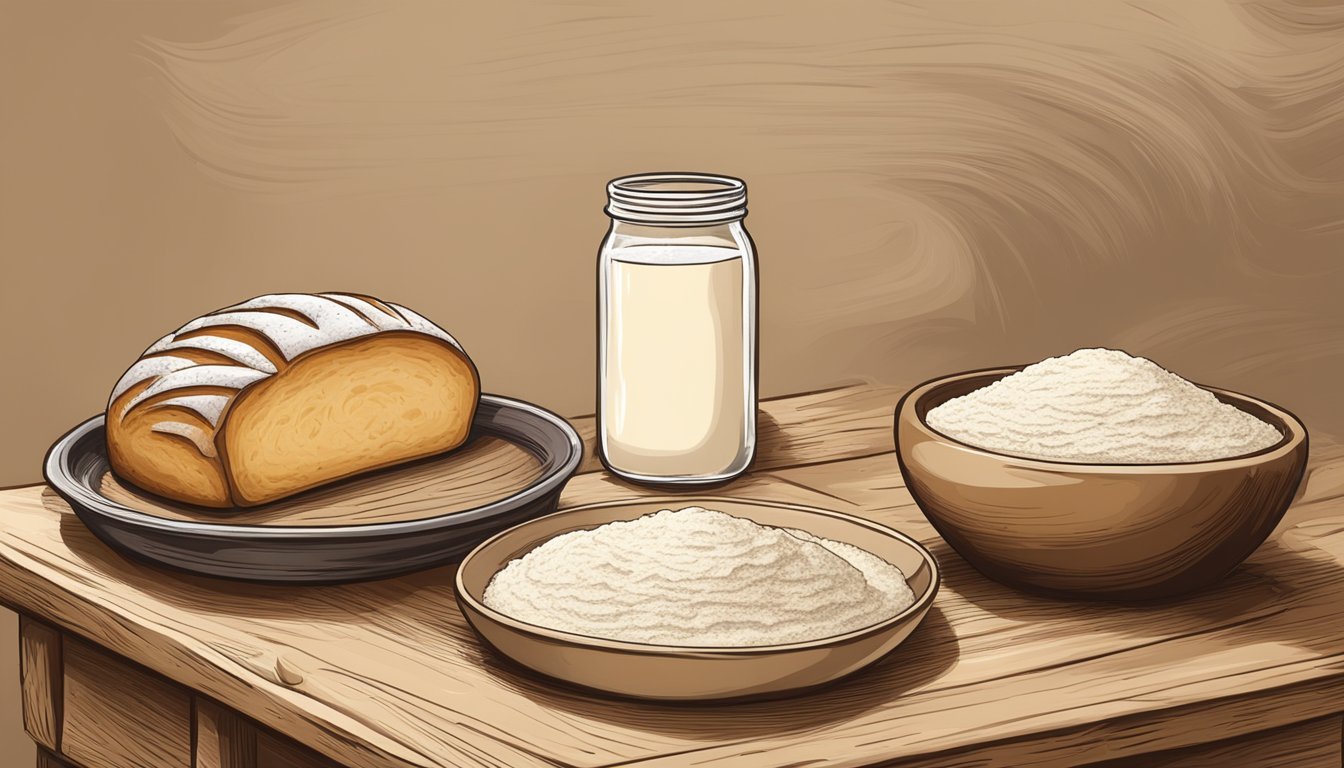
Choosing Your Flour
Flour is the backbone of sourdough bread, affecting everything from taste to texture. Bread flour, with higher protein content, typically around 12-14%, is ideal as it develops more gluten, creating a stronger, chewier bread. Whole wheat flour can also be used for added flavor and nutrition, but may absorb more water and affect the dough's consistency.
Key Considerations for Flour Selection:
Protein Content: Higher for bread flour, lower for all-purpose.
Gluten Formation: Essential for structure and chewiness.
Absorption: Whole wheat flour often requires more hydration.
Sourdough Starter Fundamentals
A sourdough starter is a mix of flour and water inhabited by naturally occurring yeast and bacteria. The starter must be regularly fed with fresh flour and water to keep it active. The point at which the starter is at its peak activity, usually when it doubles in size, is the ideal time to include it in the bread dough.
Starter Maintenance Steps:
Feed: Mix equal parts of flour and water into the starter.
Wait: Allow the mixture to sit at room temperature.
Observe: Look for signs of bubbling and volume increase.
Repeat: Regular feeding is crucial for a vigorous starter.
The Fermentation Process

The fermentation process in sourdough bread making is crucial for developing flavor, texture, and structure. It involves the metabolic activity of yeast and bacteria, which convert sugars into carbon dioxide and alcohol, contributing to the bread’s rise and taste.
Bulk Fermentation Explained
In sourdough baking, bulk fermentation is the first significant rise of the dough after mixing flour, water, and starter. During this phase, the dough should be kept at a consistent temperature to allow yeast and bacteria to produce gas and organic acids effectively. The duration of bulk fermentation can vary from 3 to 5 hours at a warm room temperature, typically around 25-27°C (77-80°F). A successful bulk fermentation is indicated by the dough doubling in size, exhibiting a domed surface, and showing a web of gluten strands when a piece is gently stretched.
Cold Fermentation Versus Room Temperature
Fermentation can occur either at cold or room temperature conditions. Here’s a brief comparison:
Cold Fermentation:
Temperature: Around 4-7°C (39-45°F) typically in a refrigerator
Duration: Can extend from 12 to 72 hours
Characteristics: Slows down yeast activity but allows for complex flavor development from lactic acid bacteria
Room Temperature Fermentation:
Temperature: Around 20-27°C (68-80°F)
Duration: Ranges from 4 to 5 hours or until dough doubles
Characteristics: Faster yeast activity and less pronounced sour flavor
The choice between these methods depends on the desired flavor profile and crust characteristics of the final bread.
Fermentation and Time Relationship
The relationship between fermentation and time is inverse; as one increases, the other tends to decrease. A longer fermentation time at a cooler temperature tends to develop more nuanced flavors. Conversely, a shorter fermentation time at a higher temperature encourages a quicker rise with less complex flavor development. Adjusting the fermentation time is a baker’s tool for controlling both the dough's flavor and its workability for shaping.
Optimizing Dough Hydration
Perfecting sourdough bread requires precision in hydration levels and the use of effective techniques such as autolysis to control dough characteristics.
Hydration Level Basics
The term hydration refers to the ratio of water to flour in a bread dough, usually expressed as a percentage. Optimal hydration is crucial for achieving the desired balance between a moist crumb and a crisp crust. Here's how one calculates the hydration level:
Hydration Level Calculation:
(Weight of Water ÷ Weight of Flour) × 100
For instance, if a sourdough recipe calls for 500g of flour and 350g of water:
The hydration level would be
(350g water ÷ 500g flour) × 100 = 70% hydration
A correct hydration level is determined by several factors such as the flour type, desired dough characteristics, and baking environment.
Autolyse Technique
Autolyse is a technique wherein the baker mixes flour and water and allows it to rest before adding other ingredients like salt and yeast. This process results in:
Enhanced dough strength
Improved gluten development
Better absorption of water by the flour
To perform an autolyse:
Mix flour and water in a bowl to form a shaggy dough.
Rest the mixture, typically for 20 minutes to an hour.
During autolyse, enzymes break down the flour's starches into sugars, providing more food for the yeast, which can impact the final flavor and crust of the sourdough. It simplifies gluten development, leading to a dough that is easier to handle and shape.
Shaping and Preparing for Baking
Perfecting sourdough bread requires attention to the details of shaping and preparing the dough for baking. Mastering these methods is essential to achieve a well-structured loaf with an excellent crust.
Folding and Shaping Techniques
Folding is crucial for gluten development in sourdough. Proper folding techniques align the gluten strands and add strength to the dough. One begins by gently stretching the dough into a circle for various loaf shapes such as baguettes, batons or batards. For shaping, one side of the dough circle is folded over to the middle, followed by the opposite side, slightly overlapping. This process is gently repeated to create tension on the surface, a step that ultimately helps in forming a tight and cohesive structure.
The methods used for shaping are dictated by the type of bread one aims to bake. To shape a round loaf, for example, the dough is folded from the top down toward the center, turning a quarter turn and repeating this motion until the entire surface is neatly tucked in.
Proofing and Its Importance
Proofing is the final rise of the shaped bread dough before baking and is essential for the bread's flavor and texture. Proper proofing allows the yeast to ferment the dough, resulting in the production of gases that inflate the bread, creating a light and airy structure. Indicators of a correctly proofed dough include a notable increase in size—often the dough should nearly double—and a slightly domed shape that holds an indentation when gently poked. The dough should not be proofed excessively, as this can lead to overfermentation, where the gluten structure weakens and the bread may collapse during baking.
It is important to proof at the right temperature; a warm, draft-free environment can encourage yeast activity and produce a consistent rise. One should monitor their dough closely during this stage, as the yeast's activity can be affected by the temperature and humidity of the room.
Scoring and Expansion
Scoring is the baker's strategic practice to control the expansion of the dough in the oven which directly affects the final crust of sourdough bread.
Scoring Techniques
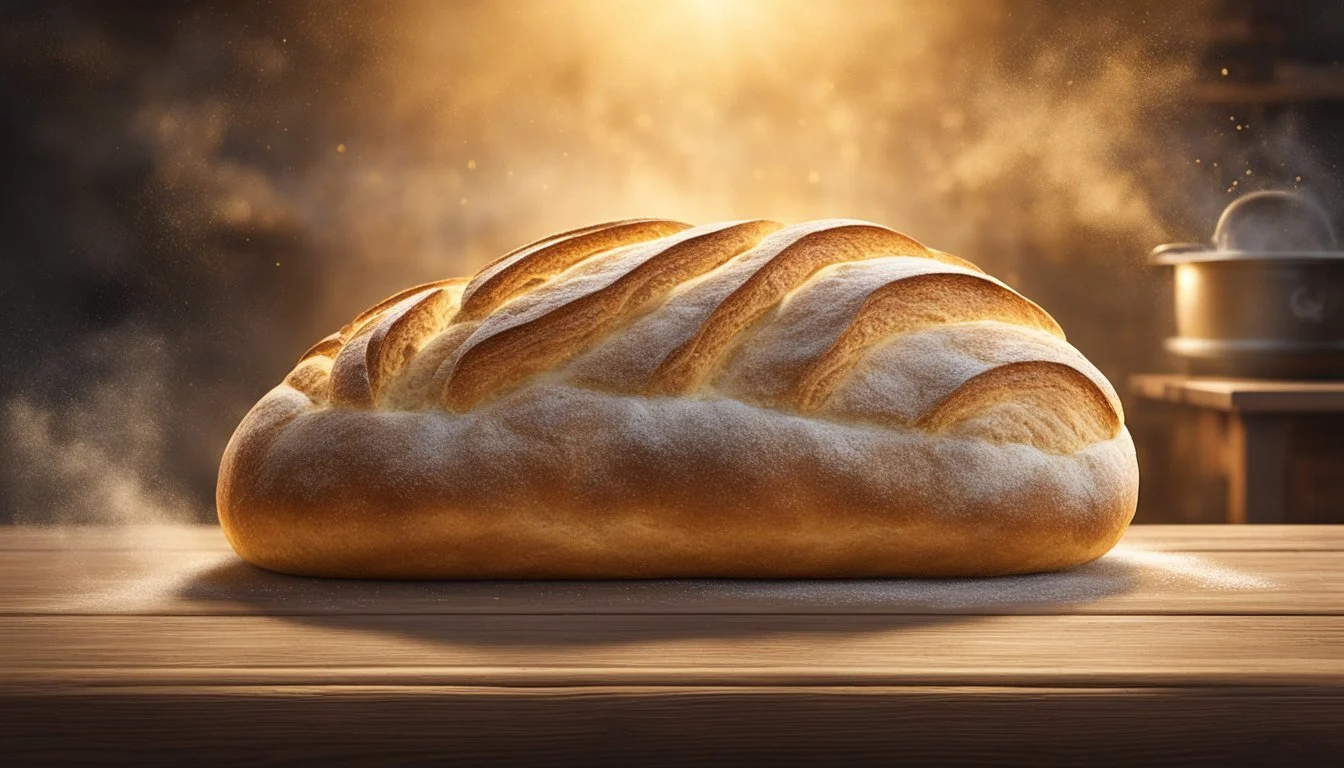
When scoring dough, bakers use a lame or sharp blade to make incisions on the dough's surface. These cuts should be about 1/4 inch deep, following various patterns or designs. Utility scores—the main slash—are particularly crucial. They should be swift and precise, generally held at an angle between 30 to 90 degrees. This allows the dough to open properly during the baking process. Scoring with string to guide patterns is one creative approach that can be used for decorative purposes.
Straight Cut (Ear Formation): A long, central slash allows for a pronounced ear to develop.
Decorative Cuts: Additional shallow slits can create artistic designs, adding a visual appeal to the bread crust.
Oven Spring and Dough Expansion
Oven spring refers to the rapid rise of dough during the initial baking period due to yeast activity and steam. Proper scoring is integral to guiding this expansion. Without scoring, the crust would unpredictably crack, affecting the bread's shape and look. By creating intentional weak spots, bakers can influence the final loaf's appearance and texture. The control over oven spring not only contributes to an attractive crust but also enhances the bread's interior structure.
Score Depth: Shallow cuts suffice for decorative purposes, while deeper cuts guide significant expansion.
Dough Volume: A properly scored loaf will showcase consistent rise and uniform texture.
Baking Techniques for Perfect Crust
Perfecting the crust of sourdough bread involves specific techniques that manage steam, utilize baking tools, and accurately control temperature.
Steam in the Oven
The introduction of steam during the initial phase of baking is vital for achieving a crisp crust. Home bakers can create more steam by placing a pan of hot water on the lower rack or spraying the oven walls with water before placing the dough inside. It is imperative that one does this quickly to prevent heat from escaping. The steam delays crust formation, allowing the dough to rise fully and creating a thin, crispy crust.
Using a Dutch Oven
A Dutch oven can simulate the steaming technique professionally achieved in bakery ovens. Baking sourdough inside a preheated Dutch oven traps moisture released by the dough, enveloping the bread in steam. This method provides a consistently humid environment, yielding an excellent crust with improved rise and texture.
Baking Stones and Baking Temperature
Baking stones serve a dual purpose: they retain heat and ensure a strong burst of thermal energy to the dough's base. This leads to better oven spring and a crispier bottom crust.
For baking temperature:
Start baking at a high temperature, around 430°F (220°C), to maximize oven spring.
After 10 to 15 minutes, reduce the temperature to 375°F (190°C) to allow the crust to develop without burning.
The transfer of even heat and proper temperature regulation are critical for the caramelization of crust and achieving the desired color and flavor profile.
The Final Touches

Proper cooling and baking time are paramount in achieving the desired crust for sourdough bread, be it crispy or chewy. The decisions made in these final stages can mean the difference between a mediocre and a magnificent loaf.
Cooling and Baking Time
When it comes to baking time, a precise schedule is crucial. For a crispy crust, the initial blast of heat should be high—typically around 430°F (220°C)—and then reduced after the first 10 to 15 minutes to a moderate 375°F (190°C) to ensure even baking without burning the crust. When the bread is removed from the oven, the cooling time plays a critical role in crust development. To sustain a crispy crust, cool the bread on a wire rack which allows air to circulate completely around the loaf, preventing moisture from softening the crust.
Crispy Crust: Start high at 430°F (220°C), then lower to 375°F (190°C)
Cooling: Use a wire rack for full air circulation
Achieving Crispy Versus Chewy Crust
Achieving the perfect crust, whether one desires it to be crispy or chewy, requires proper technique throughout the baking process. For a crispy exterior, bakers often incorporate steam into the oven at the onset of baking as it helps in gelatinizing the dough’s surface, yielding that sought-after crispy crust.
Conversely, a chewy crust benefits from less steam and a shorter, hotter bake. It's important not to overbake, as this could lead to a rigid, overly hard crust. Conversely, underbaking might result in a soft crust lacking the proper chewiness. Here's a brief guideline:
Crispy Crust: Add steam at the beginning of baking
Chewy Crust: Less steam, shorter and hotter bake time
By adhering to these specific techniques and carefully managing both the baking and cooling times, bakers can truly master the art of the perfect crust, be it crispy or chewy.
Sourdough Troubleshooting
Sourdough bread can challenge even experienced bakers, but understanding common issues and how to adjust hydration and temperature can lead to better outcomes.
Common Baking Issues
Moisture Loss: The baker must ensure the bread retains enough moisture during baking. If the crust is excessively thick or hard, this may indicate an environment that's too hot or baking times that are prolonged. To mitigate moisture loss, it's advised to monitor the baking temperature closely and adjust the duration accordingly.
A protective measure is to employ steam during the first minutes of baking, which helps in crust development without moisture escape. Bakers also need to consider the cooling period post-baking, particularly for rye-containing bread, which requires cooling for at least 90 minutes, due to ongoing cooking processes.
Baking Temperatures and Environment: The wrong baking environment can lead to multiple problems in sourdough bread. For example, an oven that's too cold may result in an underdeveloped crust, while an oven that's too hot can cause the crust to become overly thick or burnt.
Optimal Baking Temperature: A common temperature range is between 450°F and 475°F (232°C - 246°C), with adjustments based on specific recipes and desired outcomes.
Temperature Consistency: Use of an oven thermometer is recommended to ensure consistent baking temperatures, even if an oven indicates it has reached the set temperature.
Adjusting Hydration and Temperature
Hydration Levels: Adjusting the dough’s hydration level is crucial as it impacts the final proof and overall bread structure. High hydration can lead to a slack dough, making it challenging to develop good strength. Conversely, a dough that's too dry won't have the desired open crumb structure. The baker must find the right balance, possibly through trial and error, to realize the best results for their particular flour blend and baking environment.
Hydration Tip: Aim for a hydration level that the dough can handle, which could range from 65% to 85% depending on the flour used and ambient conditions.
Proofing Temperatures: Sourdough fermentation is highly temperature-sensitive. The bacteria and yeast in the sourdough starter thrive at warmer temperatures typically between 75°F and 80°F (24°C - 27°C). Controlling final dough temperature promotes a successful final proof, enforcing the importance of finding a consistently warm spot for fermentation or investing in a bread proofing box to regulate this environment.
Final Proof Troubleshooting: If the sourdough fails to rise sufficiently, consider a longer proofing time or a warmer proofing environment. Conversely, over-proofed dough, which appears bubbly and may collapse under its own weight, requires a reduced proofing time or a cooler environment.
Creative Variations and Finishing
Experimentation with ingredients and decorative scoring can significantly enhance both the flavor profile and visual appeal of sourdough bread.
Incorporating Different Ingredients
One can introduce variations in sourdough bread by experimenting with different types of flour, such as using a high-protein variety for a robust structure, or integrating whole wheat for additional flavor complexity. Adding ingredients such as olive oil can contribute to a softer crust and a rich taste. Salt is a crucial ingredient in bread making; not only does it enhance flavor, but it also strengthens gluten development and controls yeast activity.
Incorporating 'discard', which is the portion of sourdough starter that is typically removed before feeding, can be done in many recipes to avoid waste. It adds a subtle sourness and depth to recipes like pancakes, waffles, or even other types of bread. Bakers may also integrate seeds, nuts, or dried fruits into the dough for unique texture and taste experiences.
Ingredients Purpose in Sourdough High-protein flour Enhances dough strength Olive oil Softens crust Salt Enhances flavor and gluten strength Sourdough discard Reduces waste, adds flavor
Decorative Scoring and Presentation
Creativity extends beyond the dough's contents to its finishing touches—decorative scoring and presentation. Scoring is the process of creating intentional cuts on the dough's surface before baking. This not only allows for controlled expansion but also serves as a canvas for artistic expression. With a sharp blade or lame, one can create patterns that range from simple slashes to intricate designs.
For a professional finish, bakers can place the scored dough on parchment paper for easy transfer and to prevent sticking to the baking surface. Just before baking, to achieve a rustic appearance, some choose to dust the surface of their sourdough with breadcrumbs or flour, providing contrast to the scored patterns.
Simple Slashes: Straight or diagonal cuts for a classic look.
Wheat Stalk: A central cut with smaller cuts on either side, mimicking a stalk of wheat.
Latticework: Interlocking series of slashes that create a basketweave effect.
Personal Patterns: Any unique design that personalizes the bread.
A well-executed sourdough bread is not only about taste but also the joy brought by its visual allure, making each loaf a personal hallmark of the baker's craft.
Conclusion

Crafting the perfect sourdough loaf is a culmination of precision and patience. Bakers who embrace the nuances of their own sourdough recipe tend to find more success in achieving a superior crust. Key considerations include the hydration level, fermentation time, and baking temperature.
Hydration: A 75-80% hydration ratio is often recommended for a crisp crust and open crumb.
Fermentation: An extended, cold fermentation process can enormously enhance flavor and crust texture.
Baking: Start with a high temperature, then lower the oven temperature to allow for even baking throughout.
One must remember that variations in ingredients, climate, and ovens may necessitate adjustments to the process. Beginners are encouraged to start with a basic recipe and adapt it over time. Each batch of sourdough offers insight, cementing the baker’s expertise in crafting a delectable crust.
In their journey, bakers will learn the importance of steam in the oven—a tool for achieving that artisanal crust. Steam creates the perfect environment for the dough to rise optimally before the crust hardens. The result is a beautifully crisp crust synonymous with the best sourdough breads.
One's approach to sourdough baking should be methodical. Careful observation and small tweaks to the recipe go a long way in perfecting the loaf. It is through trial, error, and a steadfast commitment to the craft that the art of sourdough baking is mastered.
