
The Perfect Proof
Mastering Sourdough Rise and Texture through Expert Techniques
Mastering the rise and texture of sourdough bread (What wine goes well with bread?) is a balance of art and science. It is a process that demands precision and patience, where the baker's skill in fostering the perfect proofing conditions can result in a loaf with superior flavor and structure. At the heart of this process is the understanding of fermentation, the natural leavening action driven by wild yeasts and bacteria present in the sourdough starter.
Temperature is a critical factor in proofing sourdough, with the ideal range being between 25°C and 38°C (77°F and 100°F). Within this range, the dough thrives, allowing for controlled fermentation. In cooler environments, proofing can still succeed, albeit at a slower rate. Mastery of these conditions contributes to a well-developed loaf, as the gluten network forms to retain gases, contributing to a desirable rise and crumb structure.
A smooth, puffy surface on the dough signifies a potentially successful proofing stage, indicating proper gluten development. Attention to such visual and tactile cues during the proofing process is vital, as is the knowledge of techniques to enhance fermentation. Methods such as cold fermentation and periodic stretches and folds also play a role, each contributing to the final bread's complex flavor and texture. Through careful monitoring and adjustments, bakers can achieve sourdough bread that is not only a delight to the senses but a testament to their craftsmanship.
Sourdough Essentials
In the art of sourdough baking, mastery is found in the details of sourdough maintenance, starter vitality, and precise fermentation processes. These essentials pave the way for a perfect rise and texture.
Understanding Sourdough
Sourdough bread distinguishes itself through its unique fermentation process. The essential difference lies in the natural leavening, as opposed to the commercial yeast found in most bread. This process relies heavily on a balance of bacteria and wild yeast naturally present in the environment. A well-maintained starter and carefully managed fermentation yield the classic sourdough tang and desirable crumb structure.
The Role of the Starter
A sourdough starter is the cornerstone of sourdough baking. It's a live culture of flour and water that captures wild yeast and beneficial bacteria over time. For the starter to induce the bread to rise, it must be active and healthy. Regular feeding—typically with equal parts flour and water—is crucial to maintain its strength and ensure its readiness for baking. An ideal starter has a pleasant, slightly sour smell and a balance of acidity and yeast activity necessary for successful fermentation.
Fermentation Fundamentals
Fermentation is the protracted dance of yeast and bacteria, resulting in dough rise and flavor development. Key factors in fermentation include:
Temperature: Optimal dough proofing occurs at 25-38°C (77-100°F). Cooler environments will slow the process, extending the rise but still capable of yielding good results.
Time: Dough development is not a rushed process. Adequate fermentation time allows for complex flavors to emerge and for gluten networks to strengthen, providing the desired texture.
Observation: Signs of adequate fermentation include a smooth surface and a slight puffiness in the dough, indicating that it's ready to bake.
Understanding these essentials fortifies the baker's skill set, equipping them to achieve superior sourdough quality consistently.
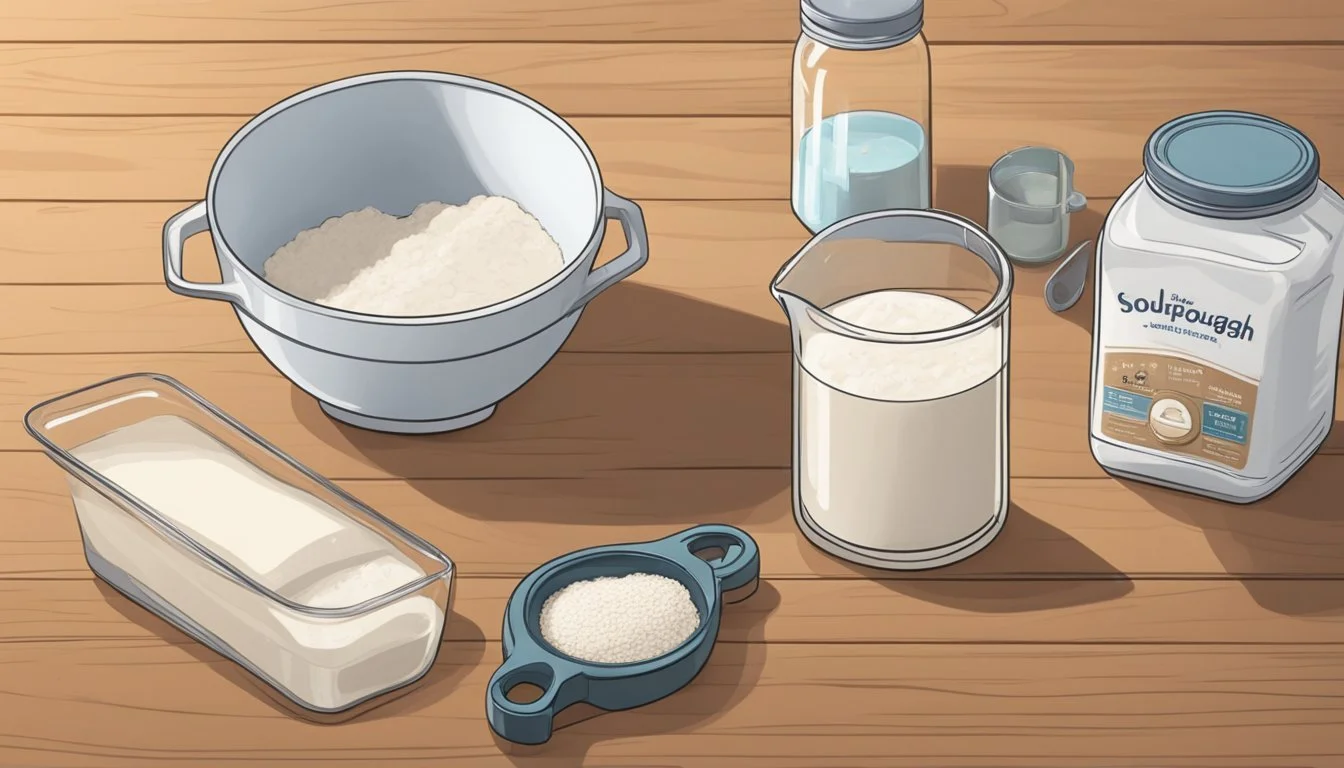
Ingredients Analysis
Within sourdough bread-making, the ingredients play pivotal roles in both rise and texture. A detailed analysis reveals how varying flour types, hydration levels, and the presence of other ingredients contribute to the final product.
Flour Varieties and Protein Content
Different types of flour have diverse protein content, which is critical in the development of gluten. All-purpose flour, typically with a protein content between 8% to 11%, is a common choice for its versatility. Bread flour has a higher protein content, usually around 12% to 14%, lending to a chewier texture and better rise due to more gluten formation. Whole wheat flour, while nutritive, contains less gluten-forming protein than bread flour and can result in a denser loaf.
Hydration's Impact on Texture
Hydration refers to the ratio of water to flour by weight. It significantly influences the dough's final texture:
Low hydration (stiffer dough): Results in a denser bread with smaller holes.
High hydration (wetter dough): Leads to an open crumb and airier bread.
The exact hydration level can range from 60% for a firmer dough to 80% or more for artisan-type sourdough.
Salt, Yeast, and Other Additions
Salt not only enhances flavor but also strengthens gluten structure and slows fermentation. The standard measurement is about 2% of the flour's weight. Yeast, either commercial or naturally occurring in a sourdough starter, is the leavening agent responsible for the rise. It ferments the sugars in the flour, developing both flavor and carbon dioxide, which helps the dough expand. Inclusions like seeds, nuts, or dried fruits should be considered for their impact on moisture absorption and texture.
Preparation Techniques
The success of sourdough bread lies in the precision of its preparation techniques. These steps are crucial for gluten development and texture enhancement, setting the foundation for the sourdough to rise to perfection.
Mixing and Autolyse
Mixing involves combining the sourdough starter with flour and water. It's essential to mix these ingredients thoroughly to ensure even hydration and distribution of the starter. After the initial mix, bakers often employ autolyse, a resting period where enzymes begin breaking down the flour, enhancing the dough's extensibility and strength. For autolyse:
Duration: 20-60 minutes
Purpose: To improve gluten structure and allow enzymes to start their work
The Importance of Kneading
Kneading is a critical technique that aids in gluten development. It aligns the gluten strands and gives the dough strength and elasticity. Effective kneading ensures that the dough can trap the carbon dioxide produced during fermentation, contributing to a good rise and airy crumb structure. Bakers should note:
Duration: Depends on the feeling of the dough; it should be smooth and pass the windowpane test.
Technique: Use heel of hand pushing method, fold over, turn 45 degrees, and repeat until the desired texture is achieved.
Fold and Stretch Methods
Fold and stretch methods are gentler ways of strengthening dough without overworking it. They involve folding the dough over itself at intervals during the bulk fermentation process. This approach not only helps in gluten development but also aligns the dough's structure for better gas retention. The key points are:
Frequency: Every 30-45 minutes during bulk fermentation
Benefit: Enhances dough structure and gas retention for a more consistent rise
Proofing Strategies
Mastering sourdough proofing strategies is crucial for developing gluten structure and achieving the desired rise and texture. Each proofing stage plays a significant role in contributing to the final product's quality.
First Proof: Building Structure
During the first proof, also known as bulk fermentation, the dough undergoes significant rising. Proper hydration and a consistent temperature between 25-38°C (77-100°F) facilitate the development of gluten structure and gas retention. Bakers often employ a stretch and fold technique during this phase to enhance gluten network formation without deflating the dough. This method involves gently stretching and folding the dough over itself at regular intervals.
Table 1: Bulk Fermentation Guidelines
Temperature Duration 25-27°C (77-81°F) Longer fermentation 30-35°C (86-95°F) Standard fermentation 36-38°C (97-100°F) Accelerated fermentation
Shaping and the Pre-Shape Stage
The shaping stage molds the dough into a specific form before the final rise. This step defines the bread’s final appearance and helps develop surface tension. It's during this stage that tools like a bench scraper come into play for precisely dividing and manipulating the dough. The pre-shape stage is delicate and should be done gently to avoid degassing. A banneton or proofing basket is commonly used after shaping to support and imprint the dough with a pattern.
Final Proof: Ready for the Oven
The final proof, which occurs after shaping and just before baking, is crucial for volumetric expansion and refining texture. The dough's readiness can be tested using the poke test: Lightly press the dough with a finger; if it springs back slowly and leaves a small indentation, it's ready to bake. The final proof is typically done at a lower temperature compared to the first rise, yet still within a range that supports yeast activity. Monitoring this stage closely ensures the dough does not over-proof, which could lead to a collapse in the oven.
Baking and Final Steps
To achieve the perfect sourdough loaf, understanding the intricacies of baking and final steps is crucial. These steps ensure the ideal oven spring, crust, and internal texture.
Oven Temperature and Steam
The oven should be preheated to 450°F (232°C) to provide the initial heat needed for oven spring. Steam is critical in the first 10-20 minutes of baking, as it keeps the dough surface moist and flexible, allowing for maximum expansion. Baking in a Dutch oven can trap steam naturally, but if one is using a conventional oven, placing a pan of hot water on the bottom rack can generate the needed steam.
Scoring for Expansion
Scoring the dough with a sharp blade right before it enters the oven is an essential step for guiding the dough's expansion and preventing it from bursting at weak spots. A baker should make decisive, about 1/2-inch deep cuts. This will also enhance the loaf's aesthetic appeal, with the score marks creating patterns as the bread bakes and expands.
Cooling and Final Texture
Once baked, the loaf should be removed from the oven and allowed to cool on a wire rack for at least an hour. This cooling period allows the crust to harden and the interior crumb structure to stabilize. Cutting into the bread too early can result in a gummy texture, as the internal steam hasn't fully settled. Proper cooling ensures a crispy crust and a soft, airy crumb – the hallmarks of well-baked sourdough bread.
Troubleshooting and Tips

Mastering sourdough rise and texture can be challenging, but with precise adjustments and keen observations, bakers can overcome common hurdles. This section provides specific steps and strategies for troubleshooting and enhancing the proofing process.
Understanding Over and Under-Proofing
Over-proofed dough often results in a flat loaf and large, uneven holes. This occurs when the dough has rested too long, causing the gluten network to deteriorate. On the contrary, under-proofed dough leads to a dense crumb and lack of volume, stemming from insufficient fermentation time.
Signs of Over-proofing:
Dough feels extremely airy and collapses with a light touch.
The loaf lacks structural strength and fails to hold shape.
The dough is too firm and rebounds quickly when poked.
There is minimal volume increase during proofing.
Strategically adjust proofing times while observing the dough's response to touch and sight.
Adjusting for Climate and Environment
The environment plays a pivotal role in sourdough fermentation. Temperature and humidity can either inhibit or accelerate dough development.
Optimal Proofing Conditions:
Temperature: between 25-38°C (77-100°F).
Humidity: 75-85% (maintain using a covered container or a humid environment).
For cooler climates, one can lengthen proofing times or utilize a mildly heated proofer. Contrarily, in warmer conditions, reducing the proofing duration can prevent over-fermentation.
Rectifying Common Sourdough Issues
Occasionally, bakers may encounter issues with sourdough that stem from the yeast or gluten network.
Boosting Yeast Activity:
Utilize 80-90°F water to energize yeast in cooler environments.
Refresh the sourdough starter regularly for consistent fermentation.
Strengthening the Gluten Network:
Ensure adequate kneading to develop gluten strands that will trap gases.
Use a proofing basket to support the dough's structure during the final rise.
Monitoring these facets closely will typically yield a well-risen sourdough with desirable texture.
Advanced Sourdough Crafting
Mastering advanced sourdough techniques goes beyond the basics, helping bakers to create breads with complex flavors and artisanal quality. This journey into the depths of sourdough crafting empowers bakers to explore innovative methods and nuanced ingredients to enhance their bread-making repertoire.
Experimenting with Flavors and Techniques
The pursuit of unique flavors in sourdough begins with the understanding that different flours and hydration levels can dramatically alter the final product. By incorporating whole grain flours such as rye or spelt, bakers can introduce a range of tastes and textures. Experimenting with hydration levels, from the standard 65% to a more challenging 85%, can affect crumb structure, yielding everything from a dense to a wildly open crumb. The addition of seeds, nuts, or dried fruits also plays a significant role in flavor development.
Ingredients to experiment with for flavor: seeds, nuts, dried fruits, alternative flours
Hydration levels: 65% (standard), 85% (high hydration)
Pushing the Limits: Artisan Sourdough
Creating artisan sourdough demands patience and precision. Long, cold fermentation (retarding) enables acid development, influencing the final bread's flavor and texture. Advanced bakers might manipulate temperatures ranging from 25-38C (77-100F) to fine-tune the proofing stage, adapting to ambient kitchen conditions when necessary. Artisan bread is synonymous with care, embodying methods like hand shaping and scoring that contribute to the aesthetic and practical aspects of crust formation and oven spring.
Cold fermentation: introduces complexity to flavor and texture
Temperature control: adjusts for ambient proofing conditions
Beyond Basics: Sourdough for Connoisseurs
For those who aspire to connoisseur-level sourdough baking, complete mastery over the fermentation process is essential. One should be adept at assessing dough development by judging its surface tension and response to a finger dent test—a gentle press indicates readiness when the indentation slowly returns. Precision in oven preheating, utilizing baking stones for even heat distribution, and steam generation for crust development are advanced techniques that elevate one's sourdough from simply good to exceptional. Understanding these nuances distinguishes a connoisseur baker from the crowd.
Dough readiness: assessed by the finger dent test and surface tension
Baking precision: involves preheating strategies, heat distribution, steam application
Tips for Beginners
Embarking on the journey of sourdough baking can be exhilarating for beginners. It’s important to focus on simple recipes, easy shaping and baking techniques, and starting with the right tools to ensure a successful bake.
Simple Sourdough Recipes
For those new to sourdough, mastering a basic recipe is fundamental. Beginners should seek out recipes that require minimal ingredients and straightforward processes. Here is a simple recipe structure they might follow:
Starter: Use equal parts flour and water to create a sourdough starter, maintaining the mixture at room temperature.
Dough: They should mix their starter with flour and water, then allow time for the bulk fermentation until the dough doubles in size.
Rise: Ensure the dough is in a warm place to help it rise adequately before shaping and eventual baking.
By adhering to these core steps, novices can become more comfortable with the sourdough process before moving on to more complex variations.
Easy Shaping and Baking Techniques
Shaping sourdough can be intimidating, but with a few easy techniques, beginners can achieve great results:
Bulk Fermentation: Handle the dough gently during the bulk fermentation phase and allow it to grow without frequent disturbances.
Shaping: They should shape the dough with confidence, using a bench scraper to fold and shape without deflating it too much.
Baking: Beginners are advised to use a preheated Dutch oven to bake the bread, which helps in achieving a crispy crust and even rise.
Timing and temperature are key; beginners should follow recipe guidelines closely for optimal results.
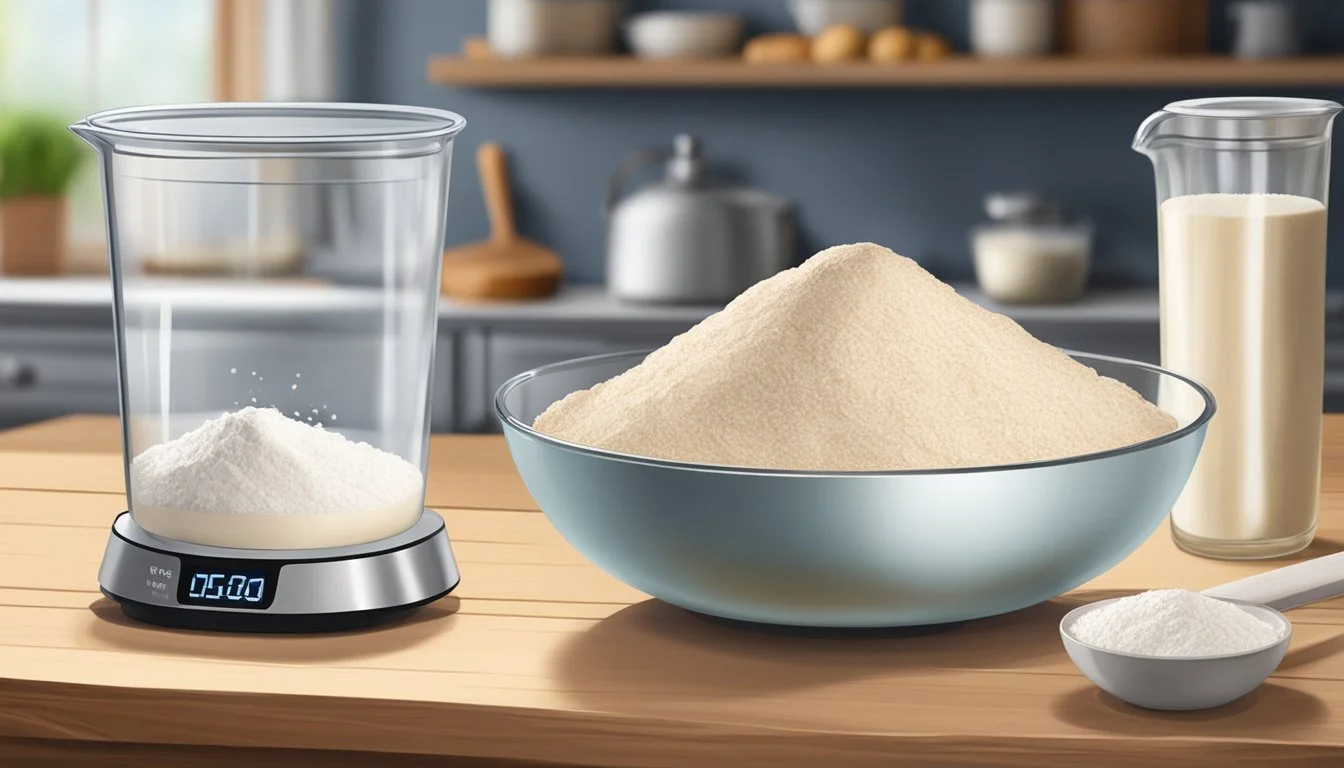
Starting with the Right Tools
Being equipped with the right tools can significantly impact the quality of homemade sourdough bread:
Digital Scale: They should use a digital scale for precise weight measurements of ingredients, which is crucial for consistency.
Dutch Oven: A good quality Dutch oven can mimic professional baking environments, producing excellent crust and rise.
Proofing Basket: A proofing basket helps in giving the dough its shape and supports it during the final rise before baking.
Beginners who invest in these essential tools will find that their bread-making process becomes much more manageable and enjoyable.
Culmination of the Sourdough Journey
The journey to perfecting sourdough bread is marked by the mastery of fermentation, shaping, and baking. A successful end-product reveals the subtle dance between time, temperature, and technique.
Reflecting on the Sourdough Experience
The experience of creating naturally leavened sourdough is both an art and a science. Bakers reflect on the aroma, taste, and texture of their loaves as a testament to their skill and dedication. Each loaf is a unique expression of the baker's journey, showcasing the delicate balance of flavor and form achieved through patient practice.
Nurturing the Sourdough Community
Artisan bread-making fosters a sense of community among enthusiasts who share their triumphs and challenges. This nurturing environment is critical for learning and improving. Members exchange insights about maintaining starter cultures, understanding dough hydration, or even constructing DIY proofing boxes to achieve the ideal rise in varying kitchen temperatures.
Continued Learning and Sharing
The path to sourdough proficiency is unending and shared knowledge propels the community forward. Experienced bakers mentor novices in reading dough's crumb or surface to discern proofing stages, while baking resources and forums circulate expert advice. It's a cycle of continued learning, where every shared recipe or technique enriches the collective wisdom of the homemade sourdough network.
