
Sourdough Bread Photography
Tips for Showcasing the Ultimate Crumb Texture
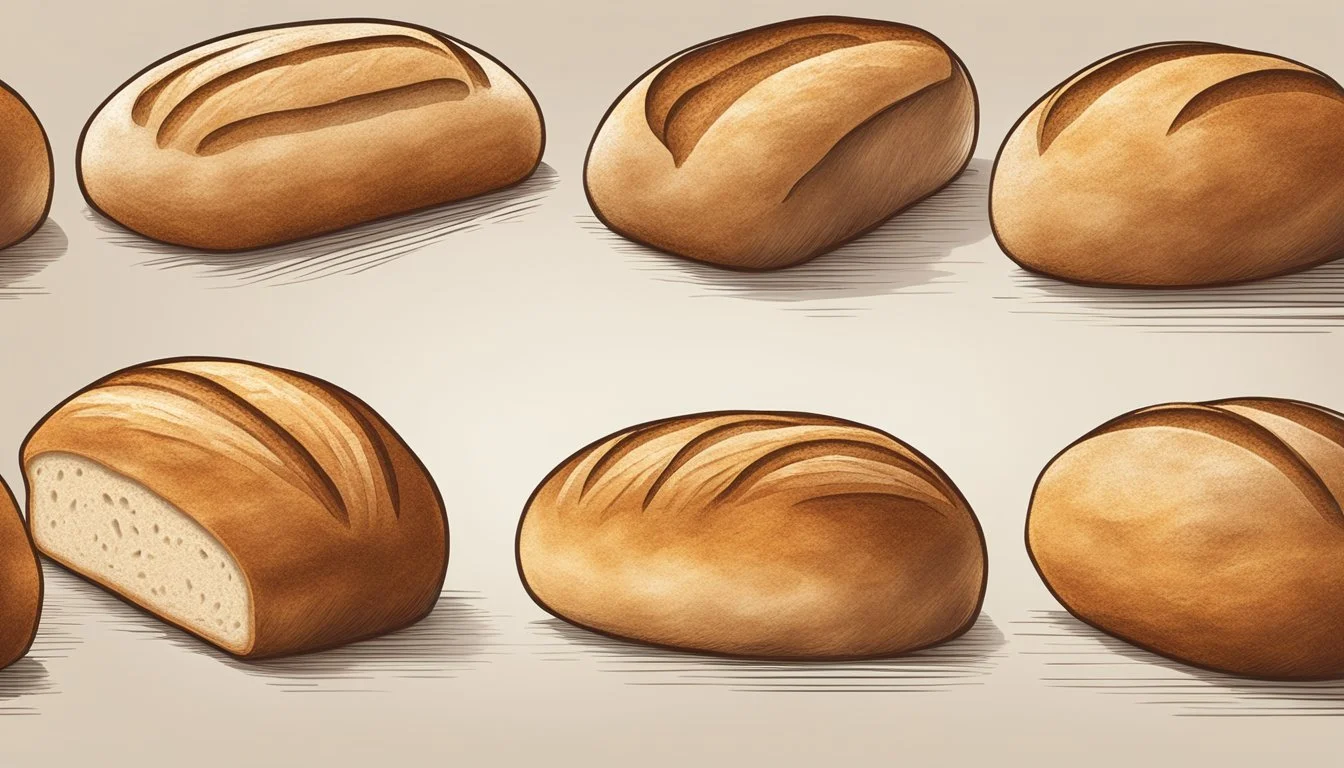
Sourdough bread, with its intricate textures and rich colors, offers a perfect subject for photography that captures both the art of bread-making and the essence of still life. The process of creating sourdough bread is both a science and an art, and the final product bears marks of the baker's skill and the bread's unique fermentation journey. When photographed well, the details of the perfect crumb—airy and lacy with an assortment of holes—tell a story of the bread's creation, from the choice of recipe to the final bake.
To photograph sourdough bread effectively, one must consider the interplay of light, shadow, and composition to highlight the depth and texture that make a sourdough loaf compelling. The goal is to produce images that showcase the bread's crust—golden and crusty, sometimes adorned with a characteristic ear, along with the open and glossy crumb. Achieving such a shot requires balancing the nuances of photography with an understanding of what makes a well-baked sourdough loaf.
The choice of recipe and method plays a pivotal role in the resulting bread's texture and appearance, and thus in how photogenic it is. Whether a baker aims for a tight crumb suitable for sandwiches, or a more open and irregular structure that characterizes artisan loaves, this intention must be evident in the images. Photographers capture the loaf’s journey from mixing and proofing to the final bake, with each stage offering its own opportunity for visual storytelling that highlights the beauty and complexity of sourdough bread.
Understanding Sourdough Bread Basics
To successfully capture sourdough bread through photography, one must first comprehend its core components and how they influence its characteristics.
Sourdough Starter and Fermentation
The sourdough starter is a mixture of flour and water inhabited by yeast and lactic acid bacteria, which ferments the dough. This fermentation process is essential for flavor development and the formation of gas bubbles that create a light, airy crumb. Temperature plays a crucial role in fermentation speed; a warmer environment typically speeds up the process.
Flour Types and Their Impact on Bread Texture
Different types of flour affect the texture and structure of sourdough bread. Bread flour, with its higher protein content, forms a stronger gluten network, resulting in chewier bread. On the other hand, whole wheat flour adds flavor and nutrients but can make the dough denser and may require adjustments in hydration.
Hydration Ratios in Sourdough Baking
Hydration refers to the ratio of water to flour by weight. High hydration results in a more open crumb and a crusty exterior, while lower hydration produces a tighter crumb. Sourdough recipes can vary from 65% to 85% hydration, affecting the dough's texture and handling.
Example Formula for 75% Hydration:
1000g Flour (100%)
750g Water (75%)
200g Starter (20%)
20g Salt (2%)
The Role of Salt and Temperature
Salt adds flavor and controls yeast activity, strengthening the gluten structure. It is typically used at 1.8% to 2.2% of the flour's weight. The dough temperature and ambient environment influence fermentation and proofing stages, directly affecting the bread's final quality.
Preparation for Sourdough Bread Photography

Capturing the perfect crumb of sourdough bread requires meticulous preparation. Photographers must consider the right equipment, lighting, styling, and composition to present the artisanal qualities of the bread.
Selecting the Right Equipment and Setting
To achieve professional-looking photographs of sourdough bread, one must select appropriate equipment. A high-resolution DSLR or mirrorless camera is recommended for its ability to capture fine details. A macro lens can be particularly useful for close-up shots that focus on the bread's texture. A sturdy tripod ensures stability, which is crucial for sharp images.
Essential Equipment Checklist:
High-resolution camera (DSLR/mirrorless)
Macro lens (optional for detailed shots)
Tripod (for stability)
Reflectors/diffusers (to manage shadows)
The setting is also an integral part of the preparation. Choose a location with ample natural light and a neutral background that doesn't distract from the bread itself.
Lighting and Composition Techniques
Effective lighting is key to highlighting the intricate details of sourdough bread, such as the open crumb and crusty exterior. Natural light is preferred for a soft and authentic look, but controlled studio lighting can be used to enhance specific features of the bread.
Composition Tips:
Use the rule of thirds to create a balanced image.
Experiment with different angles to showcase the bread's best attributes.
Consider the bread's shape and texture when composing the shot.
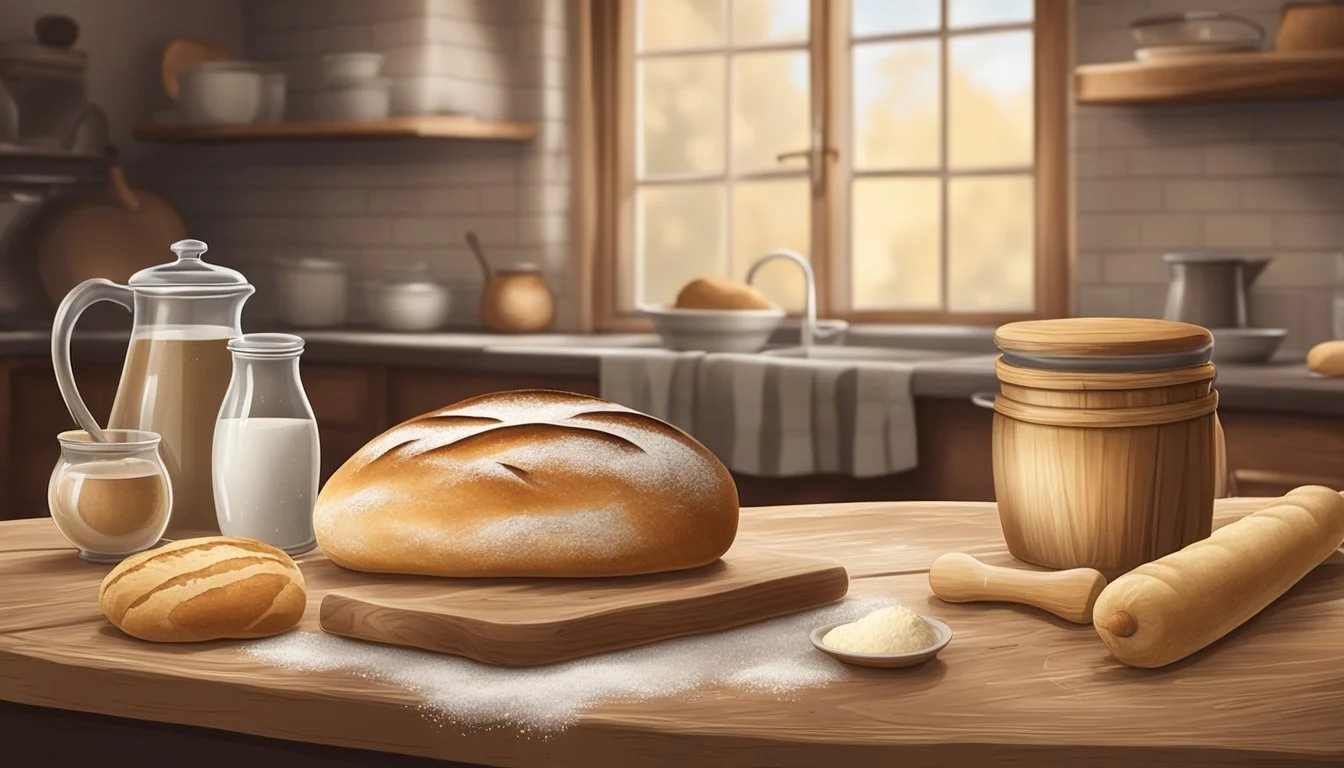
Styling and Propping for Visual Appeal
The visual appeal of the sourdough bread can be significantly enhanced through careful styling and propping. Elements related to bread making, like the recipe or tools used to make sourdough bread, can serve as props to add context and interest to the photograph.
Prop Selection Ideas:
Baking tools (e.g., bread lame, dough scraper)
Ingredients from the recipe (e.g., flour, starter)
Textured cloth or wooden boards (to add depth)
When positioning props, one should maintain a balance between telling the story of bread making and keeping the focus on the bread itself. The sourdough's rustic texture and crumb should be the heroes of the final image.
Photographing the Baking Process
The art of sourdough baking offers myriad visual storytelling opportunities. This section focuses on capturing those meticulous steps on camera, spotlighting the transformation from raw ingredients to a fully formed loaf.
Capturing the Mixing and Kneading Stages
One approaches photographing the initial mixing and kneading with precision. It's essential to capture the incorporation of the levain with flour and water in the mixing bowl. Long exposure shots can elegantly convey the movement of hands or dough whisk folding the pre-ferment into the mixture. They should illustrate the homogenous blend, the first sign of gluten development—a crucial visual element in sourdough baking narratives.
Documenting Bulk Fermentation and Shaping
As the dough undergoes bulk fermentation, photographers document the biochemical magic. Time-lapse photography may illustrate the dough's expansion clearly and dramatically. Next, shaping introduces tension to the narrative; images should concentrate on the pre-shaping and final shaping stages, capturing the flour-dusted surface and the baker's gentle, yet adept handling of the dough, preparing it for the final rise.
Highlighting Proofing and Scoring Details
The intricate process of proofing and scoring sourdough demands close-up photographs. During proofing, one might capture the volume increase and use side lighting to emphasize the dough's gassy texture. Scoring, the final artisanal touch, is pivotal. A close-up image should exhibit the precision of the slashes, readying the loaf for the oven's heat and the bloom to follow.
The Final Bake and Oven Techniques

The final bake is crucial in achieving a sourdough bread with an appealing crust and optimal oven spring. This stage solidifies the visual and textural qualities that are essential when photographing sourdough bread.
Mastering Steam and Oven Spring
To ensure a robust oven spring, bakers must introduce steam during the initial phase of baking. This can be achieved by adding a tray of boiling water at the bottom of the oven or using a Dutch oven. Steam is critical as it keeps the crust supple during the early stages of baking, allowing the dough to expand fully and resulting in the pronounced rise known as oven spring.
Assessing Crust Color and Texture
The perfect crust color ranges from a deep golden brown to a darker, rich hue. A photographer aims to capture the contrast and crispness of the crust. Bakers assess the crust color by observing the browning during the final phase of baking when the steam is removed. The crust's texture—crisp and crackling—also plays a key role in photography, reflecting the bread's rustic appeal.
Optimizing Final Dough Temperature
The final dough temperature immediately before scoring and baking influences both crust development and the bread's internal crumb structure. Bakers aim for a final dough temperature of around 76°F (24°C) - 78°F (25.5°C). To achieve this, they may need to adjust room temperature or dough handling times. Placing the dough from the banneton into a preheated oven is necessary to maintain this temperature and ensure the desired oven spring and crust formation.
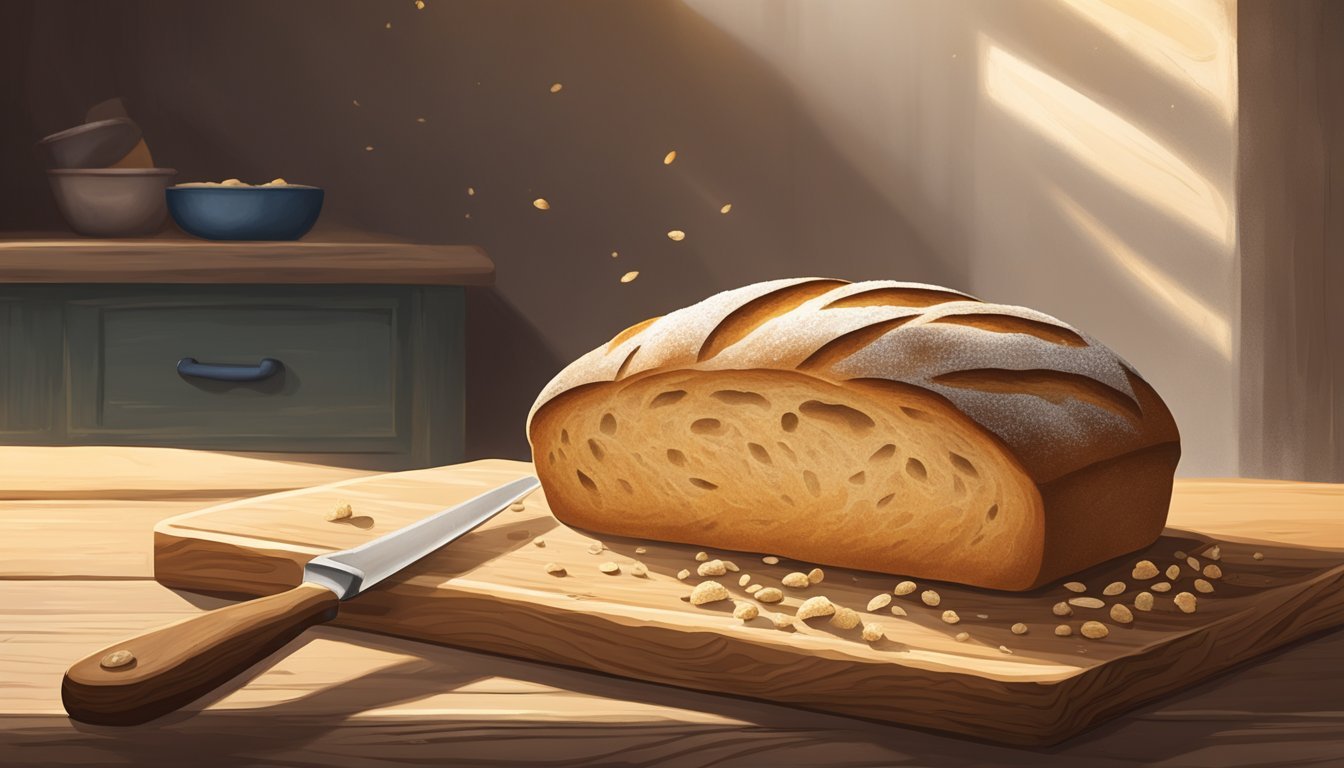
Showcasing the Perfect Crumb
When capturing the essence of sourdough bread, the crumb structure plays a pivotal role in conveying its quality. Photographers focus on its open crumb and texture to reflect the mastery of the baking process.
Slicing for the Best Reveal
The initial slice into a loaf of sourdough is critical for exposing the intricate crumb pattern. One must slice with a sharp, serrated knife using a gentle sawing motion to avoid compressing the bread's interior. The goal is to reveal a cross-section that displays the open crumb and its uniformity, as the magnitude and distribution of air pockets are central to the bread's character.
Textures and Details of the Open Crumb
The open crumb, which is sought after for its aesthetically pleasing appearance, should showcase a balanced distribution of air holes and a soft, yet chewy texture. To accentuate these details, lighting should be angled to cast small shadows within the crevices, thereby enhancing the bread's texture. High-resolution close-up shots allow the viewer to appreciate the delicate alveoli and the nuanced shades of the interior.
Balancing Interior and Exterior Shots
To fully represent the sourdough's appeal, photographers must not only focus on the open crumb but also balance it with shots of the exterior. The crust – golden to deep brown, with a potentially blistered surface – contrasts with the soft interior. A variety of shots that include both the crust and a glimpse of the open crumb invites viewers to sense the texture and the crust's satisfying crunch.
Through careful slicing and attention to detail in texture, as well as a balance between interior and exterior views, one can proficiently capture the essence of an open crumb sourdough. These elements are essential for a visual narration that resonates with both bakers and enthusiasts alike.
Post-processing and Editing

After capturing your sourdough photos, post-processing is critical to transform a good image into a great one, ensuring that the crumb's texture and the crust's golden hues stand out vividly.
Basic Photo Adjustments for Clarity
Key adjustments can significantly enhance the clarity of a sourdough photograph. Photographers should focus on:
Brightness/Contrast: Adjusting brightness to illuminate the crumb without washing it out, and contrast to highlight the difference between the soft interior and crusty exterior.
Sharpening: This can help diminish any cooling softness that might make the fine details of the crumb less pronounced.
Saturation: Slightly increasing saturation can emphasize the natural colors without making the bread look artificial.
Enhancing Textures and Crust Details
The crumb's texture and the crust's rustic appearance are central to sourdough bread's visual appeal:
Texture Tools: Sharpening and clarity tools should be used to accentuate the bread's air pockets and flour dustings often present after cooling.
Burn and Dodge: Carefully use the burn tool to deepen shadows or the dodge tool to bring out highlights, ensuring the crust's details are prominent, replicating how they look just out of the oven.
Cropping and Composition Fine-Tuning
Even the slightest adjustments in cropping can make a significant impact:
Aspect Ratio: Maintain an aspect ratio that suits the platform where the photo will be displayed. For instance, Instagram often favors square or 4:5 vertical images.
Rule of Thirds: Aligning the sourdough loaf along the intersecting lines of the rule of thirds can create a balanced composition that draws eyes to the crumb's texture.
Removing Distractions: Crop out any extraneous details that could divert attention from the rustic textures of the sourdough, including any scratch on the surface it's resting on, to keep the focus on the bread itself.
Best Practices for Storing and Sharing Photos
When dealing with the captivating texture of sourdough bread, the photographer's focus shifts to preserving the intricate details in digital format. Optimal storage and sharing methods are crucial for maintaining the integrity of those photographs.
Storage Solutions for Image Files
Storing image files requires a balanced approach to accessibility and safety. Photographers should consider using a dual backup system involving both physical drives, like external hard drives or SSDs, and cloud services, such as Google Drive or Dropbox. This ensures that if one system fails, the other can serve as a reliable backup. When storing files related to sourdough bread photography, one should organize them in clearly labeled folders—by date, recipe, or bread type—to facilitate easy retrieval.
Sharing Your Sourdough Bread Photos
Sharing sourdough bread photos effectively hinges on selecting platforms that reach the intended audience. Social media platforms like Instagram are ideal for visual engagement, whereas food photography websites or online forums can attract fellow baking enthusiasts. For professional opportunities, photographers might share their work through a personal portfolio website or stock photo services. Regardless of the platform, it is important to preserve metadata for credit and reference purposes.
Maintaining Image Quality Across Platforms
Image quality can degrade when transferring between different platforms due to compression algorithms. To minimize this issue, photographers should export images at the highest quality settings and in a format widely accepted, like JPEG or PNG. For intricate sourdough bread crumb shots that require maintaining sharpness, TIFF files could offer a less compressed alternative. It is also advisable to check the required dimensions and file sizes for each platform, adjusting export settings accordingly, to ensure that the remarkable texture and detail of sourdough bread remain intact.
Troubleshooting Common Sourdough Bread Issues
Photographing sourdough bread with the perfect crumb structure requires not just a good camera but a loaf that's been expertly baked. Here are some common issues bakers face in achieving that ideal crumb, along with focused solutions.
Dealing with Overproofing and Underproofing
Overproofed dough becomes too gassy, leading to a collapse in structure, whereas underproofed dough results in a dense crumb. To avoid overproofing, monitor dough volume and use an instant-read thermometer to check that the dough reaches a peak temperature of approximately 75-78°F (24-26°C) before baking. Underproofing can be corrected by ensuring the bulk fermentation stage lasts long enough for the dough to almost double in size, which may require patience and attention to dough strength. Using proofing baskets can help maintain the loaf's shape and structure during this critical time.
Fine-Tuning Hydration for Better Crumb
Hydration can profoundly impact the crumb of your sourdough, with high hydration recipes typically yielding a more open, irregular crumb. However, precise hydration depends on the protein percentage of your flour. Start by autolyse stage, allowing flour and water to mix and rest, enhancing gluten development without additional work. Adjust the water amount slowly, and approach higher hydration levels incrementally as you develop competence in handling wetter dough.
Adapting to Environmental Changes
Environmental factors like altitude, room temperature, and humidity levels can significantly influence sourdough bread-making. For successful bakes at high altitudes, decrease yeast amounts and increase fermentation times to compensate for the faster rise. Cold fermentation in a refrigerator can enhance flavor development and make high-hydration doughs more manageable. When baking in varying climates, use fine sea salt or sea salt to strengthen gluten and control yeast activity, and always rely on a thermometer to ensure your proofing environment stays within an ideal range.
