
How to Ferment Sourdough Bread
Mastering the Basics
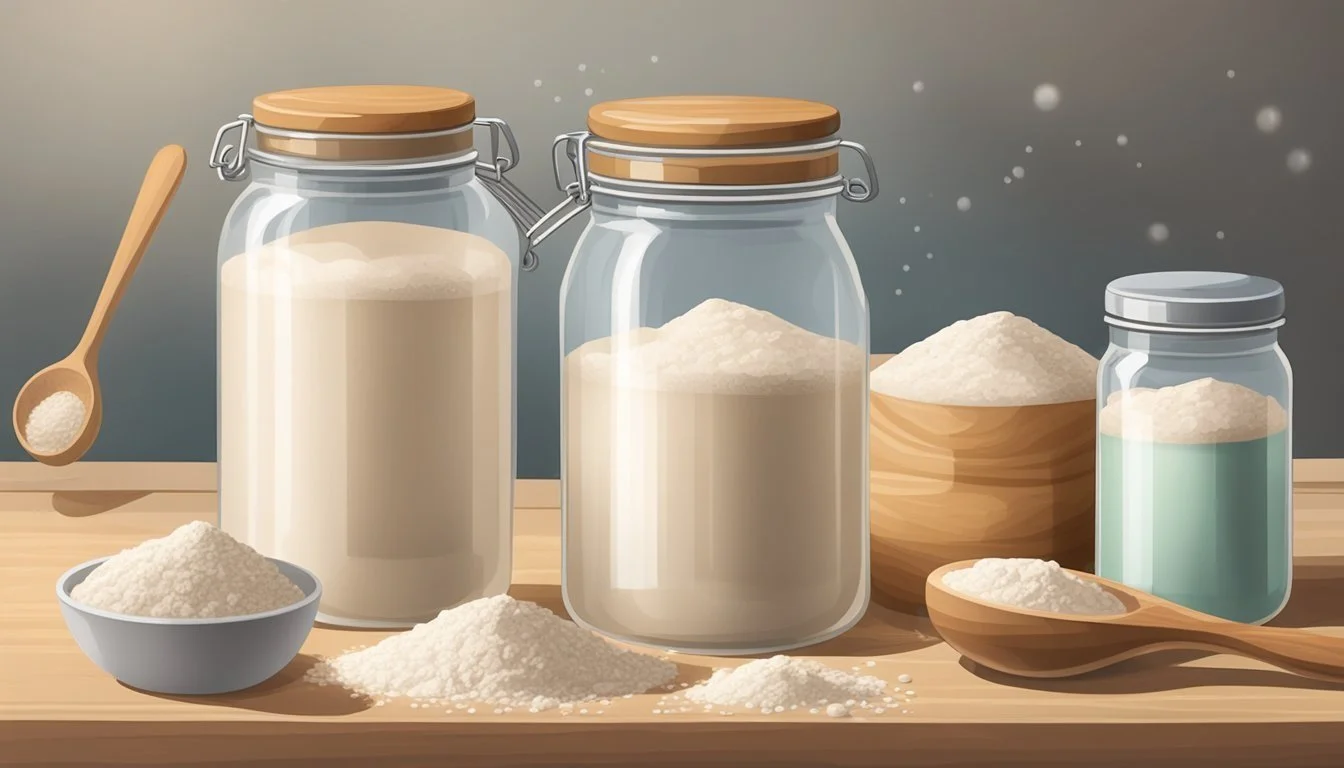
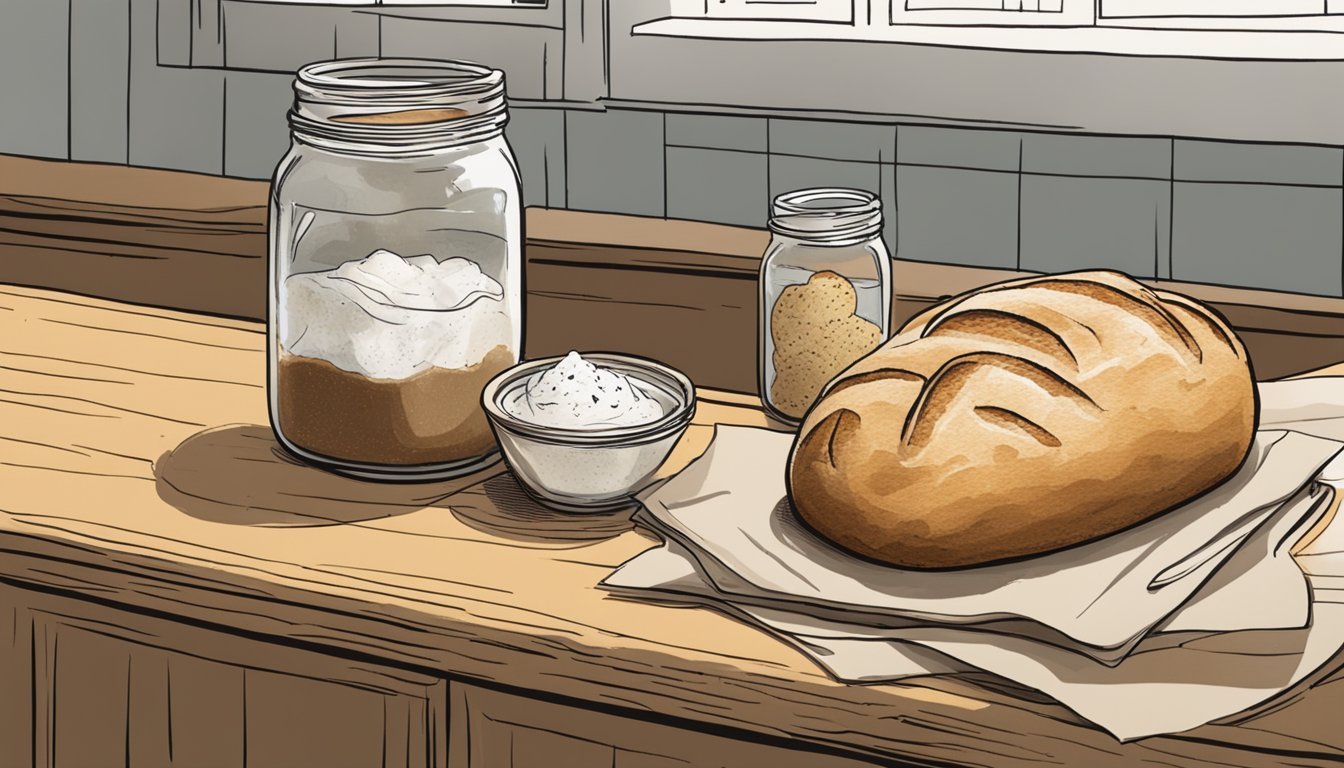
Fermenting sourdough bread (What wine goes well with bread?) is a traditional and natural way of leavening bread without the use of commercial yeast. The process is an artful blend of science and time-honored baking techniques. Sourdough fermentation relies on wild yeast and lactic acid bacteria present in the environment to not only give the bread its rise but also its characteristic tangy flavor and chewy texture. Bakers nurture a starter—a mixture of flour and water that captures these wild organisms—that becomes the leavening agent for their bread.
The vitality of the starter is crucial for successful sourdough bread. A healthy starter should be fed regularly with equal parts flour and water to maintain its strength and activity. Bakers often retain a small portion of this starter culture, routinely feeding it to ensure a sufficient amount for baking. With each feeding, the starter ferments, creating a bubbly and active mixture that is the essence of what makes sourdough bread rise.
During the process of fermenting the dough, bakers employ techniques such as autolysis, stretching, and folding. These methods not only develop the bread's gluten structure but also help incorporate air into the dough, contributing to its volume and final crumb structure. Patience is key, as the dough undergoes long periods of rest to allow for the natural fermentation that imparts complex flavors and an appealing texture to the bread.
Understanding Sourdough Bread and Fermentation
Making sourdough bread is a testament to the art of fermentation, where a medley of microorganisms work harmoniously. It’s a process that showcases the delicate balance between yeast, bacteria, and environmental conditions to create a unique flavor and texture.
The Science of Sourdough Fermentation
In sourdough fermentation, wild yeast and lactic acid bacteria (LAB) break down carbohydrates in the flour, producing carbon dioxide gas and organic acids. This biological process leads to the rise of the dough and the development of sourdough's characteristic tangy flavor. The pH level drops as the acid content increases, which further contributes to the bread's properties by inhibiting harmful bacteria.
Sourdough Starter Basics
A sourdough starter is a culture of wild yeast and bacteria cultivated by mixing flour and water and allowing it to ferment. Over consecutive days, regular feeding—or refreshment—of the starter with fresh flour and water is necessary. The starter matures and becomes robust enough to leaven bread due to the increasing activity of the yeast and LAB.
Feeding Schedule: Daily discard of 2/3 of the mixture, replaced with equal weights of flour and water.
Gluten's Role in Sourdough
Gluten—the protein network within dough—gives sourdough its structural integrity and elasticity. During fermentation, yeast produces carbon dioxide, trapped by the gluten matrix, contributing to the dough rising. Proper gluten development results in a dough that's smooth, stretchy, and holds gas bubbles efficiently.
Indicator of Gluten Development: Observing a smooth, shiny appearance and the presence of gluten strands.
Temperature's Impact on Fermentation
Temperature plays a crucial role in the rate of sourdough fermentation. Warmer temperatures, typically around 78-80°F (25-27°C), significantly accelerate yeast and LAB activity, resulting in a faster rise and a lighter, airier crumb. Colder temperatures slow down the fermentation, often leading to a more pronounced flavor.
Typical Fermentation Times: 4 to 12 hours, depending on ambient temperature.
Creating Your Sourdough Starter
Creating a sourdough starter involves a simple process of fermentation where wild yeast and bacteria form a symbiotic relationship. This fermentation process requires careful selection of flour and is maintained by consistent feedings.
Choosing the Right Flour
Selecting the right flour is crucial for developing a robust sourdough starter. Whole wheat flour is often recommended for starting the fermentation as it contains more nutrients for the wild yeast to thrive on. One can consider beginning with a mixture of whole wheat and unbleached all-purpose flour. Whole grain flours, such as rye, are also beneficial as they generally have more minerals and active enzymes that can facilitate the growth of your sourdough starter.
Feeding and Maintaining Your Starter
Proper feeding and maintenance are key to keeping your sourdough starter active and healthy. The feeding process typically involves discarding a portion of the starter and replenishing it with fresh flour and water. For a balanced feeding ratio, a common approach is to maintain:
100% starter: the quantity of the existing starter
100% water: equal weight of water to starter
100% flour: equal weight of flour to starter
Feed your starter at least once daily if kept at room temperature. If refrigerated, it might only require a once-a-week feeding. The consistency should be similar to a thick pancake batter.
Knowing When Your Starter is Active
An active sourdough starter is the cornerstone of good sourdough bread. Signs of an active, mature starter include a pleasant, slightly sour smell and the presence of many bubbles throughout the mixture. Typically, a starter becomes active and ready to leaven bread within 5 to 7 days. At room temperature, a vigorous starter will double in volume roughly every 4 to 8 hours after being fed. Observing its ability to rise and fall consistently after feedings indicates a ripe and mature starter that is ready for baking.
Mixing and Autolysing Dough
When preparing sourdough bread, the initial mixing and autolysing of dough are critical steps that lay the foundation for flavor, texture, and structure. Utilizing the autolyse technique allows the dough to hydrate properly and begin gluten formation before active fermentation starts.
The Autolyse Technique
Autolyse is a resting period for the dough after mixing just the flour and water together. This step typically lasts between 20 to 60 minutes, but times can vary based on the recipe. During autolyse:
Water hydrates the flour, activating enzymes that begin breaking down starches and proteins.
Gluten strands start to form, increasing dough extensibility—its ability to stretch without tearing.
This rest period is crucial for achieving a dough that's easier to shape and has the potential for a better rise during baking.
Incorporating the Levain
Once the autolyse process is complete, it's time to incorporate the levain—the active sourdough culture. The levain should be evenly distributed throughout the dough to ensure consistent fermentation. During this time:
The yeast and bacteria in the levain begin producing gases, contributing to the dough's rise.
Careful integration at this stage helps maintain the delicate gluten network developed during autolyse.
Developing Gluten Structure
After mixing in the levain, further kneading or folding is done to develop the gluten structure. A robust gluten network is essential for trapping the gases produced by the levain, which leads to a well-risen loaf with good volume. Key considerations include:
Minimal but effective kneading or stretching and folding techniques that strengthen gluten without overworking the dough.
Balancing time and intensity of mixing to avoid breaking down the gluten structure that was initiated in the autolyse phase.
By following these steps meticulously, one shapes a dough that is well-prepared for fermentation, leading to loaves with excellent structure and texture.
Bulk Fermentation Process
The bulk fermentation process is a critical phase in sourdough bread making where dough strength and flavor develop. This stage should be monitored closely with respect to time and temperature, and can be enhanced through a technique known as stretch and fold.
Timing and Temperature Considerations
The duration of bulk fermentation is influenced by the ambient temperature and the recipe specifics. Typically, at 78ºF, bulk fermentation might take about 4 to 4.5 hours. If the temperature is lower, or the recipe uses less sourdough starter, this phase may extend beyond the average time. A balance must be found because temperatures too low can lead to inadequate proofing, while too high can result in overly-quick fermentation and weak dough structure. The goal is a fermented sourdough bread with a robust flavor and gluten network.
Optimal Temperature: 78ºF (25.5ºC)
Typical Duration: 4 - 4.5 hours
Variables: Starter amount, ambient temperature
Stretch and Fold Method
During bulk fermentation, the stretch and fold technique is employed to develop the gluten network further without overworking the dough. It involves gently folding the dough over itself several times at regular intervals, which aligns the gluten strands and adds tension to the dough. This method not only strengthens the dough but also helps to distribute temperature and fermentation by-products evenly. Here's how it’s generally done:
30 Minutes After Start: Perform the first series of stretches and folds.
Repeat: Every 30 minutes, for about 2 to 4 times.
Purpose: To strength the dough and develop gluten.
Frequency: Every 30 minutes.
No. of Sets: Usually 2 to 4 sets.
Each dough will behave differently, because the strength of the flour, the activity level of the starter, and the humidity all play a role in the textural development of long-fermented sourdough. The baker should look for signs such as smoothness, elasticity, and volume increase as indicators of proper fermentation.
Shaping and Proofing Sourdough
The final structure and taste of sourdough bread are significantly influenced by proper shaping and proofing. These steps ensure the loaf develops the desired texture and volume.
Forming the Dough Shape
When shaping the dough, one aims to create tension on the outer surface to help the bread maintain its form and rise vertically. A common shape for home bakers is the boule, a rounded loaf. The process typically involves folding the dough edges toward the center, rotating, and then gently cupping the dough and dragging it across a non-sticky surface to strengthen the outer skin.
Step 1: Flatten the dough gently to release large air bubbles.
Step 2: Fold the dough over itself from all sides towards the center.
Step 3: Flip the dough so the seams face downwards.
Step 4: Start rotating and dragging to create surface tension.
Using a Banneton for Proofing
A banneton, also known as a proofing basket, supports the dough's shape during the final rise and imparts a beautiful pattern onto the crust. They are often dusted with rice flour to prevent sticking and can be used for both boules and batards.
Materials Needed: Banneton, rice flour, a cover (such as a cloth or plastic wrap)
Step 1: Generously dust the banneton with rice flour.
Step 2: Place the shaped dough into the banneton seam-side up.
Step 3: Cover the banneton to prevent the dough from drying.
Step 4: Proof until the dough has sufficiently risen and passes the indentation test: a gentle poke should leave an indentation that slowly springs back.
Scoring and Baking
In the final stages of sourdough preparation, scoring and baking are critical for texture and aesthetics. These steps require precision to ensure the loaf reaches its full potential.
The Purpose of Scoring
Scoring—cutting the surface of the dough before baking—serves three main functions:
Gas Release: It allows the carbon dioxide gas, produced during fermentation, to escape. Without scoring, the bread may burst at weak spots in an uncontrolled manner.
Aesthetics: A well-scored loaf has a more appealing appearance, with scores evolving into attractive designs as the bread bakes.
Controlled Expansion: Scoring dictates the direction in which the bread will expand, preventing irregular shapes.
Scoring should be done with a sharp scoring tool, such as a lame—an instrument akin to a razor blade on a handle—to make clean cuts. The depth and angle of the score influence the "ear" of the bread—a lip that forms at the edge of the score, creating a characteristic ridge and an indication of a craftsman's touch.
Choosing the Right Baking Environment
A proper baking environment is crucial for optimal oven spring and crust development. Here's what one must ensure:
Heat Source: A preheated Dutch oven can mimic a professional oven's heat retention and distribution, crucial for a crispy crust and even bake.
Temperature: An oven thermometer is an invaluable tool for verifying that the baking environment matches the sourdough bread recipe's specifications.
Surface: Baking paper prevents the dough from sticking and eases transfer into the hot Dutch oven.
When baking, a consistent high temperature is key, as sourdough often requires an initial blast of heat to activate the oven spring, which enhances texture. Gradually reducing the temperature during the bake can prevent the crust from burning while ensuring the loaf is baked through. A bread recipe will detail the precise temperature curve to follow.
Cold Fermentation and Flavor Development
Cold fermentation is a crucial step in sourdough bread-making, enhancing the bread's flavor profile and texture significantly.
Benefits of a Cold Ferment
A cold ferment refers to the process of allowing sourdough bread to proof in low temperatures, typically in a refrigerator. During this phase, the dough's fermentation rate slows down, and enzymatic activity increases. The benefits of such a method include:
Flavor Enhancement: The extended fermentation allows for more complex carbohydrate breakdown, resulting in a more nuanced taste.
Texture Improvement: It contributes to the dough's characteristics by offering a better crumb structure and crust.
Flexibility in Baking Schedule: By retarding the yeast activity, bakers can manage their baking schedule more efficiently, baking the bread when it is convenient.
Achieving Desired Sourness in Sourdough
The balance of acids produced during fermentation is responsible for the sour flavor in sourdough bread. A long fermentation in sourdough bread, particularly during a cold ferment, can impact this balance favorably. Here’s how to achieve the desired level of sourness:
Controlled Temperature: Sourdough should be cold fermented between 36°F to 40°F for optimal flavor development.
Fermentation Duration: The longer the dough is allowed to ferment within this cool range, the more pronounced the sour flavor is likely to be.
By manipulating both temperature and time, bakers control the degree of sourness and enhance the overall flavor profile of the sourdough bread.
Post-Baking Tips
After baking sourdough bread, the steps taken to cool and store the loaf are essential in maintaining its quality and extending its shelf life.
Cooling on a Wire Rack
A wire rack is crucial to ensure proper cooling of the sourdough bread. The baker should transfer the bread from the oven to a wire rack immediately. This allows air to circulate around the loaf, preventing the bottom from becoming soggy and preserving the texture and open crumb structure.
Storing Sourdough Bread
To maintain freshness, sourdough bread should be stored correctly:
For short-term storage (up to 4 days): Keep the bread in a cool, dry place inside a breadbox or a paper bag. If using a plastic bag, ensure that the bread has cooled completely to avoid condensation that can soften the crust.
For long-term storage: Sourdough bread can be frozen for up to 3 months. Slice the bread before freezing and store it in a freezer-safe bag, separating slices with parchment paper for easy single servings.
Health Considerations and Nutritional Benefits
When considering the health implications and nutritional advantages of sourdough bread, it's important to highlight two main areas. Firstly, the fermentation process of sourdough leads to a reduction in phytic acid level, enhancing mineral bioavailability. Secondly, for certain individuals with gluten sensitivities, sourdough may present a more digestible alternative due to changes in the bread's gluten structure during fermentation.
Phytic Acid Reduction
Phytic acid, a substance found in grains, nuts, and seeds, is known to inhibit the absorption of essential minerals such as iron, zinc, and calcium. The sourdough fermentation process can significantly reduce the phytic acid content in bread. Studies have shown that this reduction may be over 70%, which aids in increasing the availability of these nutrients.
Minerals with improved bioavailability due to phytic acid reduction in sourdough:
Iron
Zinc
Calcium
Gluten Sensitivities and Sourdough
For individuals who are gluten-sensitive, sourdough bread might offer a more digestible option. This is not because sourdough is gluten-free, but rather because the fermentation process can alter the bread's gluten structure. The lactic acid bacteria present in the starter culture has been found to degrade gluten peptides that might otherwise trigger adverse reactions in sensitive individuals. However, it's crucial to note that more research is required before recommending sourdough universally to those with gluten sensitiveness.
Considerations for gluten-sensitive individuals:
Not gluten-free: Sourdough contains gluten, although altered.
Potential benefits: Fermentation may reduce gluten peptides that cause sensitivity.
Further research needed: To fully understand the effects on gluten sensitivities.
Advanced Sourdough Techniques
The art of crafting sourdough encompasses precise methods to achieve a desirable crumb texture and mastering the nuances of extended fermentation periods. These advanced techniques require attention to detail and can significantly enhance the quality of the finished loaf.
Creating Artisan Open Crumb Texture
For bakers aiming to achieve an open crumb texture, the manipulation of dough plays a pivotal role. It begins with proper dough development, wherein the gluten network is strengthened through techniques like stretch and folds. A well-developed gluten network allows the dough to trap gases effectively during fermentation, contributing to the open crumb. Consistency in dough hydration is also crucial, with higher hydration levels generally promoting a more open crumb. However, it's a delicate balance as overly wet dough may result in handling difficulties and shape loss.
During the shaping phase, gentle handling is essential to preserve air pockets. Overworking the dough can deflate these pockets, leading to a denser crumb. The baker's experience in shaping, particularly the technique of creating tension on the loaf surface, also affects the final crumb structure.
Perfecting Longer Fermentation
Longer fermentation processes enhance the flavor complexity and digestibility of sourdough bread. A long-fermented sourdough bread recipe often includes an extended bulk fermentation phase, typically ranging from 4 to 5 hours at a temperature around 78°F. This duration can vary depending on the ambient temperature and the amount of sourdough starter used. An adequately fermented dough should exhibit a noticeable increase in volume, a dome-shaped top, and a web-like structure when gently tugged.
For bakers intent on extending fermentation even further, a cold fermentation might be applied. This involves placing the dough in the refrigerator for a period which can last from several hours up to a few days. Cold fermentation slows down yeast activity but allows enzymes to continue developing flavor. It's important to monitor the dough's progress, as over-fermentation can lead to an excessively sour taste and degrade the dough structure.
Sourdough Baking Equipment
Equipping oneself with the proper tools can make the process of baking sourdough bread more accurate and efficient. The right equipment ensures precision in measurements and facilitates the handling of dough during preparation and baking.
Essential Baking Tools
Digital Scale: A digital scale is paramount for accurate measurements, ensuring consistency in your bread's texture, flavor, and rise. Bakers should use it to measure all ingredients, including flour, water, starter, and salt.
Dough Whisk: This tool is designed to mix heavy bread doughs and starter cultures without overworking the mixture.
Wooden Spoon: For those preferring a traditional touch, a sturdy wooden spoon can be an alternative to mix ingredients.
Oven Mitts: Thick, heat-resistant oven mitts protect hands from high temperatures when handling hot bakeware, especially when removing a Dutch oven or baking stone from the oven.
Making Use of Digital Scales
When using a digital scale for sourdough bread:
Always zero out the scale after placing your mixing bowl on it.
Measure each ingredient accurately. Precision is crucial, as even small discrepancies can affect the final product.
Use the tare function to add multiple ingredients into the same bowl without needing to calculate the combined weight manually.
Frequently Asked Questions
In this section, readers will find concise answers to common inquiries surrounding the creation and fermentation of sourdough bread, addressing specific topics such as yeast cultivation, starter maintenance, leaven preparation, and baking protocols.
Sourdough FAQs
What is the role of yeast in sourdough bread?
Yeast is a critical component in sourdough that aids in leavening the dough. It ferments the sugars present in flour, producing carbon dioxide that helps the dough rise.How does one create an active sourdough starter?
One initiates a sourdough starter by mixing equal parts flour and water. After about two days, natural yeast and bacteria from the environment will start fermenting the mixture, making it active.How often should the starter be fed?
The starter should generally be refreshed daily with equal parts of flour and water. Discard two-thirds of the mixture before feeding for optimal health.What is leaven and how is it related to the sourdough starter?
Leaven is a portion of the active sourdough starter that is mixed with more flour and water to create a specific quantity needed for a bread recipe.Is fine sea salt necessary in sourdough bread?
While not exclusive, fine sea salt is often recommended for its purity and flavor, which contributes to the overall taste and structure of the sourdough bread.Can you outline a basic baking schedule for sourdough?
A basic baking schedule might include:
Day 1: Refresh starter in the morning.
Day 1 Evening: Mix leaven and leave overnight.
Day 2: Mix dough with leaven and salt, then bulk ferment. Shape loaves and refrigerate overnight.
Day 3: Bake bread after allowing the dough to come to room temperature.
