
Sourdough Baking in Different Climates
Mastering the Art Across Weather Conditions

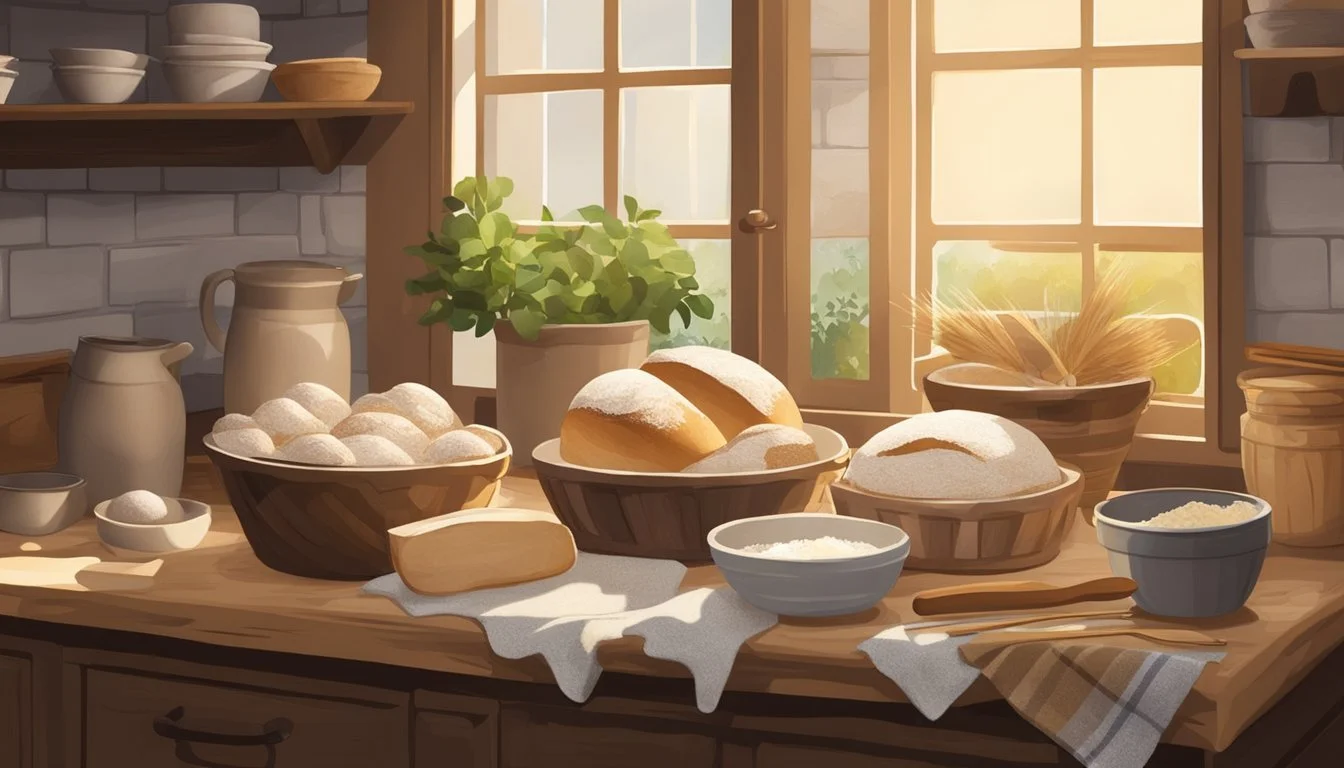
Sourdough baking is a craft that intertwines patience, skill, and an understanding of one's environment. It is a practice steeped in tradition, relying on the natural fermentation of dough to produce bread (What wine goes well with bread?) with a distinctive taste, chewy texture, and crisp crust. The quality of sourdough bread is influenced by many factors, with climate being one of the most significant. Bakers face unique challenges in different climates, from the dry heat of a desert to the moist warmth of tropical regions, making the mastery of sourdough baking both an art and a science.
Temperature and humidity play pivotal roles in the fermentation process, affecting the behavior of the wild yeasts and bacteria present in the sourdough starter. In warmer climates, the fermentation process speeds up, which can lead to overproofing, where the bread loses its structure and becomes too sour. Conversely, in colder climates, the fermentation can be laboriously slow, requiring adjustments to maintain the rise and structure of the bread. Adapting to these conditions involves altering ingredients, fermentation times, and proofing methods to achieve the perfect loaf.
Successful sourdough baking across different climates involves monitoring dough temperature, adjusting water temperature, and managing the amount of sourdough starter used. The use of refrigeration can aid in controlling fermentation, while varying the hydration levels of the dough can compensate for changes in ambient humidity. With these considerations in mind, bakers can consistently produce high-quality sourdough bread no matter the weather conditions they are faced with.
The Basics of Sourdough Baking
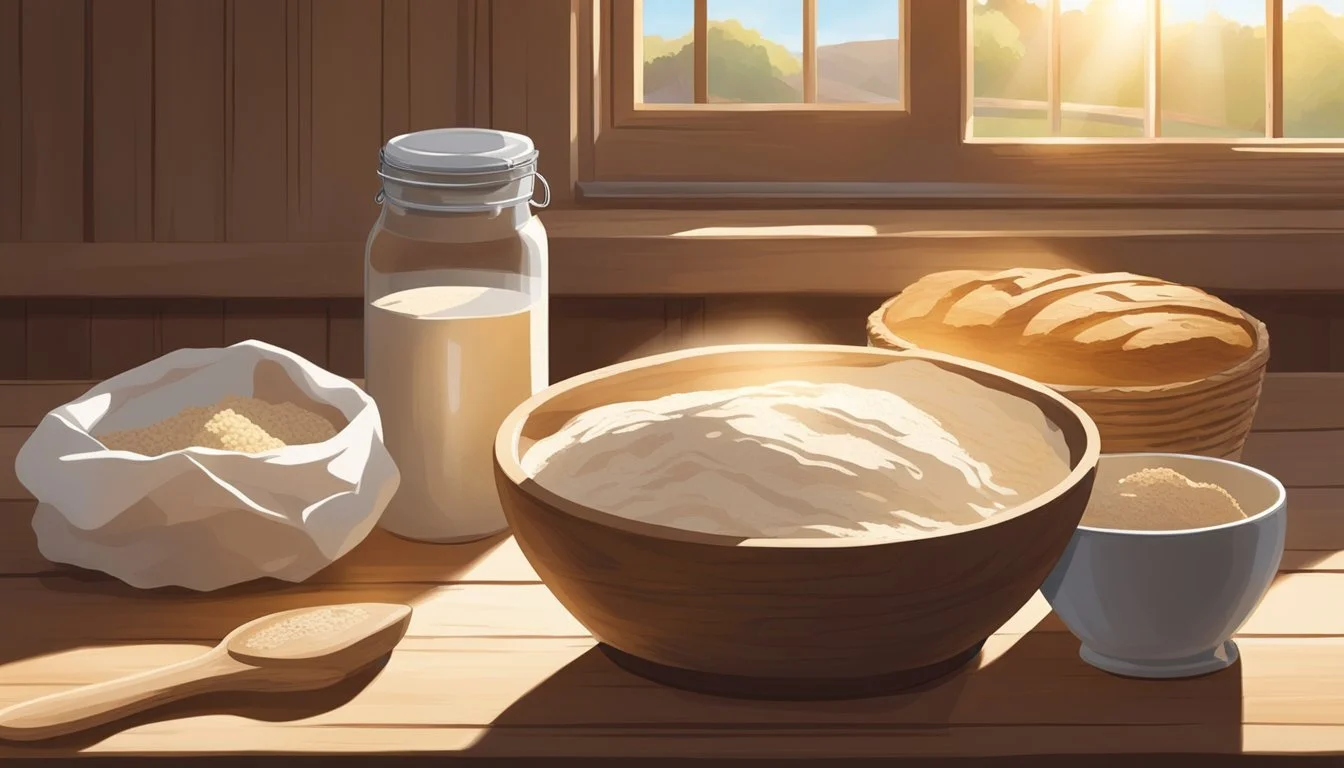
Sourdough baking is an artisanal craft that hinges on the mastery of a live sourdough starter, the choice of flour, and the dough's hydration level. The process draws on the activity of yeast and bacteria to create bread with a distinct taste and texture.
Understanding Sourdough Starter
A sourdough starter is a mix of flour and water that has fermented, cultivating a colony of wild yeast and lactobacilli bacteria. The yeast consumes sugars present in the flour, producing carbon dioxide that leavens bread. Meanwhile, bacteria impart a tangy flavor. The proportion of water to flour, known as the hydration level, can vary depending on the desired consistency of the starter. Most starters are maintained with a simple routine of regular feedings, in which a portion of the starter is discarded and fresh flour and water are added.
Recipe for a Basic Sourdough Starter:
Mix equal parts (by weight) flour and water in a container.
Cover loosely and let it sit at warm room temperature (~70°F).
Feed daily with equal parts of flour and water.
The Role of Flour in Sourdough Baking
Flour provides the essential proteins, mainly gluten, which trap the carbon dioxide produced by the yeast. The protein content in the flour affects the bread's texture; higher protein flour yields a chewier crumb. Bread flour and whole wheat flour are commonly used in sourdough recipes for their higher protein content compared to all-purpose flour. Rye flour introduces different flavors and fermentation characteristics due to its mineral and enzyme content.
Hydration and Dough Consistency
Hydration, the ratio of water to flour in a dough, is crucial in sourdough baking. It influences the dough's consistency, fermentation rate, and the final bread's crumb structure. Higher hydration usually leads to an open crumb and a more robust flavor but can be challenging to handle. Conversely, lower hydration doughs are easier to shape but produce a denser bread. Bakers might adjust hydration level to account for climate factors; drier environments might necessitate higher hydration while humid conditions could require less.
Hydration Levels:
Low hydration: 50-60%
Medium hydration: 65-75%
High hydration: 80% and above
Finding the right balance of these elements, one can develop a sourdough baking routine that is consistent and rewarding. Each ingredient and step in the process brings a baker closer to crafting the ideal loaf of sourdough bread in any climate.
Climate Considerations in Sourdough Baking
In the world of sourdough baking, the climate plays a pivotal role in the fermentation and proofing processes. Specific conditions related to temperature, humidity, and altitude directly impact the behavior and outcome of sourdough bread.
Temperature: Managing Dough in Varying Climates
Optimal Dough Temperature: Sourdough dough thrives at roughly 75°F (24°C). In hotter climates, bakers might need to reduce the dough's temperature by refrigerating ingredients or the dough itself during bulk fermentation. Cooler environments may require a warm spot or proofing box to maintain the necessary warmth for yeast activity and dough rise.
Adjusting Recipes: When ambient temperatures exceed 86°F (30°C), dough often becomes softer and sticker, resembling a higher hydration dough. Reducing the recipe's hydration can help maintain a manageable dough consistency.
Humidity and Its Effects on Sourdough
Hydration Adjustments: High humidity can make sourdough stickier and more challenging to handle. It is often advisable to reduce hydration in the dough to compensate for additional moisture in the air.
Ingredients and Storage: Careful selection of ingredients and their storage can mitigate humidity effects, as some additives, like cheese or vegetables, introduce more moisture. Using increased amounts of salt can also help control dough consistency and fermentation rate in humid conditions.
Altitude: Adjusting Sourdough Methods
Proofing Adjustments: At higher altitudes, reduced air pressure can cause dough to rise faster, necessitating shorter proofing times. Bakers may also need to increase hydration, as dough tends to dry out more quickly in these conditions.
Baking Changes: The lower boiling point of water at altitude means bread might bake differently. Adjustments to the oven's temperature and baking time are typically necessary, with lower temperatures and longer baking periods being common adaptations.
Sourdough Techniques and Tips
Mastering sourdough baking requires a deep understanding of every stage of the bread-making process. From the initial combination of flour and water to the final bake, specific techniques can enhance the flavor and texture of your sourdough, ensuring a perfect loaf every time.
Autolyse: Enhancing Flavor and Texture
The autolyse process involves mixing flour and water and letting it rest before adding other ingredients like salt and starter. This rest period can range from 20 minutes to an hour and allows for:
Enzyme activity: which breaks down starches into sugars, feeding the yeast and adding flavor.
Gluten development: which improves the texture and elasticity of the dough without additional kneading.
By giving time for these natural processes, the baker achieves a more extensible dough, which translates to a better crust and crumb.
Bulk Fermentation: Timing and Techniques
Bulk fermentation is the period after mixing all ingredients when the dough is left to rise. Depending on the temperature and humidity of the environment, bulk fermentation can take anywhere from 3 to 5 hours. Key practices include:
Consistent temperature: to ensure predictable fermentation and flavor development.
Folding: to strengthen the gluten network and evenly distribute temperature and yeast within the dough.
They should monitor the dough for:
Size increase: It should roughly double.
Surface bubbles: indicating active fermentation.
These indicators help bakers to judge the right time to move on to the next stage, avoiding over or under-proofing.
Shaping and Scoring Sourdough Loaves
Shaping is a crucial step that affects the final volume and aesthetic of the loaf. Techniques for shaping must be firm to create surface tension but gentle enough to maintain the dough's structure and trapped gases. Scoring, or slashing, the dough just before baking is performed for reasons:
Directing expansion: A well-placed score allows the bread to expand predictably.
Aesthetics: Scoring can be artistic, contributing to the bread's visual appeal.
Crust development: Scores contribute to creating desired crust characteristics.
For optimal results, bakers should use a sharp blade to make decisive, swift cuts that are about 1/4 to 1/2 inch deep.
Finishing and Baking Sourdough Bread

The final stages of sourdough baking are critical, influencing the bread's flavor, crust, and overall quality. The bread maker must focus on proper proofing, introducing steam for optimal oven spring, and ensuring correct cooling and storage procedures.
Proofing Sourdough: Methods and Considerations
Proofing is the final rise of the dough before baking. It requires a keen eye to prevent over or under-proofing, as both can affect the loaf's structure and flavor. In warmer climates, sourdough may proof faster, necessitating vigilance and experience to determine when the dough is ready. A loaf that has been correctly proofed will slightly spring back when poked.
Ideal Proofing Environment:
Temperature: 75-85°F (24-29°C)
Timeframe: Varies; sourdough should almost double in size
Creating Steam in the Oven for Perfect Crust
Steam is essential during the initial phase of baking as it helps to create a shiny, crisp crust and improves oven spring. For home bakers, simulating a professional steam injection oven involves preheating a baking vessel such as a Dutch oven or placing a pan of hot water at the bottom rack.
Creating Steam:
Method 1: Bake in a preheated Dutch oven with the lid on
Method 2: Place a pan of boiling water on bottom rack
Cooling and Storing Finished Loaves
Once the bread is baked, the loaf should be allowed to cool on a wire rack to avoid condensation and to preserve the crust's texture. Storing sourdough bread in a linen bag or a bread box can maintain its quality.
Cooling Duration: At least 20 minutes before slicing
Storage:
Short-term: Bread box or paper bag
Long-term: Freeze in airtight container
By adhering to these protocols, the baker can finish their sourdough bread with a balance of a crisp crust and tender crumb, ensuring an enjoyable sourdough experience regardless of climate conditions.
Troubleshooting Common Sourdough Issues
When baking sourdough, bakers may face common problems such as bread not rising, a dense crumb, lack of oven spring, or issues with mold and starter care. It's important to pinpoint the cause to find an effective solution.
Bread Not Rising: Causes and Solutions
Possible causes for bread not rising include inactive starter, improper proofing temperature, and inadequate fermentation time. To solve these issues:
Starter Vigor: Confirm the sourdough starter is active. It should double in size within 4 to 12 hours after feeding.
Proofing Environment: Create an ideal proofing environment with a consistent temperature between 75°F and 80°F to encourage yeast activity.
Dense Crumb and Lack of Oven Spring
A loaf with a dense crumb or poor oven spring often indicates underproofing or a weak gluten network. The following tips can help:
Gluten Development: Enhance gluten structure by stretching and folding the dough during bulk fermentation.
Proofing Time: Allow the dough to fully proof, which can vary from 4 to 14 hours depending on room temperature and starter strength.
Preventing Mold and Caring for Starter
Starter maintenance is critical to prevent mold and to ensure a healthy rise and flavorful loaf:
Feeding Schedule: Feed the starter regularly, discarding half before feeding to maintain a healthy balance of yeast and bacteria.
Storage: If not baking regularly, store the starter in the refrigerator and feed it once a week, letting it come to room temperature before baking.
Advanced Sourdough Baking Techniques
When baking sourdough, using advanced techniques can lead to improved flavor, texture, and bread structure. Mastering these methods will enhance your sourdough craft.
Experimenting with Different Grains and Flours
Bakers can experiment with a variety of grains and flours to impact the flavor profile and texture of sourdough bread. Traditionally, bread flour is used for its high gluten content, which offers the dough greater elasticity and ability to rise. However, adding alternative flours like rye, spelt, or whole wheat can introduce new flavors and nutritional profiles to the bread. When substituring flours, one should consider the adjustments in hydration levels, as each flour absorbs water differently.
Bread Flour: High in gluten, ideal for classic sourdough with good structure.
Rye Flour: Imparts a distinct flavor and denser texture, often combined with bread flour.
Incorporating Pre-ferments into Sourdough Recipes
Pre-ferments such as levain or poolish can deeply impact the sourdough's final taste and structure. A ripe sourdough starter can be used to create a levain, which is then incorporated into the dough, infusing additional layers of complexity and flavor. Utilizing pre-ferments also helps in strengthening the dough's gluten network, leading to a more open crumb structure.
Poolish: A wet sponge (equal parts flour and water) that ferments for several hours; contributes to a lighter, more open crumb.
Levain: A portion of the sourdough starter mixed with more flour and water; creates more depth in flavor and texture.
No-Knead Sourdough Bread: Benefits and Methods
No-knead sourdough bread simplifies the process while still yielding an artisan-quality product. This technique favors a longer fermentation period, allowing time to naturally develop the gluten network. The result is a bread with a robust flavor and satisfyingly chewy texture, with less hands-on effort from the baker.
Benefits: Less active work, a more accessible method for beginners, and a flavorful bread with a rustic character.
Method: Mix ingredients to form a shaggy dough, then let the long fermentation process take over to develop gluten and flavor.
No-knead recipes commonly consist of a direct mix of flour, water, salt, and a sourdough starter. The dough is then left to rest over an extended period, often overnight, at a controlled temperature to ensure proper fermentation.
Tools of the Trade
In sourdough baking, the right tools can significantly enhance the crafting process and the quality of the final product, whether one is a novice or an experienced baker.
Essential Baking Equipment for Sourdough
A baker's scale is indispensable for maintaining the precise ratios necessary for a consistent sourdough starter and dough. Measurement accuracy is crucial to the success of the bread. Baking with a dutch oven or a baking stone provides an ideal environment for oven spring, thanks to their heat retention properties—dutch ovens with tight-fitting lids also trap steam, which contributes to a well-developed crust.
Dutch oven for heat retention and steam
Baking stone for even heat distribution
Using a Thermometer to Monitor Dough
Temperature control is pivotal in sourdough fermentation. A thermometer helps ensure that dough is kept at optimal proofing temperatures. For hot and humid climates, for example, cooler dough temperatures can slow fermentation and prevent overproofing. Tools such as the Thermapen can assist in achieving dough consistency.
Thermometer to measure dough temperature
Thermapen for precise temperature readings
The Importance of a Reliable Proofing Container
The container used for proofing the sourdough impacts its rise and structure. Options like a glass or plastic container with a lid are great for observing the dough's development. Additionally, for those with space constraints or seeking a slower fermentation, using the fridge for cold-proofing can be beneficial. The container should be of a size that allows the dough enough room to expand without constraint.
Proofing container for dough development
Tool options depend on desired proofing method (e.g., fridge for cold-proofing)
Baking Sourdough in Different Seasons
Seasonal temperature changes necessitate adjustments in sourdough bread recipes and techniques to maintain the quality and consistency of the final product. The fermentation process is sensitive to temperature, thus, bakers must adapt their approach accordingly.
Adapting Recipes for Warm Weather Baking
In warmer seasons, the fermentation of sourdough can proceed much faster due to higher ambient temperatures. To prevent over-fermentation, which can result in a sour taste and a weak dough structure, bakers should consider using cold water to mix their dough. This helps regulate the dough temperature and slows down yeast activity. Another method to maintain balance in dough development is to reduce the proofing time. Where a recipe might typically call for a longer rise, the same result can be achieved in less time when temperatures are higher.
Cold Weather Baking: Adjustments and Techniques
Baking sourdough in colder seasons can be challenging as the low temperatures can significantly slow down the yeast fermentation process. It's beneficial to use warm water when mixing the dough to increase the final dough temperature, which encourages yeast activity. Additionally, bakers may opt to increase the amount of pre-fermented flour in their recipes to speed up fermentation. Using a dough proofer or simply finding a warm spot in the kitchen, like an oven with the light on or a microwave, can help maintain the dough at an optimal temperature during proofing stages.
Conclusion
Sourdough baking is an adaptable art, and the baker's environment plays a crucial role in the outcome of their bread. In hot and humid climates, controlling dough temperature is essential. Bakers should:
Mix dough to a lower temperature
Use less pre-ferment to extend fermentation time
Opt for stronger bread flours
Adjust hydration as necessary
For those in cooler climates, maintaining a consistent warm temperature for the dough to rise can be challenging. Bakers need to:
Find a warm spot for fermentation
Possibly use a proofing box for consistency
Regardless of the climate, monitoring and adjusting the dough's environment ensures optimal results. Tools like a Thermapen can assist in getting accurate temperature readings, which is fundamental to success. Moreover, sourdough enthusiasts must remember to:
Keep their starter fed and healthy
Monitor temperatures of work surfaces and equipment
By embracing these tips and tricks, bakers can overcome climate challenges and produce sourdough breads of exceptional quality. It's the attention to such details that elevates sourdough baking from a mere hobby to a craft marked by expertise and dedication. With persistence and care, each loaf can be a testament to the baker's adaptability and skill.
