
The Dutch Oven Bread Loaf
Achieve the Perfect Crust Without a Baking Stone

Baking bread at home often conjures images of crusty, artisanal loaves, the kind you might find in a bakery. Achieving that perfect crusty exterior and tender crumb interior is a feat many home bakers aspire to, but it can be challenging without the right equipment. Not everyone has a baking stone or a wood-fired oven, but many kitchens are equipped with a versatile and often underestimated tool: the Dutch oven. This heavy, lidded pot creates an ideal baking environment for bread, mimicking the steam and heat retention of professional ovens.
Dutch ovens are renowned for their durability and even heating, qualities that lend themselves superbly to bread baking. The tight-fitting lid traps steam released by the dough during baking, which is key to developing a crispy crust. By preheating the Dutch oven, one creates a consistent high-temperature environment that is crucial for the initial oven spring, where the bread rapidly rises when first exposed to heat. This process contributes to the development of a well-structured loaf with a hearty, satisfying texture.
The method for baking bread in a Dutch oven is straightforward and highly effective. True to its name, no-knead Dutch oven bread requires minimal handling. A simple mixture of flour, water, yeast, and salt slowly ferments, building flavor and texture. When ready, the dough is placed into a preheated Dutch oven, where it bakes with the lid on before finishing without the lid to achieve that characteristic golden crust. This approach welcomes bakers of all levels to create rustic, bakery-quality bread at home, proving that with the right technique and a classic kitchen staple like the Dutch oven, professional results are within reach.
Understanding the Basics of Dutch Oven Bread
Crafting a crusty loaf of bread typically requires a baking stone, but the Dutch oven emerges as a versatile alternative, providing an accessible method for bakers to achieve artisanal quality.
What is Dutch Oven Bread?
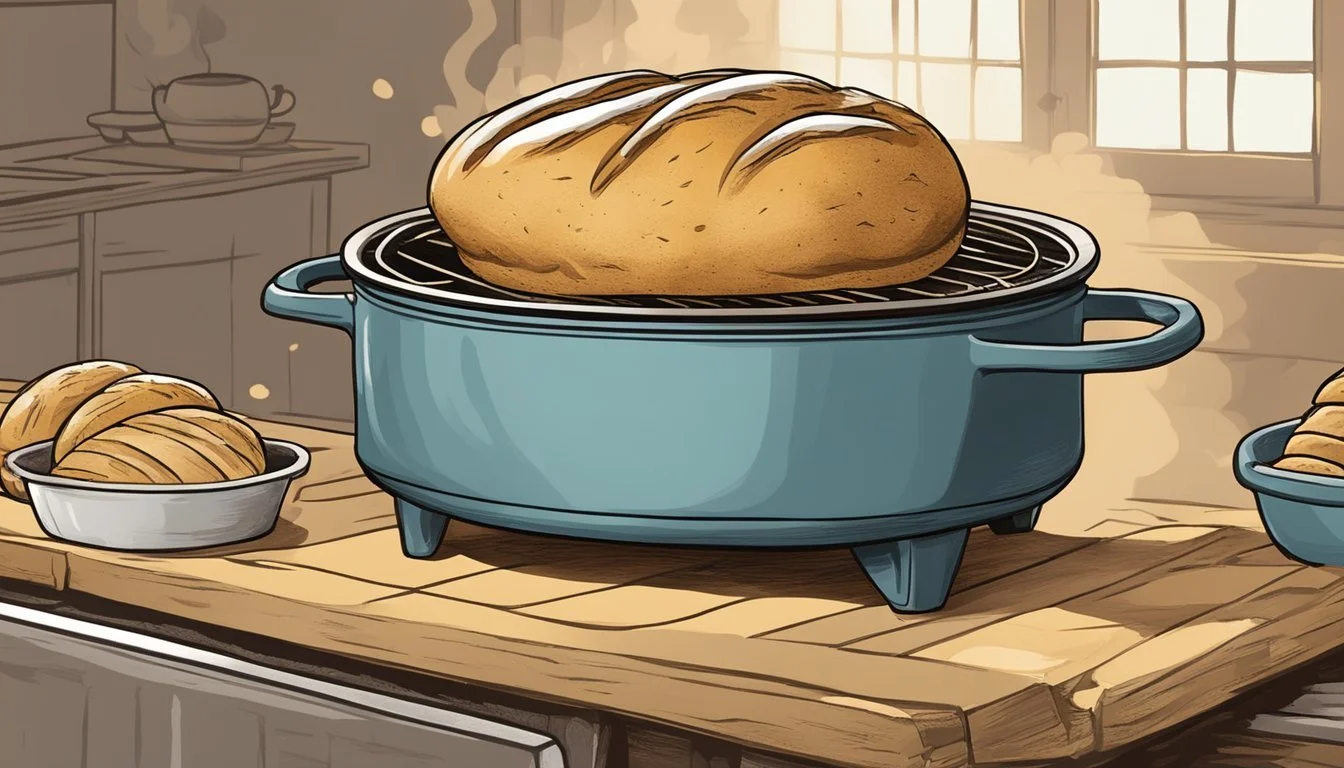
A Dutch oven bread refers to the process of baking bread in a preheated cast iron or enameled Dutch oven. The confined space inside the pot simulates a professional bread oven environment, which is conducive to producing bread with a crusty exterior and a tender, airy interior. The method starts with the preparation of a high-hydration dough, commonly using bread flour or all-purpose flour, which contributes to the bread's structure and chewiness.
Benefits of Using a Dutch Oven
Optimal Heat Distribution: The heavy walls of a Dutch oven retain and evenly distribute heat, ensuring a consistent baking temperature throughout the cooking process.
Steam Containment: As the bread bakes, water within the dough turns into steam. The Dutch oven traps this steam, creating a humid environment that allows the bread to develop a glossy, crusty surface before the hard crust sets in.
Versatility: Dutch ovens come in various sizes, making it possible to bake different bread sizes and shapes, from boules to batards. Their durability and multi-use functionality mean they can be used for countless other cooking tasks as well.
No Need for Special Equipment: Whereas baking stones and steam injectors are special equipment often used in baking artisan bread, a Dutch oven is a common kitchen tool that can replicate these professional baking conditions.
Ingredients and Tools for Dutch Oven Bread

Crafting the perfect Dutch Oven Bread Loaf hinges on the simplicity of ingredients and the reliability of specific tools. Allowing for the bread’s characteristic crust, the process relies on heat retention provided by the Dutch oven and a ratio of fundamental bread-making components.
Key Ingredients
Flour: Bread flour offers the necessary gluten structure for a chewy crumb, while whole wheat flour adds a nutty flavor dimension.
Water: Lukewarm water, ideally around 110°F (43°C), is optimal for activating yeast. A thermometer ensures accuracy.
Yeast: Active dry or instant yeast serves as the leavening agent, creating the gases needed for the dough to rise.
Salt: Fine salt not only flavors the bread but also strengthens the gluten network.
Tools and Equipment
Dutch Oven: A cast iron or enameled cast iron Dutch oven with a snug lid is essential for mimicking a professional baking environment.
Parchment Paper: Facilitates easy transfer of the dough into the preheated pot and prevents sticking.
Thermometer: An instant-read thermometer checks water temperature for yeast activation and the internal temperature of baked bread.
Olive Oil: While not directly involved in baking, it is often used to coat the rising bowl to prevent dough from sticking.
Heavy-duty Pot: If a Dutch oven is not available, any heavy-duty pot with a lid that can withstand high oven temperatures can be substituted.
Preparation Before Baking
Successful bread baking starts with careful preparation. The process begins well before the dough enters the oven, with meticulous mixing, a diligent first rise, and precise shaping—all essential to achieve a crusty loaf without a Dutch oven.
Mixing the Dough
The baker starts by whisking together the dry yeast, sea salt, and sugar, ensuring they are evenly distributed before adding them to the flour. A well is formed in the center of the flour mixture, into which warm water and olive oil are added. The baker mixes these ingredients until a sticky dough forms, being careful not to overmix which can lead to tough bread.
First Rise
Once the dough is mixed, it should be covered with plastic wrap to prevent it from drying out. The dough is then left to rise at room temperature. This first rise is crucial as it allows the yeast to ferment, creating the gases that will give the bread its airy structure. The dough will double in size during this process, which typically takes 1 to 2 hours.
Shaping the Bread
After the first rise, the dough is turned out onto a lightly floured surface. The baker then kneads the dough briefly to knock out any large air bubbles. Kneading should be done with purpose but without overworking the dough. The loaf is then shaped into the desired form, making sure to create tension on the surface for a tight shape that will hold during baking.
Baking the Dutch Oven Bread
Baking bread in a Dutch oven is a technique that captures steam naturally and emulates a professional oven's environment, resulting in a beautifully crusty loaf of bread. Precise temperatures and timing are crucial to achieving the perfect bake.
Creating Steam in the Dutch Oven
The Dutch oven's lid is the secret to generating steam. When the baker preheats the Dutch oven inside the oven, it becomes hot enough to immediately create steam once the dough, along with a little bit of additional water, is placed inside. To create steam, one can spritz the dough with a spray bottle before covering it, or simply rely on the dough's moisture. When the lid is on, it traps the steam, which is key to getting a good "oven spring"—the rapid rise of dough once it's put into the oven.
Baking Process and Times
A Dutch oven should be preheated at a high temperature, usually around 450°F (230°C), for 30 to 45 minutes before baking starts. This preheat ensures the pot is thoroughly heated. Here's a concise outline of the baking times:
With the lid on: Bake for 25 to 30 minutes to allow the bread to fully rise and for the steam to create the initial crust.
Lid removed: Continue baking for an additional 5 to 10 minutes, or until the crust develops a deep golden brown color.
Achieving the Golden Brown Crust
For a golden brown crust, the last few minutes of baking are critical. After the initial covered bake, removing the lid allows the crust to darken and become crisp. The presence of steam before this point helps in creating a crust that's not just deeply colored and attractive but also wonderfully chewy. The additional baking without the lid results in the desired perfect crust on the finished loaf.
Post-Baking Practices
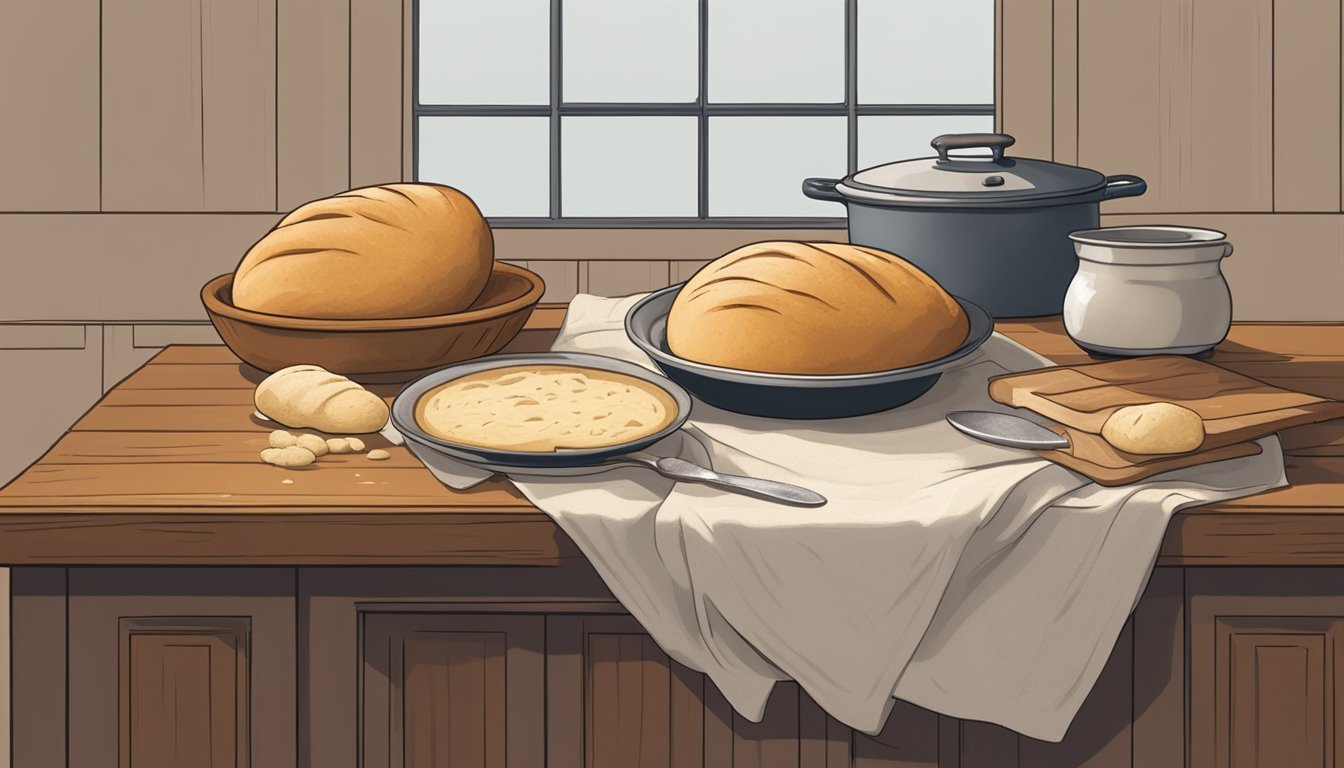
After a Dutch oven bread loaf emerges hot and fragrant from the oven, certain steps ensure the loaf retains its desired crusty exterior and soft interior.
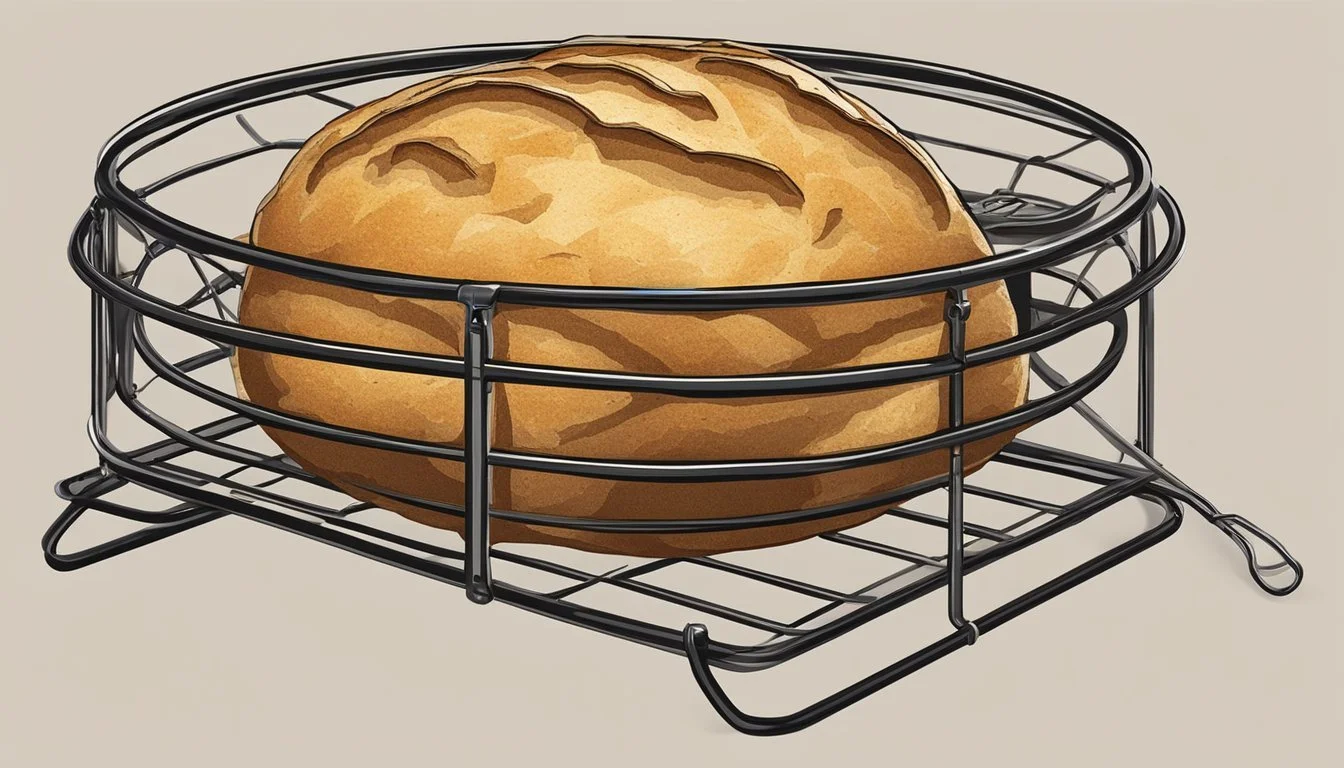
Cooling and Removing Bread
A freshly baked artisan loaf must cool properly before it can be cut into. The loaf should be carefully removed from the Dutch oven using the edges of the parchment paper to avoid burns. It's essential to transfer the bread to a wire rack to cool. Cooling allows the steam inside the loaf to escape without making the crust soggy, which takes at least 30 minutes. The bread should sound hollow when tapped on the bottom to indicate it's fully baked.
Serving Suggestions
Once cooled, the bread can be served. A sharp knife is paramount for slicing a no knead bread with a crusty exterior. For a simple yet delightful treat, they can serve the bread with butter or a spread like roasted garlic. The bread's robust texture also makes it suitable to pair with soup, adding a hearty element to the meal. An artisan loaf can become a canvas for more diverse flavors such as sweet jam or as an accompaniment to various cheeses.
Advanced Techniques and Variations
Exploring advanced techniques and incorporating variations in Dutch oven bread baking can elevate a basic no-knead loaf to an artisanal level, offering complex flavors and textures.
Incorporating Flavors and Ingredients
To infuse variety into the standard no-knead Dutch oven bread, bakers have the option of adding a range of ingredients. For instance, one can blend grated parmesan cheese and coarsely ground black pepper into the dough for an Italian-inspired flavor.
Cheeses: A hard cheese like parmesan should be finely grated and can be added in a ratio of about 1/2 cup per loaf.
Herbs and Spices: For French-style bread, herbs like rosemary or thyme could be kneaded into the dough.
Additionally, baking with alternative flours can modify the gluten content and characteristic chew of the bread. Whole wheat flour can partially replace all-purpose flour for a denser, more nutritious loaf.
Alternative Baking Methods
Bakers may employ different temperatures and times to achieve the perfect crust and crumb. Some recipes suggest preheating the Dutch oven at higher temperatures such as 500°F before reducing to bake, while others maintain a constant temperature around 450°–470°F. Here is a concise breakdown:
High Heat Preheat: Preheating the Dutch oven to 500°F, then baking the loaf covered for 30 minutes before uncovering can result in a thicker crust. The bread should then bake uncovered for an additional 15-20 minutes.
Consistent Temperature: Preheating and baking at a steady temperature of 450°-470°F requires less temperature adjustment, but still achieving a crusty exterior. Bake covered for 30 minutes, followed by another 10-15 minutes uncovered until golden brown.
Bread enthusiasts may substitute instant yeast with other types of yeast, adjusting proving times as per the yeast's characteristics. The presence of kosher salt remains essential in all techniques, as it strengthens gluten structure and enhances flavor.
Troubleshooting Common Issues
Successfully baking Dutch Oven Bread involves understanding common issues that may arise and knowing how to address them. This section provides solutions for troubles that can occur with the dough, during the baking process, and after the bread has been baked.
Dough Troubles
When the dough does not rise properly, it could be due to inactive yeast or a dough temperature that's too low. They should ensure active dry yeast is fresh and proof it in tap water between 105°F and 115°F to confirm activity. Additionally, the dough should rise in a warm spot covered with a towel or plastic wrap to maintain an optimal temperature. If the dough is too dry or stiff, consider adding more water since the consistency should be soft and sticky.
During Baking Problems
If the loaf isn’t developing a golden crust, it might not be receiving adequate heat. Preheating the Dutch oven at 450°F to 470°F, ensuring that the lid is on, can help achieve a crispy crust. They should keep the lid on for most of the baking time, then remove it to allow the crust to brown in the final minutes. Uneven baking can be a sign that the oven isn't distributing heat correctly or that the loaf was not centered in the oven.
Post-Baking Concerns
After baking, if the bread sounds hollow when tapped, it indicates that it is properly baked. Lack of a hollow sound may suggest it needs more time in the oven. Let the bread cool on a rack; slicing into warm bread can result in a gummy texture. If the crust becomes too hard after cooling, this suggests that either the oven was too hot or the bread was left to bake for too long.
Summary: Mastery of Dutch Oven Bread Loaf
Baking bread at home can achieve remarkable artisanal quality by using a Dutch oven. A no-knead bread recipe—popularized by The New York Times—is an excellent method that bakers of all levels can follow. It simplifies the process while still delivering a crusty and flavorful boule. The Dutch oven mimics a professional baker's oven by trapping steam and creating a perfect crust.
The Process:
Mixing the Dough: By combining basic ingredients, flour, water, yeast, and salt, one can initiate the no-knead process. Bakers may forgo a dough hook and mixer, as minimal handling is required.
First Rise: The dough rests for a long stretch, often 12-18 hours, allowing fermentation and flavor development.
Shaping: After the rise, the dough is shaped into a boule and set to rest again, leveraging parchment paper for ease of transfer.
Baking: Preheat the Dutch oven to a high temperature, generally 450-475°F. Once heated, place the dough inside on the parchment paper, cover with lid, and bake.
Stage Duration Temperature Initial Bake (Lid on) 25-30 minutes 450-475°F Final Bake (Lid off) 10-15 minutes Same as initial
During the final minutes of baking, removing the lid allows the loaf to attain a golden brown crust. It's crucial to let the bread cool on a wire rack before slicing to ensure the perfect texture. Mastery of Dutch oven bread loaf does not require professional tools or experience—just following a straightforward, well-crafted recipe and utilizing a Dutch oven's capabilities.
References and Further Reading
For readers interested in exploring the realm of Dutch Oven Bread making, a variety of resources are available. These texts and guides can expand one's understanding of no-knead bread techniques, ingredient functions, and the science behind the perfect crust.
Andi Anne provides a recipe that outlines the simple steps to create a Dutch Oven Bread loaf. They detail the process from initial mixing of flour, yeast, and salt, to the final bake. To dive deeper into the specifics of their method, one can refer to the complete recipe guide on their blog.
Bowl of Delicious emphasizes the importance of properly preheating the Dutch oven to achieve that signature crust. They instruct to preheat the oven with the Dutch oven inside, ensuring it's hot enough to encourage the optimal rise and crust development of the dough.
At the Seasoned Mom, the focus extends to the second rise of the dough. They introduce a technique where the dough is placed into a preheated Dutch oven, which contributes to the satisfactory crust on the final loaf.
For those seeking to create a no-knead loaf without a Dutch oven, Alphafoodie offers alternative methods highlighting how to achieve similar results. Adjustments to the mixing and handling of the dough are discussed, which are crucial for those adapting the process to different kitchen tools.
Lastly, for enthusiasts aiming to replicate the crusty exterior of Dutch oven breads without this equipment, readers are encouraged to reference techniques like using a baking steel and creating steam in the oven, as suggested by another guide.
By consulting these varied sources, bakers can integrate different tips and techniques into their bread-making process, perfect their no-knead Dutch Oven Bread recipe, and gain a clearer understanding of the baking principles involved.
