
Dutch Oven Campfire Bread
Mastering Al Fresco Baking Techniques

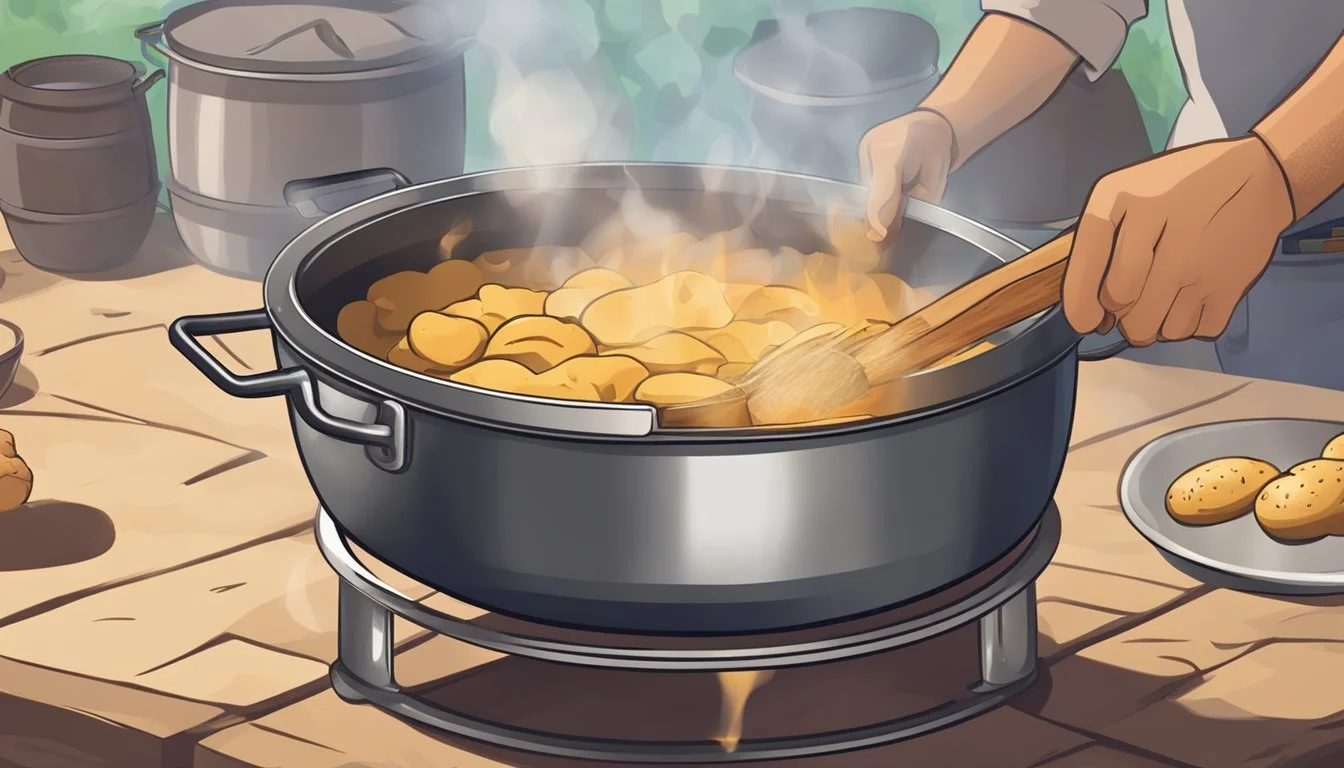
Campfire bread (What wine goes well with bread?) is a rustic tradition that enhances the outdoor experience, taking the joy of fresh bread into the wilds of nature. By employing a Dutch oven, campers can bake bread over a campfire, blending the age-old practice of breadmaking with the rugged charm of outdoor living. The Dutch oven, a sturdy cast-iron pot with a tight-fitting lid, is key to this process. Its design enables even heat distribution, which is pivotal for baking, while also being resilient enough to withstand the direct heat of coals or embers.
While camping excursions often mean leaving behind the modern conveniences of home, they don’t have to strip away the comforts of a warm loaf of bread. Campfire bread baking in a Dutch oven provides an alternative to the conventional oven, and its adaptability allows it to be a conduit for culinary creativity amidst the backdrop of the great outdoors. Baking bread in this manner becomes not just a means to sustain but also an event that can draw campers together, as the scent of baking bread mingles with the fresh air and the crackling fire.
The appeal of Dutch oven campfire bread lies in its simplicity and the satisfaction it brings. Ingredients can be mixed and kneaded right at the campsite, and with minimal setup, one can create a delicious, hearty bread that complements any camping meal. This method is not just for the seasoned baker or the experienced outdoorsman; it is accessible to anyone willing to embrace the outdoor baking challenge, producing results that gratify the palate and enrich the camping experience.
The Essentials of Dutch Oven Bread Baking

Baking bread in a Dutch oven over a campfire allows for an even distribution of heat and a delightful crust. This section focuses on understanding the nuances of your Dutch oven and the importance of selecting high-quality ingredients for the baking process.
Understanding Your Dutch Oven
A properly heated Dutch oven is critical for baking bread successfully. It is usually made of cast iron, known for its excellent heat retention and even heating. Preheating is a crucial step where the Dutch oven must be brought to the right temperature before baking the bread. To protect the bottom of your bread from excessive heat and potential burning, utilizing a heat barrier such as parchment paper or a trivet is advisable. This is especially important when cooking over an unpredictable heat source like a campfire.
Selecting the Right Ingredients
The quality of ingredients directly impacts the flavor and texture of Dutch oven bread. The base ingredients typically include:
All-purpose flour: Forms the structure of the bread.
Yeast: The rising agent that aids in fermentation and leavening of the dough.
Salt: Enhances flavor and regulates yeast activity.
Water: Hydrates the flour and activates the yeast.
Sugar (optional): Can be added for flavor and to provide food for the yeast to help the dough rise.
For a straightforward recipe, aim for a flour to water ratio that achieves a dough with a slight tackiness, which will ensure adequate hydration without being overly sticky. When measuring ingredients, precision is key, as bread baking is a delicate balance that can be influenced by even minor discrepancies in ingredient amounts.
Using water that's too hot can kill the yeast, while water that's too cool may not activate it effectively. The ideal temperature range for the water is between 105°F and 115°F to optimize yeast activity and achieve a good rise in your dough.
A Dutch oven and meticulous selection of ingredients come together to create flavorful bread, with a crisp crust and soft interior, even when baked over an open flame.
Preparing Your Dough
Crafting the perfect Dutch oven campfire bread begins with the meticulous preparation of your dough. This involves mixing the right proportions of dry ingredients, carefully hydrating with water, a systematic kneading process, and allowing the dough to properly ferment during its first rise.
Mixing the Dry Ingredients
One begins by measuring flour, typically using a strong type such as bread flour, in conjunction with a precise amount of active dry yeast and salt. These dry ingredients should be combined thoroughly in a large mixing bowl to ensure an even distribution, setting the stage for the addition of water.
Hydrating with Water
Gradually introduce warm water into the mix. The temperature of the water is crucial; ideally, it should be warm to the touch but not too hot to deactivate the yeast. A steady pour allows the mixture to absorb the water evenly and start forming the dough.
The Kneading Process
As the ingredients bond to form a rough dough, it's time to knead. One transfers the dough to a floured surface and begins to work it with their hands or a dough scraper. Proper kneading technique involves pressing the dough with the palm of the hand, folding it over, and turning it. This process develops the gluten, which gives the bread structure and elasticity.
First Rise: Fermenting the Dough
The kneaded dough now needs to rest and rise, typically in a warm area free from drafts. It should be covered with a damp cloth to prevent drying out. This first rise is a fermentation period for the dough, during which it approximately doubles in size and develops flavor as the yeast consumes the sugars and expels gases, contributing to the bread's texture.
By following these methodical steps, one lays the foundation for a robust and flavorsome bread, ready for the unique cooking experience that a Dutch oven over campfire coals provides.
Building the Campfire
Building an effective campfire requires attention to safety and temperature control, both of which are essential for successfully baking bread in a Dutch oven.
Campfire Safety
When setting up a campfire, selecting a safe location away from flammable materials is imperative. It should be situated in a clear, open space, maintaining a distance of at least 10 feet from tents and surrounding vegetation. One should always construct or use a fire pit surrounded by rocks if available and have a means to extinguish the fire, such as water or a fire extinguisher, ready at all times.
Ensure the space above the campfire is clear of branches.
Never leave a campfire unattended.
Managing Temperature with Embers and Coals
Controlling the temperature of the campfire is critical for Dutch oven campfire bread baking. Embers and coals provide a more consistent heat than open flames. They should be allowed to develop from your chosen fuel, be it wood or charcoal briquettes.
Hardwood tends to produce long-lasting, hot embers ideal for baking.
Charcoal briquettes offer a more controlled and even heat source.
The Dutch oven can be placed directly on a bed of coals, and additional coals can be placed on the lid to encompass the Dutch oven in heat. Monitoring the temperature is important, as bread baking typically requires a temperature around 350-375 degrees Fahrenheit.
Use a trowel or similar tool to spread the coals evenly beneath the oven.
Check the temperature with a high-heat thermometer or judge the temperature by holding one's hand a safe distance above the coals for a count of usually four to five seconds for the correct heat.
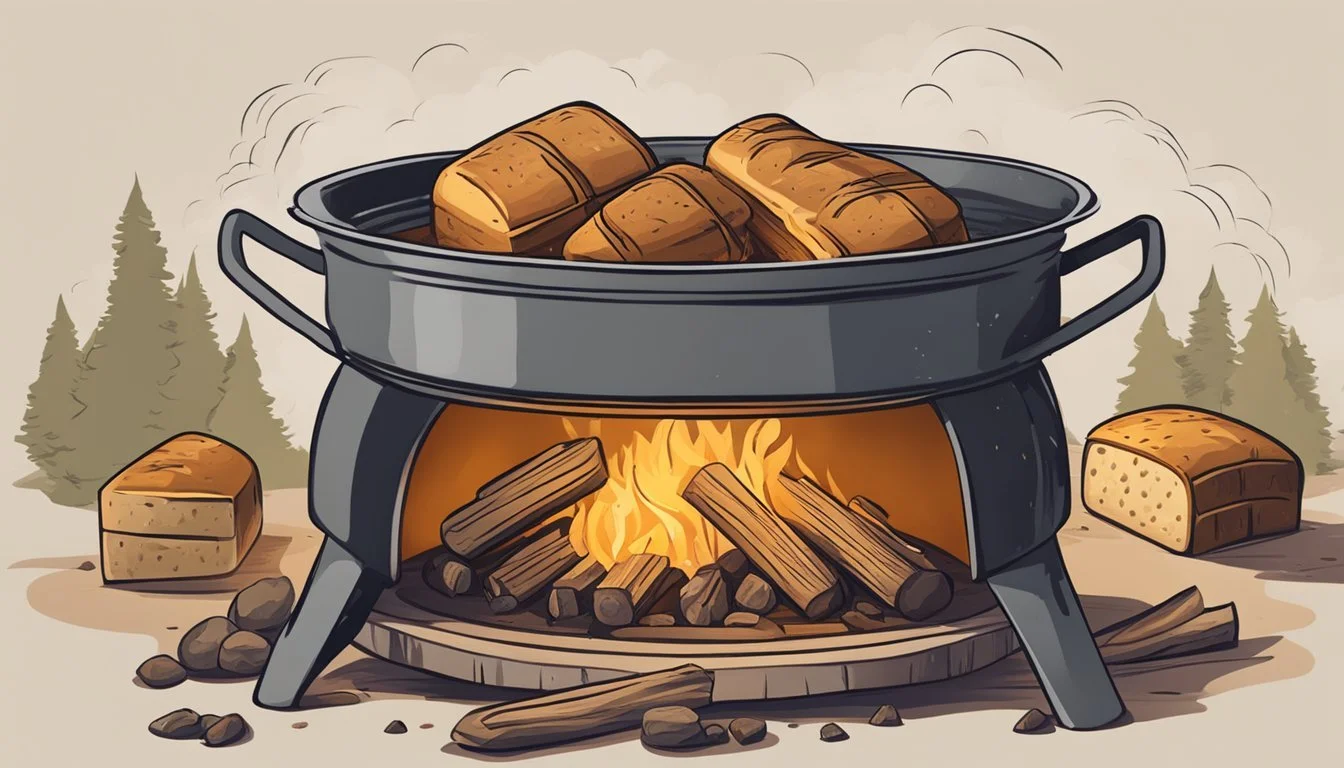
Baking the Bread
When baking bread in a Dutch oven over a campfire, one must manage several critical steps to ensure a successful bake, from preheating the cast iron pot to closely monitoring the bread as it transforms into a golden brown delicacy.
Preheating the Dutch Oven
To start, it's necessary to preheat the Dutch oven to achieve an even baking environment. Preheat the Dutch oven directly in the campfire’s embers or on a grate over the flames, targeting an internal temperature akin to that of a home oven. For most bread recipes, this will be around 450°F (230°C). Using a thermometer is ideal to confirm the temperature, but experience and visual cues from the coals can also guide one. It typically takes about 30 minutes for the cast iron pot to reach the desired heat.
Placing the Dough Inside
Once the Dutch oven is preheated, carefully place the bread dough inside. It should be done swiftly to avoid heat loss. One can use a parchment paper underneath the dough to facilitate this process and minimize sticking. The dough should be gently placed into the pot to maintain its shape. Immediately after, cover the Dutch oven with its lid to trap the steam inside, which is essential for achieving a perfect crust.
Monitoring the Bake
The baking process requires vigilant monitoring. A campfire's heat can fluctuate, so one should check the fire and adjust as needed to maintain a steady temperature. The lid should only be lifted when necessary to minimize heat escape. Rotating the Dutch oven occasionally can help ensure even baking. After about 30 minutes, one should start checking the bread. The goal is to bake the bread until it reaches a golden brown color, and when tapped, the loaf sounds hollow, indicating it is fully baked.
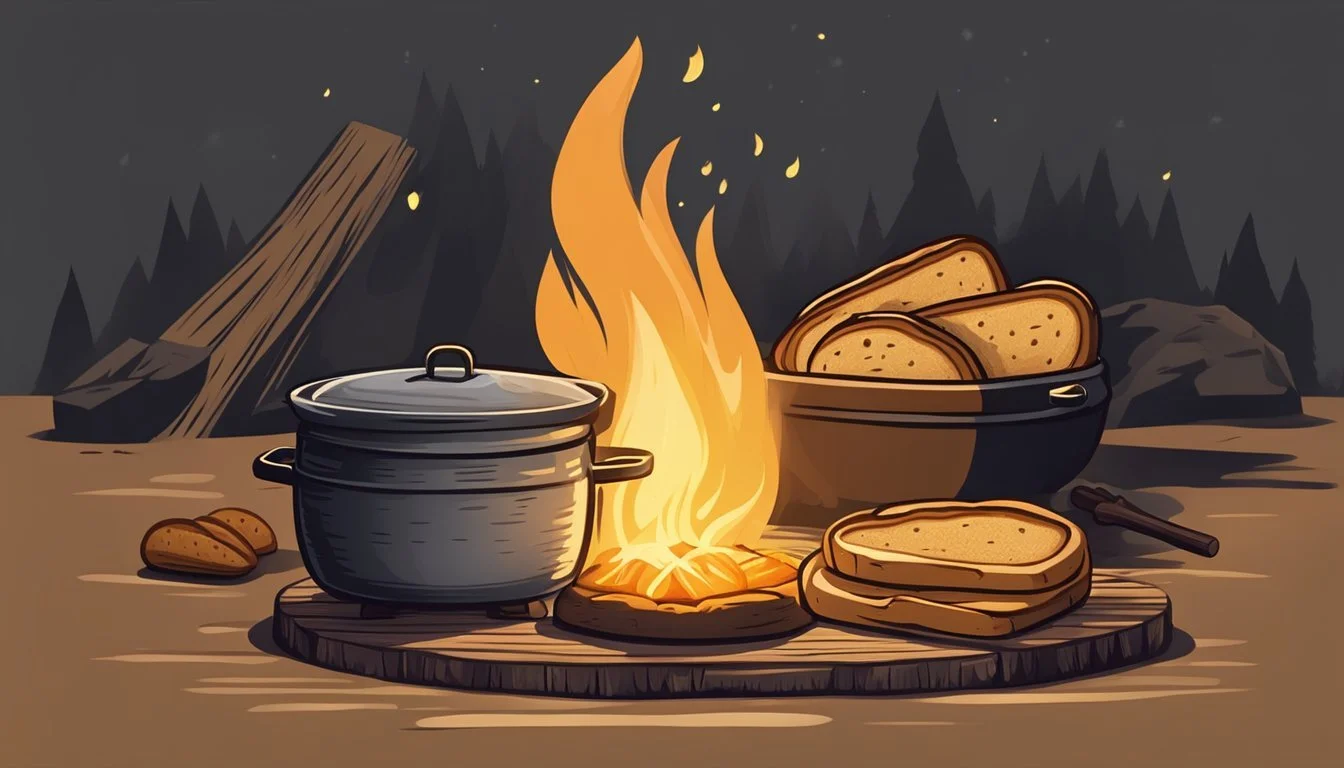
Finishing Touches and Serving
After skillfully baking bread in a Dutch oven over a campfire, the pivotal moments of cooling and serving play a crucial role in the bread's final quality and taste. Proper techniques ensure that the freshly baked bread provides the optimal experience for both breakfast and dinner settings.
Cooling and Releasing the Bread
Once removed from the heat, it's imperative that the bread is allowed to cool for a minimum of 20-30 minutes before attempting to release it from the Dutch oven. This time allows the steam to continue cooking the bread slightly and for the structure to set. The baking enthusiast should remove the bread from the Dutch oven and transfer it onto a wire rack to cool evenly, avoiding a soggy bottom. A light tap on the underside of the bread checks for a hollow sound, indicating it is thoroughly baked.
Slicing and Enjoying Freshly Baked Bread
After the bread has cooled, it’s ready to slice. The bread should be sliced into uniform serving sizes using a sharp serrated knife, ensuring a clean cut through the crust without crushing the soft interior. Whether the bread is served with creamy butter for breakfast or as an accompaniment to a savory dinner stew, the first slice is always a moment of revelation, offering a glimpse into the perfectly baked interior, the soft crumb, and the irresistible aroma of freshly baked bread. Each serving invites one to savor the simple pleasures of rustic, outdoor cooking.
Cleaning and Maintenance of Dutch Oven
Maintaining a Dutch oven requires proper cleaning and storage to ensure its longevity and non-stick properties. The process involves removing food particles and preserving the seasoning to protect against rusting, especially for cast iron models.
Post-Baking Cleaning
After using a Dutch oven for baking bread, they should let it cool down before starting to clean it. For an enameled cast iron Dutch oven, warm, soapy water is sufficient for cleaning. They should use a non-abrasive sponge to avoid damaging the enamel:
Let the Dutch oven cool.
Fill with warm, soapy water.
Use a non-abrasive sponge to clean.
Rinse with clean water.
Dry thoroughly.
In the case of traditional cast iron Dutch ovens, food debris should be removed with a plastic scraper, and then they can clean the oven with hot water and a brush. It is essential to avoid soap in this scenario, as it can strip away the seasoned coating. After cleaning, they need to dry it completely to prevent rusting.
Remove debris with a scraper.
Scrub with hot water and a stiff brush.
Dry the Dutch oven completely.
Seasoning and Storing the Dutch Oven
Seasoning is a crucial step that they must do periodically to maintain the non-stick surface and prevent rusting of a cast iron Dutch oven. The process involves coating the surface with a thin layer of oil and baking it to form a protective layer. For proper seasoning, they should follow these steps:
Preheat oven to 375°F (190°C).
Apply a thin layer of cooking oil to the surface.
Bake the Dutch oven for one hour.
Let it cool in the oven.
Storing the Dutch oven in a dry place with the lid off or slightly ajar ensures airflow and prevents moisture build-up, which can cause rust. If the Dutch oven is enameled, wiping it with a small amount of cooking oil after cleaning can help in maintaining its sheen. They should avoid nesting them directly on top of each other without a protective layer in between to prevent scratches.
Advanced Dutch Oven Baking Techniques

When baking bread in a Dutch oven over a campfire, bakers can elevate their creations by infusing flavors and experimenting with various ingredients to produce artisanal loaves. Mastery over these techniques allows for a delightful twist on traditional recipes and can tailor the bread to individual tastes or dietary preferences.
Incorporating Herbs and Vegetables
To infuse the bread with aromatic flavors and additional nutrients, bakers often incorporate a variety of herbs and vegetables into the dough.
Herbs: When using herbs like rosemary, thyme, or basil, it's best to chop them finely and fold them into the bread flour and wet ingredients during the initial mixing process. This ensures the herbs are evenly distributed throughout the dough. A rule of thumb for quantity is about 1 tablespoon of fresh herbs or 1 teaspoon of dried herbs per pound of bread flour.
Vegetables: For vegetables such as olives, sundried tomatoes, or caramelized onions, one should dice or chop them into small pieces before adding them to the dough. The moisture content of these vegetables should be considered, as it can affect the hydration ratio of the dough. One might start with a ½ cup of vegetables per pound of dough and adjust as necessary.
Experimenting with Different Flours and Recipes
Diversifying flours can significantly alter the texture and flavor profile of Dutch oven bread.
Bread Flour: The classic choice for a hearty and chewy loaf, bread flour has more gluten, which gives the dough strength and elasticity.
Whole Wheat: For a nuttier taste and denser crumb, one can substitute half of the bread flour with whole wheat flour.
Gluten-Free Recipes: Mixes of rice flour, tapioca flour, and xanthan gum can cater to those with gluten sensitivities, though these will require adjustments in hydration and proofing times.
When using different flours, bakers should adjust the hydration levels accordingly; whole grain flours often require more water. A suggested starting point is a 65-70% hydration rate when working with wheat flours. For gluten-free flours, the baker might start at a higher hydration level since they generally absorb more moisture.
By mastering these advanced Dutch oven baking techniques, bakers can create a wide range of flavorful, artisan breads, even while enjoying the rustic setting of a campfire.
Nutritional Information

In this section, the nutritional content of Dutch Oven Campfire Bread will be dissected, focusing on its dietary components and healthier alternatives for baking.
Understanding the Content of Bread
Bread, a staple in many diets, primarily provides energy in the form of calories. A single slice of white bread typically contains about 70-80 calories. The major source of these calories is carbohydrates, with an average slice containing around 15 grams. Carbohydrates are vital for energy, but it's essential to consider the type and quantity. Fiber is a healthy carbohydrate that aids digestion and can be found in higher amounts in whole-grain bread.
Breads can also contain fats, the varieties of which greatly influence health outcomes. Saturated and trans fats are linked to negative health effects and should be minimal in a healthy diet. Conversely, unsaturated fats, such as those from olive oil or seeds, can be beneficial in moderation. Commercially produced bread might also contain cholesterol and sodium, which need to be consumed responsibly to maintain heart health.
Bread's nutritional profile is also affected by its water content, which doesn't contribute calories but affects texture and density. Water is devoid of nutrients, yet it's crucial for the bread's structure and weight.
Healthier Baking Options
When baking Dutch Oven Campfire Bread, one can opt for healthier ingredients that enhance the bread’s nutritional value without compromising taste. Using whole grains instead of refined flours increases the bread's fiber content, which is important for digestive health. Adding seeds like flax or chia not only boosts unsaturated fats but also adds texture and nutrients.
To reduce sodium, one can choose to limit or even omit added salt. This is a simple way to make bread healthier, especially for those monitoring their salt intake.
For those concerned about fats, replacing ingredients high in saturated and trans fats with those containing unsaturated fats, such as substituting butter with avocado, can make the bread more heart-healthy.
By being mindful of these components, bakers of Dutch Oven Campfire Bread can produce a loaf that's not just comforting and convenient but also nutritionally sound.
Frequently Asked Questions
Q: Can Dutch oven bread be baked over a campfire instead of a conventional oven?
A: Yes, one can bake Dutch oven bread over a campfire, making it an ideal campfire meal for outdoor enthusiasts. This method adds a rustic charm and distinct flavor to the bread.
Q: Is pre-heating the Dutch oven necessary when baking bread over a campfire?
A: Pre-heating the Dutch oven is recommended as it simulates the consistent heat of a conventional oven, aiding in an even bake.
Q: What are the essential dry ingredients for making Dutch oven campfire bread?
A: The basic dry ingredients include flour, yeast, and salt. One may also add baking soda if a quicker rise is desired or other ingredients for flavor variation.
Q: How does one use parchment paper when baking bread in a Dutch oven?
A: Parchment paper acts as a liner to prevent sticking, easing the removal of bread after baking. One shapes the dough into a ball and places it onto a piece of parchment paper inside the Dutch oven.
Q: Do I need to adjust the baking time when cooking over a campfire?
A: Yes, camping bread may require a flexible baking time. It is prudent to regularly check the bread, every 5-10 minutes, to ensure it does not burn and is heated through.
Q: How do I check if the Dutch oven bread is done?
A: Once the bread's baking time has elapsed, lightly knock on the bottom. A hollow sound typically indicates that the bread is baked through.
Troubleshooting Common Baking Issues
In the rustic environment of campfire cooking, bakers might encounter issues with dough rising and achieving the perfect bake. This section tackles these common pitfalls and offers clear solutions.
Dough That Won't Rise
A key factor for dough that won't rise is temperature. When baking with a Dutch oven over campfire, the ambient temperature can be unpredictable. It's crucial to ensure the dough is kept in a warm spot, away from cold breezes, which can inhibit the yeast activity. If the dough remains unresponsive, shepherd it gently toward success by:
Placing the dough near the fire (not too close, or it will cook prematurely).
Using more yeast or a fresh packet if the current batch is ineffective.
Another rise-related issue might be insufficient time. Allow the dough adequate proofing time; rushing can result in dense bread.
Dealing with Burnt or Undercooked Bread
Managing temperature control with hot coals is both an art and a science. For bread that's burnt, one must:
Position the Dutch oven so it's not in direct contact with aggressive flames.
Monitor and rotate the oven periodically to prevent hot spots.
Conversely, undercooked bread suggests that the temperature wasn't high enough or the bake time was too short. To correct this:
Increase the number of hot coals beneath and on top of the Dutch oven lid.
Ensure a consistent supply of heat; replenish coals as they burn down.
In both cases, utilizing an oven thermometer can take the guesswork out of temperature estimation, lending to a crust that's golden and a crumb that's fully cooked.
Safety and Regulations

When embarking on a camping trip with plans to bake campfire bread, one must abide by specific regulations and practice safety measures. Ensuring safe use of a Dutch oven near a firepit and understanding local fire regulations are critical.
Campfire Regulations and Permits
Check Fire Regulations: Campers should verify local regulations before starting a campfire. These may change seasonally and vary by location, impacting where and how one can build a firepit.
Acquire Necessary Permits: Some regions require a permit to light a campfire. Campers must obtain these permits in advance to comply with local laws.
Dutch Oven Care and Handling Safety
Use Proper Tools: Campers should handle the Dutch oven with care, using tongs or other appropriate tools to prevent burns.
Prevent Accidents: When following a campfire bread recipe, the Dutch oven should be placed on a stable surface to prevent tipping and potential injuries.
Campers must prioritize safety to ensure a memorable and enjoyable experience.
