
Sourdough Baking in Small Spaces
Maximizing Your Kitchen

The art of sourdough baking often conjures images of expansive kitchen counters and large ovens, but the reality is that delicious sourdough can be crafted even in the most compact of spaces. Beginners and seasoned bakers alike can adapt the process to fit a small kitchen, ensuring that the joy of fresh, tangy bread (What wine goes well with bread?) is never out of reach. By scaling down recipes and utilizing space-efficient techniques, sourdough baking becomes accessible to anyone, regardless of their living situation.
Creating a sourdough starter—the backbone of all sourdough bread—is a step that requires minimal space. A small container on a shelf or in a cupboard can serve as the fermentation station for this mixture of flour and water to come alive. Once the starter is established, maintaining it involves simple, routine feedings, each one an opportunity to become more attuned to the idiosyncrasies of sourdough.
The baking process itself can be adapted to tiny kitchens through the use of smaller baking vessels and minimalistic equipment. Scaled-down recipes are perfect for producing petite loaves or even individual sourdough rolls, ensuring that every inch of oven space is used efficiently. Even without a full-sized oven, countertop appliances like toaster ovens or Dutch ovens can lead to beautifully baked bread, proving that sourdough's adaptability knows no bounds.
Essentials of Sourdough Starter
The cornerstone of any sourdough bread is the starter, an active culture of wild yeast and bacteria. Consistent care and simple ingredients are all it needs to thrive.
Creating Your Own Starter
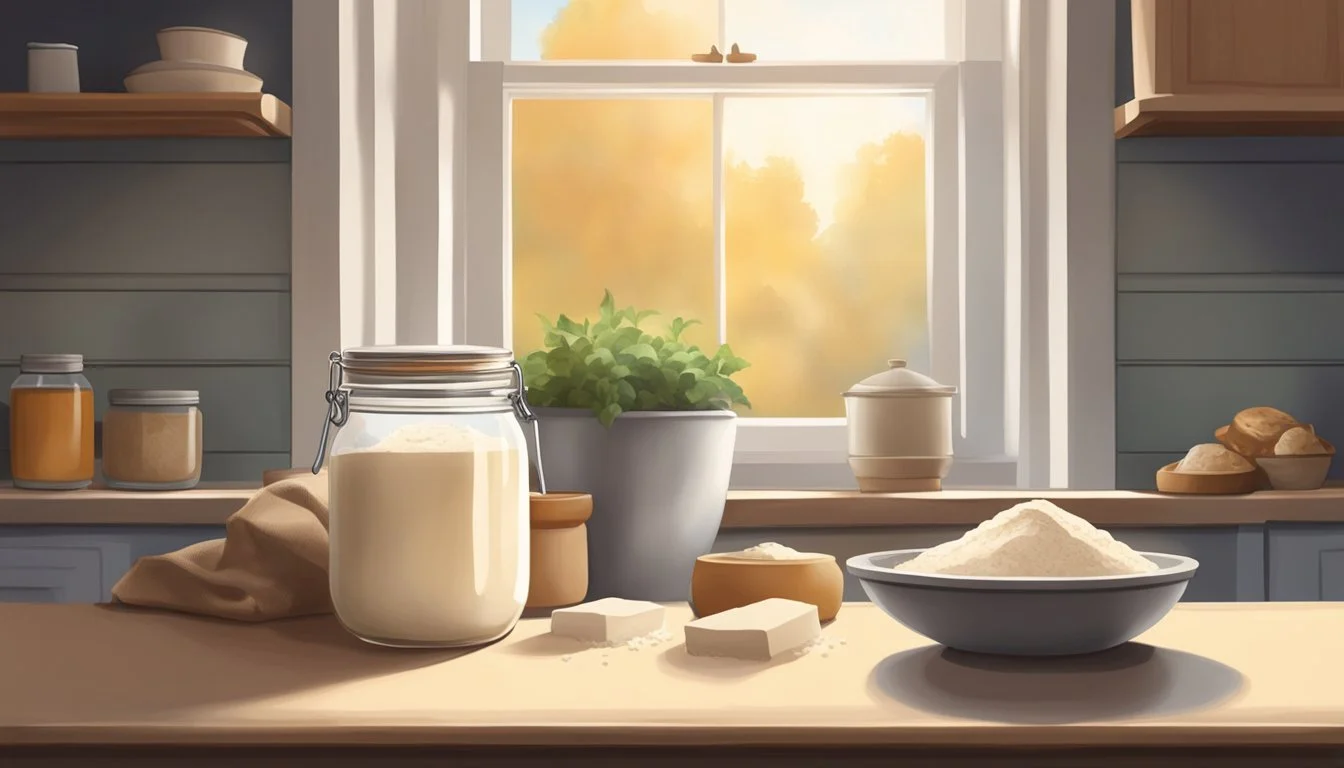
To create a sourdough starter, one needs only flour and water—the wild yeast present in the environment will do the rest. The initial mix should be a 1:1 ratio of flour to water by weight, typically 20 grams of each. The consistency should resemble a thick paste. The chosen container for the starter should be clean and allow some air exchange; a loosely placed lid or a piece of cloth secured with an elastic band will suffice.
Day 1 Starter Mix:
Flour: 20g (whole wheat or bread flour)
Water: 20g (lukewarm, ideally 75°F/24°C—85°F/29°C)
Container: Clear glass jar preferred for visibility
Mix these ingredients in the container and let it stand at room temperature.
Maintaining an Active Starter
An active starter is a bubbly and aromatic culture, indicative of a healthy population of yeast and bacteria. Maintenance largely involves a regular feeding schedule, which consists of discarding a portion of the starter and replenishing it with fresh flour and water. For a small batch maintenance, the starter can be fed with equal parts (by weight) of starter, water, and flour.
Feeding Ratio:
Starter: 20g
Water: 20g
Flour: 20g
This ratio is suitable for those who use their starter frequently. For less frequent use, the starter can be stored in the refrigerator and should be fed at least twice a week. After feeding, let the starter rest at room temperature for one to two hours before returning it to the fridge. This allows the wild yeast to become active and continue fermenting. The discard from feedings can be used in various recipes, ensuring that there is no waste.
By adhering to these simple but essential guidelines, one can easily create and maintain a healthy, active sourdough starter even in the most confined spaces.
Understanding Sourdough Ingredients

The creation of sourdough bread relies heavily on the quality and types of ingredients used. Selecting the right flour, understanding the role of water, and the appropriate use of salt are crucial for successful sourdough baking, even in small spaces.
Choosing the Right Flour
The choice of flour significantly affects the texture, flavor, and rise of sourdough bread. All-purpose flour is versatile but may lack some of the characteristics imparted by specialized flours. Bread flour, with its higher protein content, provides more gluten strength and structure, ideal for a chewy crust and airy crumb. For more nutrition and a complex flavor, bakers often incorporate whole wheat or rye flour into their sourdough recipes, though these can affect the dough's hydration requirements due to their differing absorption rates.
The Role of Water
Water initiates the enzymatic processes in flour that lead to gluten development and starch conversion, making the hydration level of a dough pivotal. Higher hydration generally results in a more open crumb structure and a lighter bread but can be challenging to handle. The baker must consider their flour choice when determining water quantity, as flours with more absorbing power, like whole wheat, may necessitate additional water.
Salt and Its Uses
Salt is not just a flavor enhancer; it serves to control yeast activity and strengthen the gluten network. Most sourdough recipes call for about 2% salt relative to the flour weight. Sea salt is often preferred for its natural mineral content and the subtle complexity it can add to the bread's flavor profile. Proper distribution of salt is key—it should be evenly incorporated into the dough to ensure consistent taste and texture.
The Baking Process Explained

The baking process of sourdough is critical to creating a perfect loaf, from mixing ingredients to the final bake. Mastery of each step leads to a bread with great flavor, structure, and crust.
Mixing and Autolyse
To initiate the sourdough process, one mixes flour and water. Autolyse refers to the resting stage that follows, where the mixture sits typically for 20 to 60 minutes. During this phase, gluten development begins, enhancing the dough's structure and making it easier to work with.
Folding, Stretching, and Kneading
Folding and stretching are gentle techniques used at intervals to strengthen gluten without overworking the dough. They involve lifting and folding the dough over itself, which aligns the gluten strands and incorporates air. This process replaces traditional kneading and occurs several times during the bulk fermentation.
Bulk Fermentation
Bulk fermentation is the stage when the dough is left to rise. It is a crucial process that lasts for several hours and is influenced by ambient temperature. During this time, yeast activity increases, gas bubbles form, and the dough gains volume. It is also when baking enthusiasts might opt to apply a series of folds to help strengthen the dough's structure.
Shaping the Bread
Once fermentation is complete, the dough is shaped for its final form. Shaping is an art that can vary based on the desired end product. Proper shaping is critical as it affects the final loaf's appearance and crumb structure. The dough is then placed seam-side up in a proofing basket to help it maintain its shape.
Final Proofing
This pre-baking stage is called the proof. The dough undergoes a final rise, usually within a basket that helps it hold its shape. Time spent proofing can significantly affect the bread's texture and flavor.
Scoring and Baking
Before being placed in the oven, the dough is scored. Scoring involves making shallow cuts on the surface of the risen dough with a sharp blade, which allows for controlled expansion and contributes to the finished bread's aesthetic. Steam is often introduced in the first part of the baking process to prevent crust formation too early, thus allowing for a better oven spring. Baking typically involves high temperatures, which further encourage the dough to rise until the yeast is deactivated, and the loaf takes on its final form and color.
Small Space Sourdough Techniques
Sourdough baking in small spaces can be thoroughly rewarding with the right techniques. By maximizing kitchen space and adapting recipes for small batches, one can still achieve bakery-quality sourdough bread.
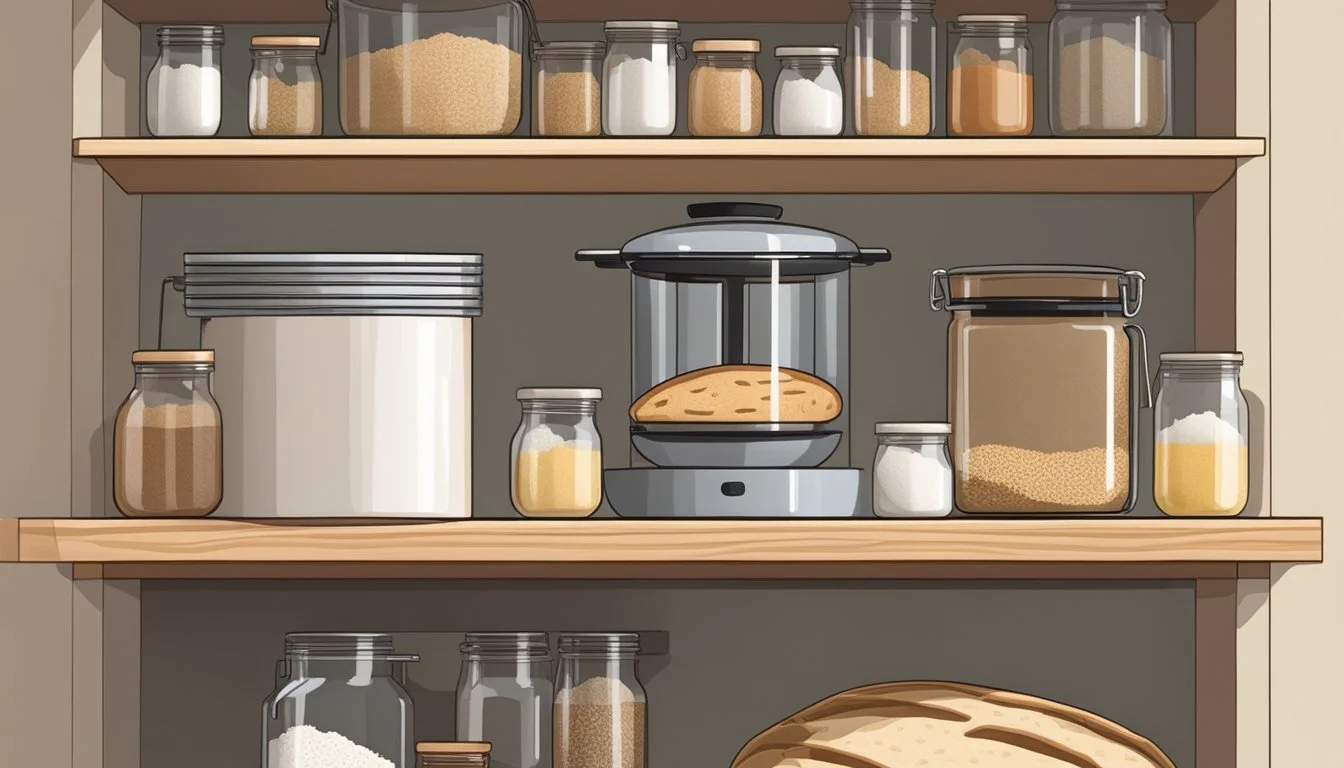
Maximizing Kitchen Space
For aspiring bakers with limited room, the kitchen scale is a game-changer; it's compact and ensures precise measurements for consistent results. Storing ingredients and tools vertically in glass containers and stackable mixing bowls can free up much-needed counter space. Employing multi-use items like a Dutch oven for both mixing and baking eliminates the need for multiple bowls and pans. Parchment paper can also serve dual purposes; it provides a non-stick surface for proofing and an easy way to transfer dough into the Dutch oven.
Small Batch Sourdough Baking
Small batch sourdough bread is ideal for those with minimal space. One can use the following steps to create a perfect small batch sourdough boule or mini loaves:
Mix Dough: Start with a smaller amount of active starter (90 grams) and mix it with flour and water. It can be done in a single mixing bowl.
Proofing: After shaping, let the dough rise in a glass container, which takes up less space and also allows one to monitor the rise without removing a lid.
Baking: Place the dough on a piece of parchment paper atop a baking sheet if a Dutch oven is not available. For those with a Dutch oven, it creates a steamy environment perfect for the crust.
Recipes: A small batch sourdough recipe aims for a dough yield that fits in the available baking ware, typically crafting a single sourdough boule or several mini loaves.
Using a specific small batch sourdough loaf recipe reduces waste and keeps baking contained within the scope of one's space. A recipe that calls for a final dough weight suitable for a single boule or multiple mini loaves ensures that the baker can manage the dough effectively within a limited area.
Advanced Tips and Tricks

In the pursuit of sourdough perfection within the confines of small spaces, bakers often seek innovative methods to enhance their bread's qualities. The following tips focus on achieving a superior crust and creating an open crumb structure, both hallmark traits of artisan sourdough.
Achieving the Perfect Crust
For a crust that's delectably crispy and evenly browned, attention to detail is critical. One should begin by preheating their baking vessel, which could be a cast-iron pot or a pizza stone, to generate sufficient heat. This high heat is essential for the Maillard reaction, a chemical response that produces a rich, golden crust.
Steam is another crucial element for crust development. The baker can introduce steam during the initial baking phase by placing a pan of boiling water at the bottom of the oven or employing ice cubes. Steam aids in maintaining the dough's surface moist, which allows for maximum oven spring and promotes the formation of a shiny, crackling crust.
Creating Open Crumb Structure
An open crumb structure is synonymous with the allure of artisan sourdough, with each air pocket telling a story of fermentation and technique. Achieving this begins with the stretch and fold method, which strengthens the dough without overworking it. The baker should perform stretches and folds multiple times during the bulk fermentation:
First Hour: Every 15 minutes
Following Hours: Every 30 minutes until the dough has increased in volume by 20-30%.
The dough's surface tension is pivotal. It's developed during shaping by pulling the dough across a work surface to create a tight ball. A well-shaped loaf will preserve its structure, allowing gases to expand evenly and create an open crumb. Bakers use a technique called scoring, making strategic cuts on the dough's surface right before baking. These scores control the direction in which the sourdough expands in the oven.
Subsequent proofing should be done in a banneton, a woven basket that helps maintain the dough's shape and imparts a beautiful pattern. Bannetons also wick away excess moisture, contributing to the formation of a crust with perfect texture.
A no-knead approach can also contribute to an open crumb by preserving the dough's delicate network of bubbles. Care should be taken not to deflate the dough during the transfer to the baking vessel. The sum total of these efforts culminates in a loaf that not only visually delights but also provides a complex textural experience with every bite.
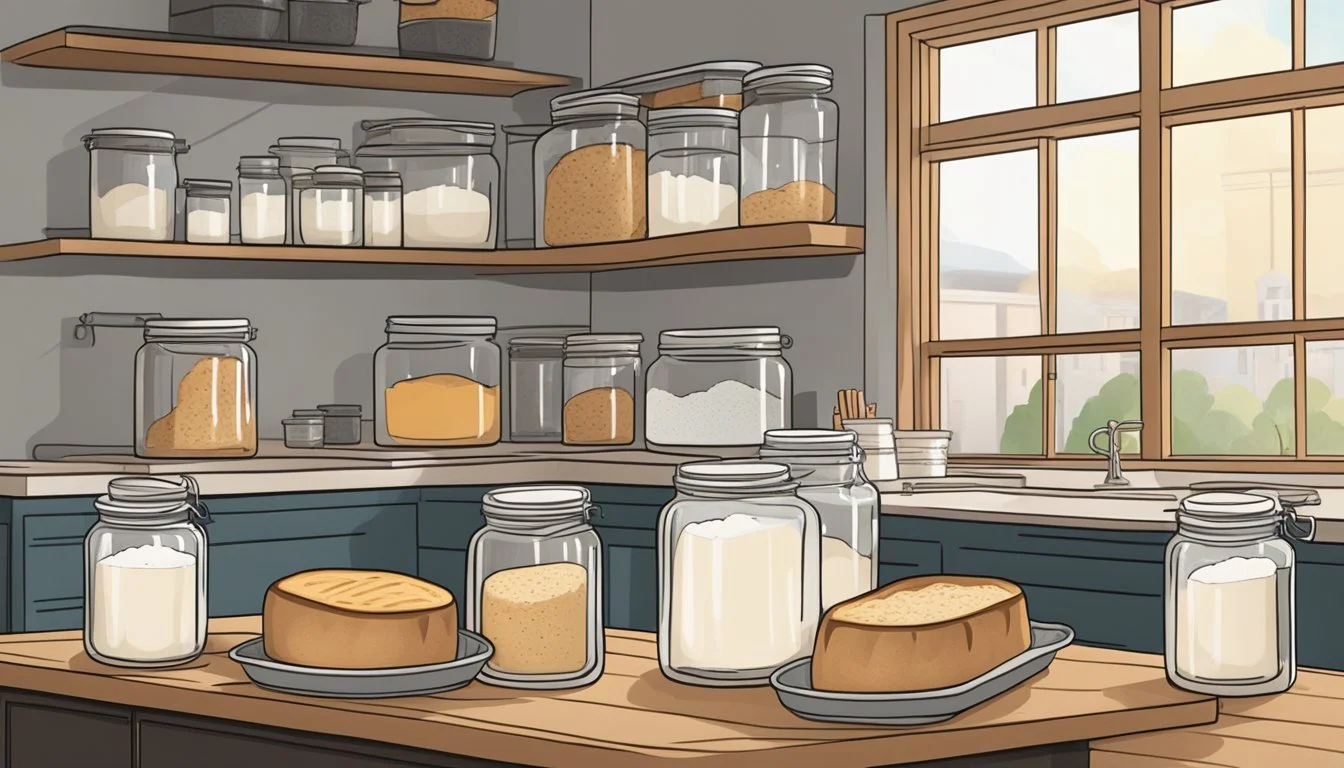
Serving and Storage
Serving freshly baked sourdough bread transforms a small space with its inviting aroma and taste. Proper storage ensures that both small batches and larger boules retain their quality, while creative use of leftovers can enhance a variety of dishes.
Storing Sourdough Bread
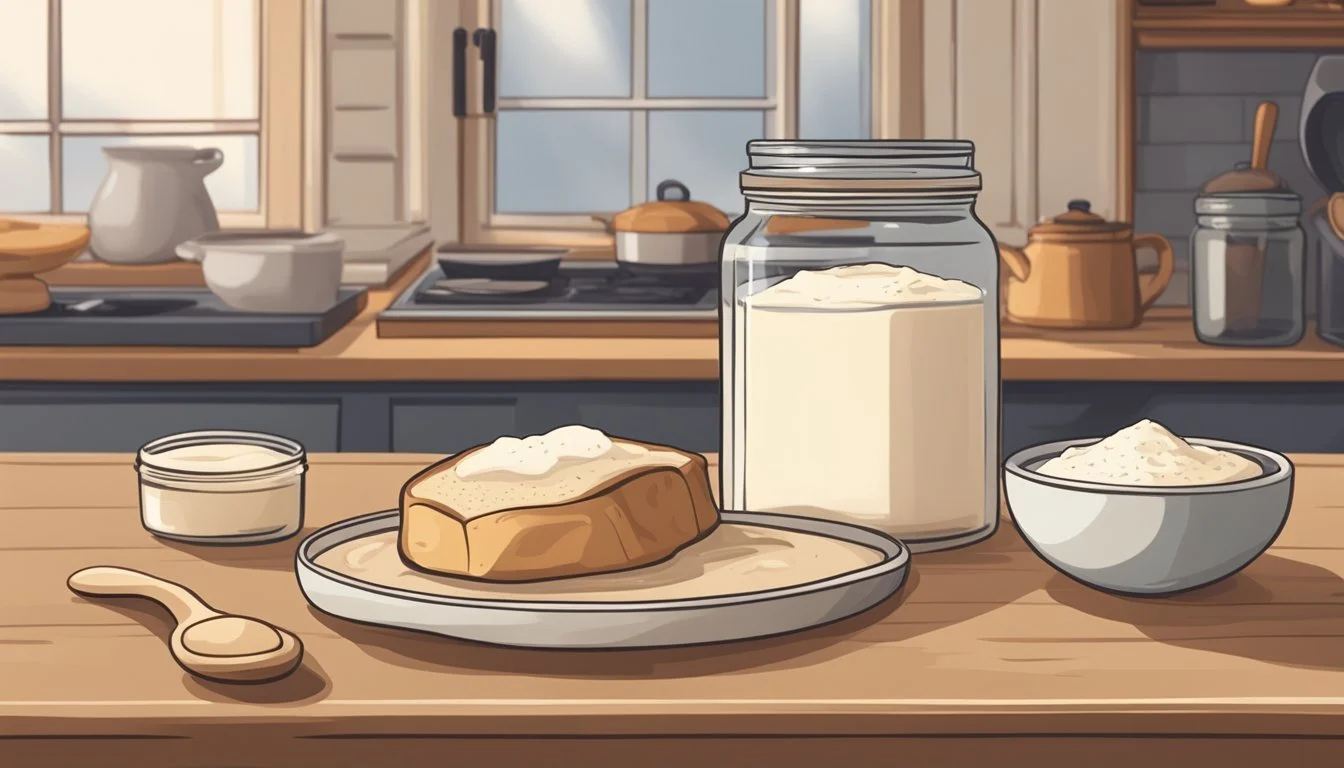
For Short-Term Storage: Keep sourdough bread in a cool, dry place at a temperature between 60 to 70°F. Sliced bread should be placed cut side down on a breadboard, covered with a tea towel. Bread can be covered with beeswax wraps or placed in a breadbox.
Glass Container: Storing sourdough in a glass container on the counter helps to maintain freshness and avoid plastic.
Refrigerator: If bread must be kept for up to one week, wrap it tightly in plastic wrap before refrigerating.
For Long-Term Storage: Sourdough bread can be frozen to extend its shelf life.
Cool the bread completely to prevent moisture buildup.
Wrap the bread or slices in plastic freezer wrap or aluminum foil.
Store in a freezer bag, ensuring all excess air is removed, for up to 3 months.
Creative Uses for Leftover Sourdough
When sourdough bread begins to stale, it can become the base for various dishes:
Sourdough Bread Bowls: Stale bread can be hollowed out and used as containers for soups or stews.
Croutons: Cube and toast for salads and soups.
Bread Pudding or French Toast: Soak in an egg mixture for a delicious breakfast.
Breadcrumb Alternative: Grind into breadcrumbs for coating or casserol topping.
Leftover sourdough can also be repurposed into different types of batters:
Pancakes and Waffles: Add crumbled bread to the batter for a twist on these classics.
Sourdough Banana Bread or Cakes: Incorporate sourdough discard into the batter for a tangy flavor.
Sandwiches: Refresh stale slices by grilling to make paninis or tasty sandwich bases.
Troubleshooting Common Issues
When baking sourdough in small spaces, bakers often encounter specific challenges such as achieving proper fermentation and dealing with limited temperature control. This section addresses remedies for common issues that can impact the quality of sourdough bread.
Dense or Gummy Texture
Problem: A dense or gummy texture often indicates under-proofing or improper fermentation. Small spaces can lead to inconsistent temperatures affecting yeast activity.
Solution:
Ensure sufficient fermentation time; allow the dough to nearly double in size.
Conduct the float test: place a small piece of levain in water; if it floats, it's ready.
Lack of Oven Spring
Problem: Oven spring is the rapid rise of dough in the oven caused by expanding gas bubbles. In confined baking areas, inconsistent oven temperatures can affect this.
Solution:
Preheat the oven for at least 30 minutes to stabilize the temperature.
Use a baking stone or Dutch oven to provide consistent heat.
Check dough hydration levels; adjust to ensure a lively, responsive dough.
Sourdough Starter Problems
Problem: A sourdough starter may not ferment properly if it's not maintained at a consistent temperature or fed regularly, leading to insufficient yeast activity and poor bread quality.
Solution:
Keep the starter in a stable, warm area of the kitchen, ideally between 75°F-80°F.
Feed the starter regularly with equal parts flour and water.
Observe the starter's bubbles and volume increase to ensure it's active.
Conclusion
In the art of sourdough baking, even the smallest spaces can yield impressive results. Bakers have shown that with a few simple ingredients—flour, water, and salt—and some creativity, delicious bread is within reach. The use of filtered water is recommended to ensure the purity and consistency of the dough. A digital kitchen scale is indispensable for precise measurements, contributing to consistency and quality.
Bread baking in diminutive kitchens is not without its challenges, yet these can be skillfully navigated. For instance, a cast iron Dutch oven not only fits neatly into smaller ovens but also mimics the effects of professional baking equipment, producing bread with a crisp crust and tender crumb.
Key steps in the process:
Measure Ingredients: Use a digital kitchen scale for accuracy.
Manage Space: Employ multi-purpose tools like a Dutch oven.
Fermentation: Allow the dough to mature, even in limited spaces.
The perfect loaf does not require an expansive kitchen—just the knowledge of how to maximize the resources at hand. Sourdough enthusiasts in cozy quarters will find that with the right approach, they too can be purveyors of homemade bread that rivals that of the best artisanal bakeries.
