
The No-Proofing Skillet Bread
Stovetop Baking Revolutionizes Quick Yeast Bread Making

Skillet bread (What wine goes well with bread?) offers a unique solution for those craving the rich, yeasty flavors of freshly baked bread without the time-consuming process of proofing. Proofing, the period during which dough ferments and rises, is a key stage in traditional bread making. However, it requires hours that may not align with a fast-paced lifestyle. No-proofing skillet bread bypasses this step by utilizing methods and ingredients that allow the dough to be cooked almost immediately after mixing, thus saving time while still delivering a satisfying taste and texture.
Cooking bread on a stove in a skillet can be a deceptively simple process, yielding delightful results that seem as if they should have taken much longer to create. The combination of heat from the skillet and the right balance of ingredients can mimic the flavors typically associated with yeast-leavened breads. Whether it's using baking soda or other leavening agents in lieu of yeast, or incorporating quick-acting yeast that doesn't require the traditional proofing time, these methods enable the bread to rise sufficiently during the cooking process itself.
This approach to bread making is not just about speed but also accessibility. For those without access to an oven or preferring the control that cooking on a stove provides, skillet bread is a practical option. It allows for a hands-on and engaging experience with the dough, resulting in a hearty loaf that's infused with the essence of traditional bread making, yet it fits into the modern hustle where time is often scarce.
Understanding No-Proofing Bread
No-Proofing bread methods have revolutionized home baking by eliminating the traditional rise time required in bread making, facilitating a quicker preparation process.
Advantages of No-Proofing Methods
No-proofing bread recipes provide several benefits:
Time-saving: They eliminate lengthy fermentation periods, notably reducing the overall rise time.
Convenience: They are perfect for bakers who do not have the luxury to dedicate hours to bread making.
Accessibility: Requiring less active work, these methods are friendly to novice bakers.
The Science Behind Rapid Rising
The science of no-proofing bread focuses on creating conditions for rapid fermentation. Here’s how it works:
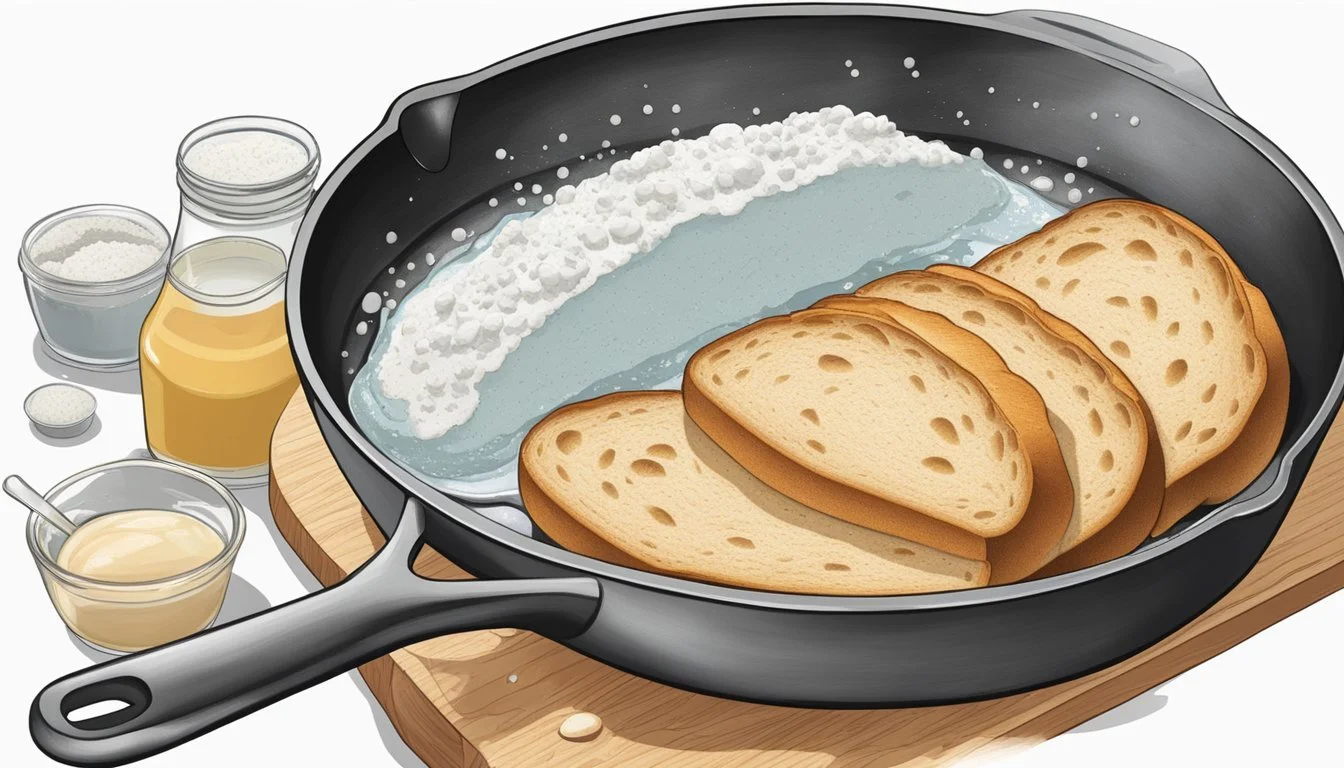
Chemical leaveners: In the absence of yeast, chemical leaveners like baking soda react with acidic components, such as buttermilk, to produce carbon dioxide quickly.
Heat: Applying direct heat from a skillet can accelerate the rise of the bread, resulting in airy textures without traditional proofing.
Choosing Your Ingredients
The ingredients chosen for skillet bread greatly influence both its flavor and texture. Selecting the right type of flour, yeast, and balancing the amounts of salt and sugar are crucial for a successful loaf.
Flour Types and Their Effects on Texture
The choice of flour in no-proofing skillet bread has a profound impact on the bread's final texture. All-purpose flour is versatile and produces a satisfactory crumb, but for those seeking a heartier texture, whole wheat flour can be used either partially or entirely. In contrast, bread flour has a higher protein content, which results in a chewier and more elastic bread.
All-purpose flour: Light texture, well-rounded use
Bread flour: Chewier, elastic crumb due to higher protein content
Whole wheat flour: Denser, richer flavor and hearty texture
Yeast Varieties: Instant vs. Active Dry
Yeast is the leavening agent that contributes to the flavor and rise of the bread. Instant yeast can be mixed directly with dry ingredients due to its fine granules and rapid activation. Meanwhile, active dry yeast needs to be dissolved in water before use, which can make it less suitable for quick skillet bread recipes that forgo proofing times. However, if time allows for activation, active dry yeast can be used.
Instant yeast: Convenient, no need to dissolve in water before use
Active dry yeast: Requires dissolving in water, longer activation time
The Role of Salt and Sugar
Salt and sugar are essential for flavoring and regulating yeast activity in skillet bread. Salt strengthens the gluten structure while balancing the yeast's fermenting process, and a pinch of kosher salt can be used for its clean taste. Sugar, although less commonly used in non-sweetened bread, provides yeast with additional food and can lead to a browner crust when used.
Salt: Enhances flavor, regulates yeast activity, strengthens gluten
Kosher salt: Preferred for its pure flavor
Sugar: Optional; aids in browning, provides food for yeast
Equipment and Preparation
Before diving into the process of making no-proofing skillet bread, it's important for the reader to focus on gathering the correct equipment and implementing proper preparation techniques. These steps ensure a seamless baking experience and optimal bread quality.
Choosing the Right Skillet
For no-proofing skillet bread, a cast iron skillet or a cast iron Dutch oven is essential due to their excellent heat retention and even distribution. These qualities contribute to a well-baked loaf with a crisp crust. One should ensure the skillet is well-seasoned to prevent sticking and is also safe at high oven temperatures. For those who do not own a cast iron skillet, a heavy-duty loaf pan or any oven-safe pan may suffice, but results can vary.
Preparation Before Mixing
Proper preparation streamlines the baking process and prevents potential issues. Initially, one should preheat the oven—temperature typically ranges from 375°F to 400°F (190°C to 205°C)—as a hot environment is critical for an immediate rise when the dough hits the heat. If using a Dutch oven, place it in the oven during preheating so it gets hot.
It's advisable to prepare the work surface with parchment paper to facilitate an easy transfer of the dough to the skillet. All ingredients, specifically the liquids like buttermilk or water, should be at room temperature to optimize yeast activity. Gathering a large mixing bowl, a whisk for dry ingredients, and tools for greasing the skillet should be done prior to starting the mix. If the recipe calls for a rest or rise period, having plastic wrap or a damp cloth ready will help cover the dough and maintain the dough's moisture.
In summary, the right equipment and thorough preparation are the foundations of making an exemplary loaf of no-proofing skillet bread, contributing to the flavor and texture one desires.
Mixing and Handling Dough
Mixing and handling dough is a critical step to achieving the no-proof skillet bread's signature texture. Proper technique ensures the dough is both easy to work with and yields a bread that is light and chewy with a crusty exterior.
Creating the Perfect Dough Consistency
Achieving the perfect dough consistency begins with the choice of water temperature—lukewarm water is essential, as it helps initiate the development of gluten without prematurely killing any yeast that might be in the mix despite the no-yeast approach. One starts by combining the dry ingredients uniformly before gradually adding in the warm water. This is mixed until a shaggy dough forms. A tip for the correct consistency is that the dough should feel slightly sticky to the touch yet be firm enough to hold its shape. The mixer's goal here is to create a dough that is elastic and not overly wet, fostering the perfect environment for a fluffy and airy crumb in the final product.
Dry mix: Flour, baking soda (and/or baking powder), salt, and any sugar if used
Wet mix: A blend of lukewarm water, oil, or melted butter
Method: Mix until combined, then knead until the dough becomes elastic
Incorporating Additions Like Nuts or Seeds
For those who enjoy a bit of crunch and flavor in their bread, incorporating nuts or seeds is straightforward. This should be done at the end of the mixing phase, once the dough has reached its desired consistency. Simply fold these additions gently into the dough to ensure they are evenly distributed without overworking the dough. This process also avoids compromising the dough's texture.
Additions: Sunflower seeds, pumpkin seeds, walnuts, almonds, or any preferred nuts or seeds
Method: Fold into the dough until just combined, being careful to maintain dough elasticity
Remember, gentle handling is paramount to prevent the dough from becoming tough. A light touch preserves the texture, ensuring the bread comes out with the perfect balance of chewy insides and a crusty exterior.
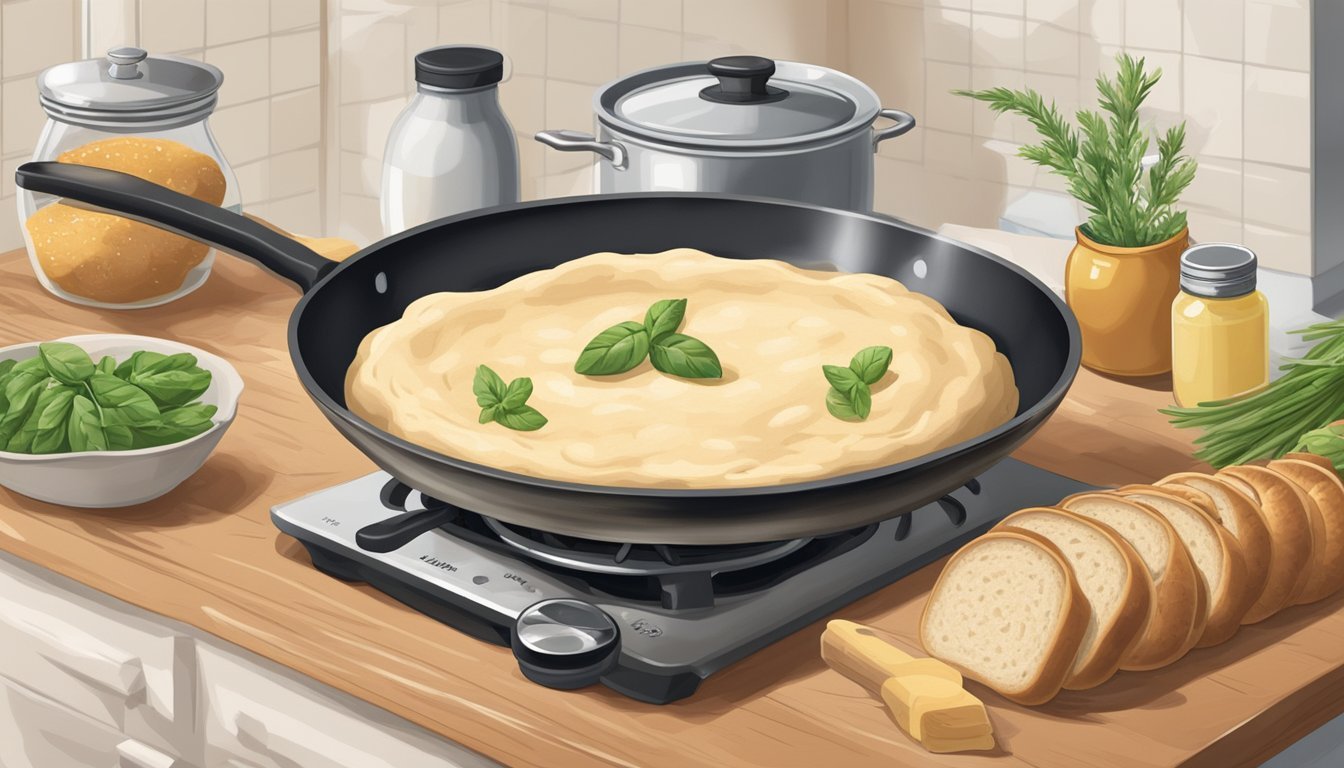
Stovetop Baking Technique
The stovetop baking technique allows for the creation of rustic, artisan-style bread without the need for a traditional oven. This method is particularly suited for no knead breads that traditionally require a prolonged rise time.
Skillet Heat and Time Management
The key to successfully baking bread on the stove is effective heat management. One should preheat the skillet over medium heat for a consistent temperature, emulating the even heat distribution that a baking stone would provide in an oven. The bread will generally require a flip to ensure even baking and achieve a golden brown crust on both sides. The total baking time often ranges from 20 to 30 minutes, depending on the recipe and the skillet’s heat retention.
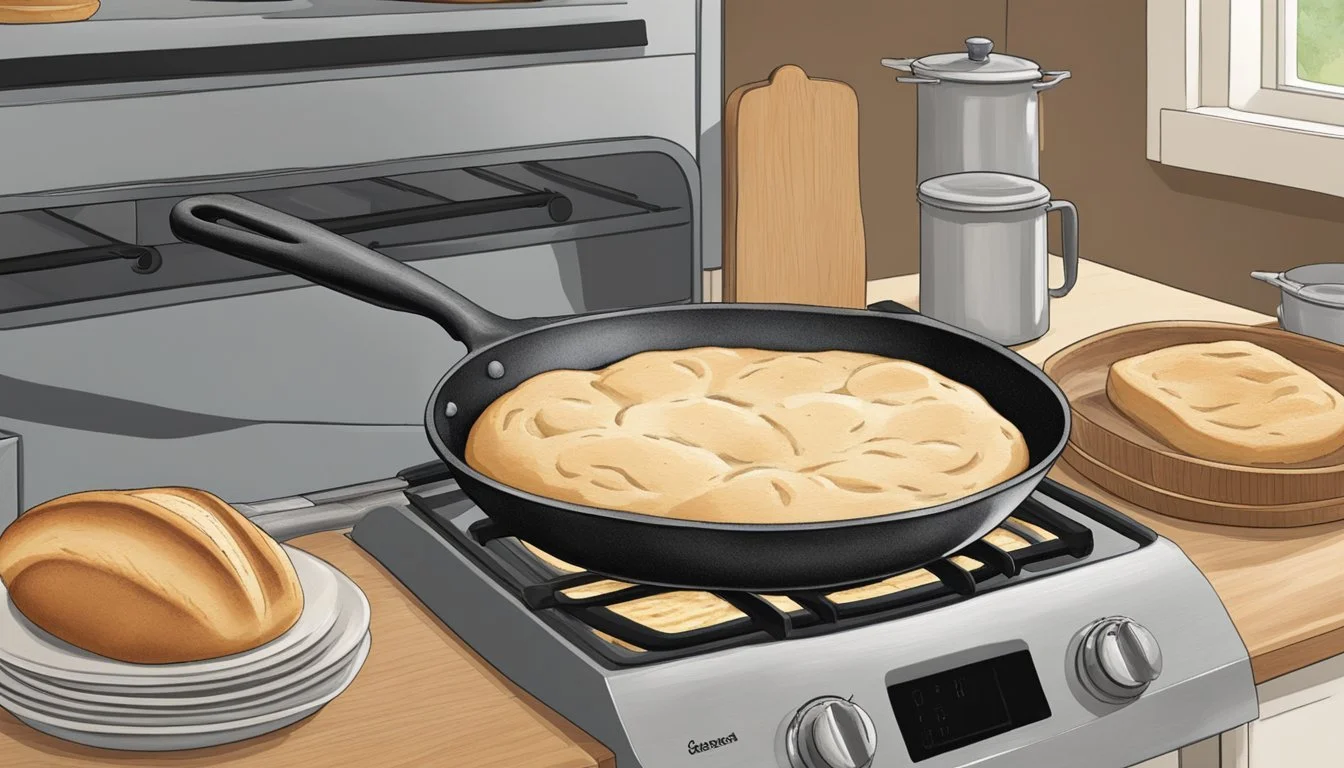
Achieving a Crispy Crust on the Stove
To attain a crispy crust on the stove, a cast-iron skillet with a lid is typically used to mimic the steam environment of an oven. When the bread is placed in the skillet, a lid should be used to trap the steam, which contributes to the crust's development. Once the bread has set and begun to brown, removing the lid can help to further crisp the exterior. Scoring the top of the dough before baking is also crucial as it allows the bread to expand and for steam to escape, preventing the crust from becoming too tough.
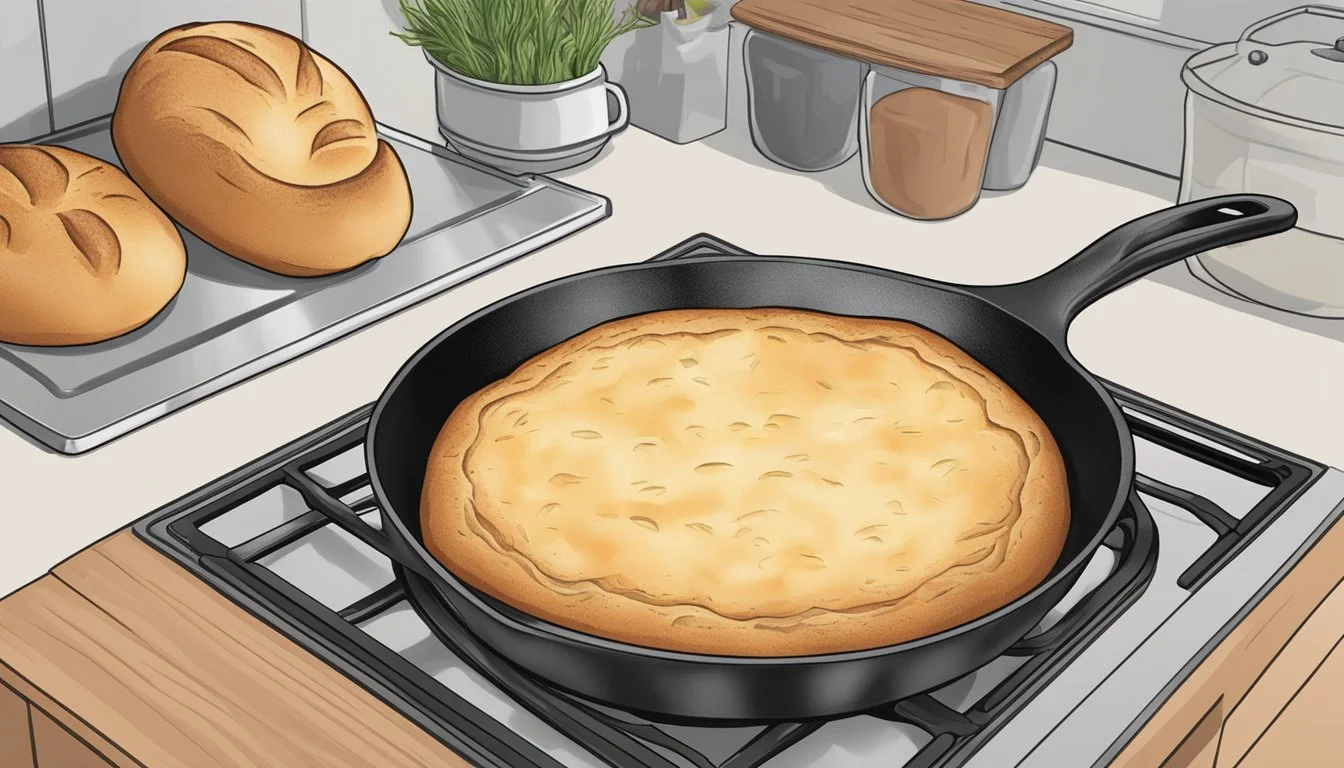
Finishing and Serving
After the bread has been cooked to a golden brown color, it's important to allow it to cool and slice it properly to preserve its texture. Serving the fresh loaf with the right accompaniments can enhance the flavor experience right at home.
Cooling and Slicing Techniques
Once removed from the skillet, the bread should be transferred to a wire rack to cool. This ensures even air circulation, preventing the bottom from becoming soggy. It should rest until it's just warm to the touch before slicing. For slicing, a serrated knife is recommended to cut through the crispy crust without crushing the soft interior. The bread should be sliced in even, thick slices, perfect for toast or sandwiches.
Serving Suggestions
The versatility of the no-proofing skillet bread allows it to be served in several ways:
Toast: Lightly toasted slices of bread can be served with a generous spread of butter or honey for a simple yet delightful treat.
Sandwiches: The sturdy yet tender slices make for an ideal base for both cold and grilled sandwiches filled with a variety of meats, cheeses, and vegetables.
Accompaniment to Meals: Serve alongside soups, stews, or salads, providing a comforting, homemade touch.
Seasoned Slices: For added flavor, one can brush the bread with olive oil and a sprinkle of herbs before toasting lightly.
To maximize enjoyment, the bread should be served warm to accentuate its yeasty aroma and soften the crust.
Additional Tips and Variations
The key to perfecting homemade bread lies in the ability to adapt and manipulate traditional recipes to suit personal tastes and available ingredients. This section will explore how to enhance the flavor and texture of no-knead skillet bread and how to introduce a sourdough twist into the recipe.
Recipe Tweaks for Flavor and Texture
Experimenting with different ingredients can elevate the simple no-knead bread recipe to new heights. One can replace a portion of unbleached all-purpose flour with whole wheat flour for a heartier taste and more fiber. Incorporating aromatic herbs such as rosemary or thyme can impart a savory aspect, while a hint of sugar or honey adds a subtle sweetness.
Texture changes can be achieved by:
Adjusting the liquid content for a denser or airier crumb.
Adding vital wheat gluten to strengthen the dough structure.
Including a small amount of baking soda, as suggested by one recipe, to promote a crispy crust.
Prep time and cook time may vary slightly with these adjustments, so one should monitor the bread's progress closely.
Converting to a Sourdough Variant
To adopt the tangy complexity of sourdough in an easy no-knead bread recipe, one can incorporate a sourdough starter. This would involve mixing a portion of active sourdough starter with the flour, reducing the amount of water to maintain the dough's consistency. The resting time may need to be extended to allow the sourdough culture to work its magic, resulting in a richly flavored, well-developed loaf.
Considerations for sourdough conversion:
The dough should be kept in a warm, draft-free area to help the sourdough yeast thrive.
Instead of a fast bake, opt for a longer, slower rise to fully develop the sourdough flavor.
The tanginess can be controlled by the maturity of the starter, giving bakers the freedom to fine-tune the flavor profile.
Through these additional tips and variations, bakers can transform their easy no-knead bread recipe into a personalized artisanal creation, whether they aim for a quick bake or venture into Sourdough territory.
Nutrition and Storage Information
When making no-proofing skillet bread, understanding the nutritional content and knowing how to store the bread properly ensures that one enjoys not just the taste but also maintains the quality of the homemade bread after it’s cooked.
Caloric and Nutritional Content
No-proofing skillet bread made with all-purpose flour typically contains a moderate number of calories and can offer a chewy crumb dense with air bubbles that characterize a yeasty flavor. Per average slice (assuming a loaf is cut into 10 slices), one can expect the following nutrition information:
Calories: Approximately 120-150 kcal
Carbohydrates: 22-28g
Proteins: 2-4g
Fats: 1-2g
These values can vary depending on additional ingredients used, such as oils, sugar, or butter. If the bread includes added components like cheese or herbs, as suggested in some recipes, the caloric value may increase.
Best Practices for Bread Storage
Freshly cooked skillet bread is best enjoyed warm, straight from the stove. To maintain freshness, bread should be stored in a cool, dry place. For short-term storage, wrap the cooled bread loaf in a clean cloth and place it in a bread box or paper bag. This method helps to keep the bread for up to two days without losing its flavors and quality.
For longer storage, one may consider the fridge or freezer. To store in the fridge, wrap the bread tightly in plastic wrap or aluminum foil, which can help retain freshness for about a week. It can be toasted to bring back warmth and texture. If one needs to keep the bread for more than a week, freezing is a viable option. Wrap the bread securely in plastic and then foil before placing it in the freezer. This method preserves the bread for up to three months. Thawing at room temperature or using a microwave will facilitate bread consumption at a later date without a significant compromise on taste or texture.
