
How to Measure Ingredients Precisely for Perfect Homemade Bread
Achieving the perfect homemade bread (What wine goes well with bread?) starts with the precision of measuring ingredients. The balance of flour, water, yeast, and salt is essential to the bread's final taste, texture, and rise. Precise measurements ensure consistency and success, especially for beginners. Bread-making is both an art and a science, and it begins with understanding how to correctly measure each component.
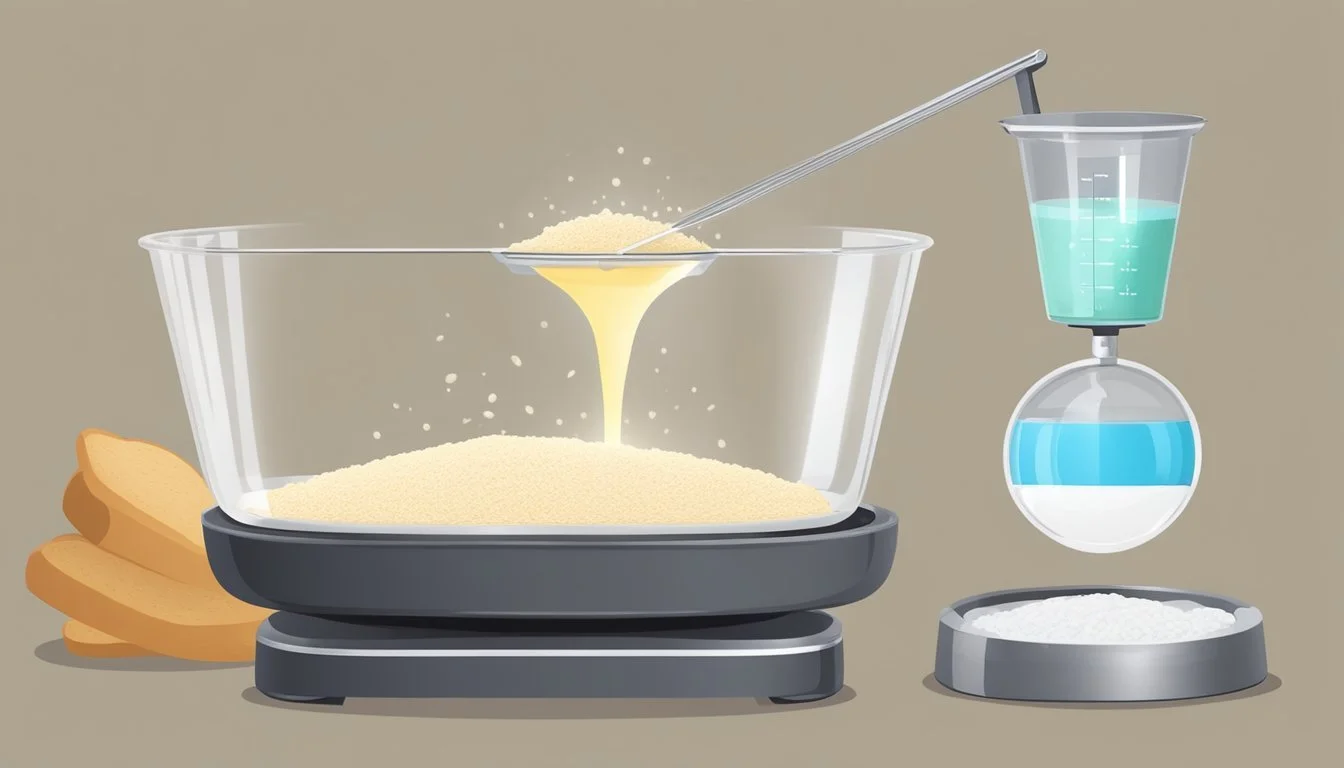
For those venturing into the world of baking bread at home, it's important to distinguish between different types of yeast, as their measurements can differ. Instant yeast can be mixed directly with flour, whereas active dry yeast requires activation in warm water. Additionally, ingredients must be measured by weight for accuracy, as volume measurements can vary significantly. A digital scale is a baker's best friend, providing the exactness required for the perfect loaf.
Water temperature is another critical factor when preparing bread dough. Too hot, and it will kill the yeast; too cold, and the yeast won't activate properly. The ideal temperature is around 110°F, which helps the yeast thrive and ensures a good rise. With attention to detail in the measuring process, bakers set the stage for bread that is consistently flavorful and well-textured.
Understanding Bread Ingredients
In the art of bread making, precise measurements of ingredients are crucial for achieving the desired texture, flavor, and rise of the bread. Each component plays an essential role, from the flour that forms the structure to the yeast that aids in fermentation.
Flour: The Foundation
Flour is the base of bread, providing structure and influencing the bread's texture. The most commonly used flour in bread making is bread flour, which has a higher protein content that contributes to robust gluten formation, essential for a good rise and chewy texture. Whole wheat flour can also be used for a heartier, more nutritious bread, but it may result in a denser product.
Yeast: The Leavening Agent
Yeast is a microorganism that ferments the sugars in flour and other added sweeteners, creating carbon dioxide gas which causes bread to rise. There are two main types of yeast:
Instant Yeast: Can be mixed directly with dry ingredients.
Active Dry Yeast: Must be dissolved in warm water (110°F) with a teaspoon of sugar and allowed to foam before adding to the other ingredients.
Type Preparation Instant Yeast Mix with dry ingredients Active Dry Yeast 'Activate' in warm water
Liquids: Water and Milk
Liquids are used to hydrate the flour and activate the yeast. Most bread recipes use water, which should be at the correct temperature to optimize yeast activity. Some recipes might substitute water with milk, which enriches the bread and gives it a softer crust and a richer flavor.
Fats: Butter and Oils
Fats, like butter and oils, are added to some bread recipes to tenderize the crumb and enhance the flavor. They also contribute to the preservation of the bread by slowing down staling.
Sweeteners: Sugar and Honey
Sweeteners like sugar and honey provide food for the yeast, thus supporting the fermentation process. They also contribute to the browning of the crust due to caramelization during baking and can add subtle sweetness to the loaf.
Eggs and Leaveners
Eggs can be included in bread recipes as a source of fats, enriching the dough and contributing to a richer texture and color of the crust. Additional leaveners, such as baking powder or baking soda, might be added to recipes for quick breads where yeast is not used.
Measuring Techniques
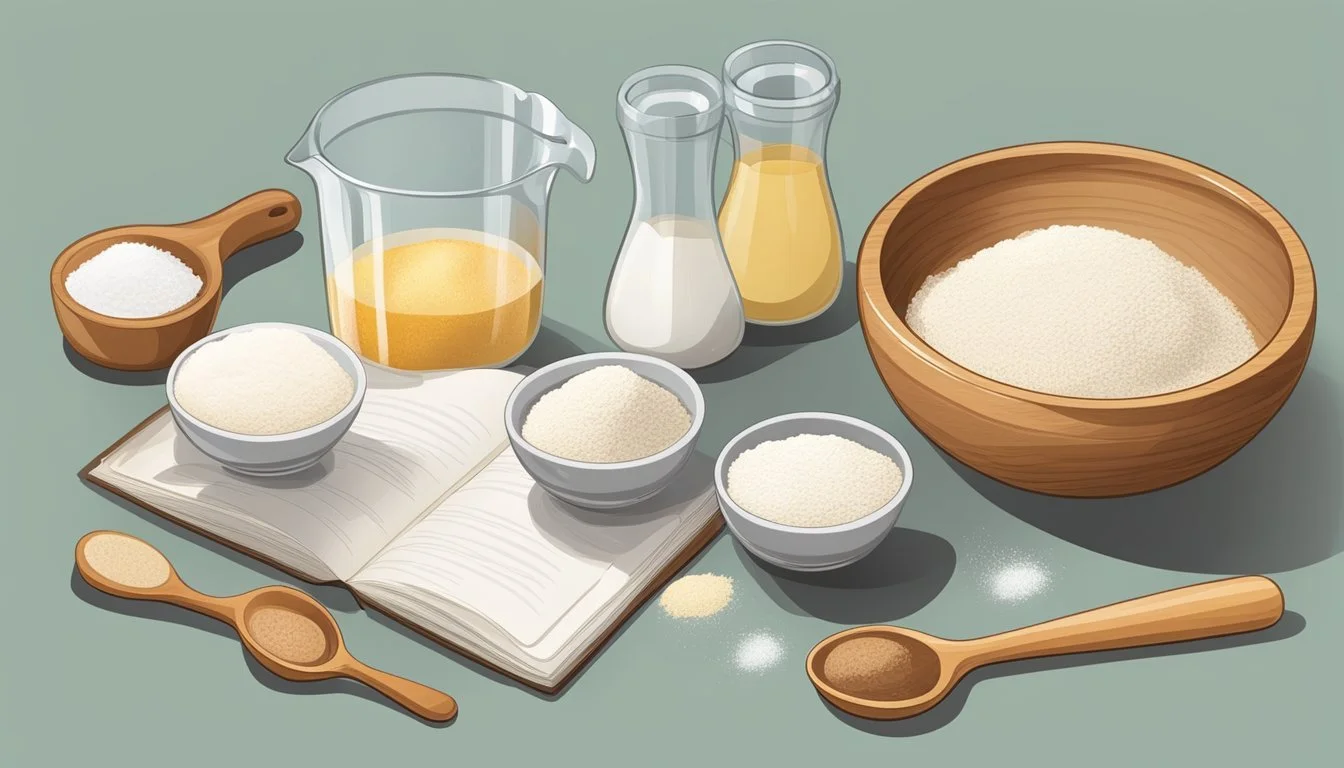
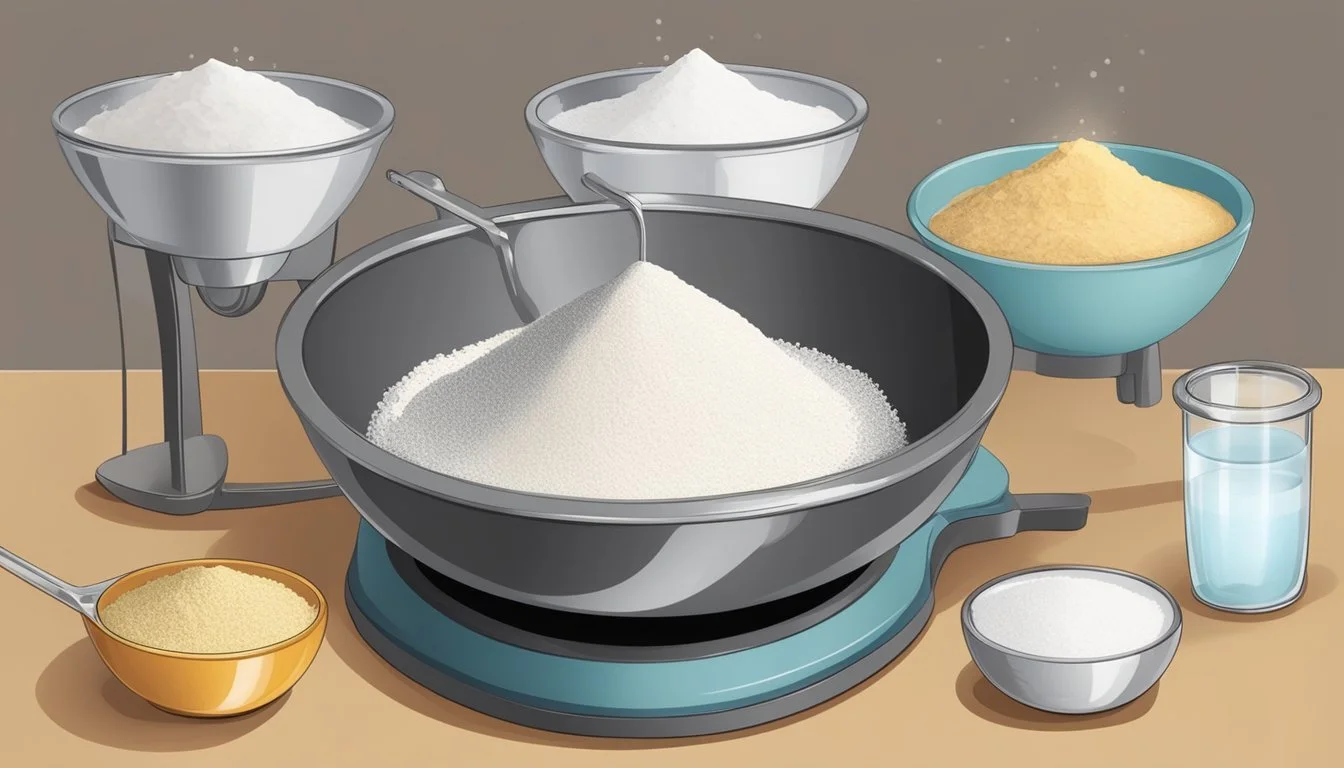
Accurate measurement is crucial in bread-making as it can affect the texture, rise, and overall quality of the final product. The baker has several tools at their disposal, each serving a specific purpose in the quest for the perfect loaf.
Weight vs Volume
Weight measurement refers to the use of a food scale to quantify ingredients in grams or ounces, offering precision. On the other hand, volume measurement involves using measuring cups and spoons to gauge the space an ingredient occupies, which is less accurate due to variability in ingredient density.
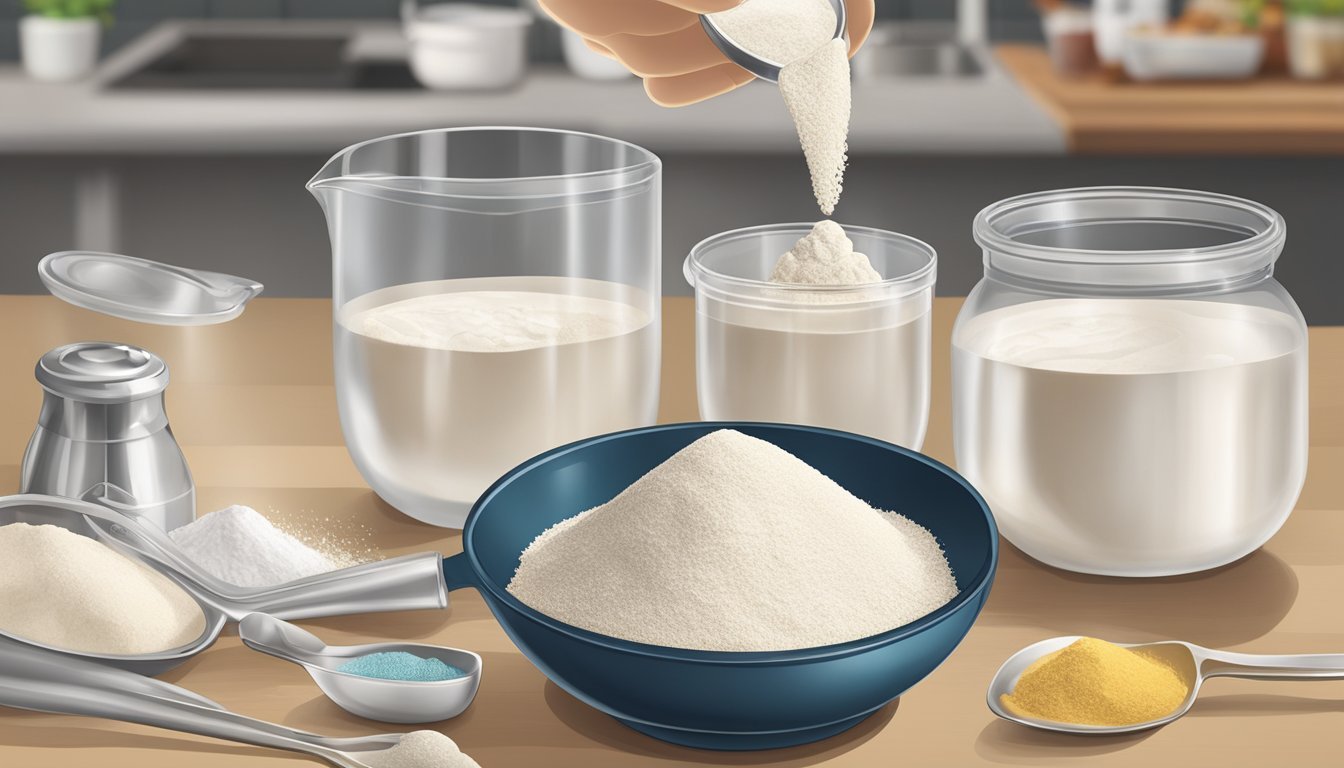
Using Measuring Cups
To measure dry ingredients such as flour:
Use dry measuring cups.
Spoon the ingredient into the cup until heaping.
Level off with a straight edge for an exact measure.
When measuring liquid ingredients:
Position the measuring cup at eye level on a flat surface.
Pour the liquid to the desired mark without lifting the cup.
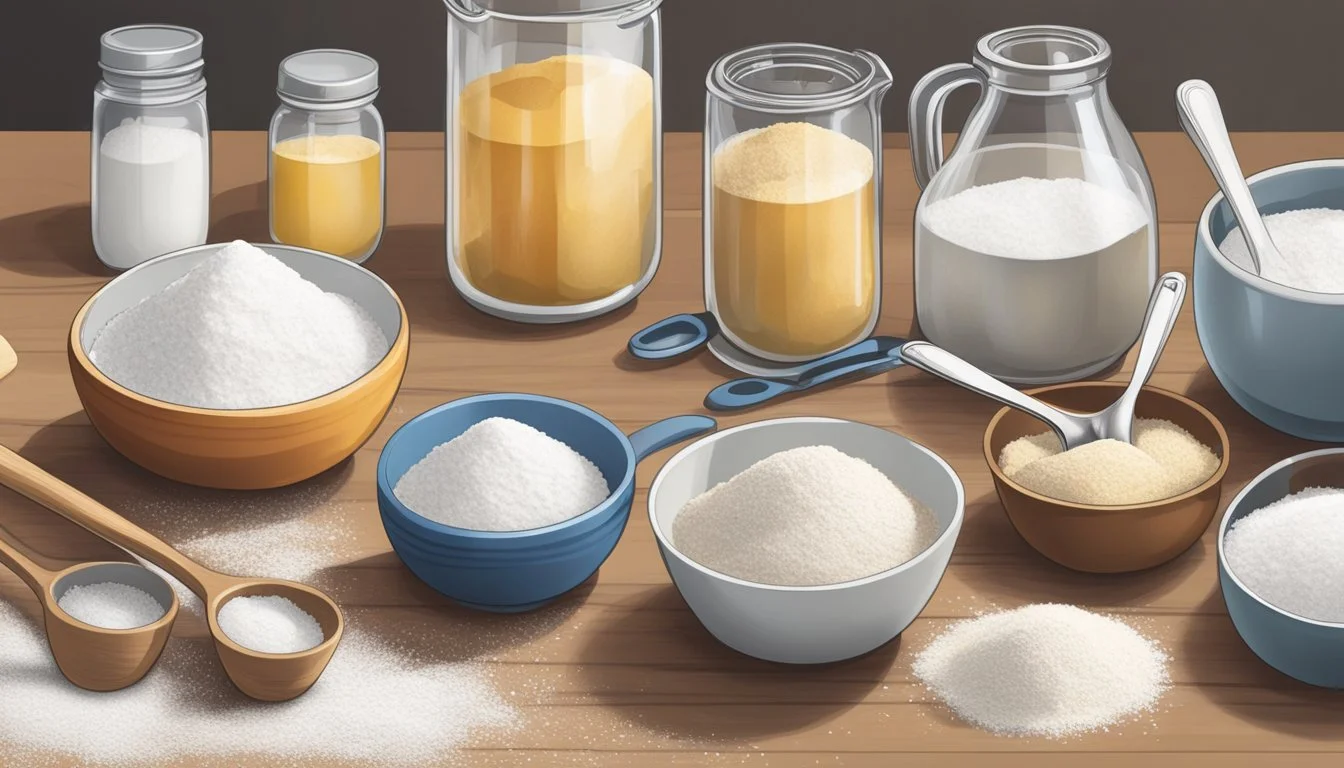
Using Measuring Spoons
For smaller quantities, especially of dry ingredients like yeast or salt, measuring spoons are essential. One should fill the spoon and level it off just like with dry measuring cups. To measure 3/4 teaspoon, for instance, combine 1/2 teaspoon and 1/4 teaspoon of the ingredient.
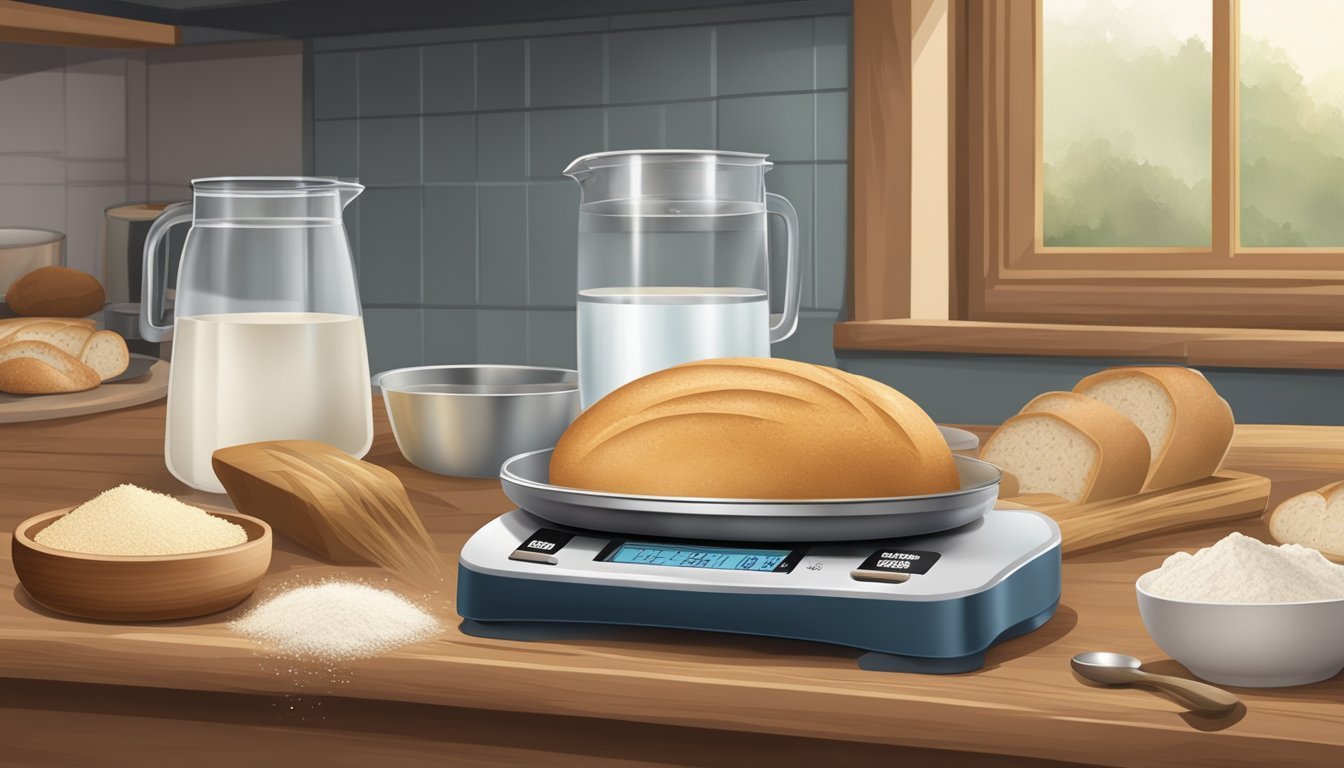
Using a Kitchen Scale
The most accurate method is to weigh your flour and other ingredients using a kitchen scale.
Set the scale to zero with the container on it before adding the ingredient.
Weigh each ingredient in grams for precise ratios and consistent results.
Preparing the Dough
Crafting the perfect homemade bread starts with precisely measured ingredients and follows a meticulous process of mixing, kneading, and allowing the dough to rise. The texture and quality of the dough at each stage determines the bread's final taste and structure.
Mixing the Ingredients
One begins by adding room-temperature water and yeast to a large mixing bowl, stirring until combined. The flour and salt are then introduced in the specified order, which is critical for the chemical reactions necessary in bread-making. A whisk is used to mix the dry ingredients before they are integrated with the wet. Some recipes may call for additional elements like sugar or fat at this stage.
Order of addition: Water, Yeast, Flour, Salt
Tools: Mixing bowl, Whisk
Kneading the Dough
The second step is to knead the mix, which can be done for 5 to 10 minutes by hand on a floured surface or with a dough hook attachment in a stand mixer. Kneading is essential for developing gluten, which provides the bread with structure and chewiness. The dough should transform into a smooth, elastic ball that is slightly tacky to the touch.
Duration: 5-10 minutes
Texture after kneading: Elastic and smooth
Tools: Dough hook (for stand mixer) or hands (for manual kneading)
First Rise: Proofing the Dough
After kneading, the dough requires a first rise, known as proofing. It is transferred to a lightly oiled bowl and covered to prevent drying. The bowl is placed in a warm area to allow the dough to double in size, a process that typically takes about 1.5 hours. The dough's readiness can be judged by the fingerprint test: if an indentation remains, the dough has sufficiently risen.
Location: Warm area
Time: Approx. 1.5 hours
Indicator of readiness: Fingerprint test
Shaping and Second Rise
Once the dough has doubled, it is punched down and shaped into loaves or other desired forms, being careful to maintain the dough’s structure. The shaped dough is then placed into bread pans or on baking sheets, covered again, and allowed to rise a second time until it puffs up nicely, usually less than the first rise. This second rise is crucial for fine-tuning the bread’s final volume and shape.
Tools: Bread pans, Baking sheets
Second rise duration: Less than the first rise
Consideration: Gentle handling during shaping
Baking Process

The baking process for homemade bread is a critical stage where precision and attention to time and temperature ensure a delicious outcome. Each step, from preheating the oven to testing for doneness, plays a vital role in crafting the perfect loaf.
Preheating the Oven
Before baking, one must preheat the oven to the correct temperature, which is commonly set between 350°F to 475°F depending on the bread recipe. Preheating the oven is essential to create a consistent environment for the bread to rise and form a crust. For most homemade bread recipes, allowing the oven to preheat for at least 15 to 20 minutes is recommended.
Baking the Bread
Once the oven is heated, place the dough into a 9" x 5" loaf pan or bread pan, which has been greased or lined to prevent sticking. Use bake mode to ensure even cooking. The baking time varies, but a standard loaf often takes about 30 to 45 minutes. A well-baked loaf should sound hollow when tapped on the bottom and have a golden brown crust.
Testing for Doneness
To ensure the bread is fully baked, one can use a digital thermometer to check the internal temperature. Insert the thermometer into the bread's center; a fully baked loaf typically reaches an internal temperature of 190°F to 210°F. If a thermometer is not available, carefully remove the loaf from the pan and tap on the bottom – a hollow sound indicates that the bread is likely done.
Post-Baking Activities

After the bread is baked, it enters a crucial stage where how it is handled can significantly influence its quality. Proper cooling and storing methods are key to maintaining the bread's texture and flavor.
Cooling
Once the bread is out of the oven, it should be transferred to a cooling rack to allow air circulation, which helps to prevent condensation and sogginess. The bread should be left undisturbed during this time to let the crust develop fully. Cooling on a rack ensures that all sides of the bread cool evenly. The bread should rest until it reaches room temperature before slicing to allow the crumb to set properly.
Storing Homemade Bread
Storing homemade bread is important to retain its freshness. Wrap the bread in plastic wrap or aluminum foil to protect it from air and moisture, or one can store it in a bread box or airtight container for better preservation. For leftover bread that has gone stale, consider repurposing it into bread crumbs or bread pudding to minimize waste. Stale bread can also be refreshed by heating it briefly in the oven. Bread is best enjoyed fresh, but these storage methods can extend its life for various uses, such as making sandwiches.
Variations and Tips
In the realm of homemade bread, slight adjustments can yield a variety of textures and flavors. From the choice of flour to the inclusion of mix-ins, each decision impacts the final product. An understanding of these variables can empower one to craft breads that cater to personal tastes or specific occasions.
White Bread and Wheat Bread
For white bread recipes, one typically uses refined white flour, which gives a soft and light crumb. To enhance nutritional value without compromising texture, bakers can substitute a portion of white flour with wheat flour—usually not exceeding a 1:3 ratio with white flour to maintain a delicate crumb. Full wheat breads provide denser textures and a robust wheat flavor, often benefiting from a touch of honey or molasses to balance the earthiness.
White Bread: 100% white flour, soft texture, mild taste.
Wheat Bread: Mix white flour with wheat flour (e.g., 1 cup wheat to 3 cups white), heartier texture, nuttier taste.
Rolls, Buns, and Artisan Shapes
The delightful versatility of bread extends into rolls and buns. One may create soft dinner rolls with a white bread recipe by dividing the dough into smaller portions and shaping accordingly. For attractive artisan shapes, such as baguettes or boules, a stiffer dough is preferred—it helps maintain the bread’s shape during baking. A well-floured surface and precise scoring are imperative for the perfect crust and shape.
Rolls/Buns: Portion white bread dough, shape, and allow for a second rise before baking.
Artisan Shapes: Firmer dough, shape on a floured surface, score the top, and bake with steam for a crispy crust.
Sweet and Savory Additions
Homemade bread can be transformed into a delicacy by incorporating sweet or savory components. Cinnamon rolls benefit from a blend of cinnamon and sugar rolled into the dough, which caramelizes upon baking. For a touch of sweetness in a white bread recipe, consider folding in chocolate chips. One can also adapt a base bread recipe into French toast by soaking slices in a sweetened, spiced egg mixture before frying. Additions such as nuts or dried fruits can offer contrasting textures and flavors in the bread.
Sweeteners: Add to dough to sweeten—honey, sugar, or maple syrup.
Nuts/Chocolate Chips: Fold into the dough after the first rise for flavor and texture.
By considering these variations and tips, bakers can confidently adjust their homemade bread recipes to achieve a desired outcome, whether that's tweaking a white bread recipe for more whole grain content, shaping dough into festive forms, or infusing their loaves with favorite flavors.
Troubleshooting
Ensuring precision in measuring ingredients and understanding how to adjust them is crucial for successful bread making. This section will guide you through common issues and how to correct ingredient measurements for optimal bread quality.
Common Baking Problems
Yeast Activation: When using active dry yeast, proofing is important. The water temperature should be between 105°F and 115°F for activation. If the yeast does not foam after 15 minutes, it may be inactive and require replacement. Instant yeast can be mixed directly with the flour without proofing.
Flour Type: Using the wrong type of flour affects the bread's texture. All-purpose flour is versatile, but unbleached bread flour has a higher protein content, ideal for a chewier texture. Cake flour, with lower protein, is not typically recommended for bread due to its finer texture.
Kneading: A tight, elastic texture of the dough indicates good gluten development. Over-kneading can lead to a dense bread, while under-kneading might not allow the dough to rise well.
Color and Crust: If the crust is too light, the oven temperature might be too low or baking time too short. For a golden brown crust, ensure correct oven temperature and consider an egg wash or milk brush before baking.
Adjusting Ingredients and Measurements
Dry Yeast Measurements:
2 and 1/4 teaspoons = 1 packet (or 1/4 ounce) of dry yeast
Measure dry yeast as you would baking powder or soda.
Hydration Corrections:
If the dough is too dry or stiff, add water, 1 tablespoon at a time.
For overly wet dough, incorporate more flour in small increments.
Yeast Variants:
Fresh yeast is less common but can be substituted for dry types. Use about three times the weight of dry yeast.
Sourdough starters require a balance between flour and water; maintain your starter consistency for a predictable result in your dough.
Texture Adjustments:
For a tender crumb, avoid adding excess flour during kneading.
If dough sticks to the bowl, add flour gradually until it releases but remains slightly tacky.
By adhering to these guidelines and making careful adjustments, bakers can troubleshoot and enhance the quality of their homemade bread.
Special Equipment and Techniques
The right equipment and methods ensure precision and consistency when preparing homemade bread. Each tool serves a specific function and can significantly affect the bread-making process.
Using a Stand Mixer
A stand mixer with a dough hook attachment is a baker's best ally for effectively combining ingredients and kneading dough. It maintains a consistent mix and speed, which is crucial for developing gluten. Users should start the mixer on a low setting to combine dry and wet ingredients and gradually increase the speed to prevent flour from spilling.
Baking with a Bread Machine
A bread machine simplifies the bread-making process by doing the mixing, kneading, proofing, and baking. Bakers just add the ingredients to the machine in the manufacturer-recommended order. Bread machines often come with various settings for different types of bread, allowing for a diverse range of recipes.
Alternative Baking Tools
For those without specialized mixers or machines, several basic tools can aid in bread preparation:
Spatula: Useful for scraping dough from the sides of mixing bowls.
Tea Towel: Ideal for covering dough during proofing to keep it warm and prevent it from drying out.
Wooden Spoon: A sturdy option for mixing ingredients when a stand mixer isn't available.
Baking Sheet: Necessary for shaping and baking free-form loaves of bread if a loaf pan isn't being used.
These tools demonstrate adaptability in the bread-making process, providing multiple avenues for bakers to achieve delicious homemade bread.
Exploring Bread Cuisines
Exploring the diverse world of bread cuisines reveals a rich tapestry of flavors and traditions, from classic sourdough starters to exquisite pizza doughs. Each culture brings a unique approach to baking with yeast, creating breads that are integral to their culinary identity.
Traditional Breads from Around the World
Sourdough Bread
Originating from ancient Egypt, sourdough bread is now synonymous with artisanal baking, especially in San Francisco. The bread's distinct tang comes from a sourdough starter—a fermented mixture of flour and water hosting wild yeast and bacteria. Bakers cherish their starters, some aged for decades, attributing to their loaves' unique characteristics.
French Baguette
France offers the world the iconic baguette, a staple for making delectable French toast. The baguette boasts a golden crust and airy interior, achieved by precise humidity control during baking. The French take their bread seriously, with laws defining the proper ingredients and methods for authentic baguettes.
Ciabatta
Italy's contribution, ciabatta, is perfect for sandwiches or accompanying meals. This bread is known for its olive oil-rich dough, which creates a chewy texture and a porous crumb structure. Ciabatta, like many Italian breads, involves a high-hydration dough, resulting in large air pockets and a soft interior.
Naan
Echoing from the tandoors of India, naan bread is essential with curries and stews. Made with yeast, yogurt, and milk, it's rolled out thin and slapped against the hot walls of a tandoor oven, puffing rapidly and obtaining a unique smoky taste.
Country Bread Type Distinct Feature Egypt/Global Sourdough Sourdough starter with wild yeast France Baguette Crunchy crust, ideal for French toast Italy Ciabatta High hydration, olive oil-enriched dough India Naan Soft and puffy, cooked in a tandoor oven
Specialty Breads for Dietary Needs
Gluten-Free Bread
For those with gluten intolerance, gluten-free breads offer a suitable alternative. These breads usually incorporate a mix of rice flour, almond meal, and xanthan gum to replicate the texture of standard wheat bread. Bakers use precise measurements to balance these ingredients, ensuring the dough has the right consistency without gluten's binding properties.
Keto Bread
Individuals following the ketogenic diet often turn to keto bread, which is low in carbohydrates and high in fats. Almond flour or coconut flour replaces traditional wheat flour, and eggs and psyllium husk powder are commonly used to provide structure. Pizza dough can also be adapted for a keto diet by substituting the flour for low-carb alternatives.
Specific Need Bread Type Key Ingredients Gluten-free Gluten-free Rice flour, almond meal Ketogenic Keto Bread/Pizza Dough Almond or coconut flour, psyllium husk
Breads are a reflection of cultural heritage and local practices. Bakers adjust their techniques and ingredient blends to create breads that not only meet dietary requirements but also honor the essence of traditional recipes. Whether one is crafting a robust sourdough or a delicate pizza dough, understanding the diverse cuisines of bread is pivotal in mastering the art of baking.
Decorative and Serving Suggestions

When baking homemade bread, one can elevate both its visual appeal and taste with creative toppings and glazes. It’s equally important to consider how to serve the bread to enhance the overall dining experience.
Creative Toppings and Glazes
Toppings and glazes add both flavor and aesthetic appeal to homemade bread. A simple yet elegant choice is a dusting of cocoa powder before baking, which can impart a subtle chocolate hint. For a glossy finish, bread could be brushed with a glaze made from molasses and brown sugar, which not only adds a rich color but also a deep, caramelized flavor. Additionally, combining melted chocolate chips with a bit of olive oil can create a decadent chocolate drizzle perfect for sweet bread varieties. To further enhance the looks and taste, one might sprinkle strawberry or raspberry pieces atop before baking, giving the bread a fruity contrast.
Serving Homemade Bread
Displaying and serving homemade bread is an important aspect of the culinary experience. After baking, a light spritz of canola oil or cooking spray can give the bread a desirable sheen, making it look fresh and appetizing. When serving bread as toast, accentuate its flavor by drizzling with a high-quality olive oil or topping it with a pat of butter and a sprinkling of brown sugar and cocoa powder. The balance between the sweetness of the sugar and the bitterness of the cocoa can enhance the bread's natural flavors.
