
How to Measure Ingredients for a Homemade Cookie Recipe
Precision Baking Tips

Measuring ingredients accurately is crucial in baking, especially when creating homemade cookie recipes. Even slight deviations in measurement can lead to noticeable changes in flavor, texture, and appearance. Therefore, understanding the correct techniques for measuring various components, be it flour, sugar, or chocolate (What wine goes well with chocolate?) chips, can mean the difference between a good batch of cookies and a great one. For many home bakers, the quest to bake the perfect chocolate chip cookie is a testament to their skill in precision and adherence to the recipe.
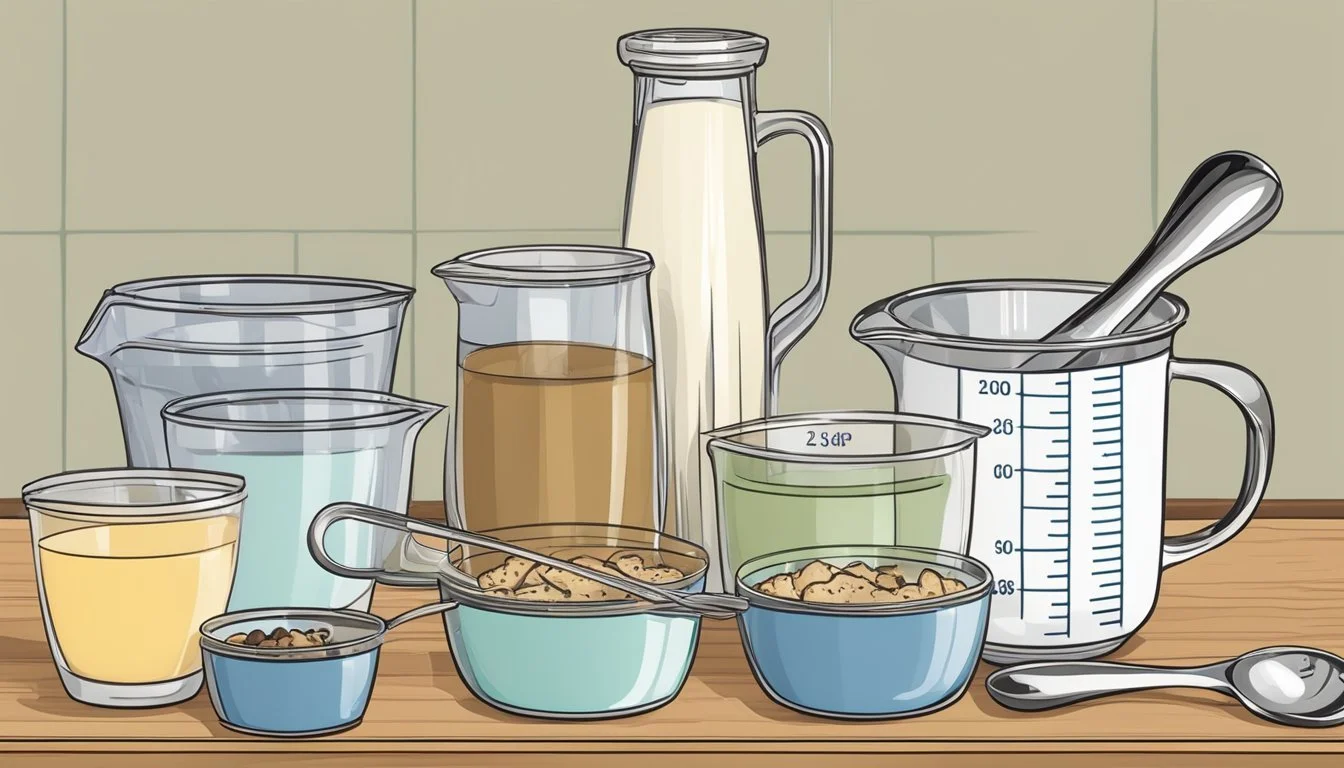
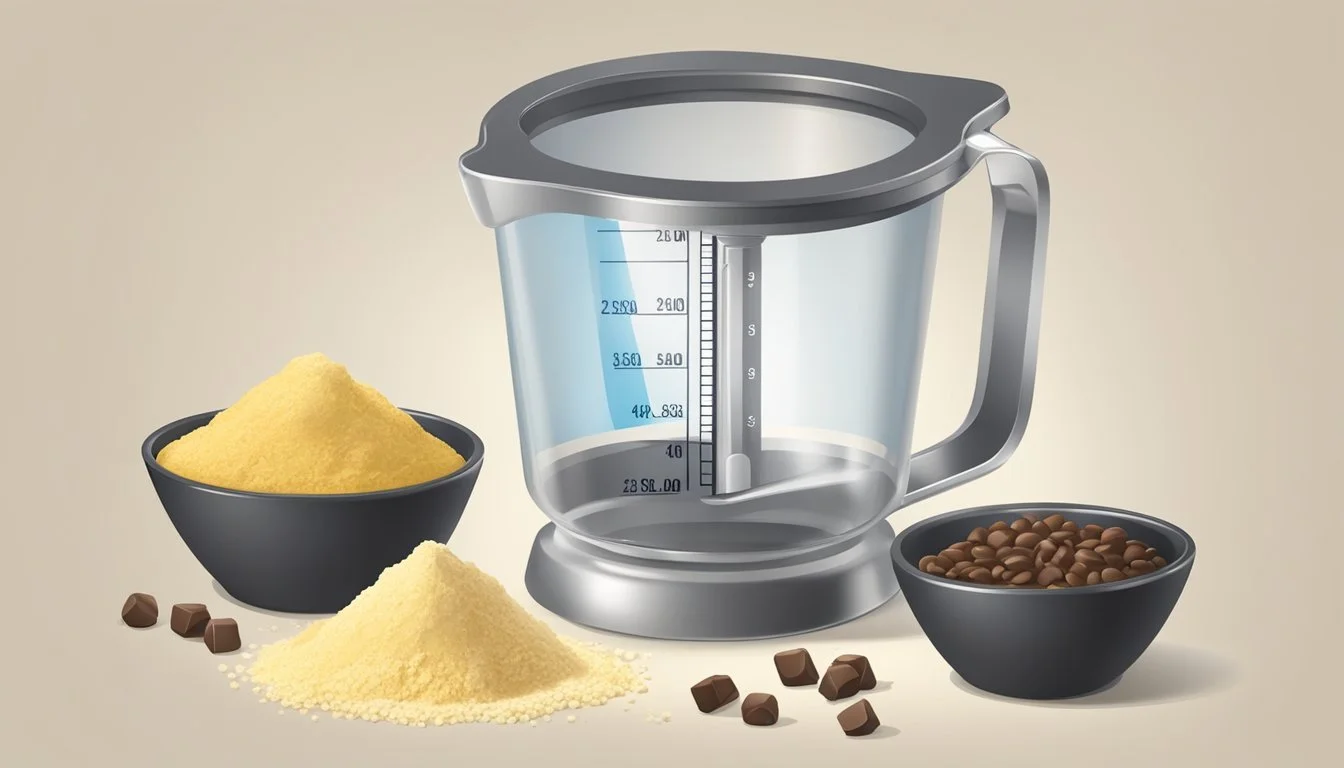
To start, it is essential to use the right tools for measuring. Dry ingredients like flour and sugar should be measured with nesting cups that allow for scooping and leveling off with a straight edge for accuracy. This method avoids packing into the cup and adding too much to the dough. Liquid ingredients, on the other hand, should be measured in clear measuring cups designed for liquids, with measurements read at eye level to ensure the correct amount. Measuring by weight using a kitchen scale can further enhance precision, as it eliminates the inconsistencies of measuring by volume.
In baking homemade cookies, not only the measurements but also the sequence and combination of ingredients impact the final product. Creaming butter and sugar until fluffy integrates air and ensures a tender texture, whereas mixing in eggs and vanilla contributes to richness and flavor. For chocolate chip cookies, the addition of chocolate chips is the signature move, and how one incorporates them into the dough can vary—some recipes call for folding them in until just distributed, maintaining the integrity of the chips. By following the recipe closely and respecting the art of measurement, one can become adept at creating homemade cookies that are consistently delightful and satisfying.
Understanding Ingredients

In crafting the perfect homemade cookie, using the proper ingredients is paramount. Each component – from the type of flour to the kind of sugar and fat – directly influences the cookie's texture, flavor, and rise.
Types of Flour
Flour provides the structure for cookies. All-purpose flour is commonly used for its versatility, while bread flour can give cookies a chewier texture due to a higher protein content. To ensure accuracy, one should spoon the flour into a measuring cup and level it off with a knife.
Sugar Varieties
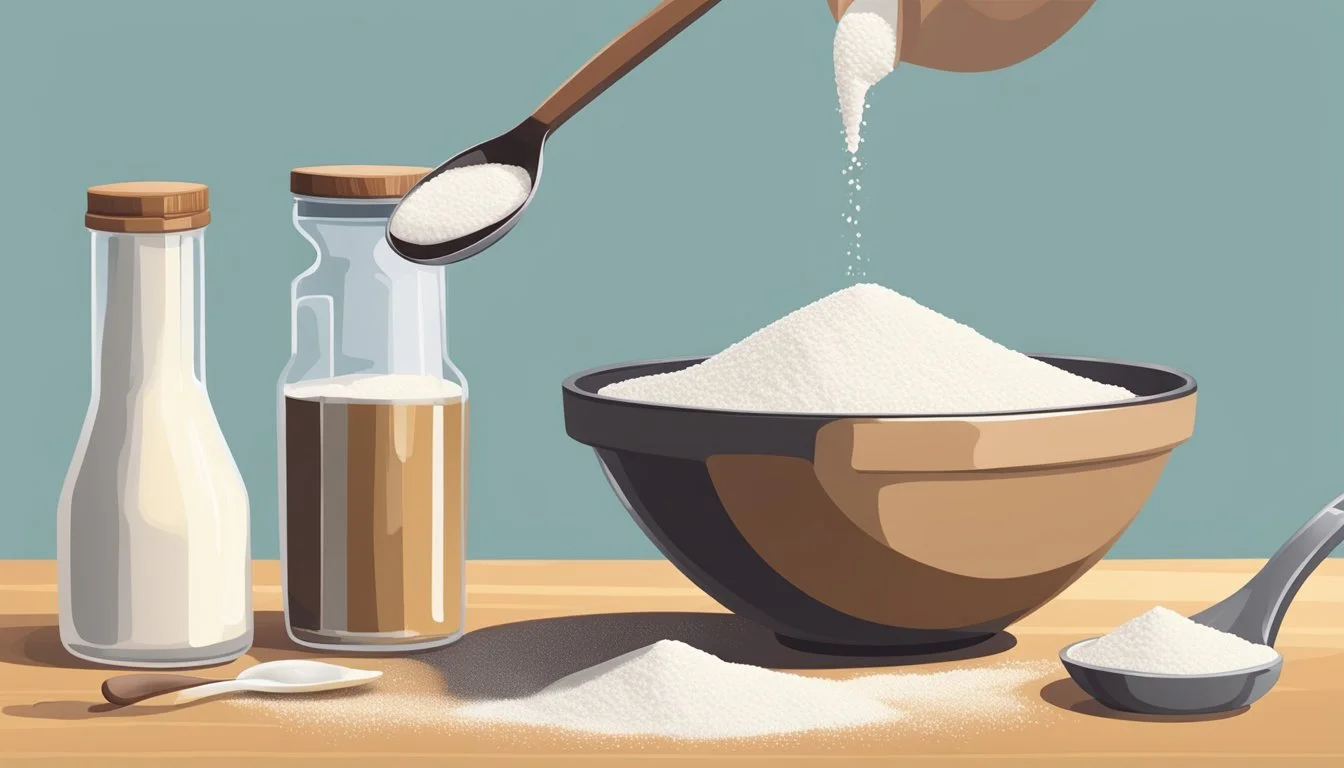
The type of sugar used will affect the sweetness and texture of cookies. Granulated sugar creates a crisper texture, while brown sugar lends to moisture and a subtle molasses flavor. One should measure sugar by packing brown sugar into the measuring cup, whereas granulated sugar should be spooned in and leveled off.
Fats in Cookie Recipes
Fats, like butter or shortening, contribute to the richness and spread of a cookie. Unsalted butter is preferred for control over the cookie's salt content. Butter should be softened before creaming with sugar for even distribution.
Eggs and Their Function
Eggs bind ingredients together and add moisture. They should be at room temperature for more volume when mixed. One typically beats the egg until it's fully incorporated into the cookie dough.
Leavening Agents
Leavening agents, such as baking soda, help cookies rise. This ingredient should be measured precisely, using a measuring spoon, to avoid overexpanding the cookies. A small amount often suffices - usually around one teaspoon for a batch.
Additional Flavorings
Vanilla extract, chocolate chips, nuts, or even peanut butter chips enhance the flavor of cookies. These should be measured with standard measuring cups or spoons. For vanilla extract, a teaspoon is a common measurement to impart its sweet aroma.
By understanding the roles and proper measurement of each ingredient, bakers optimize their chances of achieving the intended outcomes of their cookie recipes.
Measuring Equipment
For consistent results in homemade cookie recipes, selecting the right measuring equipment is crucial. Accuracy in measurement ensures that cookies have the correct texture, structure, and flavor.
Using Measuring Cups
Measuring cups are fundamental tools for any baker. They come primarily in two types: one for liquid ingredients and the other for dry ingredients. For dry ingredients like flour or sugar, it's important to use nested measuring cups that come in standard sizes of 1 cup, 1/2 cup, 1/3 cup, and 1/4 cup. The correct technique involves filling the cup and leveling off the excess with a straight edge, ensuring a precise measure. Liquid measuring cups should have clear markings and a spout for pouring; ingredients like milk or oil need to be measured at eye level to ensure accuracy.
The Role of Spoons
Measuring spoons fill the gap for smaller quantities that are crucial for the balance of flavors. A standard set includes sizes of 1 tablespoon, 1 teaspoon, 1/2 teaspoon, and 1/4 teaspoon. These spoons are used for both liquid and dry ingredients; they offer precision for smaller measures such as vanilla extract or baking powder, where even slight deviations can affect cookie quality.
Precision Tools
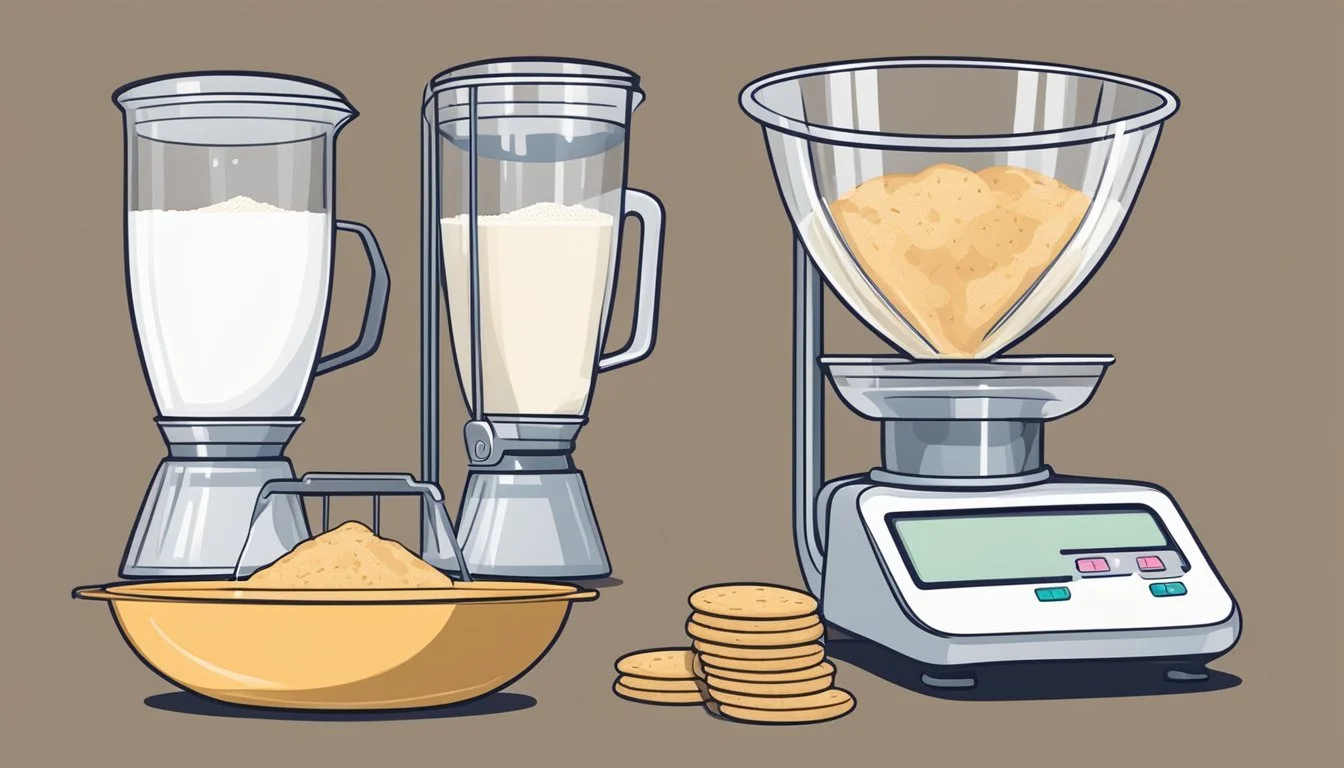
For those who take their baking seriously, precision tools can enhance the baking experience and outcome. A kitchen scale provides the most accurate way to measure ingredients, particularly for flour, which can vary in density. A sift is important for not only measuring flour but also for incorporating air and removing lumps, leading to a lighter, more consistent cookie. A cookie scoop ensures uniform size and baking time for each cookie. Lastly, an oven thermometer is a critical tool; even slight temperature differences can impact baking significantly, and many ovens are inaccurately calibrated.
When put to proper use, these tools can improve not only the process of making cookies but also the final baked product.
Preparing to Measure
Proper measurement of ingredients is critical for the success of homemade cookies. The precision ensures flavors balance and textures achieve the desired outcome. Each ingredient must be prepared correctly before combining them to create the dough.
Prepping Dry Ingredients
When measuring dry ingredients such as sugar or flour, consistency is key. One should use measuring cups meant for dry components and spoon the ingredient into the cup until it's heaped above the rim. A straight-edged tool, like the back of a knife, is then used to level it off. For ingredients that can clump, like brown sugar, they should be pressed into the measuring cup until it's packed and leveled off the same way. Flour should always be fluffed in its container before spooning it into a measuring cup to avoid packing and thus adding too much to the dough. Using parchment paper can simplify transferring measured dry ingredients to a mixing bowl, reducing mess and waste.
Materials for Prepping Dry Ingredients:
Measuring cups and spoons
Straight edge for leveling
Parchment paper (optional)
Softening Butter and Other Fats
Butter plays a vital role in cookie texture and should be at room temperature before creaming with sugar. Room temperature butter is soft but not melted. It allows for the butter to combine evenly with sugar, creating a uniform mixture that results in a consistent texture throughout the cookie. One can soften butter quickly by cutting it into small pieces and leaving it out for a short period. Alternatively, placing a cold stick of butter under a warm glass can soften it without melting it.
Butter Consistency:
Too Hard: Difficult to mix, can result in uneven texture.
Just Right: Soft to the touch but still holds its shape.
Too Soft: If it begins to melt or lose its shape easily, it's overly soft.
Egg Temperature
Eggs should also be at room temperature before adding them to the batter. Room temperature eggs mix more easily and evenly, ensuring a smoother batter. To bring eggs to room temperature quickly, one can place them in a bowl of warm water for several minutes. This gentle warming method prevents cooking the eggs but brings them to the ideal temperature for baking.
Mixing Techniques

Proper mixing techniques are fundamental in achieving the desired texture and structure in homemade cookies. Each approach to combining ingredients impacts the final product, from how tender and crumbly to how light and fluffy a cookie turns out. Precision and timing are key components of successful cookie-making.
Creaming Butter and Sugar
To start, one should cream butter and sugar together until the mixture becomes fluffy and light in color. This process incorporates air into the butter, aiding in the leavening and producing a finer crumb. It is essential to use room-temperature butter as it creams more effectively than cold butter.
Steps for Creaming:
Ensure butter is at room temperature.
Beat butter on its own until it's smooth.
Gradually add sugar and beat until mixture is fluffy and lighter in color.
Incorporating Dry and Wet Ingredients
Once creaming is complete, the next step involves adding dry and wet ingredients. The dry ingredients should be mixed prior to incorporating them into the creamed butter and sugar to ensure even distribution of leavening agents and flavors.
Dry Ingredients:
Whisk together flour, baking powder, salt, etc.
Gently fold into the creamed mixture in batches to avoid over-mixing, which can lead to tough cookies.
Wet Ingredients:
Eggs, vanilla, or other flavorings should be added one at a time, mixing just until incorporated.
To Beat or Not to Beat
The extent of beating the dough depends largely on the type of cookie being made. For most cookies, over-mixing the dough can result in a tough end product due to development of gluten.
Guidelines for Beating:
Shortbread cookies: Mix until ingredients are just combined for a short, tender crumb.
Chewy cookies: Beat just enough to incorporate ingredients while maintaining some chewiness.
Cake-like cookies: One can beat slightly longer to create a more fluffy and light texture.
Keeping these techniques in mind, one can ensure their dough has the right consistency and texture for a variety of cookie styles.
Tips for Better Baking

Ensuring your ingredients are measured accurately and understanding your oven's characteristics are pivotal for baking success. Here's how to navigate common pitfalls and achieve the perfect bake.
Avoiding Common Pitfalls
Bakers should always measure ingredients like milk or flour with precision, as too much flour can lead to dense cookies. They must utilize the right techniques for measuring dry ingredients: spoon the flour into a measuring cup and level it off with the back of a knife without packing it down. The use of baking powder should be exactly as prescribed in the recipe since alterations could affect the texture, causing cookies to be too flat or too cake-like.
Properly preparing the baking sheets can make or break a cookie bake. Bakers should opt for light-colored baking sheets, as dark ones can cause the bottom of cookies to overcook, leading to undesired crispiness. Positioning the cookies on the middle oven rack and ensuring the oven is preheated to the correct temperature are essential steps. It is generally recommended to refrigerate cookie dough before baking to help maintain the cookie's shape and improve texture, leading to a more chewy and moist outcome.
Achieving the Perfect Bake
Every oven has its unique characteristics; hence, the baker must know their oven's hot spots and tendencies. They should rotate baking sheets halfway through the baking process to ensure an even bake. If multiple sheets are used, they can switch the oven racks they occupy midway through baking.
For a chocolate chip cookie with a chewy center and crispy edges, the baker should keep an eye on the baking time — a minute too long in the oven can change the texture dramatically. Once out of the oven, allowing cookies to cool on the baking sheet for a few minutes before transferring to a wire rack can help set the structure, ensuring they're not too fragile.
In terms of storage, cookies should be completely cooled before being stored in an airtight container to retain their moisture. To enjoy cookies at a later time, they can be frozen and then thawed at room temperature or gently warmed in the oven to restore the fresh-baked quality.
Portioning and Baking
Portioning and baking are crucial steps in the cookie-making process to ensure uniformity and optimal baking results. Accurate measurements and the right tools can noticeably elevate the final product.
Rolling and Cutting Dough
When preparing dough for roll-out cookies, it’s important to achieve a uniform thickness. This ensures even baking and consistent texture. Bakers typically roll their dough out on a floured surface to prevent sticking. They may use a rolling pin with adjustable rings for precision or spacers to maintain an even thickness. Once rolled out, it's time to cut shapes using cookie cutters, then transfer them to a baking sheet lined with parchment to prevent sticking.
Scooping for Consistency
For drop cookies, such as chocolate chip or oatmeal raisin, consistent sizing is key for uniform baking. A cookie scoop can be used to measure and portion dough, which helps cookies to bake evenly and come out uniformly round. The scoops are available in different sizes, and one should choose based on the desired cookie size. It’s also beneficial to chill the dough slightly to retain the shape better and for more controlled spreading during baking.
Utilizing the Right Baking Sheet
The choice of baking sheet can significantly impact how cookies bake. A heavy-gauge baking sheet promotes even heat distribution, reducing the chance of burnt bottoms. For best results, line the baking sheet with parchment paper, which not only prevents sticking but also allows for easy cleanup. Baking from frozen is an option for those who portion and freeze dough ahead of time—it may require an extra couple of minutes in the oven but results in a fresh-baked taste. For bar cookies, one spreads the dough evenly in the pan; these typically have a longer baking time due to their thickness.
Finishing Touches
After cookies have been removed from the oven, proper cooling and storage are crucial for maintaining their texture and flavor. One can also add a personal touch by decorating the cookies.
Cooling and Storing Tips
Once cookies are baked to a golden edge, they should be transferred to a cooling rack to ensure even air circulation. It's important to let them cool just enough so they retain their shape but are still slightly warm to the touch before storing. Cookies should be stored in an airtight container to preserve their freshness. If one's baking has resulted in extra crispy cookies, they can place a slice of bread in the container to introduce moisture and soften them slightly.
Decorating Your Cookies
Decoration should commence only after cookies are completely cool to the touch. If they're too warm, icing may melt and decorations will not adhere properly. For those who choose to decorate, a few simple additions like a drizzle of melted chocolate or a dusting of powdered sugar can greatly enhance the visual appeal. A piping bag can be used for intricate designs or writing on the cookies, should the occasion call for it.
Troubleshooting Common Issues

When preparing cookies, bakers often face challenges with texture and baking outcomes. Addressing these problems requires an understanding of ingredient ratios, mixing techniques, and oven behavior.
Cookie Texture Problems
Dry Ingredients Precision:
Incorrectly measured dry ingredients can lead to texture issues. A baker should use a scale for accuracy or the "spoon and level" method for cups. Too much flour can result in dry or crumbly cookies, while too little may cause cookies to be too flat or greasy.
Crispy versus Chewy:
To achieve crispy cookies, one might increase the amount of sugar and butter, as both promote spreading and browning. For chewier cookies, they could add an extra egg yolk, use brown sugar, and ensure not to overmix the dough after adding flour to retain some moisture.
Beating Techniques:
Overbeating can incorporate too much air, creating a cake-like texture. Bakers should beat the butter and sugar just until combined and creamy.
Baking Mishaps
Cookie Spread:
If cookies spread too much, one might check for expired leavening agents such as baking soda or powder. They should also chill the dough before baking to prevent excess spreading.
Oven Calibration:
An oven running cooler than indicated can lead to underbaked cookies, while a hotter oven may cause cookies to over-brown. Bakers are encouraged to use an oven thermometer to verify temperature accuracy.
Table for Troubleshooting Cookie Sweetness:
Ingredient Adjustments Less Sweet More Sweet Sugar Reduction/Addition Reduce sugar by 1/4 cup Increase sugar by 1/4 cup Type of Sugar Use white granulated sugar Use more brown sugar
By adhering to precise measurements, understanding the function of ingredients, and monitoring baking conditions, bakers can adeptly navigate common cookie-making issues.
Enhancing Nutritional Value
When preparing a homemade cookie recipe, one can improve the nutritional profile by making simple ingredient substitutions and additions. This approach maintains the classic appeal of cookies while making them more beneficial for one's diet.
Whole Grains: Swap out all-purpose flour for a whole grain alternative like whole wheat or oat flour. Whole grains retain more nutrients and fiber compared to their refined counterparts.
Sugar Alternatives: Consider reducing sugar and using alternatives like apple sauce or mashed bananas. These provide natural sweetness along with additional nutrients and fiber.
Healthy Fats: Replace butter with unsaturated fats, like coconut oil, or incorporate nuts and seeds which offer omega-3 fatty acids.
Protein Boost: Add a protein powder or use nut butters to increase the protein content, which can help with satiety and muscle repair.
Add-ins:
Nuts and seeds: They provide healthy fats and can increase the protein quotient.
Dried fruits (What wine goes well with dried fruits?): Offer a sweet flavor along with vitamins and fiber.
In the recipe, when they whisk together wet ingredients, consider incorporating ingredients like Greek yogurt for a protein-rich alternative to traditional fats.
Fiber-Rich Choices:
Substitute a portion of the flour with ground flaxseeds or bran.
Add oats or chia seeds for a texture and fiber boost.
Be mindful of portion sizes and nutrition facts when making these adjustments to ensure the cookies contribute positively to the dietary pattern. These choices can make a substantial difference in the nutritional value of the recipe while maintaining delicious results.
Expanding Your Cookie Repertoire
Crafting the best chocolate chip cookies requires not only precision in measurement but also an adventurous spirit in the kitchen. This section delves into how bakers can explore different variations and experiment with add-ins to elevate their homemade cookies from delicious to irresistible.
Exploring Variations
To explore variations in your cookie recipes, one should consider the foundation: flour. The type of flour used can impact the texture, with all-purpose flour generally yielding a classic chocolate chip cookie. For those seeking a chewier bite, bread flour can be substituted, as its higher protein content encourages more gluten formation.
Different Cookie Bases and Their Textures:
All-Purpose Flour: Classic texture
Bread Flour: Chewier, more elastic
Cake Flour: Softer, tender cookies
Branching out from the traditional chocolate chip cookie can lead to delightful discoveries. For example, peanut butter cookies offer a rich, savory note that pairs wonderfully with chocolate chips.
Experimenting with Add-Ins
Venturing beyond the standard recipe to include a range of nuts or other chocolaty add-ins can transform a simple batch of chocolate chip cookies into a gourmet experience. The key to success with add-ins is balance—ensuring that each cookie has a harmonious mix of flavors and textures without any single element overpowering the rest.
Suggested Add-Ins:
Nuts: Chopped walnuts, pecans, or almonds for a crunchy texture
Chocolate Varieties: Mix of dark, milk, and white chocolate chips for depth of flavor
Unique Extras: Dried fruits, toffee bits, or sea salt for a flavor twist
When one experiments with various add-ins, it's vital to keep the foundational dry ingredient measurements precise to maintain the structured outcome of the cookies. By adhering to the fundamentals of measuring and then branching out with creative mix-ins, bakers can consistently produce high-quality cookies that tempt the palate and expand their cookie repertoire.
Advanced Cookie Baking Techniques
Optimizing your cookie crafting involves mastering certain techniques and heeding professional advice to elevate the classic homemade treat. It ensures each batch turns out buttery, gooey, and irresistibly good.
Professional Tips for Perfection
Creaming: One of the most critical steps in advanced cookie baking is the creaming method. They should combine room-temperature butter with sugar until the mixture is not just mixed, but smooth and fluffy. This incorporation of air lays the foundation for a well-risen cookie with a tender crumb.
Temperature: Use an instant-read thermometer to check that the butter is at the ideal creaming temperature of around 65-67°F (18-19°C).
Duration: Continue to cream for 5 to 7 minutes on a medium speed for optimal aeration.
Classic Techniques Refined: While simple in theory, techniques like scooping and leveling flour should be done with a precision that goes beyond the basics. They should fluff up the flour before gently spooning it into a measuring cup and leveling it off with a straight edge.
Consistent Scooping: Use a spring-loaded ice cream scoop for uniform cookie sizes.
Chilling: Resting the dough in the refrigerator for 24 to 36 hours can result in a more complex flavor profile and prevent excessive spreading.
Learning From Experts
Video Guides: For those who learn best visually, seeking out video tutorials from experts such as Betty Crocker can be invaluable. These resources often provide step-by-step demonstrations of sophisticated techniques and secrets known to seasoned bakers.
Technique Demonstrations: Look for videos that show the nuances of mixing doughs to the perfect consistency.
Hands-On Classes: Consider enrolling in a local baking class or workshop where experienced instructors provide real-time feedback on techniques.
Direct Instruction: From creaming to measuring ingredients, instructors can provide the immediate guidance needed for improvement.
Live Practice: Workshops may present opportunities to learn advanced decorating and finishing touches that make each cookie a work of art.
Employing these advanced techniques and leveraging tips from professional bakers can dramatically improve the quality of homemade cookies. Whether it's achieving the perfect creaming of butter and sugar or following through on lessons from a Betty Crocker video guide, these small steps lead to noticeable enhancements in the final product.
A Cookie Baking Journey
Embarking on the adventure of baking homemade chocolate chip cookies is a rewarding endeavor. The pursuit of that classic, sweet, and gooey delight requires a firm grasp on the basics of measuring ingredients.
The Foundation: Every successful batch begins with precision. An aspiring baker must understand that the measurement of flour is critical. They must gently spoon it into a measuring cup and level it off with a straight edge—a method that ensures the lightness of flour and the desired cookie texture.
Mixing the Sugars: A combination of brown and white sugars often contributes to the irresistible taste of chocolate chip cookies. The baker beats these with softened butter until the mixture reaches a fluffy consistency. Although the sugar may no longer be visible, its slight graininess should still be perceptible.
Adding the Eggs: For that extra richness, eggs are beaten into the mixture until well blended. The eggs act as a binder, giving the cookies their structure.
The Chocolate Chips: Decadence comes in the form of chocolate chips, the star of these cookies. They're folded into the dough, distributed evenly to ensure every cookie has its share of chocolate.
Ingredient Measurement Preparation Flour Accurate Cups Spooned and leveled Sugars Cups Fluffy blend with butter Eggs Number as called for Well mixed Chocolate Chips Cups Evenly folded
In their pursuit, bakers should heed the guidance of trusted sources, like Betty Crocker, to guide them through this straightforward yet delicate process. Precision, attention to detail, and faithful adherence to the recipe pave the way for a batch of delicious, homemade chocolate chip cookies.
