
How to Measure Ingredients Accurately for Perfect Homemade Scones

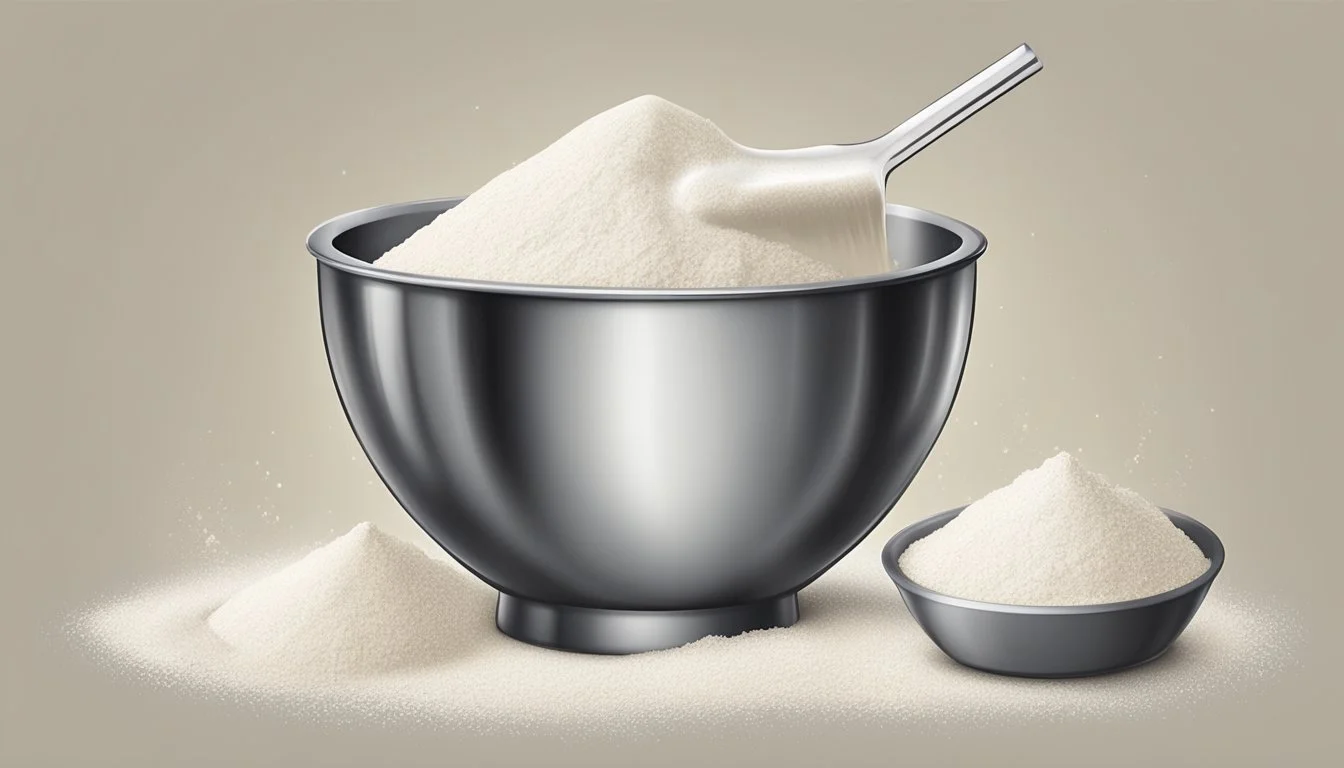
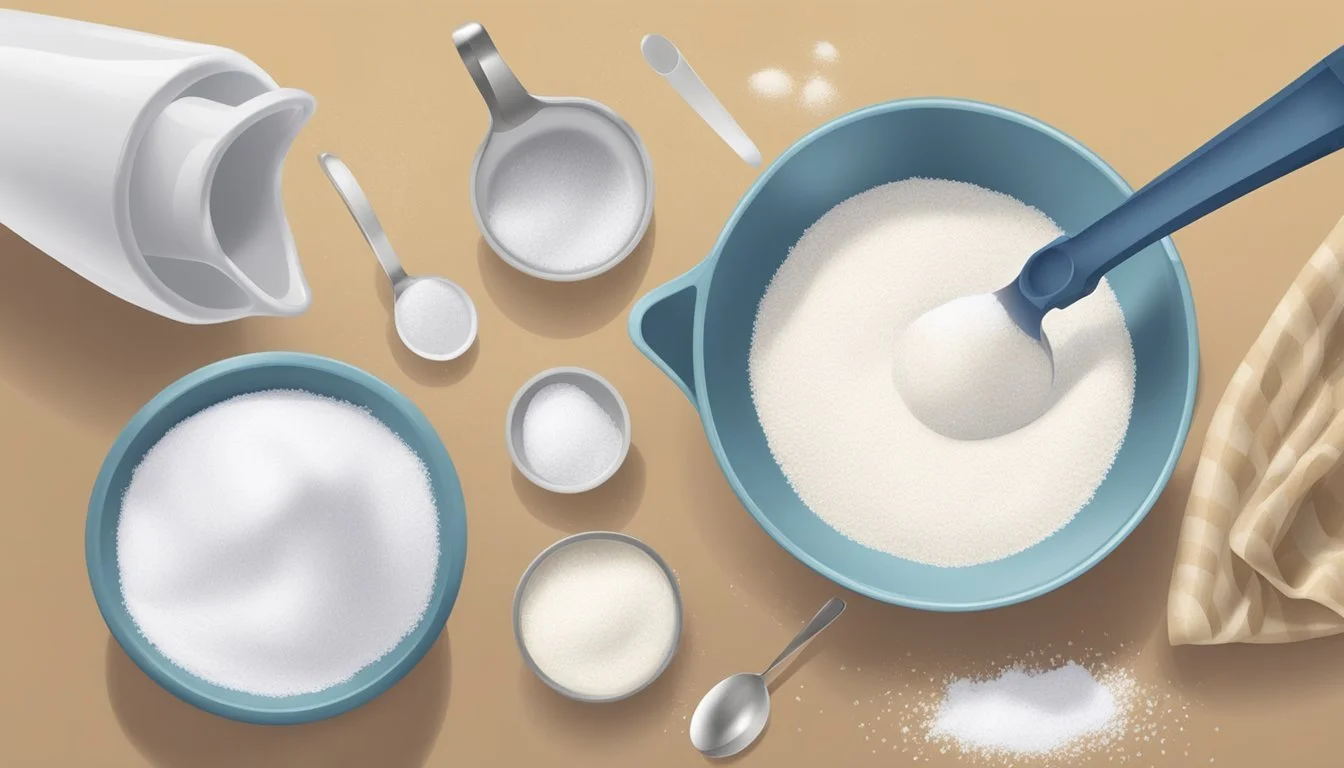
Measuring ingredients accurately is crucial when making homemade scones. Scones are a delightful treat that can be enjoyed at any time of the day, and their success largely depends on the precision of measurement. For scones to achieve that perfect tender crumb on the inside and a delicate golden crust on the outside, the balance of ingredients must be exact.
Accurate measurement ensures that the dough has the right consistency, which is neither too dry nor too wet. This balance impacts how the scones rise and set, which is essential to creating the ideal texture. A home baker must understand the importance of using correct measuring tools for the flour, sugar, baking powder, and butter, among other ingredients, to ensure consistency in their scones recipes.
Additionally, the way in which ingredients are combined makes a difference in the end product. The technique of cutting butter into the dry ingredients, for instance, should be done with care to create the layers that are characteristic of a flaky and light homemade scone. It is therefore imperative for home bakers to not only measure ingredients correctly but also to execute the steps of their scone recipe with precision.
Understanding Scone Basics
In crafting a homemade scone recipe, it is crucial to grasp the roots and diversity of scones, as well as the nutritional content they offer. These insights will aid in tailored recipe modification and meeting dietary preferences or needs.
History and Varieties
The scone, traditionally a Scottish quick bread, has evolved with numerous variations around the globe. In the United States, scones are often richer and sweeter, while a British scone is more likely to be subtler in sweetness and enjoyed with clotted cream and jam. American scones might incorporate fruits, nuts, or chocolate, whereas British scones are frequently served plain or with currants. Additionally, scone recipes can be adapted to cater to dietary restrictions, such as vegan or gluten-free options.
Nutritional Information
A standard scone's nutritional profile can differ significantly based on ingredients and portion size. However, here is a general breakdown of what one might expect in a typical scone:
Nutrient Type Amount* Calories 150-250 Protein 2-4g Carbohydrates 20-30g Sugars 3-10g Fiber 1-2g Saturated Fat 2-5g Cholesterol 10-20mg Sodium 100-300mg Calcium Varies Iron Varies Vitamin A Varies
*The amounts are approximate and can vary depending on the recipe.
They are rich in carbohydrates, which provide quick energy. Sugar is commonly present to enhance flavor, while ingredients like butter or cream contribute to the scone’s saturated fat and cholesterol content. The use of whole grains can increase fiber, and dairy elements may offer some calcium and vitamin A. One should also be mindful of the sodium content, which can be modified by adjusting the amount of salt in the recipe. The presence of iron is contingent on the flour and other ingredients used.
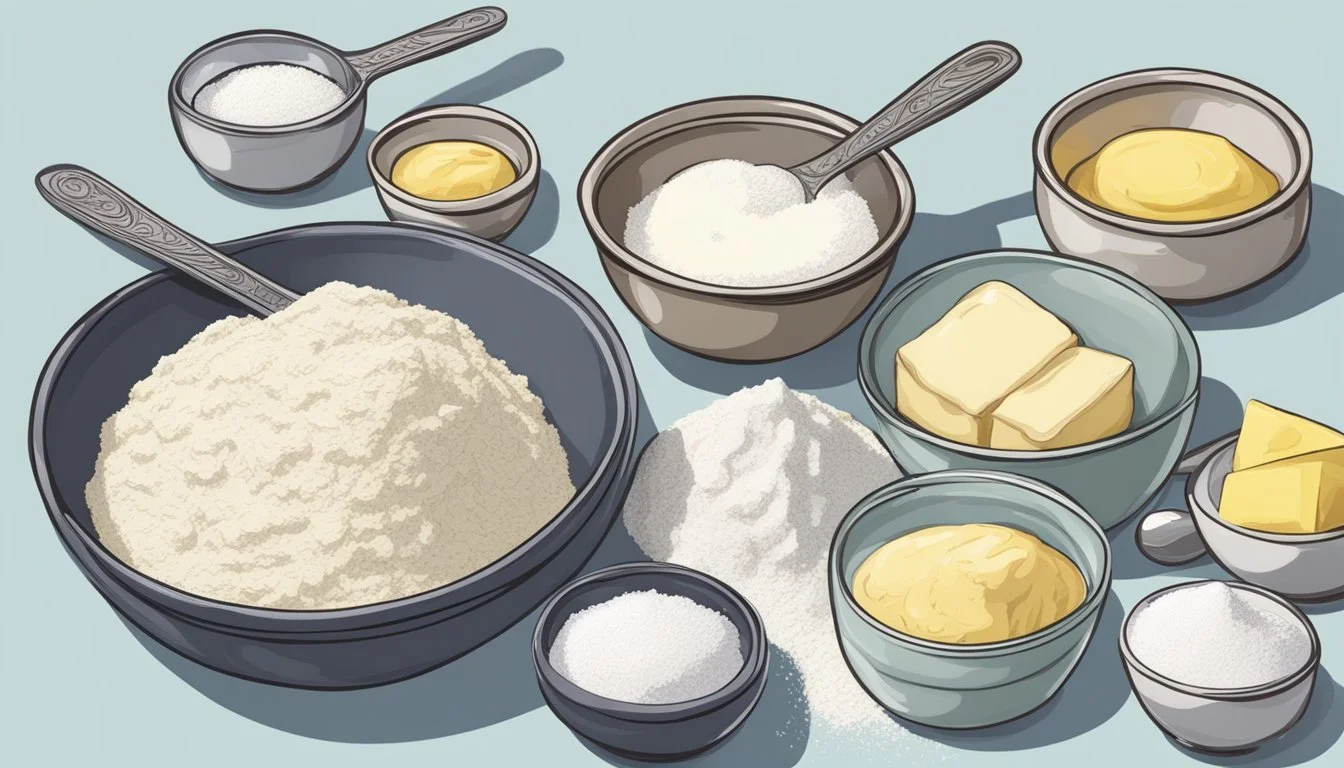
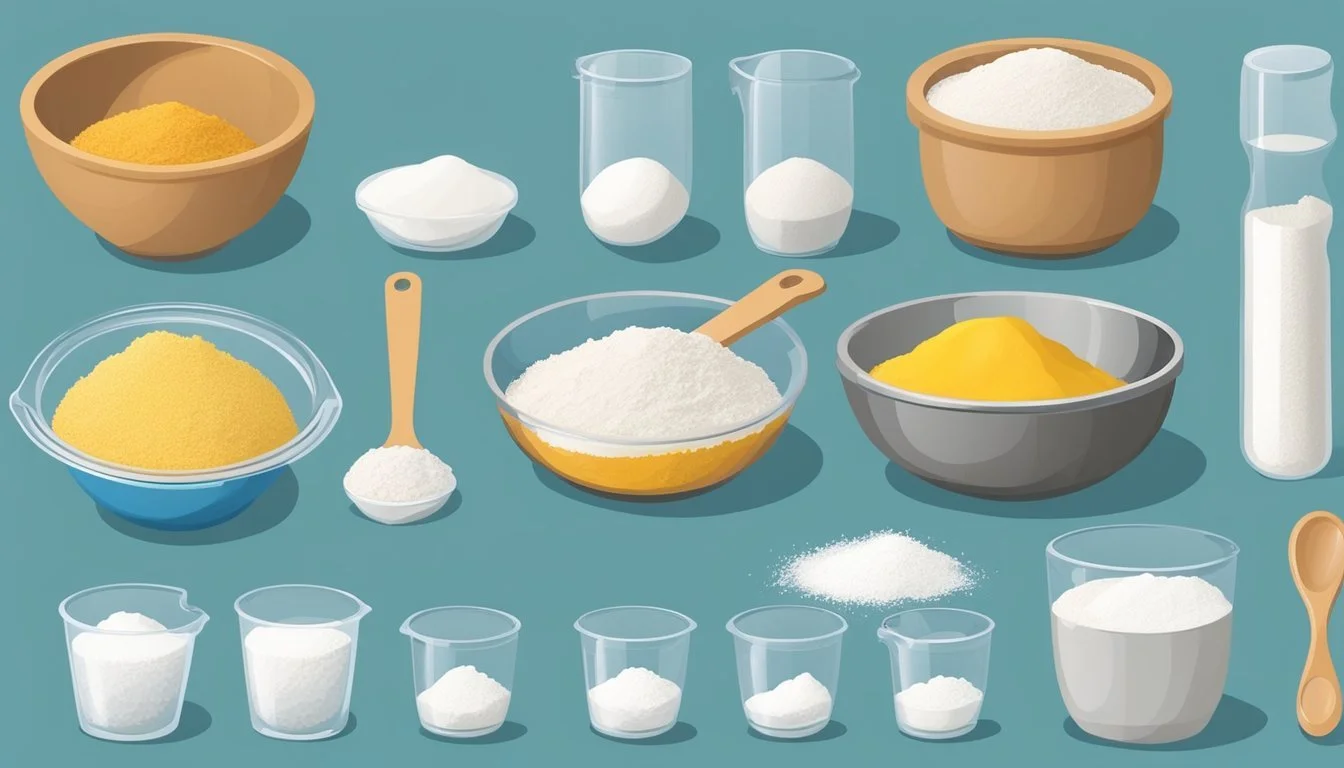
Essential Ingredients
In crafting the perfect homemade scone, selecting high-quality ingredients is crucial. The flour, fats, and leavening agents each serve a distinct role in delivering the taste and texture that make scones a beloved treat.

Choosing the Right Flour
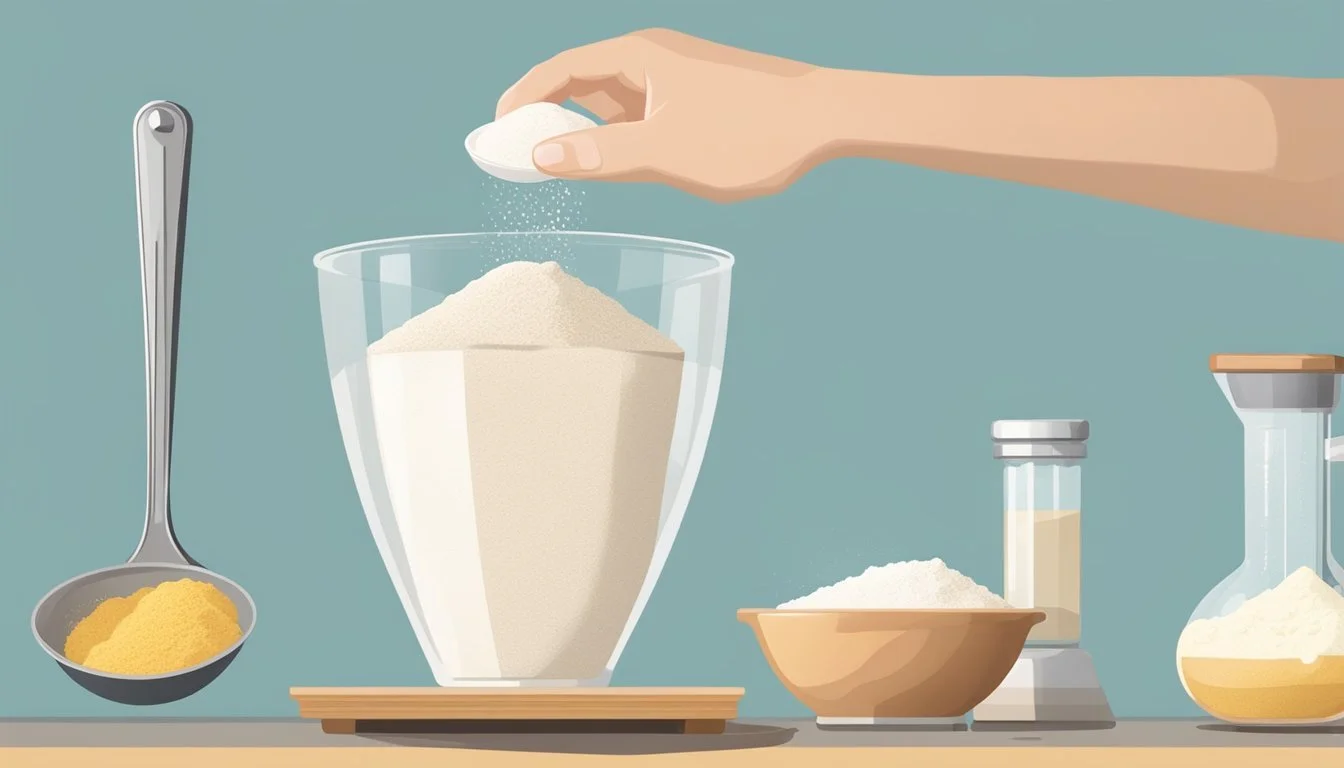
For most scone recipes, all-purpose flour is the go-to choice due to its moderate protein content, which offers the right balance between tenderness and structure. The precise measurement of flour is critical; it should be spooned into the measuring cup and leveled off with a knife to avoid excess, which could result in a dense scone.
Understanding the Role of Fat
The fat used in scones is primarily butter—preferably cold, unsalted butter. Fat contributes to the flaky layers and rich flavor of the scone. One should cut the cold butter into small pieces or grate it into the flour mixture, ensuring it remains solid; this helps to create pockets of steam during baking that impart a tender crumb to the final product.
The Importance of Leavening Agents
Leavening agents, such as baking powder, are essential in scone making because they enable the dough to rise, resulting in a light and airy texture. It’s important to use the correct amount specified in the recipe and to ensure the baking powder is fresh for the best rise.
When combined accurately, these ingredients form the foundation of both sweet and savory scone varieties, giving bakers a canvas for incorporating elements such as sugar for sweetness or salt and herbs for savory flavors. Dairy products like milk or cream and occasionally eggs can be included to enrich the dough, adding moisture and aiding in the browning of the scone’s exterior.
Baking Techniques and Tips
When crafting scones, precision in measuring ingredients, technique in mixing, and consistency in baking are decisive for the perfect texture, taste, and appearance. One's approach to these steps influences the final product immensely.
Achieving the Perfect Texture
To ensure tender and flaky scones, the ingredients' temperature must receive close attention. The butter should be cold; when mixed with flour using a fork or pastry cutter, it retains small, pea-sized pieces. These solid fat bits melt as the scones bake, creating pockets that result in a desirable flaky texture.
Mixing and Handling Dough
The dough should be handled as little as possible to keep it from warming and activating the gluten prematurely. Overworking the dough by excessive kneading or mixing can lead to tough scones. The mixture should be moist enough to hold together but not so wet that it sticks excessively to hands. If the dough is too dry, adding a tablespoon of cream can aid in achieving the right consistency.
Do: Combine dry and wet ingredients with a light hand.
Don't: Over-knead, which can lead to a dense texture.
Baking Time and Temperature
Preheating the oven is a critical step one should not skip. Scones require a hot oven to rise quickly and form a golden brown surface. The baking should occur at a consistent temperature, generally around 425°F, with the scones placed in the upper third of the oven. Bake until they are golden brown and appear baked all the way through. It's suggested to bake the scones in chilled or frozen state for a moist inside and flaky exterior.
Oven Temperature: 425°F (upper third of the oven)
Baking Time: 18 to 23 minutes (or until golden brown)
Adhering to these techniques will help ensure that the baked scones are of high quality and showcase the delightful textures and flavors that are characteristic of this baked good.
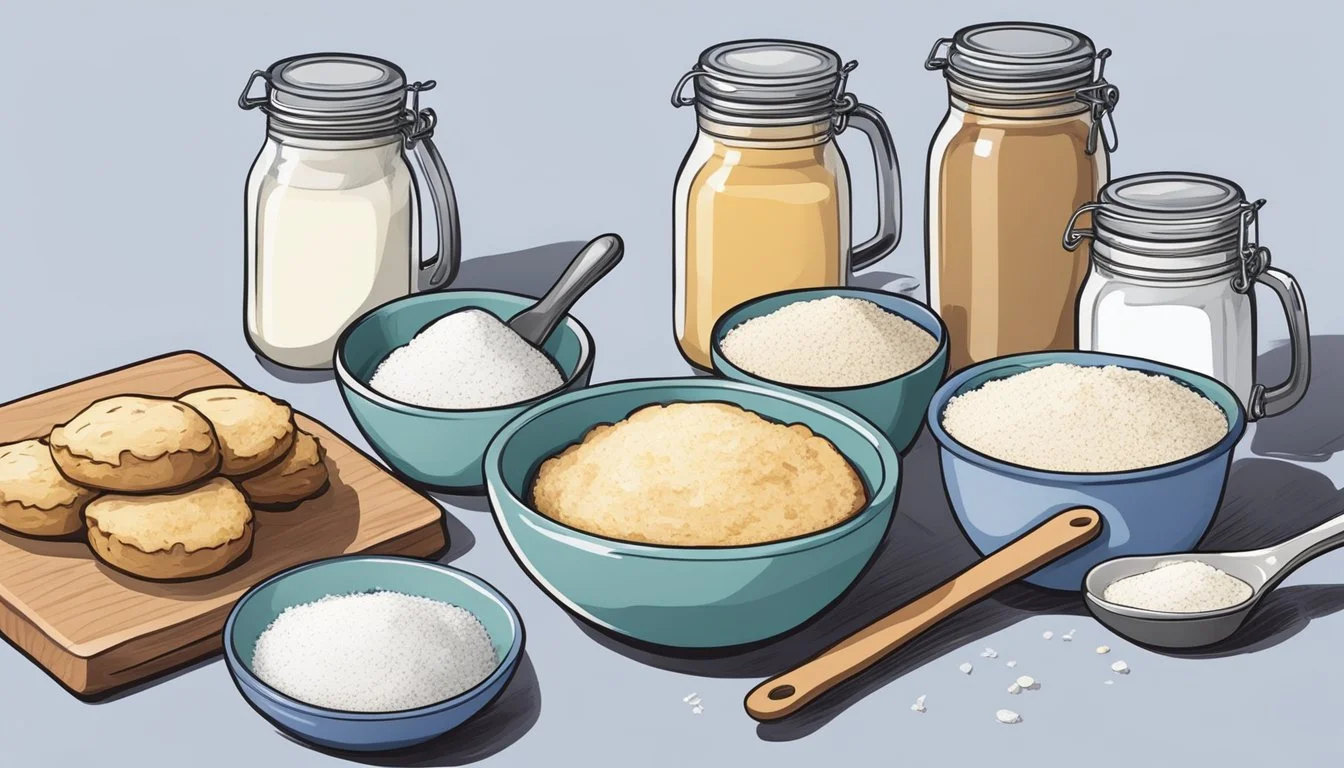
Customizing Your Scones

When preparing homemade scones, one can easily cater to various taste preferences by incorporating different flavors and mix-ins. Whether one is inclined towards sweet treats or favors savory delights, the versatility of scone recipes allows for an array of customizations.
Sweet and Savory Variations
For sweet scones, bakers often include ingredients such as chocolate chips, fruit like blueberries, or dried cranberries. Sweet scones can further be enhanced by adding a sprinkle of cinnamon or a splash of vanilla extract. The inclusion of a glaze, perhaps flavored with citrus like orange, is another popular option for creating a sweet scone.
In contrast, savory scones might feature add-ins like cheese, which imparts a rich flavor, or herbs for a aromatic touch. Ingredients such as nuts can provide a satisfying crunch, and one can experiment with various types of cheese to refine the taste profile.
Incorporating Add-Ins
To include add-ins effectively in scone dough, consider the following specifics:
For dry or solid add-ins like chocolate chips, nuts, raisins, or cheese:
Fold them into the dry mixture before adding your liquid to ensure even distribution.
For wet add-ins like fresh berries or fruit:
Gently fold them into the dough after incorporating the liquid to avoid crushing them.
Add-In Type Specifics Example Add-Ins Sweet Use sparingly to avoid oversweetening. Chocolate chips, vanilla extract, dried cranberries Savory Often paired with cheeses and herbs for a richer flavor profile. Cheese, herbs, nuts
By considering these customizations, one can craft scones that cater to any preference, ensuring a delightful homemade treat each time.
Advanced Scone Baking Techniques
Achieving the perfect scone texture—tender, yet flaky—requires precise control over the temperature of ingredients and the dough. Implementing advanced techniques in these areas ensures consistent quality.
Managing Dough Temperature
Cold Butter: It is essential to use cold butter for flaky layers, as it steams during baking, which creates air pockets. One should cut butter into small cubes before incorporating it into the dry ingredients. Some bakers even recommend freezing the butter cubes before use for an optimal flaky texture.
Dough Temperature: Maintaining a cool dough temperature is crucial. Dough that becomes too warm will cause the butter to melt prematurely, resulting in a dense scone. Dough should be kept cool throughout the mixing and shaping process.
Refrigerate the mixing bowl and utensils beforehand
Handle dough as little as possible, using tools or cold hands
Room vs. Cool: Dough should be kept away from warm environments. Work on a cool surface and if necessary, chill the dough for 15 minutes in the refrigerator if it starts to warm.
Mastering the Freezing Method
Freeze for Shape Retention: Freezing scone dough before baking solidifies the fats and preserves the desired shape, leading to even rising and baking.
Shape the dough into preferred sizes
Place on a baking sheet and freeze until hard
Transfer to a freezer bag if not baking immediately
Baking from Frozen: Baking scones straight from the freezer can yield a rise that is even more pronounced.
Preheat oven as per the recipe
Place frozen dough on a baking tray
Extend baking time by a few minutes from what recipe dictates
Note on Texture: Freezing does not negatively affect the tender texture of scones; it can in fact enhance it. After baking, scones emerge golden and maintain a melt-in-the-mouth quality.
Serving and Storage
Proper serving and storage are crucial for enjoying homemade scones to their fullest. Serving them fresh ensures peak flavor and texture, while proper storage extends their enjoyment without compromising quality.
Best Practices for Serving
When serving scones, one should present them on a platter lined with parchment paper to maintain freshness. They pair excellently with a range of accompaniments such as butter, jam, clotted cream, and are traditionally enjoyed with tea or coffee. For richer scones, one might consider serving them with a dollop of heavy cream. To preserve their texture, scones are best served soon after baking, ideally while still slightly warm or at room temperature.
Accompaniments:
Butter
Jam
Clotted Cream
Beverages:
Tea
Coffee
Storing Leftover Scones
For storing leftover scones, an airtight container is of utmost importance. Containers should first be lined with a paper towel to absorb excess moisture. Scones should be placed in a single layer to prevent them from becoming soggy. When stored at room temperature, they can remain fresh for up to two days. If one needs to store them longer, freezing is a viable option. Frozen scones remain good for up to three weeks and can be baked directly from frozen.
Room Temperature Storage:
Line container with paper towel
Up to two days of freshness
Freezing:
Freeze on a parchment-lined tray until solid
Store in an airtight container for up to three weeks
Troubleshooting Common Issues

When crafting homemade scones, bakers sometimes encounter texture and flavor issues. Identifying and rectifying these common problems ensures your scones are both delicious and texturally pleasing.
Addressing Texture Problems
Dense Scones: A common complaint, dense scones are often the result of overworking the dough. To maintain a light texture, mix just until the dough comes together. Use a gentle hand when shaping the dough into discs.
Tip: If the scones are still too dense, check if the leavening agents are fresh. Stale baking powder or baking soda won't give the needed rise.
Tough Scones: The development of gluten can lead to a tough texture. To prevent this:
Use cold fats, such as butter or lard, cutting them into the dry ingredients until the mixture resembles coarse crumbs.
Minimize liquid mixing; overhydration can contribute to gluten formation.
Dry Scones: Insufficient fat or liquid can cause dryness. They should be moist but not wet.
Solution: Incrementally add liquid until the mixture is just moist enough to hold together without crumbling.
Troubleshoot: Avoid using low-fat content ingredients which can also contribute to dryness.
Moist Scones: A scone that's too moist may not hold its shape well. Control moisture by:
Measurement: Precisely measure the wet ingredients, using a scale for accuracy.
Adjustments: If the dough feels too wet, add a small amount of flour to achieve the correct consistency.
Fixing Flavor Imbalances
Bland Scones: They often lack salt or sugar. Balancing these elements is key to a flavorful scone.
Salt: Essential for enhancing all the flavors; a pinch more may be needed.
Sugar: Adjust sugar levels according to personal preference and the type of scone being made.
Overly Sweet Scones: When scones are too sweet, they can overshadow the subtle flavors.
Adjust: Reduce the sugar amount in the recipe incrementally, tasting dough for sweetness before baking.
Complements: Pair with less sweet accompaniments such as clotted cream to balance the flavor profile.
Greasiness: Too much fat can make scones greasy. Stick to the recipe's recommended quantity of fat, and ensure it's well-incorporated into the dry ingredients.
Proper Mixing: Even distribution of fat throughout the dough avoids greasy patches.
Consistency: The dough should hold together without feeling excessively slick or oily.
Through careful measurement and mindful preparation techniques, most common scone issues can be effectively avoided or corrected. The goal is a delectable, well-textured scone every time.
Extras
Before serving their homemade scones, bakers often seek ways to elevate the overall experience. Careful consideration of presentation and pairings can transform a simple scone into an impressive treat for any occasion.
Creative Presentation Ideas
Presenting scones in an appealing way can greatly enhance their enjoyment. Bakers might consider:
Use of Colorful Tableware: A brightly colored plate or a rustic serving tray can make scones visually pop.
Placement: Arranging scones in a circular pattern around a central dish of jam or cream invites guests to indulge.
Garnishes: A light dusting of powdered sugar or a sprig of fresh mint can add a touch of elegance to each scone.
Pairings and Accompaniments
Selecting complementary items to serve with scones can round out a snack or a brunch menu. Consider these options:
Beverages:
Tea: Earl Grey or Assam teas are classic choices.
Coffee: A strong coffee can balance the sweetness of scones.
Spreads and Toppings:
Jam: Strawberry or raspberry jam can provide a sweet, fruity contrast.
Cream: Clotted cream or whipped cream offers a rich, velvety texture.
Butter: Unsalted butter allows the scones' flavor to shine.
Savory Accompaniments:
Cheese: Sharp cheddar or creamy brie pairs well with plain or herbed scones.
Scone Baking Equipment
The appropriate selection of baking equipment can enhance the precision and efficiency of making scones. From mixing the ingredients to achieving golden perfection in the oven, each tool serves a specific function.
Essential Tools
Kitchen Scale: Precision is vital in baking. A kitchen scale ensures accurate measurement of ingredients, which is crucial for the consistency of scones.
Mixing Bowls: A set of mixing bowls of various sizes accommodates the dry and wet ingredients separately before combining them.
Pastry Cutter: This tool helps to cut butter into the flour, which is essential for a flaky scone texture. One can also use two knives or a fork in a pinch.
Measuring Spoons and Cups: For those without a kitchen scale, well-calibrated measuring spoons and cups are necessary for both wet and dry ingredients.
Baking Sheet: A flat, light-colored aluminum baking sheet guarantees even heat distribution. Non-stick sheets are an alternative but may require adjustments in baking time.
Oven: A reliable oven that accurately maintains the set temperature is indispensable for baking scones consistently.
Alternative Baking Gadgets
Silicone Baking Mat or Parchment Paper: These can be used to line the baking sheet, preventing the scones from sticking and facilitating easy cleanup.
Bench Scraper: Although not essential, a bench scraper can cleanly cut the dough into wedges, which helps in achieving uniform size and shape for the scones.
Dough Whisk: A special mixing tool designed to incorporate the wet and dry ingredients of scone dough more efficiently than a standard whisk or spatula.
It's imperative for bakers to consider their kitchen environment and the tools they have at their disposal to ensure a smooth scone-making process. Each piece of equipment plays a significant part in the mixing and baking stages, contributing to the final quality of the homemade scones.
