
How to Measure Ingredients for a Homemade Scone Filling
Precision for Perfect Taste
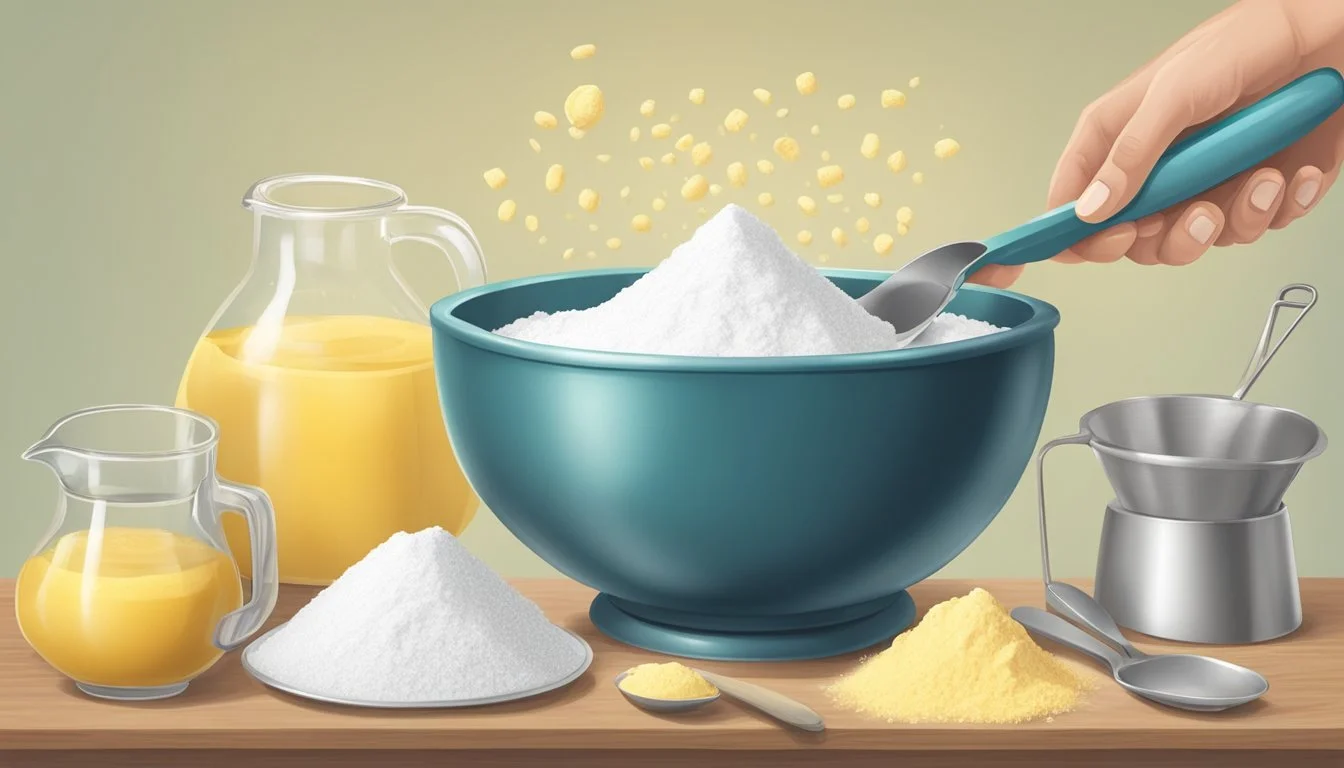
When preparing homemade scone fillings, precision in measuring ingredients is crucial for achieving the perfect texture and flavor balance. The process begins with understanding the components that make up the filling, whether it's fruit-based, cream-filled or a savory variety. Common ingredients might include fresh or dried fruits, spices, cheeses, or chocolate. Each ingredient interacts differently in the mix, and their exact quantities can significantly affect the outcome. Accurate measurement ensures consistency and helps bakers replicate success in future batches.
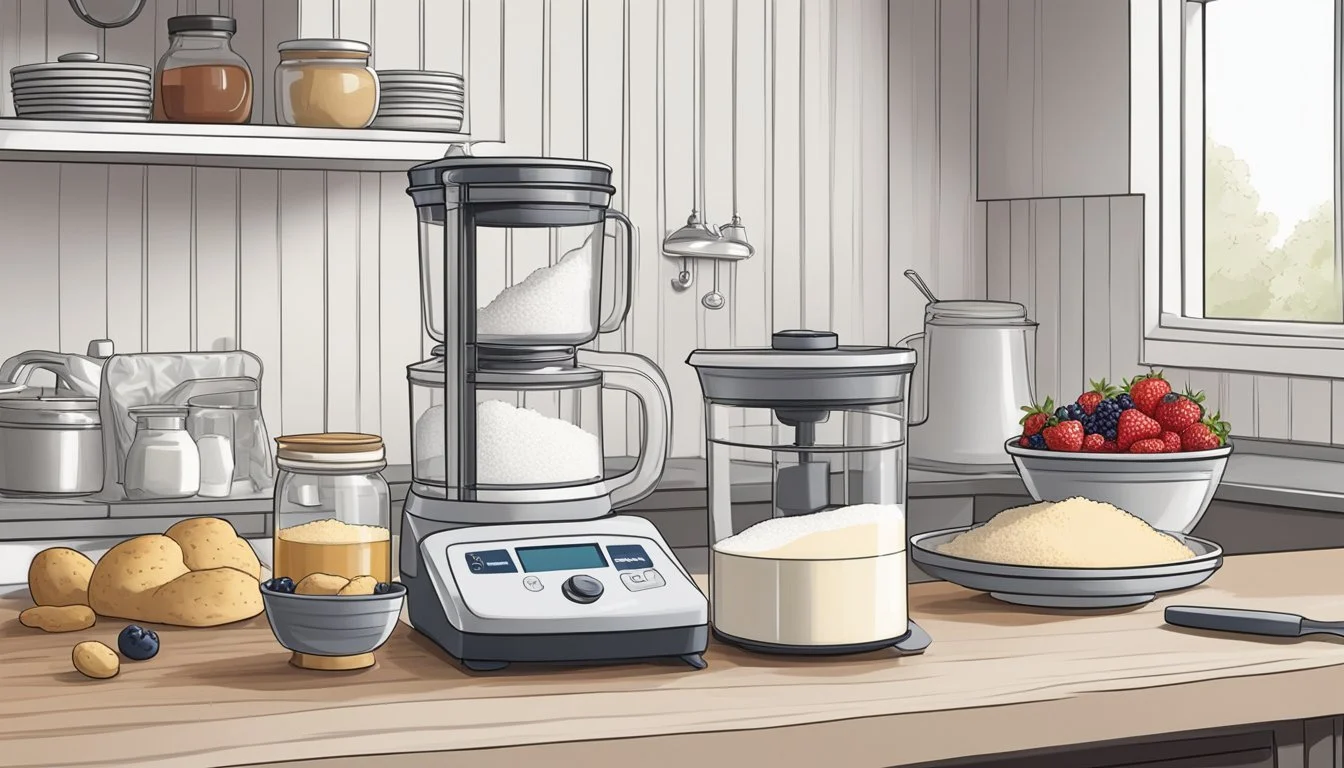
In the domain of home baking, the method of measuring ingredients may not always be uniform. However, for scones, the standard practice involves using measuring cups and spoons for dry ingredients and liquid measuring cups for wet ingredients. A kitchen scale can enhance precision, especially for ingredients that can compact or aerate, such as flour or brown sugar. Taring the scale before adding the next ingredient ensures that only the precise amount required is included.
When measuring flour, for example, the 'spoon and level' method is often recommended over scooping, as it prevents the flour from being overpacked in the measuring cup, which can lead to a denser, heavier scone. Liquids, on the other hand, should be measured at eye level to ensure an accurate line of sight to the measurement marking. A clear understanding of these techniques helps bakers achieve a harmonious filling that complements the scone's tender crumb and rich flavor.
Understanding Scone Ingredients
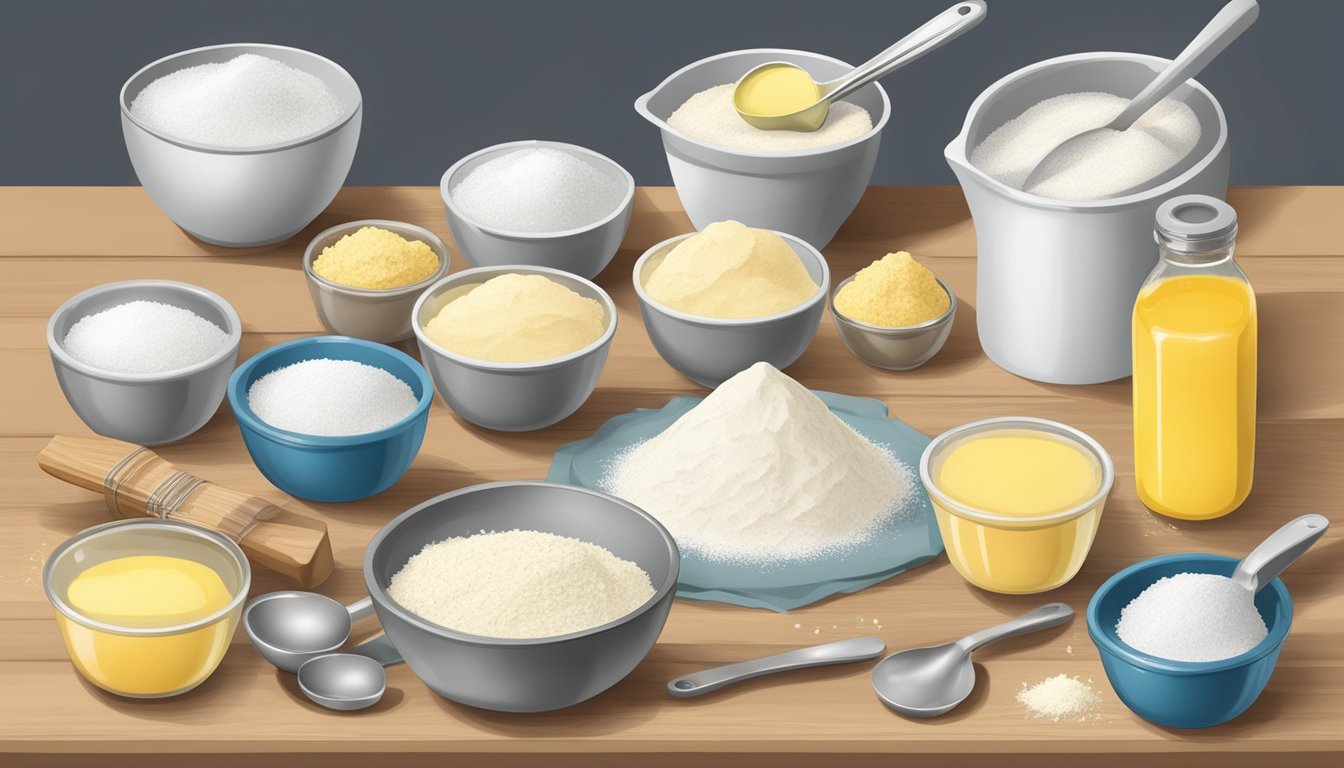
Creating the perfect scone filling starts with precise measurement and understanding of each ingredient's role. Here's how to accurately measure and utilize key components for a successful scone:
Flour Fundamentals
Flour provides the structure for scones. Use all-purpose flour for its balance of protein and starch, allowing for a tender crumb. Measuring flour by weight using a scale ensures accuracy — 120 grams per cup is a standard reference. Sifting the flour before measuring can prevent a dense scone.
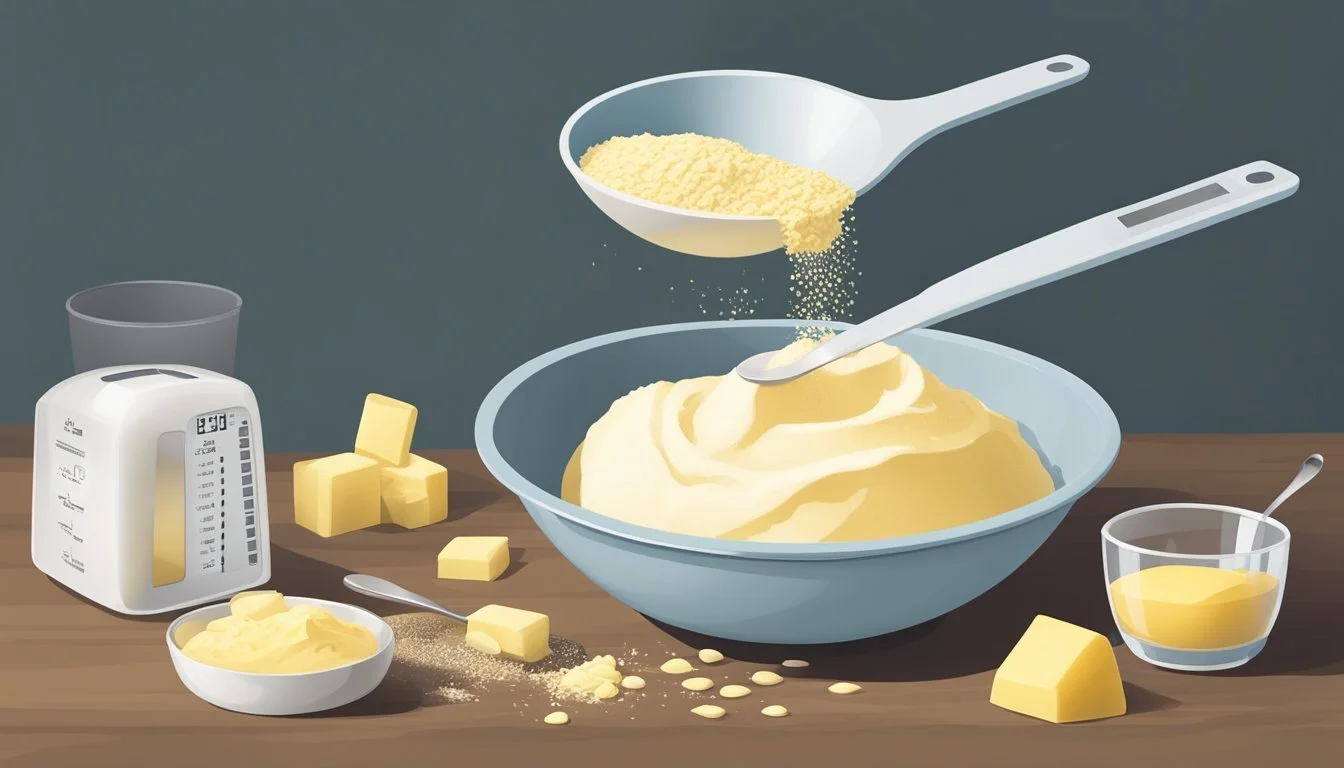
The Role of Fats
Butter should be cold and cut into small pieces before incorporating into the flour. This promotes a flaky texture. Rubbing the butter into the flour until it resembles coarse breadcrumbs distributes fat evenly. Other fats like shortening or clotted cream can be used for different textures and flavors.
Choosing the Right Sweeteners
Granulated sugar is common, but brown sugar can add moisture and a caramel note. The amount of sugar varies based on desired sweetness and other flavor components. Measure sugar firmly packed when using brown sugar, and leveled when using granulated sugar.
Incorporating Leavening Agents
Baking powder is crucial for rise and lightness. Measure tsp accurately, as too much can cause a chemical taste. For scones, one typically uses 1-2 teaspoons per cup of flour. Ensure your baking powder is fresh for optimal lift.
Adding Liquids for Moisture
Milk, buttermilk, or cream impart moisture and richness, with cream providing the most tender crumb. Measure liquids in a clear measuring cup at eye level for accuracy. Whisk an egg beforehand and measure out the needed volume for consistency.
Flavor Enhancements with Add-Ins
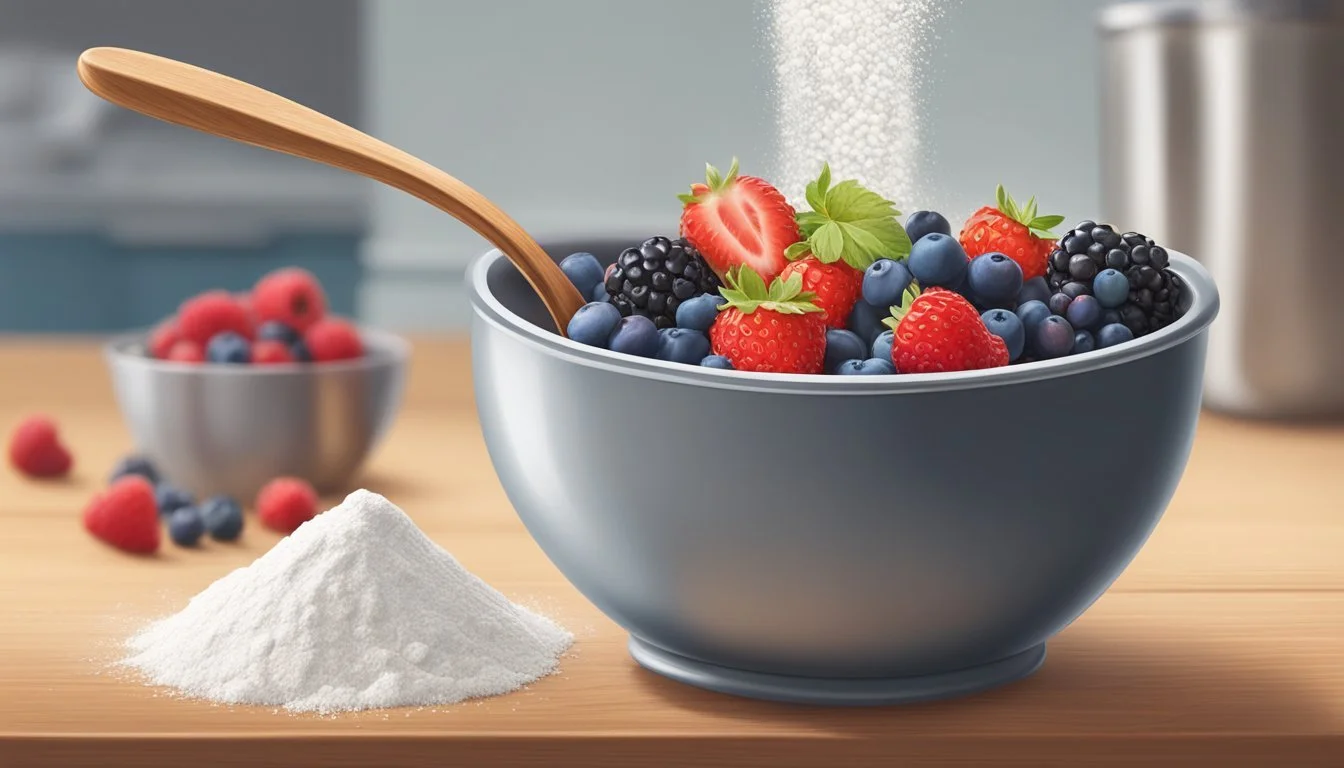
Add-ins like vanilla or cinnamon should be measured in tsp and added to the liquid ingredients. Incorporate chocolate, fruit, nuts, cheese, or herbs sparingly and according to taste, ensuring they are evenly sized for even distribution. Diced, fresh, or dried fruit should be kept small to avoid excess moisture affecting the dough.
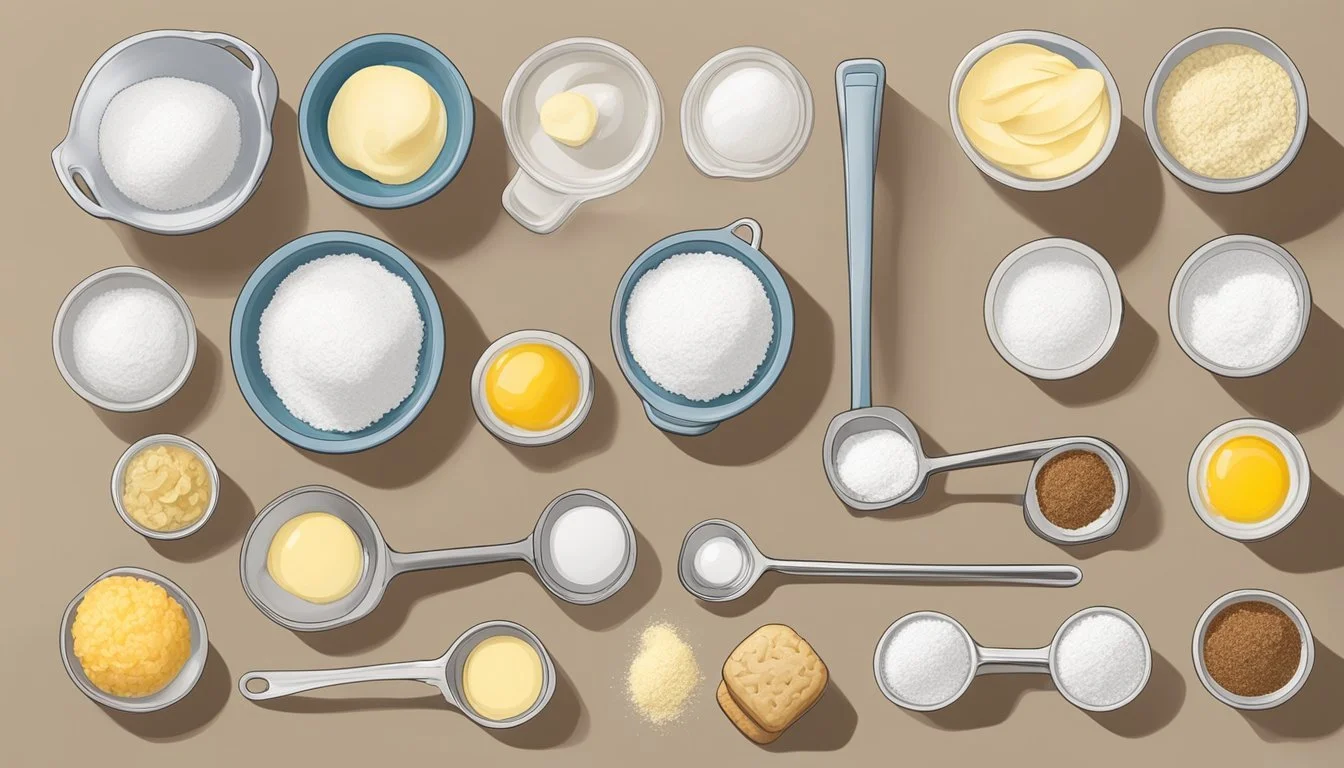
Essential Equipment and Tools
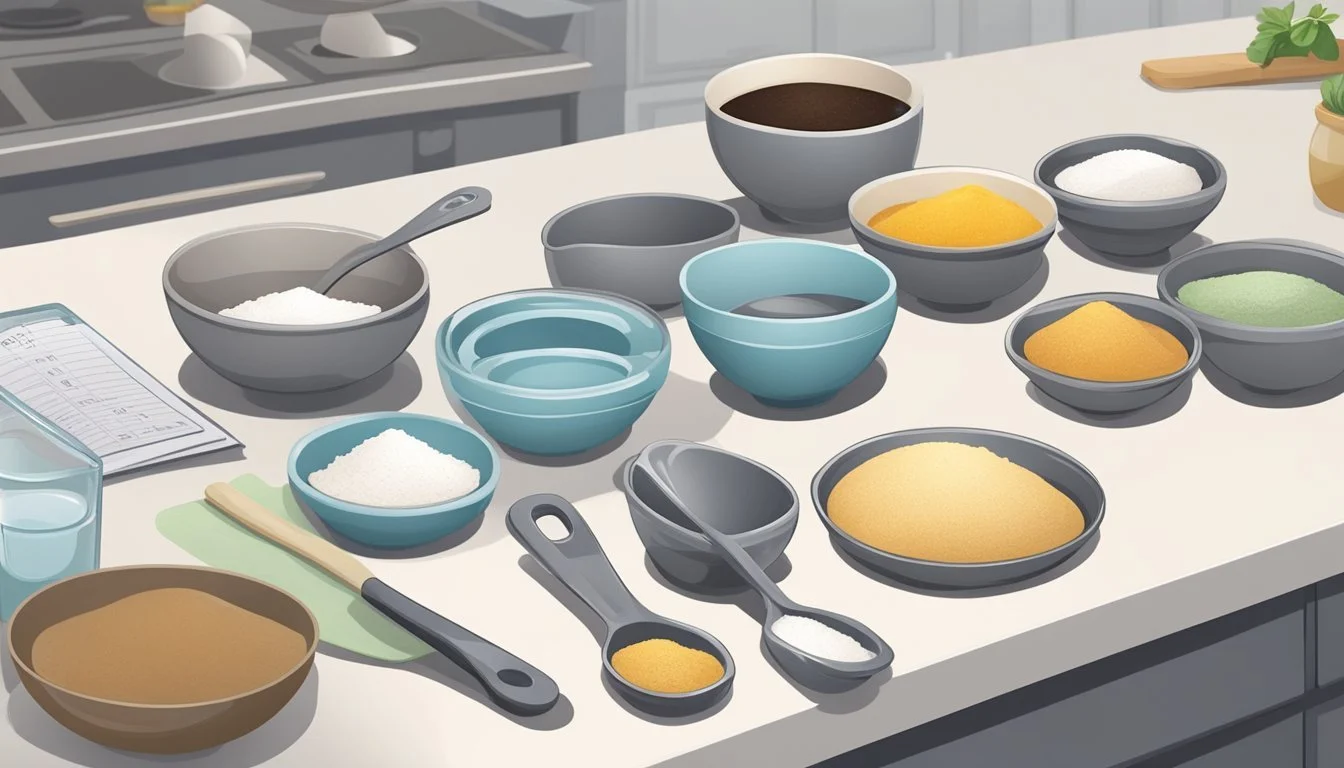
Preparing a homemade scone filling requires precision and the right set of tools. Accurate measurements and reliable equipment are the cornerstones for a successful scone.
Measuring Devices Accuracy
For reliable results, measuring devices are crucial. A digital scale should be used for measuring heavy ingredients such as flour and sugar to ensure preciseness. Every ingredient's weight should correspond to the recipe's specific requirements, often down to the ounce or gram. For liquid ingredients, clear measuring cups with marked gradations work best, ensuring that the baker can level off measurements at eye level for accuracy.
Mixing Bowls and Utensils
Mixing bowls should be spacious enough to accommodate the mixing of dough, with durable utensils to aid in the process. A pastry cutter or pastry blender is essential for cutting fats into the flour, which contributes to a flaky and light texture in the scone filling. Sturdy silicone or rubber spatulas ensure that all ingredients are thoroughly combined without wasting any batter that sticks to the bowl's sides.
Baking Sheets and Liners
Baking the scone filling requires a non-stick or lightly greased baking sheet, which assures the scones' even browning and easy release after baking. Using parchment paper or a silicone baking mat as a liner can also prevent sticking and aid in cleanup. One must preheat the oven to the temperature specified in the recipe before baking to achieve a consistent heat distribution during the cooking process.
Preparation Techniques
In scone making, precision in preparation techniques is crucial to achieve the desired texture and shape. Ensuring that scone dough has the right consistency before baking directly influences how crumbly, flaky, and tender the final product will be.
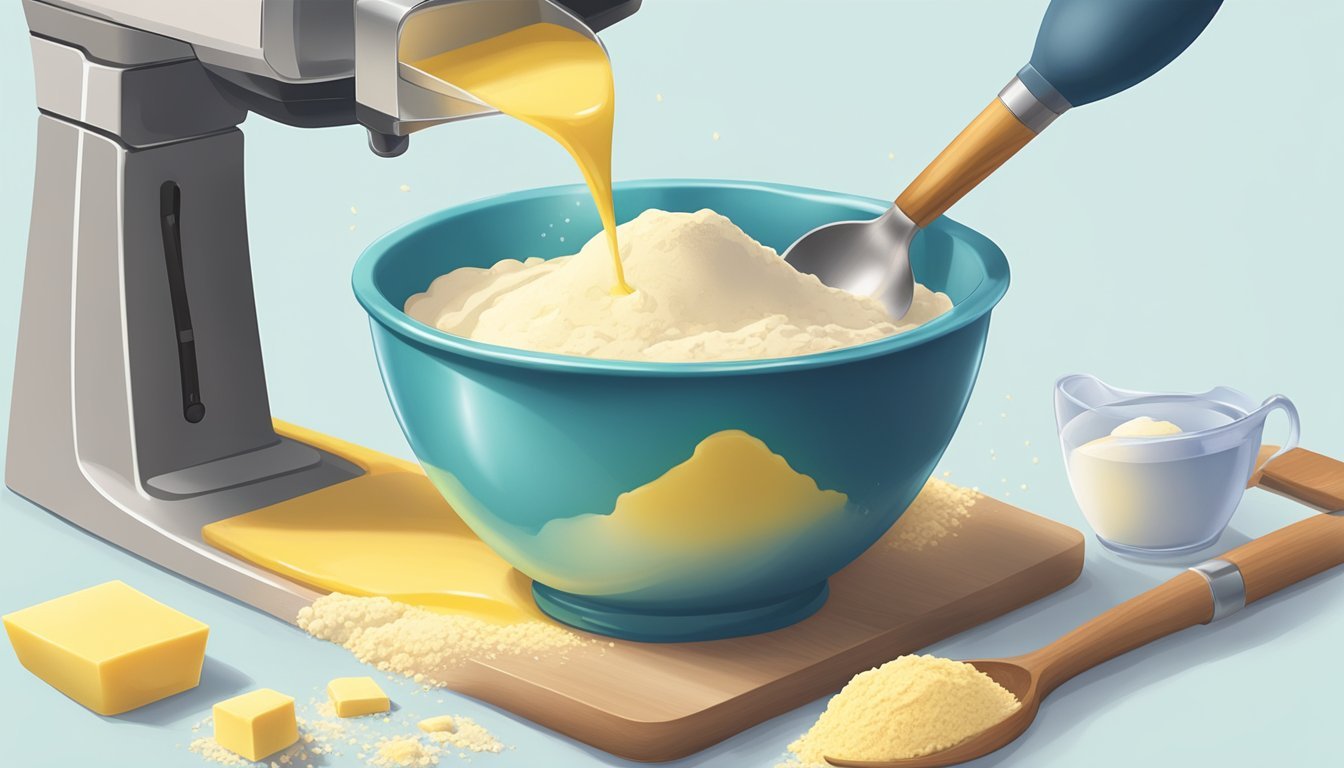
Mixing Ingredients
The initial step in preparation is mixing the ingredients properly. One should combine all the dry ingredients thoroughly before adding any wet components. Using a fork or a pastry blender, cut in the cold butter until the mixture resembles coarse breadcrumbs. This technique is pivotal for creating a flaky texture because it ensures small pockets of butter remain within the dough, which will melt during baking to create a light and airy structure.
Forming the Dough
Once the ingredients are amalgamated, one must carefully form the dough. Gradually add the liquid ingredients to the well in the center of the dry mix, combining them with either a fork or a cutlery knife. It's imperative to work the dough just enough to pull it together; overworking can result in tough scones. The dough should be tender, slightly crumbly, yet pliable.
Shaping Scones Properly
Properly shaping scones ensures even baking and an appealing final presentation. After forming the dough, press or roll it out on a lightly floured surface into a disk that is approximately 3/4-inch thick. To create wedges, one should then cut the disk into even triangles. For more uniform baking, chill the shaped scones in the freezer for about 30 minutes before baking. This step solidifies the fat, contributing to the flakiness and helping the scones keep their shape in the oven.
Baking Process

The baking process is critical in achieving the perfect scones with delectable fillings. Precision in oven temperature and baking time are fundamental in attaining the desired texture and coloration.
Oven Temperature and Baking Time
For scones, an oven preheated to 375°F (190°C) is typically recommended. Baking time may vary, but a general guideline for filled scones is between 18-25 minutes depending on their size and the oven's characteristics. The correct temperature and timing ensure the scones bake evenly and attain a fluffy interior.
Preheat the oven before placing the scones inside.
Use a timer to monitor baking accurately.
Achieving the Desired Texture and Color
The goal for most bakers is to achieve scones that are fluffy on the inside with a golden brown and crisp exterior. There are a few key factors that influence texture and color:
A chilled dough enhances the fluffiness and creates layers.
Baking at a consistent temperature ensures even browning.
The baker should look for a rich, golden brown surface to determine if the scones are done. A slight firmness on the outside will indicate a crisp texture has been formed.
Storage and Freshness
Proper storage is critical to maintaining the freshness and quality of homemade scone fillings. Both short-term and long-term methods can ensure that the fillings retain their optimal flavor and texture for future enjoyment.
Storing for Short-Term
For short-term storage, a homemade scone filling should be kept in the refrigerator. One should:
Refrigerate: Store the filling in a tightly sealed container to prevent it from absorbing other flavors.
Duration: Refrigeration can keep the filling fresh for up to five days.
Freezing and Reheating Guidelines
Storing scone fillings for an extended period requires freezing. Here are the steps:
Freeze: Place the filling in an airtight, freezer-safe container or a heavy-duty freezer bag.
Label: Clearly label the container with the contents and the date of freezing.
Duration: Properly packaged scone fillings can be frozen for up to three months.
To reheat:
Thawing: Thaw frozen fillings overnight in the refrigerator before use.
Reheat: Warm the filling in a saucepan over low heat, stirring occasionally. If too thick, a small amount of water or milk can be added to adjust the consistency.
Serving Suggestions
When enjoying homemade scones, complementing them with the right beverage and selecting an array of delicious toppings can transform a simple treat into a gourmet experience.
Pairing with Beverages
Tea: A classic choice, tea pairs wonderfully with scones. The subtle tannins of black tea, like Earl Grey or English Breakfast, complement the richness of scones filled with clotted cream and jam.
Green Tea: A lighter option such as green tea goes well with scones that feature fruitier fillings.
Coffee: A robust coffee provides a delightful contrast to sweet scone fillings, such as chocolate chips or caramel.
Table for Beverage Pairings:
Filling Type Tea Recommendation Coffee Pairing Clotted Cream & Jam Earl Grey Medium Roast Espresso Chocolate Chips Assam Dark Roast Coffee Caramel Darjeeling Caffè Latte
Customizing with Toppings and Fillings
Jam: Raspberry jam offers a balance of sweetness and acidity, making it an outstanding filling choice for scones.
Cream Cheese: For a rich and tangy option, cream cheese acts as a perfect base for either sweet or savory scone varieties.
Clotted Cream: No scone is complete without a dollop of clotted cream, especially when paired with jams for a traditional accompaniment.
Glazes and Other Toppings:
Glaze: A simple glaze made from powdered sugar and lemon juice can add a zesty sweetness, ideal for lemon-flavored scones.
Chocolate Chips: Incorporating chocolate chips into scones or as a topping can introduce a decadent chocolatey flavor suitable for a dessert scone.
List for Topping Suggestions:
Bold raspberry jam for a vibrant burst of fruitiness.
Cream cheese for creamy savory options or sweet berry-topped scones.
Clotted cream and strawberry jam, a timeless pairing for classic scones.
A drizzle of caramel for an indulgent treat, especially over spiced scone varieties.
Recipe Variations
When preparing a homemade scone filling, the versatility of the recipe allows for a myriad of sweet and savory options, as well as modifications to cater to various dietary requirements.
Sweet vs. Savory Options
The scones recipe can be easily customized to satisfy either a sweet tooth or a preference for more piquant flavors. For sweet scones, classic add-ins include:
Blueberry Scones: Fresh or frozen blueberries
Chocolate Chip Scones: Semi-sweet or dark chocolate chips
On the other side, savory homemade scones might incorporate:
Cheese and herbs
Sun-dried tomatoes and olives
These variations provide a simple yet effective way to modify the base scone recipe to fit different taste preferences.
Alternative Ingredients for Dietary Needs
To extend the joy of American scones to those with specific dietary needs, several substitutions can be made:
Gluten-Free: Replace all-purpose flour with a gluten-free blend
Vegan: Use dairy-free milk and vegan butter substitutes
Furthermore, those looking to reduce their sugar intake can opt for natural sweeteners or simply use less sugar. Here's a basic guideline for substituting key ingredients:
Ingredient Alternative All-purpose flour Gluten-free flour blend Dairy milk Almond, soy, or oat milk Butter Vegan butter or coconut oil Sugar Maple syrup, honey, or reduce
These substitutions in the scone recipe allow individuals with gluten intolerance or those following a vegan lifestyle to enjoy delicious homemade scones without compromising on taste or texture.
Troubleshooting Common Issues
When making scones, bakers often encounter challenges with dough consistency and baking mishaps. Addressing these issues is crucial for achieving the perfect texture and consistency in homemade scone fillings.
Dealing with Dough Consistency
Incorrect Flour Measurement: Accurate flour measurement is vital for ideal dough consistency. A cup of flour should weigh 130 grams. To avoid a dense filling, bakers should use a scale to measure 260 grams for two cups of flour, ensuring they do not pack the flour into the measuring cup.
Over-Kneading the Dough: Dough that's been overworked tends to result in a tough scone filling. The dough should be mixed until it just comes together; any additional kneading can compromise the tender crumb of the scone.
Addressing Baking Mishaps
Oven Temperature Accuracy: An incorrectly set oven can lead to under or over-baked scones. Bakers should use an oven thermometer to ensure the temperature is precise. Scones typically bake well at around 200°C (392°F) for 20 to 24 minutes, until golden brown.
Baking Until Just Done: Scones are best removed from the oven when a toothpick inserted into the center comes out clean. Allowing them to cool on the pan for 15 minutes helps avoid scones becoming too dry or crumbly.
Frequently Asked Questions

When it comes to perfecting homemade scone fillings, bakers may have a number of questions. Here are the most common inquiries, answered succinctly to aid in the baking process.
Q: How should ingredients for scone fillings be measured?
A: Ingredients should be measured with precision. Use digital scales for accuracy, especially for flour and sugar. For liquid ingredients, a measuring jug is the most appropriate, ensuring it is on a level surface and read at eye level.
Q: What is the proper way to store scone fillings?
A: Scone fillings should be stored in an airtight container in the refrigerator. For long-term storage, one can freeze the filling, making sure to wrap it tightly to prevent freezer burn.
Q: Does baking powder lose its effectiveness over time?
A: Yes, baking powder typically has a shelf life of 6 months to 1 year. To check its potency, mix a small amount with hot water. If it bubbles vigorously, it's still active.
Q: How can one ensure the filling is flavorful?
A: Use high-quality, fresh ingredients for the filling. Spices should be fresh for the most impact, and vanilla extract rather than imitation vanilla can make a significant difference.
Q: Is pre-freezing scone dough before baking beneficial?
A: Freezing scone dough for a short period can help maintain the shape and texture. It prevents the fat from melting too quickly in the oven, resulting in flakier and more tender scones.
By adhering to these guidelines, one can confidently navigate the nuances of preparing homemade scone fillings.
