
How to Measure the Right Amount of Liquid for Perfect Scone Dough Consistency

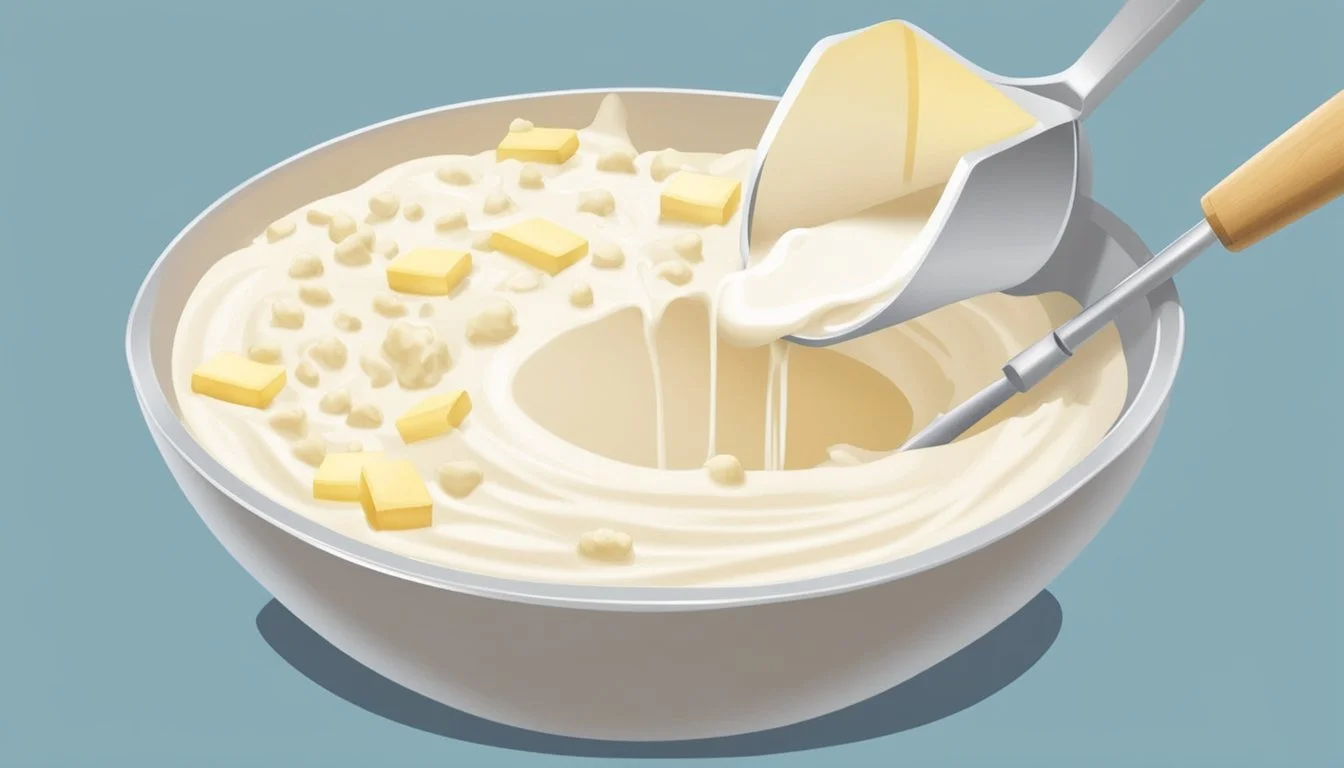
Measuring the right amount of liquid for scone dough is a fundamental step in the baking process that greatly affects the texture and quality of the final product. Scones require a delicate balance of ingredients to achieve their characteristic tender crumb and light texture. The liquid, often milk or cream, introduces moisture needed to bind the dry components together. However, too much liquid can lead to a dough that's too sticky and difficult to handle, while too little may result in dry and crumbly scones.
To ensure the optimal consistency, bakers may start with the minimum amount of liquid stipulated in the recipe and then cautiously add more only if the dough appears too dry. This strategic addition gives them control over the hydration level of the dough. The texture should be slightly tacky but not overly sticky, which is an indicator that the dough has enough liquid to hold together without being too wet.
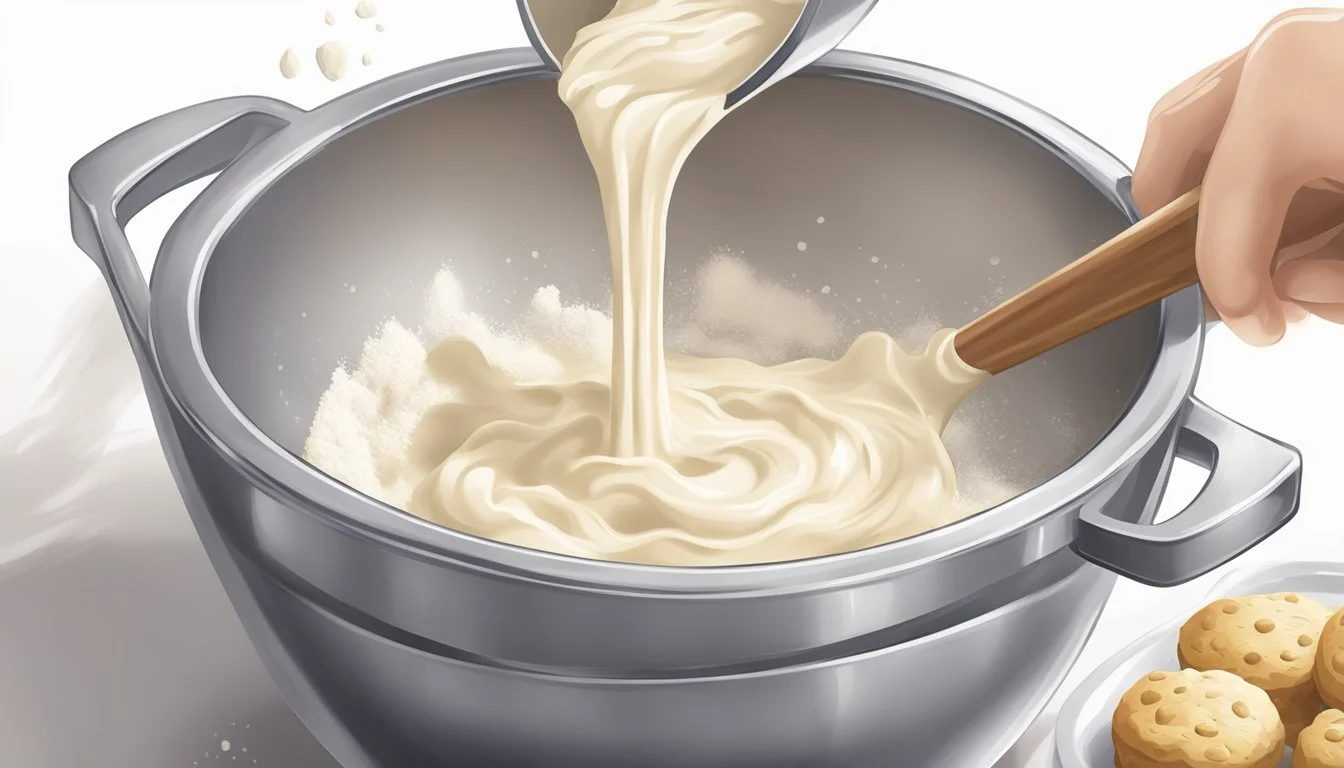
Observing the dough during the mixing process is key; it should come together into a cohesive mass that holds its shape when pressed. Once the right amount of liquid is determined, chilling the dough before baking is crucial as it solidifies the fats, contributing to the flakiness and rise of the scones. Sticking to these steps ensures that bakers produce well-risen, flavorful scones with the perfect texture every time they bake.
Fundamentals of Scone Ingredients
Creating the perfect scone involves understanding the specific roles and ideal measurements of each ingredient. The texture and tenderness of scones are influenced by the correct selection and proportion of flour, fats, leavening agents, and the balance of dry and wet ingredients.
Choosing the Right Flour
The flour you choose significantly impacts the texture of your scones. All-purpose flour is commonly used because of its moderate protein content, which is essential for forming the right amount of gluten. For a more tender crumb, pastry flour with a lower protein content may be used. Those requiring gluten-free scones can opt for gluten-free flour mixes, but must consider the need for additional binding agents.
The Role of Fats in Texture
Fats are pivotal in achieving a flaky texture. Cold butter is a popular choice as it creates pockets of steam while baking, leading to layers in the scones. Unsalted butter is preferred for better control over the scone's saltiness, but salted butter or even margarine can be used depending on taste preference. It is crucial that the fat remains cold and is not overmixed; small pea-sized clumps of fat should be visible in the flour mixture.
Importance of Leavening Agents
Leavening agents such as baking powder and, less commonly, baking soda, introduce air into the dough, contributing to the lightness and rise of the scone. Typically, recipes call for about 1-2 teaspoons of baking powder per cup of flour, but it’s important to follow the specific recipe, as too much can lead to an unpleasant chemical taste.
Balancing Dry and Wet Ingredients
The harmony between dry and wet ingredients determines the moistness of the scones. The wet ingredients typically include eggs, milk, water, buttermilk, or heavy cream—each contributing differently to the richness and texture. Sugar adds sweetness and browns the scone, while salt strengthens gluten and enhances flavor. This balance needs to be precise: too little liquid, and the dough will be dry; too much, and the scones may become too moist and lose shape. Mix until just combined; overmixing can produce a dense texture.
Preparing the Dough

When making scone dough, precise measurement and handling of ingredients are essential for achieving the right texture. Maintaining the proper temperature of ingredients can also affect the quality of the final product.
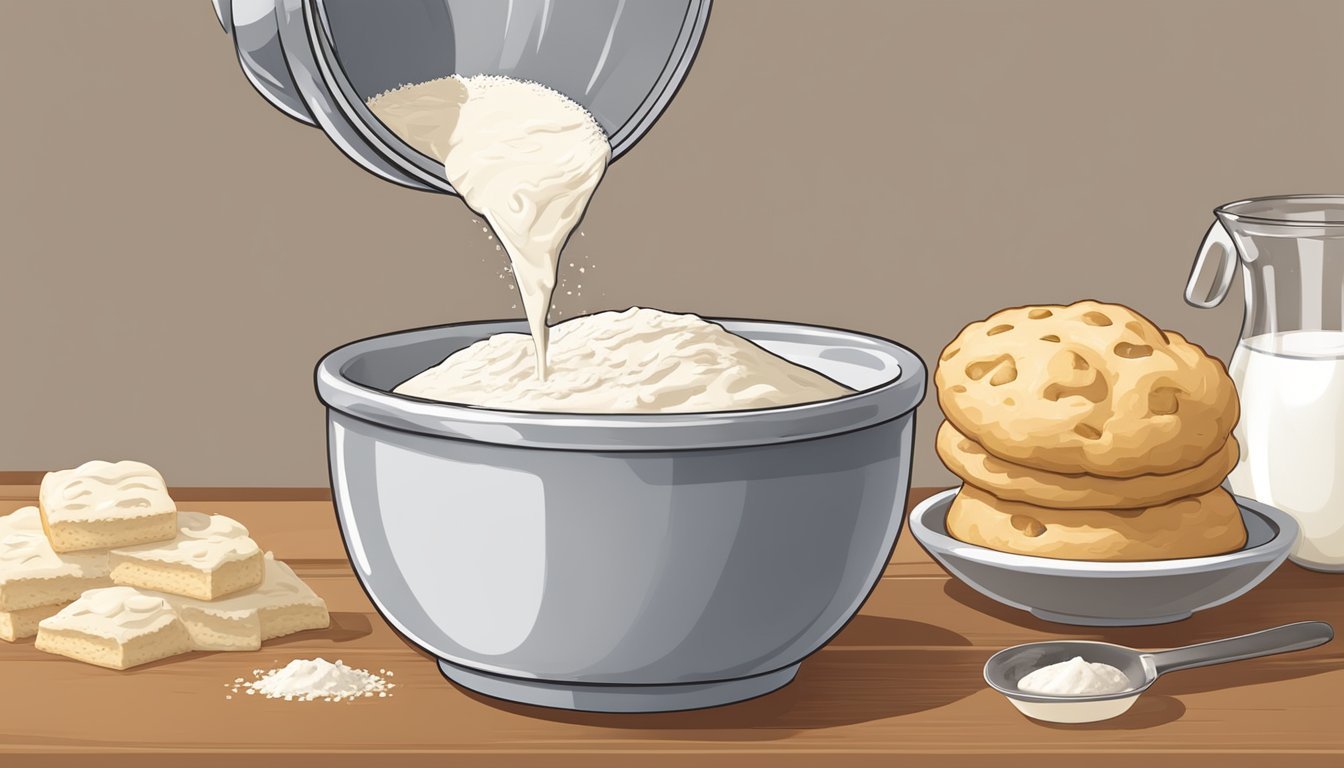
Measuring Ingredients Accurately
Scales are more accurate than cups and should be used for measuring both dry and liquid ingredients.
For flour, spoon it into a cup and level it off with a knife if a scale isn't available.
Liquid ingredients should be measured in a transparent liquid measuring cup at eye level to ensure accuracy.
Mixing Techniques for Optimal Texture
Mixing should be done gently and only until the ingredients are just combined to prevent overmixing, which can result in a tough scone.
To incorporate ingredients and create steam pockets for a tender rise, folds should be applied. This is done by pressing the dough out to an inch thick and folding it in half, turning 90 degrees between each of six folds.
Managing Dough Temperature
Use cold ingredients, such as butter and milk, to help create flaky layers upon baking due to steam pockets forming.
After mixing, the dough should be chilled in the refrigerator for 30 minutes to an hour to ensure that the fats solidify before baking.
Ingredients and the dough should be kept as cold as possible until the dough goes into the oven to maximise the potential for creating a tender, light scone.
Shaping and Cutting the Dough

To ensure the perfect scone, attention to the shaping and cutting of the dough is crucial. Proper thickness, shape, and cutting technique contribute to the scone's final texture, ensuring it is flaky and tender.
Forming the Right Thickness
When forming scone dough, one must achieve a balance between thickness and texture to allow for proper rise. The dough should typically be flattened to a thickness of 3/4" to 1". This can be achieved by gently patting the dough into shape on a lightly floured surface, aiming for a uniform thickness to ensure an even bake. The right thickness is also instrumental in creating those desirable air pockets and achieving a tender texture in the baked scones.
Cutting Shapes without Compromising Texture
The cutting of scone dough impacts the rise and texture of the final product. Using a sharp bench knife or cutter is essential as it cleanly cuts through the dough, sealing the edges without pressing them together too firmly, which could inhibit the scone's ability to rise. For traditional triangular scones, one can cut the dough into a rectangle and then divide it into triangles. It's important to make decisive cuts rather than sawing back and forth to preserve the tender, flaky texture. To reduce waste, any excess dough can be reformed and cut until all the dough is used. Remember, handling the dough minimally is key; too much reworking will result in scones that are tougher and less flaky.
Baking Scones to Perfection
Perfectly baked scones require precise handling, from measuring ingredients to the final moments in the oven. Mastery of oven temperatures, the right baking surface, and impeccable timing are pivotal for scones that have the ideal rise and texture.
Understanding Oven Temperatures
A consistent oven temperature is crucial in achieving scones that are golden brown and evenly baked. Most recipes recommend preheating the oven to 425°F (218°C). Placing the scones in the upper third of the oven ensures a well-distributed heat, which contributes to a uniform golden color and proper rise.
Using the Correct Baking Surface
To bake scones, one should use a parchment-lined baking sheet. This prevents sticking and ensures easy removal after baking without damaging the delicate crust. Parchment also helps to distribute heat evenly, contributing to the desired texture—crisp on the outside yet tender inside.
Timing is Key for Ideal Results
The baking time for scones ranges from 18 to 23 minutes. To confirm they're fully baked, they should separate easily and have no wet or unbaked dough at the edge. The precise moment to remove scones from the oven is when they exhibit a light golden brown hue. Too little or too much time can adversely impact both texture and taste.
Customizing Scone Varieties
Crafting the perfect scone recipe means tailoring it to specific tastes and occasions. From the infusion of sweet fruits to the addition of savory herbs and cheeses, scones can be customized to cater to a plethora of palates, including those with dietary restrictions.
Incorporating Sweet Additions
To add sweetness and variety to their scone recipes, bakers can incorporate chocolate chips, fresh or dried fruit, and sugar. A recipe might call for mixing in blueberries, raspberries, or dried cranberries to infuse the scones with a burst of fruity flavor. For those who appreciate a more subtle sweetness, oat scones with jammy bits offer a delightful texture and taste.
Fresh Fruit Addition Example:
Blueberries: Fold in 1/2 cup into the dough for bursts of tart sweetness.
Raspberries: Gently mix in 1/3 cup to avoid crushing the delicate berries.
Chocolate & Sweet Mix-Ins:
Chocolate chips: Sprinkle 3/4 cup to create rich, melty pockets.
Sugar crystals: Top with a tablespoon for a crunchy texture.
Creating Savory Delights
For those who veer towards savory flavors, adding cheese and herbs transforms a basic scone recipe into an appetizing treat. Cheesy scones might include sharp cheddar or aromatic Gruyère, while herbs like rosemary or thyme can lend a fragrant touch to the dough.
Savory Scone Ingredients:
Herbs Cheese Quantity Thyme Cheddar 1/4 cup, finely chopped Rosemary Gruyère 1/2 cup, shredded
When creating savory scones, it's important to balance the flavor profiles so that no single ingredient overwhelms the others.
Adjusting Recipes for Dietary Restrictions
Bakers can adapt scone recipes to meet various dietary needs without compromising on flavor or texture. For example, gluten-free flour can replace traditional wheat flour to make the recipe suitable for those with gluten intolerance. Sugar alternatives might be used in place of regular sugar to cater to those monitoring their sugar intake.
Dietary Adjustments:
Gluten-free: Substitute gluten-free flour in a one-to-one ratio.
Reduced-sugar: Use a sugar substitute following the brand's guidelines for measurement.
In modifying scone recipes for dietary restrictions, a baker might need to experiment with proportions to ensure the scone's texture remains as close as possible to the original recipe.
Serving and Storing Scones
When one has mastered the art of scone making, ensuring that scones are served with the perfect accompaniments and stored correctly is essential to maintain their freshness and delightful texture.
Pairing Scones with Accompaniments
Scones are a versatile treat, enjoying a special affinity with certain pairings. For a classic experience, they should be accompanied by jam and clotted cream. This combination balances the scone's texture with the cream's richness and the jam's sweetness. For a morning indulgence, scones are best served during breakfast with a cup of tea or coffee, providing a satisfying start to the day.
Storing Techniques to Maintain Freshness
Storage is critical for maintaining the scones' quality after baking. Scones stay fresh at room temperature for about two days when kept in an airtight container with layers of paper towels to absorb any excess moisture. For longer storage, they can be frozen for up to three weeks; it is advised to freeze them individually on a baking sheet before transferring them to a freezer-safe airtight container, ensuring they are clearly labeled with the date.
Reheating for Best Experience
To enjoy a scone as if it were freshly baked, one should reheat it correctly. Scones can be warmed in a preheated oven at 350°F for a few minutes until they are gently heated through. If the scones were frozen, there is no need to thaw them; they can be placed directly into the oven, which will preserve their tender crumb and revive their crust's slight crispness. Reheating in a microwave is not recommended, as it can alter the texture, making them soft and chewy.
Advanced Scone-Making Tips

Mastering the liquid measurement in scone dough can significantly reduce the risk of toughness and dryness, ensuring a flaky, tender texture. This expertise involves precision and an understanding of how different factors affect the outcome.
Achieving the Desired Scone Texture
Key Ingredients
Flour: Measure with a scale for accuracy—too much can dry out the dough.
Liquid: Precise measurement is critical—typically ⅓ cup liquid for every 1 cup of flour.
Method
Add Incrementally: Introduce liquid slowly, stopping when the dough just comes together.
Mix Gently: Overworking the dough develops gluten, making scones tough.
Tools
Scales: For precise ingredient measurements.
Pastry Cutter: To incorporate cold butter without overworking the dough.
Dealing with Common Scone-Making Challenges
Challenge: Scones are too dense.
Solution: Use cold ingredients and handle dough minimally.
Challenge: Scones fall apart or are too flaky.
Solution: Ensure liquid is evenly distributed without making dough wet.
Challenge: Scones are tough and not tender.
Solution: Avoid overmixing to prevent too much gluten development.
Troubleshooting Tips
Texture Check: If the dough is too sticky, add flour a tablespoon at a time.
Refrigeration: Chill dough before baking to maintain shape and texture.
Final Thoughts
Achieving the perfect texture in scone baking hinges on measuring the correct amount of liquid. Recipes often provide a range for liquids because the exact amount can vary due to factors such as the humidity in one's kitchen and the absorption rate of the flour. Bakers should start with the lower end of the liquid range and only add enough to form a dough that is slightly sticky yet manageable.
Consistency is key; a dough that is too wet or too dry will not yield the desired tender crumb. They must consider each ingredient's role:
Butter: Provides moisture and flakiness.
Liquid (usually milk or cream): Hydrates dry ingredients and binds the dough.
Careful handling is also crucial:
Mix until just combined to prevent overworking the dough.
Use a gentle touch to keep the scones light.
Remember, the goal is a moist scone with a delicate crumb. Each step in the recipe contributes to this outcome, and precision with liquid measurement is a vital part of this process.
Use the table below as a general guide:
Ingredient Purpose Measurement Note Flour Provides structure Start with lower range, add as needed Liquid Binds ingredients, affects moisture Adjust according to dough texture Fat Adds moisture, flakiness, and richness Ensure it is well-incorporated
By adhering to these practices, bakers will enhance their chances of creating delightful scones that boast the perfect balance of tenderness and structure.
