
How to Measure Ingredients for a Homemade Cookie Mix
Precision Baking Tips

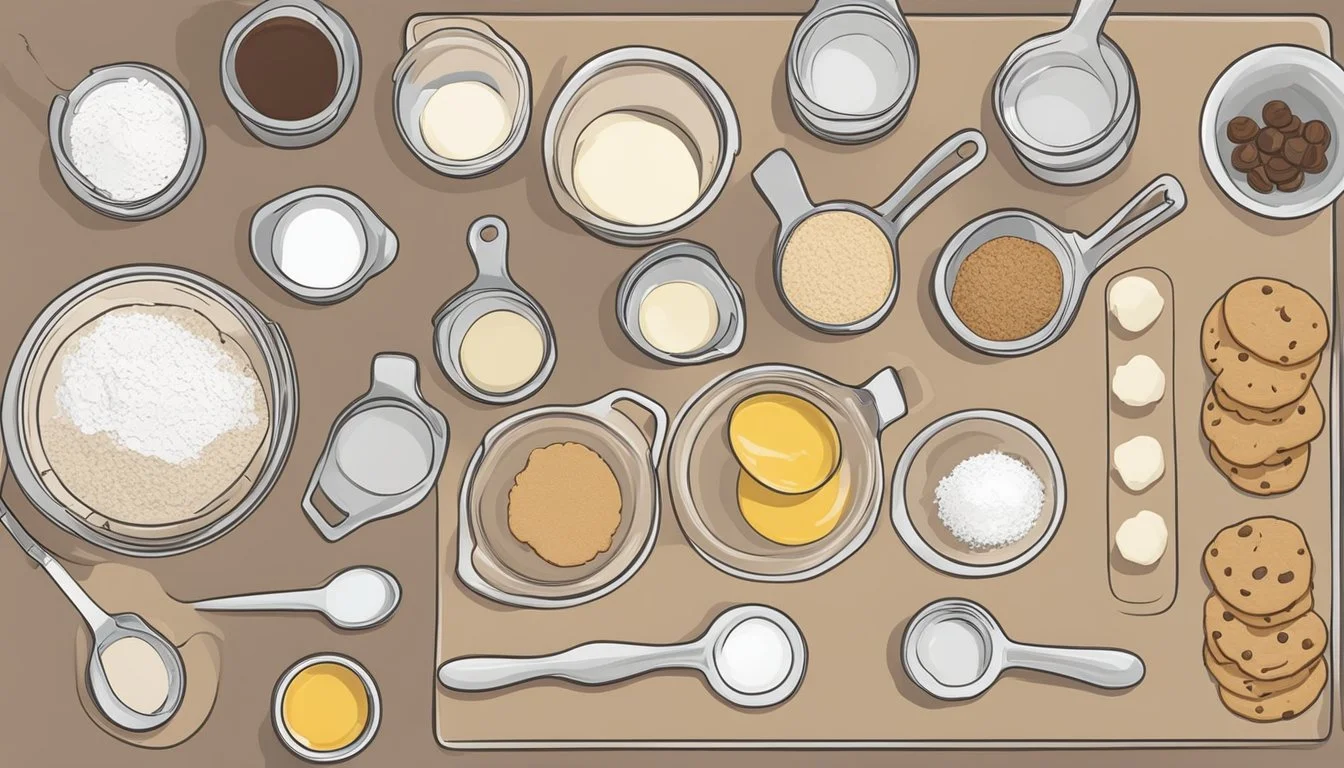
When making a homemade cookie mix, precision is essential to achieve the desired flavor and texture. Measuring ingredients accurately ensures that the chemical reactions that occur during baking proceed as intended. For each component, whether it’s flour, sugar, or butter, there is a correct measuring technique that can mean the difference between a perfect batch of cookies and a disappointing one.
Dry ingredients like flour, granulated sugar, and baking powder require a careful approach to avoid common pitfalls. Spooning these ingredients into a measuring cup and leveling off the excess with a flat edge provides a more accurate measurement than scooping, which can result in packing and, therefore, too much of an ingredient. Consistency in measurement is key, as variability can greatly affect the outcome of the cookie mix.
For fats such as butter or shortening, which contribute to the texture and richness of cookies, the best method is to press them into a measuring cup to ensure they are fully and evenly incorporated into the mix. Meanwhile, liquid ingredients should be measured in clear measuring cups at eye level to ensure an accurate line of sight. Taking these steps ensures that the homemade cookie mix has the correct proportions for a delicious end product.
Understanding the Basics of Cookie Ingredients

Creating the perfect homemade cookie mix requires precise measurement and a solid understanding of how each component contributes to the final product. This section is dedicated to exploring the fundamental ingredients that make up a cookie mix and their specific roles in baking.
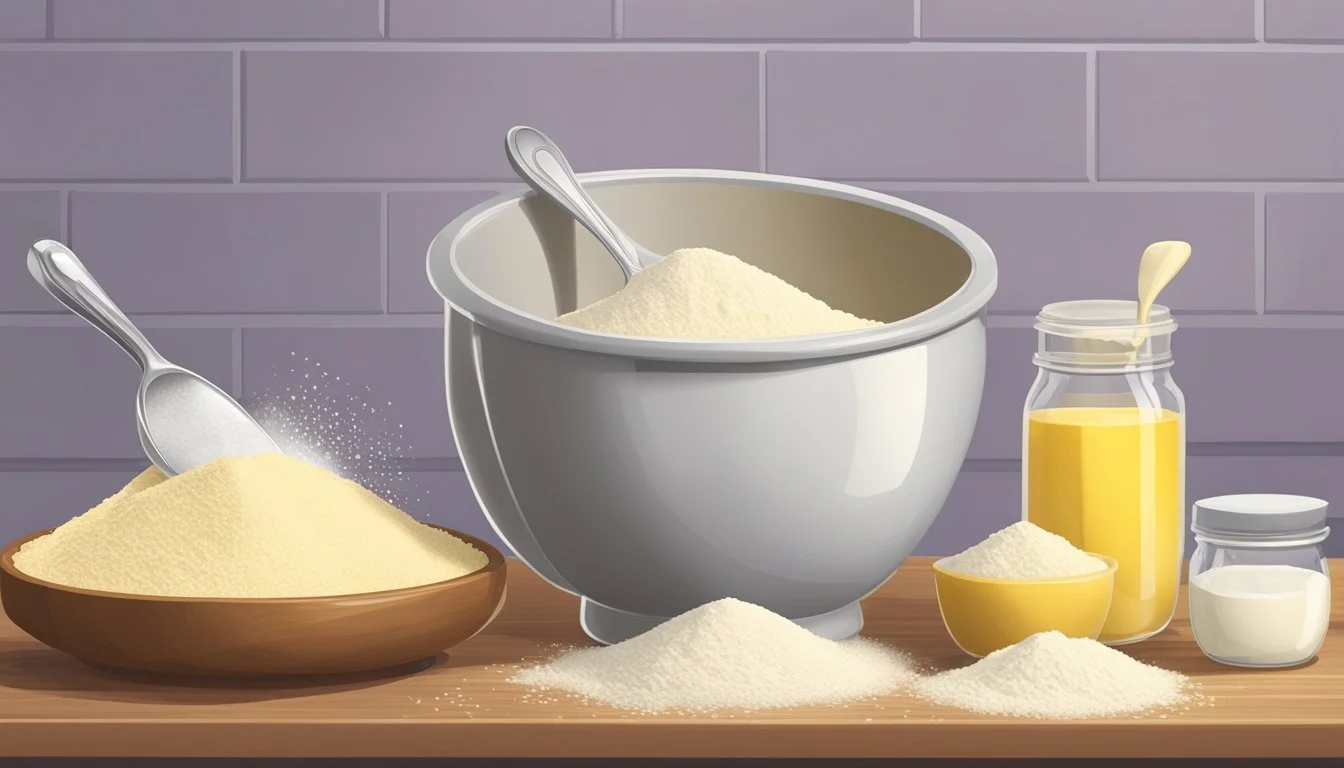
Role of Flour in Cookie Mixes
Flour, particularly all-purpose flour, serves as the base of a cookie mix. It provides structure due to the gluten formed when flour is mixed with moisture. The protein content contributes to the chewiness and form of the cookie, preventing them from collapsing when baked.
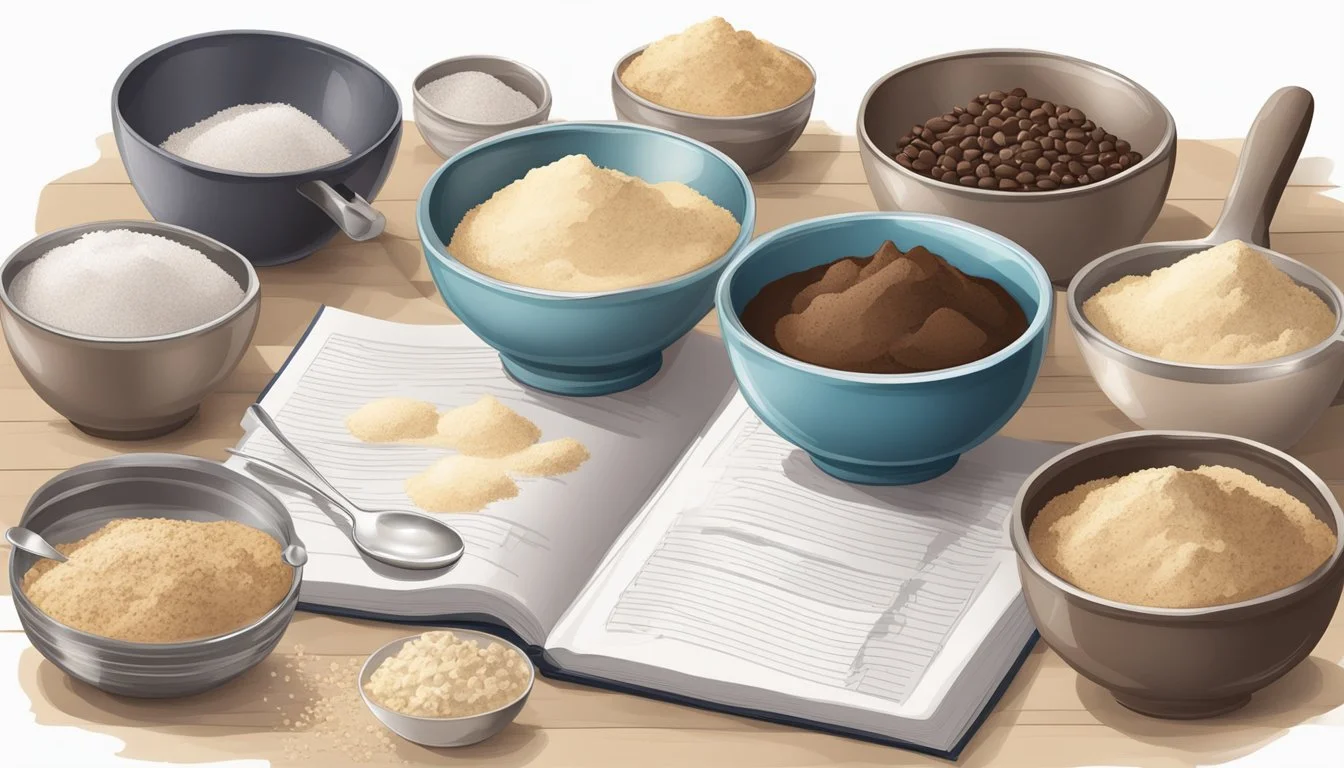
Significance of Sugars
Sugars, including granulated sugar and brown sugar, are crucial in cookie mixes. Granulated sugar creates a crisp texture and aids in spreading, while brown sugar imparts a moist, chewy texture due to its molasses content. Both types of sugar also contribute to the browning and flavor.
Importance of Fats
Fats like unsalted butter and others are key players in cookie mixes. Butter, in particular, adds flavor, creates tenderness, and helps in achieving the desired cookie spread. It contains both fat and water, which contributes to the leavening process. Saturated fats within the butter are responsible for a rich, satisfying taste.
Eggs: Binding and Enriching
Eggs, especially the use of a large egg, enrich cookie mixes with fat and protein, providing moisture and acting as a binder. The lecithin in the egg yolk is a natural emulsifier, which helps to create a uniform texture by integrating fats and other liquids.
Leavening Agents: Baking Soda and Baking Powder
Leavening agents like baking soda and baking powder are essential to the rise and texture of cookies. Baking soda, a sodium bicarbonate, reacts with acidic ingredients to create carbon dioxide gas that helps cookies puff up. Baking powder contains both sodium bicarbonate and an acid, releasing gas upon hydration and heating, and is often used in recipes without a natural acidic component.
Assembling the Perfect Homemade Cookie Mix
Creating the ideal homemade cookie mix requires precise measurement of dry ingredients, customization with a variety of flavor add-ins, and careful layering within a mason jar for both aesthetic appeal and storage efficiency.
Dry Ingredient Measurements
For a basic chocolate chip cookie mix, one needs a meticulous combination of dry ingredients. The foundational items typically include:
Flour: 1 3/4 cups, all-purpose
Granulated Sugar: 3/4 cup
Brown Sugar: 3/4 cup, firmly packed
Baking Powder: 1 teaspoon
Salt: 1/2 teaspoon
Using a digital scale provides the most accurate measurements for these ingredients. If using measuring cups, one should spoon flour into the cup and level off with a knife for precision.
Incorporating Flavor Add-Ins
A variety of flavor add-ins can be incorporated to personalize the cookie mix:
Vanilla Extract: Adding 1 teaspoon to the wet ingredients will infuse the cookies with rich flavor.
Chocolate Chips, Baking Chips, or M&Ms: Roughly 1 cup; these can be semi-sweet, milk, white, or dark chocolate, or even flavored chips.
Nuts: 1/2 cup of chopped nuts such as walnuts or pecans adds crunch.
Dried Fruits: 1/2 cup of dried cranberries or cherries brings in a chewy texture.
Additional Mix-ins: Coconut flakes, toffee bits, or other small confectioneries can also be mixed in, generally not exceeding 1 cup in total to keep the dry to wet ingredient ratio balanced.
All add-ins should be uniform in size to ensure even distribution throughout the cookie dough.
Layering Ingredients in a Jar
When assembling a cookie mix in a jar, one should follow a strategic layering process:
Start with the flour blend, which includes the baking powder and salt, using a funnel to ensure a clean transfer.
Brown sugar goes next, press it down to make a compact layer.
Add the granulated sugar, smoothing it out.
The chocolate chips or other chosen chips come after the sugar.
Top with any mix-ins, like chopped nuts or dried cranberries.
After layering, secure the lid on the mason jar. To add a personal touch, one can decorate the jar with a ribbon and include a tag with baking instructions for the recipient. This jar now stands as not just a simple mix but a thoughtful, homemade gift, perfect for any cookie lover.
Baking Essentials and Tools

Precision in measuring ingredients is crucial for the success of homemade cookie mix. The right tools not only ensure accuracy but also streamline the preparation process.
Measuring Cups and Spoons
A complete set of measuring cups and measuring spoons is non-negotiable for precise portioning of ingredients. They often come in sets that include ¼, ⅓, ½, and 1 cup for dry ingredients, as well as teaspoon and tablespoon measurements for smaller quantities.
Dry Ingredients: Spoon into the cup and level off with a straight edge.
Liquids: Pour into a transparent measuring cup with a spout until it reaches the desired measurement marker.
Mixing Bowls and Spoons
Sturdy mixing bowls are needed for combining the dry and wet ingredients. They should be large enough to mix the batter without spillage. A wooden spoon or a sturdy spatula facilitates efficient stirring and folding of the dough, ensuring that it is well-blended without being overworked.
Mixing Bowls: Preferably in a range of sizes for different tasks.
Wooden Spoon: Durable and non-reactive, ideal for creaming butter and sugar.
Baking Sheets and Preparation
Baking sheets, preferably heavy-gauge to prevent warping, are key for baking cookies evenly. Lining them with parchment paper or a silicone mat prevents sticking and allows for easy cleanup. When using multiple sheets in rotation, ensure cookies bake consistently by swapping their positions in the oven halfway through baking.
Baking Sheet: Also called a cookie sheet, should be flat with a small edge.
Parchment Paper: Eliminates the need for greasing and facilitates even baking.
These baking essentials greatly influence the quality of the final product and enhance the baking experience.
Nutritional Considerations in Cookie Mix Ingredients
When constructing a homemade cookie mix, it is critical to consider the nutritional impact of each ingredient. This includes evaluating both macronutrient and micronutrient content, which together influence the overall health profile of the cookies.
Caloric and Macronutrient Content
Calories are a measure of energy, and most cookie mixes are dense in calories due to high carbohydrate and fat content. Carbohydrates typically come from sugars and flours, serving as the primary energy source. Fats add richness and texture, varying in type: saturated, polyunsaturated, and monounsaturated fats.
Trans fats, which can negatively impact heart health, should be avoided. A typical cookie mix might contain the following:
Sugars: Provide quick energy but add significant calories with little nutritional benefit.
Flours: A source of carbohydrates; whole-grain options offer more fiber and nutrients.
Fats: Butter or oils contribute to the calorie count; opting for healthier fats can improve the mix's nutrition profile.
Micronutrients and Dietary Minerals
While cookies are not typically a significant source of micronutrients, choosing ingredients wisely can enhance their profile.
Fiber: Found in whole grains, can aid digestion and provide a sense of fullness.
Iron and Calcium: Can be found in fortified flours or ingredients such as chocolate or nuts.
Potassium and Sodium: Essential minerals for body function, but high sodium can be a concern for blood pressure.
Vitamins A and C: Not commonly present in high amounts in cookies, but using ingredients like raisins or oats can add trace amounts.
Selecting ingredients with nutritional benefits in mind can create a more balanced cookie mix, offering more than just empty calories.
Preparing to Bake

Proper preparation is essential to ensure that cookies are baked evenly and to the desired doneness. Each step, from preheating the oven to monitoring baking times and temperatures, impacts the final product.
Preheating the Oven
Before mixing the ingredients, the cook should always start by preheating the oven. This step ensures that the oven reaches the right temperature for baking. For most cookie recipes, the oven should be preheated to between 325°F (163°C) and 375°F (190°C), depending on the recipe's specific instructions.
Mixing and Handling Dough
Once the dry ingredients are combined, they mix in the wet ingredients as specified by their recipe. It is critical to mix the dough just until the ingredients are combined to avoid overworking it, which can result in tough cookies. After mixing, the dough should be handled as little as possible. It's often helpful to let the dough cool in the refrigerator for at least 30 minutes to firm up, which makes it easier to handle and can help prevent spreading during baking.
Baking Times and Temperatures
The recipe will specify the correct baking time and temperature. Typically, cookies are baked until they are golden brown around the edges. This usually takes about 8-10 minutes at 350°F (177°C), but the exact time can vary depending on the oven and the size of the cookies. It's important to use an oven thermometer to verify the accuracy of the oven's temperature gauge and to rotate the baking sheet halfway through the baking time for even cooking.
Storing and Preserving Homemade Cookie Mixes

When preparing homemade cookie mixes, proper storage is crucial for maintaining freshness and extending shelf life. Utilizing appropriate containers and understanding the conditions for freezing can ensure the quality of the mix over time.
Airtight Containers and Shelf Life
Airtight containers are essential in preserving the quality of a homemade cookie mix. They protect the mix from moisture, air, and pests, which can spoil the ingredients. For best results, one should store their cookie mix in a cool, dry place such as a pantry. A mason jar with a tight seal is an ideal choice, especially for homemade gifts, as it not only keeps the contents fresh but also presents nicely. The typical shelf life of a correctly stored homemade cookie mix ranges from several weeks to a few months.
Freezing and Thawing Cookie Dough
For longer preservation, one can freeze the homemade cookie mix. To freeze, place the mix in a freezer-safe airtight container or a sealable plastic bag, pressing out as much air as possible before sealing. Label the container with the date of freezing. Homemade cookie mix can be stored in the freezer for up to 3 months.
To use a frozen mix, one should first thaw it in the refrigerator. After thawing, allow the mix to come to room temperature before adding any required wet ingredients and proceeding with the baking process. This ensures even baking and optimal texture of the cookies.
Presentation and Gifting Tips

When creating a homemade cookie mix as a gift, the presentation is nearly as important as the quality of the ingredients. Thoughtfully decorated jars and personalized labels can elevate a simple cookie mix into a memorable holiday gift.
Decorative Jars and Labels
Choosing the Jar: Select a mason jar or any clear glass jar that seals tightly. This not only preserves the mix but allows the colorful layers of ingredients to be seen, contributing to the aesthetic appeal.
Labeling: Create a label with clear instructions for baking the cookies. Add a holiday-themed touch with festive colors or icons. Printable tags are convenient and can be customized with messages or baking instructions.
Ribbon or Twine: Secure the label using a ribbon or twine, which adds a quaint charm. Opt for colors that match the holiday season, like red and green for Christmas or pastels for Easter.
Decor Tips: Enhance the jar by adding a fabric topper or painting the lid. Embellish with holiday-specific decorations like bells or snowflakes for Christmas gifts or hearts for Valentine's Day.
Packaging and Decorating Cookies
Cookies: Once baked, cookies should be cooled completely before packaging.
Packaging:
Materials: Use cellophane bags, cookie boxes, or tin containers for packaging the cookies. Consider lining them with parchment paper to prevent sticking.
Stacking Cookies: If they are sturdy, stack cookies with a piece of parchment paper between each. For delicate cookies, place them in a single layer.
Decorating Tips:
Visual Appeal: Emphasize presentation by arranging cookies by size, type, or color.
Final Touches: Close the package with a decorative string, a ribbon, or a holiday-themed sticker for additional visual flair.
Each touch in packaging and decorating is not only about making the gift look attractive but about creating a sense of care and personalization that is appreciated in holiday gifts.
Final Touches and Serving

After preparing your homemade cookie mix and baking the cookies to perfection, the final steps ensure the quality of your dessert. Proper cooling techniques and suitable serving suggestions can enhance the enjoyment of your freshly baked cookies.
Cooling Cookies Properly
Once the cookies are baked, they should be transferred to a wire rack to cool. This is crucial because it allows air to circulate around the cookies, preventing them from becoming soggy. They should remain on the rack until completely cool, which usually takes about 10 to 15 minutes.
Step 1: Allow cookies to cool on the baking sheet for a few minutes.
Step 2: Transfer cookies with a spatula to a wire rack.
Step 3: Wait until cookies are completely cool to the touch before serving.
Serving Suggestions and Pairings
Cookies are a versatile dessert that pairs well with a variety of beverages and toppings. For a classic experience, serve the cookies with a glass of cold milk or, for a more adult twist, a cup of robust coffee. If serving as part of a larger dessert menu, they complement ice cream or can be used as the base for a cookie sundae. A simple dusting of powdered sugar or a drizzle of chocolate sauce can add an extra touch of elegance.
Beverages:
Milk
Coffee
Tea
Toppings:
Powdered sugar
Chocolate sauce
Ice cream
Display cookies on a plate or a serving platter, arranged neatly or stacked for easy access. Pairings should be chosen to complement the flavors of the specific cookie variety being served.
Recipes and Variations
In preparing a homemade cookie mix, one has the flexibility to create a variety of flavors and cater to different dietary needs. From the traditional chocolate chip to inventive mix-ins, there is a multitude of ways to customize the base mix.
Classic Chocolate Chip Cookie Mix
Ingredients:
3 cups all-purpose flour
1 cup granulated sugar
1 cup brown sugar
1 teaspoon baking powder
1 teaspoon salt
1 cup unsalted butter, cut into pieces
1 cup chocolate chips
Instructions:
Whisk together flour, sugar, baking powder, and salt.
Cut in butter until the mixture resembles coarse crumbs.
Stir in chocolate chips.
Store in an airtight container until ready to use.
To prepare cookies, they typically need to add one egg and a teaspoon of vanilla extract to the dry mix. Cookies should be baked at 375°F for about 10-15 minutes or until golden brown.
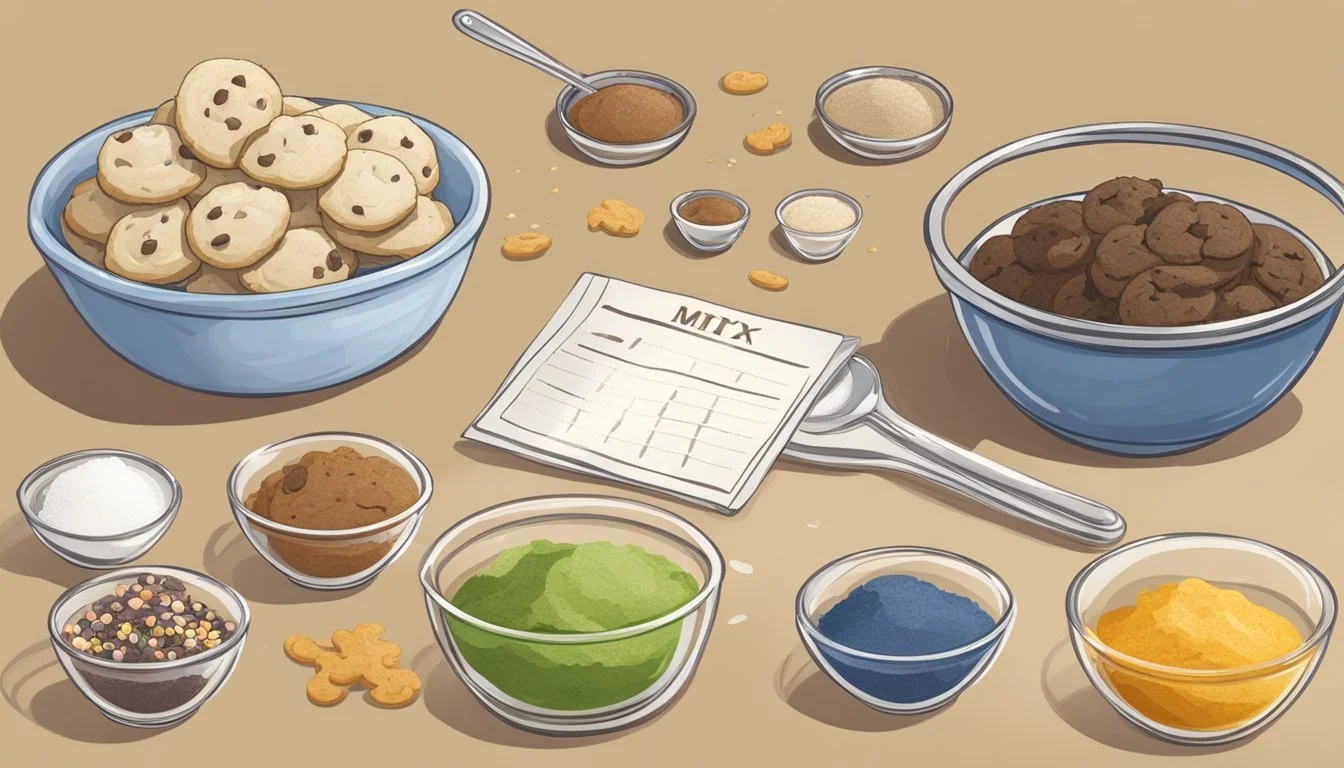
Creative Mix-In Combinations
By starting with a base mix, one can get creative by adding a variety of ingredients. Here are two popular mix-in combinations:
M&M Cookies:
Stir in 1 cup of M&Ms into the base cookie dough mix.
Oatmeal Chocolate Chip Cookies:
Add 1 cup of rolled oats and substitute half of the chocolate chips with dark chocolate chunks for a richer taste.
These simple additions transform the base mix into a completely new cookie experience, mixing textures and flavors for a unique treat.
Specialty Dietary Cookie Mix Variations
For those with specific dietary preferences or requirements, one can craft specialty mixes. Below are adaptations for common dietary considerations:
Gluten-Free Mix:
Replace all-purpose flour with a gluten-free flour blend.
Ensure all added mix-ins are certified gluten-free.
Vegan Mix:
Use vegan butter or solid coconut oil instead of regular butter.
Check that chocolate chips are vegan.
These variations offer alternatives for those who still wish to enjoy delicious homemade cookies while adhering to their dietary needs. Users should always check labels to ensure that each ingredient meets their dietary restrictions.
Maintenance and Longevity of Baking Equipment

Ensuring the longevity of baking equipment involves regular cleaning and proper storage. Details such as hand washing measuring tools and storing baking sheets without stacking can significantly prolong their use.
Care for Measuring and Mixing Tools
Measuring Cups:
Wash measuring cups with warm, soapy water after each use, especially when measuring sticky substances.
Dry thoroughly before storing to prevent rust or damage.
Wooden Spoons:
Hand wash with mild detergent and warm water rather than in the dishwasher to prevent warping and cracking.
Once a month, one can rub them with mineral oil to maintain their finish and prevent drying out.
Storage of Baking Sheets and Pans
Baking and Cookie Sheets:
Store baking sheets and cookie sheets in a cool, dry place.
To avoid scratching, do not stack them directly but use a rack or separator.
By adhering to these maintenance tips, one can extend the life of their baking equipment, ensuring reliable performance batch after batch.
Troubleshooting Common Cookie Mix Issues
When preparing a homemade cookie mix, consistency, texture, and storage affect the outcome of the final product. These variables can make the difference between success and a baking mishap, regardless of whether one is using a store-bought mix or a homemade batch.
Dealing With Inconsistency in Mixes
To ensure a consistent mix, all dry ingredients should be measured using the spoon-and-level method. The baker should spoon the ingredient into the measuring cup and level it off with the back of a knife. Inconsistencies often arise from improperly measured flour, which can turn a cookie dough too dry or too sticky. It's critical that all ingredients are at room temperature unless the recipe states otherwise, to maintain uniformity in mixing.
Adjusting Baked Cookie Textures
The final texture of a cookie can be greatly influenced by small adjustments in the mix:
For tough or dry cookies, the issue may be too much flour or overmixing. The baker should measure flour accurately and mix just until the ingredients are combined.
If cookies are too flat or spread too much, reducing the amount of sugar or butter can help, as well as adding a bit more flour.
To achieve a denser texture, one can bang the baking sheet with the cookies on the counter immediately after taking them out of the oven. This collapses the structure slightly.
Cookie Mix Storage Challenges
Storing cookie mixes for future use requires attention to air and moisture:
Store the mix in an airtight container and keep it in a cool, dry place to prevent ingredients from clumping or absorbing unwanted odors.
Homemade mixes should be used within a short time frame to ensure freshness. Long-term storage can lead to leaveners losing their potency, leading to cookies that do not rise as expected.
