
How to Cook While Crafting Homemade Pasta
Seamless Multitasking Tips
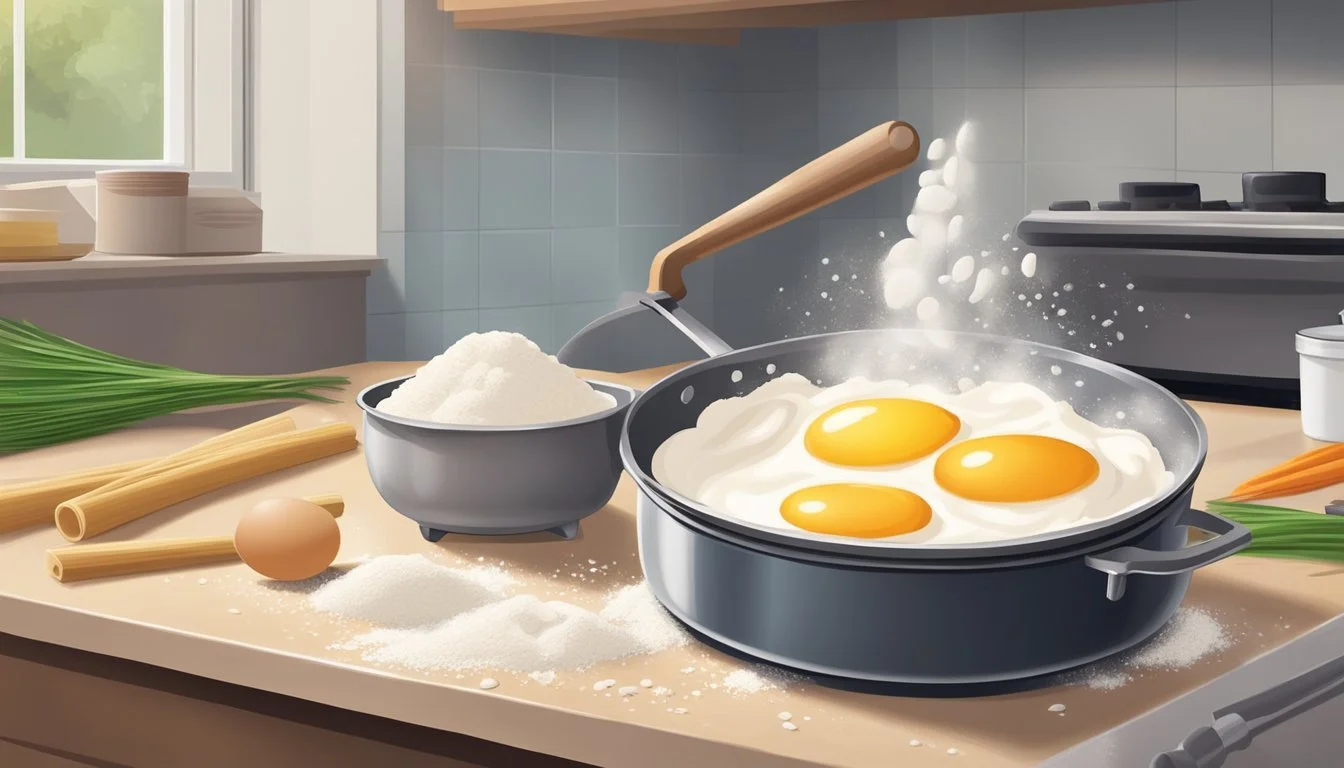
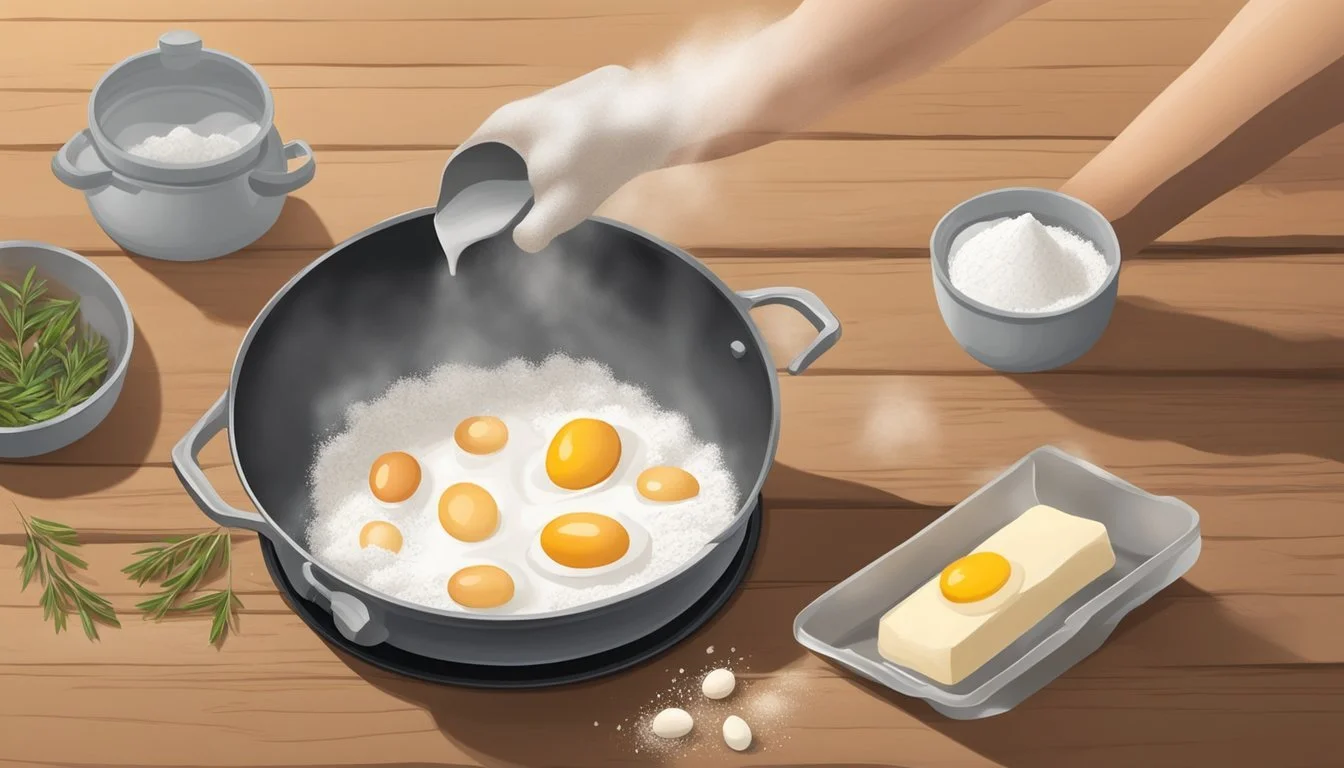
Crafting homemade pasta is both an art and a fundamental cooking skill that celebrates the simplicity and elegance of Italian cuisine. This culinary endeavor transforms basic ingredients like flour, eggs, water, and a pinch of salt into a versatile canvas for a myriad of dishes. The cooking process for homemade pasta (What wine goes well with pasta?) is as crucial as the crafting stage, as it determines the final texture and quality of the dish. It requires precision, as homemade pasta cooks much quicker than its store-bought counterpart, necessitating a watchful eye to achieve the coveted 'al dente' texture.
When it comes to boiling homemade pasta, the importance of using a large pot filled with plenty of water cannot be overstated. The ample space allows the pasta to move freely, reducing the chances of sticking and ensuring an even cook. Timing is key, with fresh pasta generally needing only a couple of minutes in boiling water compared to the longer durations required for dried pastas. Alertness in testing for doneness between two to four minutes is recommended to prevent overcooking.
After cooking, pairing the pasta with a complementary sauce is the final act that underscores the harmony between pasta and flavor. The sauce should cling to the pasta without overwhelming it, highlighting the pasta's fresh, subtle taste, and silky texture. A tip for home chefs: Reserving a cup of pasta water enhances sauces with a silky, emulsified quality that marries well with the fresh pasta. By adhering to these guiding principles, one can master the rewarding process of crafting and cooking homemade pasta.
Selecting Quality Ingredients
Quality ingredients are the foundation of delightful homemade pasta. The choice of flour, eggs, and oil, along with the correct hydration, can significantly influence the texture and flavor of the pasta.
Types of Flour
One's selection of flour determines the pasta’s texture and taste. "00" flour, or Italian-style flour, is finely ground and creates a silky, tender pasta, ideal for delicate shapes. Semolina flour, coarser with a high protein and gluten content, lends a chewier bite and is excellent for extruded shapes like penne. Alternatively, all-purpose flour is versatile and can still yield satisfying results, though lacking the characteristic refinement of Italian-style flours.
Eggs and Oil Variations
Eggs add richness and color to pasta dough. Fresh, high-quality eggs can impact the flavor profile and consistency. Some recipes may vary the number of yolks to whites for a richer dough. A drizzle of olive oil can offer subtle flavor and improve the dough's elasticity. While optional, a high-grade, extra virgin olive oil is recommended for its robust flavor and aroma.
Understanding Hydration Ratios
The hydration ratio, the balance between flour and water or wet ingredients, is crucial. Pasta dough is drier compared to other doughs, aiming for a firm consistency. Water should be added cautiously—a few drops at a time—to adjust the dough if it’s too crumbly. Conversely, if the dough is too wet, a dusting of flour can bring it back to the right texture. The exact ratio varies, but experienced pasta makers develop a feel for the dough, understanding when it has reached the ideal pliable yet firm state.
Mixing and Kneading Techniques
The foundation of great homemade pasta lies in properly mixing and kneading the dough. These crucial steps ensure the pasta's texture is just right. Whether one opts for hand mixing or using a food processor, and regardless of the kneading method, attention to detail is key.
Hand Mixing
To hand mix pasta dough, start by pouring the flour onto a clean work surface and forming a flour mound. Make a well in the center and add the eggs. Using a fork, they should gradually pull in flour from the sides to the center, mixing it with the eggs. As the mixture thickens, they will switch to hand mixing, folding the dough over itself, until it forms a cohesive mass.
Using a Food Processor
A food processor can expedite the mixing process. They should combine flour and eggs in the processor, pulsing until the mixture resembles breadcrumbs. At this stage, it should be turned out onto a clean work surface. If any dry flour remains, a few drops of water or olive oil can be added to achieve the correct consistency.
Proper Kneading Methods
Kneading is essential for developing the gluten, which gives pasta its structure and bite. For proper kneading, one must press down and forward with the heel of their hand, fold the dough over, give it a quarter turn and repeat. This process should continue for about 10 minutes until the dough is smooth and elastic. Once adequately kneaded, the dough requires resting, usually for about 30 minutes, allowing the gluten to relax. This can be achieved manually or with a stand mixer using a dough hook. When using a KitchenAid stand mixer, the dough should be kneaded on a low setting to prevent overworking the dough.
Rolling and Shaping Pasta
After preparing the pasta dough, the next important step in homemade pasta making is rolling and shaping it into various forms. Proper techniques and tools can ensure even thickness and texture, vital for perfect pasta.
Rolling Dough by Hand
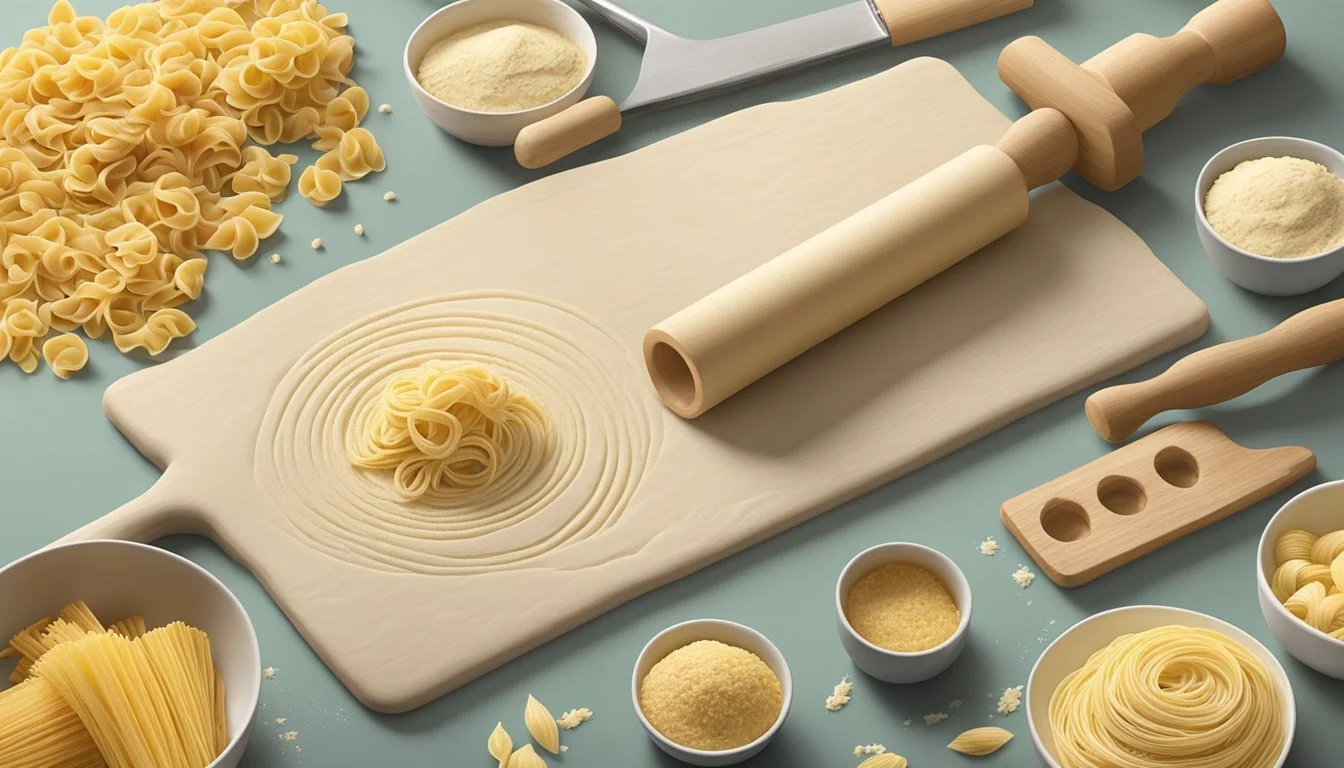
For home cooks without specialized equipment, a rolling pin is essential for transforming the dough into thin sheets. The process involves flattening the dough on a well-floured surface to prevent sticking. Home cooks should aim for a consistent thickness throughout, which could vary from 1/16 inch to 1/4 inch depending on the pasta shape they are creating. Patience is key, as achieving the desired thinness might require several passes with the rolling pin.
Using Pasta Makers and Rollers
For those with access to a pasta maker or pasta roller, the task becomes easier and more efficient. Typically, one would start on the widest setting, feeding the dough through multiple times and gradually reducing the setting to achieve the desired thinness. KitchenAid attachments or standalone pasta machines can expedite this process, rolling out consistent, uniform sheets ready for shaping.
Pasta Roller: Begin with the widest setting, usually marked '1'.
Subsequent Passes: Fold and pass through several times, decreasing the setting until reaching desired thickness.
Creating Different Pasta Shapes
Once the dough is rolled out, shaping it into various pasta shapes—such as fettuccine, spaghetti, or linguine—requires precision and technique. A pasta cutter or a sharp knife can cut sheets into long, even strands for fettuccine or linguine. For shapes like ravioli or lasagna, the dough can be cut into squares or strips and layered or filled as needed. For tube shapes such as penne, a sharp knife and a steady hand will be required to cut tubular shapes before cooking.
Long Noodles: Use a sharp knife or pasta cutter to create strips.
Filled Pastas: Cut into desired shapes, add filling, and seal.
Unique Shapes: Carefully craft shapes like penne by cutting and shaping tubes by hand.
While the process may be labor-intensive, the superior texture and flavor of freshly rolled and shaped pasta are worth the effort.
Cooking Perfect Pasta
Crafting perfect homemade pasta strikes a balance between cooking it to the ideal texture and pairing it with complementary sauces. Achieving al dente pasta – a term for pasta cooked to be firm to the bite – is the goal, while the choice of sauce can transform a simple dish into a culinary delight.
Boiling Pasta to Al Dente
To cook pasta al dente, one must bring a large pot of salted water to a vigorous boil. The ratio of water to pasta is crucial; typically, one should use about 4 quarts of water for every pound of pasta. Once boiling, the homemade pasta dough should be added. Stirring the pasta initially ensures it doesn’t stick together. Unlike store-bought pasta, homemade pasta cooks quickly, and its doneness should be tested between 2 to 4 minutes after the water returns to a boil.
Cooking Step Description Boil water Use 4 quarts of water per pound of pasta with a generous pinch of salt. Add pasta Gently stir to prevent sticking. Check doneness Test for al dente texture, typically between 2 to 4 minutes. Reserve pasta water Keep a cup of pasta water before draining to help sauces cling to the pasta.
Sauces and Pairings
Pairing the pasta with the right sauce enhances the dish. Thinner noodles, like spaghetti, harmonize with light, oil-based sauces such as pesto. Fettuccine and wider noodles are suited to thicker, creamy sauces like Alfredo or marinara. A robust Bolognese sauce is ideal for thicker shapes that can hold the hearty sauce well.
For a balanced flavor, one should finish cooking the pasta in the sauce for 1 or 2 minutes, allowing the pasta to absorb flavor and help the sauce adhere better. When incorporating, it's beneficial to add a ladleful of reserved pasta water to achieve a silky consistency and improve sauce adherence. Serve immediately, topped with freshly grated Parmesan cheese for an added touch of flavor.
Pasta Type Sauce Pairing Additional Notes Spaghetti Pesto Olive oil-based, with basil, pine nuts, and garlic. Fettuccine Alfredo sauce Creamy, with butter and Parmesan cheese. Rigatoni Bolognese sauce Meaty, with tomatoes and slow-cooked ground meat. Any Marinara sauce Tomato-based, with herbs, garlic, and onions.
Choosing the right sauce and achieving al dente texture are essential steps in mastering the art of homemade pasta.
Drying and Storage
Before cooking, drying fresh homemade pasta is essential for texture and can prevent sticking during storage. Utilizing a pasta drying rack optimizes airflow, while understanding long-term storage methods ensures pasta retains quality over time.
Using a Pasta Drying Rack
After cutting the fresh pasta to the desired shape, one should lay it out on a pasta drying rack. A drying rack serves two primary functions: it promotes even air circulation around the pasta, and it preserves the pasta's shape by preventing it from sticking together.
Setup: Assemble the drying rack according to the manufacturer’s instructions.
Flouring: Lightly dust the fresh pasta with flour to avoid sticking.
Placement: Drape the pasta over the arms of the drying rack without overlap.
Resting Time: Allow the pasta to rest until it is noticeably drier but still slightly flexible, typically around 15 minutes before cooking or longer when preparing for storage.
Long-Term Storage Tips
For storing fresh pasta over an extended period, one must ensure the pasta is properly dried to avoid spoilage.
Drying: Homemade pasta should be left to dry completely. This could take several hours if preparing for long-term storage.
Environment: Store in a cool, dry place away from direct sunlight.
Containers: Once dried, place the pasta in airtight containers or vacuum-sealed bags.
Refrigeration: Store the containers or bags in the refrigerator if the pasta will be used within a few days. For periods extending beyond a few days, freezing is recommended.
Freezing: For freezing, lay out the pasta on a baking sheet until firm and then transfer to a freezer-safe container or bag. Frozen pasta can be stored for several months.
Culinary Techniques and Traditions
In the realm of homemade pasta, mastery of culinary techniques and adherence to regional traditions elevate the simple combination of flour, eggs, and water to an art form. Here, one will explore the time-honored practices from Italy and journey through the diverse regional recipes that have made pasta a global staple.
Italian Pasta-Making
The Italian method of pasta-making is a time-tested ritual that begins with the finest ingredients. Flour is sifted onto a work surface and formed into a volcano-shaped mound. At its center, eggs serve as the catalyst in creating the pasta dough. Essential in this process is the blending of the eggs and flour, which artisans do using their hands or a fork, ensuring a uniform mixture that eventually becomes a supple dough after a thorough kneading process. Kneading not only develops gluten, which gives pasta its structure, but also has a therapeutic aspect, as many chefs find the repetitive motion a soothing part of the culinary experience.
It's common to allow the dough to rest, encased in either a clean cloth or plastic wrap, thus giving the gluten strands time to relax and ensuring the dough's elasticity. After resting, the dough can be rolled out by hand using a rolling pin or with the help of a pasta machine. The resulting sheets of pasta are then cut into the desired shapes—be it long strands for fettuccine or squares for ravioli.
Exploring Regional Recipes
Each region of Italy boasts its unique pasta sauce recipes, which are deeply ingrained in local gastronomy. In the north, for example, one finds the rich and creamy Fettuccine Alfredo, characterized by its luxurious blend of butter, heavy cream, and Parmigiano-Reggiano cheese. In contrast, the southern regions are renowned for their robust Marinara Sauce, a simpler concoction spotlighting ripe tomatoes, garlic, olive oil, and a scattering of fresh basil leaves, mirroring the Mediterranean's bounty.
When one ventures into the preparation of homemade pasta, exploring these regional recipes provides not only a variety of sauces to dress the noodles but also a glimpse into Italy's culinary diversity. Pasta's versatility allows for experimentation, but honoring the essence of these locality-specific dishes is key to creating authentic flavors. Whether crafting a simple butter and sage sauce typical of the North or delving into the more intricate seafood sauces of the coastal areas, authenticity in ingredients and preparation is paramount.
