
How to Make a Homemade Pasta Drying Rack
Easy DIY Guide

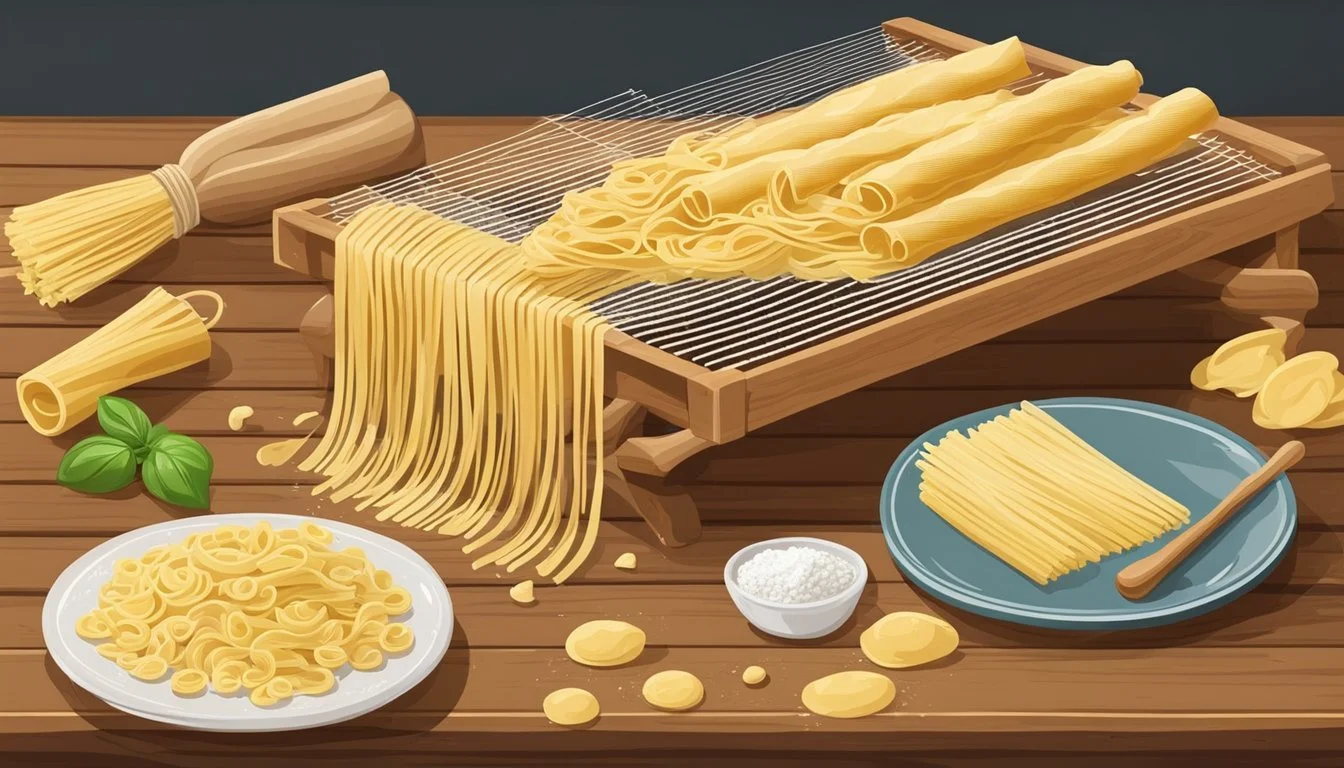
Creating homemade pasta offers a delightful culinary experience, often leading to a richer taste than store-bought varieties. However, an essential step in the pasta-making process is drying the pasta (What wine goes well with pasta?), which can be aided significantly by a pasta drying rack. While several commercial options are available, building your own pasta drying rack is a practical and rewarding DIY project. Not only does it allow for customization according to specific needs, but it is also a cost-effective way to enhance the pasta-making process at home.
The process of drying pasta is critical to its texture and cooking performance. Homemade pasta drying racks should be designed to provide ample airflow around each strand or shape, reducing the risk of spoilage and ensuring that the pasta retains its desired form. A well-constructed pasta drying rack will support the pasta during the drying process, which can range in time depending on the pasta's thickness and the ambient temperature and humidity.
For crafters and cooking enthusiasts, the act of making a pasta drying rack from basic materials offers an opportunity to employ simple hand tools and engage in a creative process. The result is a functional kitchen tool that can be used repeatedly, offering a sense of accomplishment in both the creation of the rack and the homemade pasta that dries upon it. Whether designed to be collapsible for easy storage or a more permanent fixture in the kitchen, a homemade pasta drying rack is a valuable addition to any pasta maker's toolkit.
Benefits of Homemade Pasta Racks
Homemade pasta racks offer practical solutions for drying fresh pasta (how long does fresh pasta last?) efficiently. They provide a dedicated space for pasta to dry while maintaining kitchen organization.
Compact Design for Easy Storage
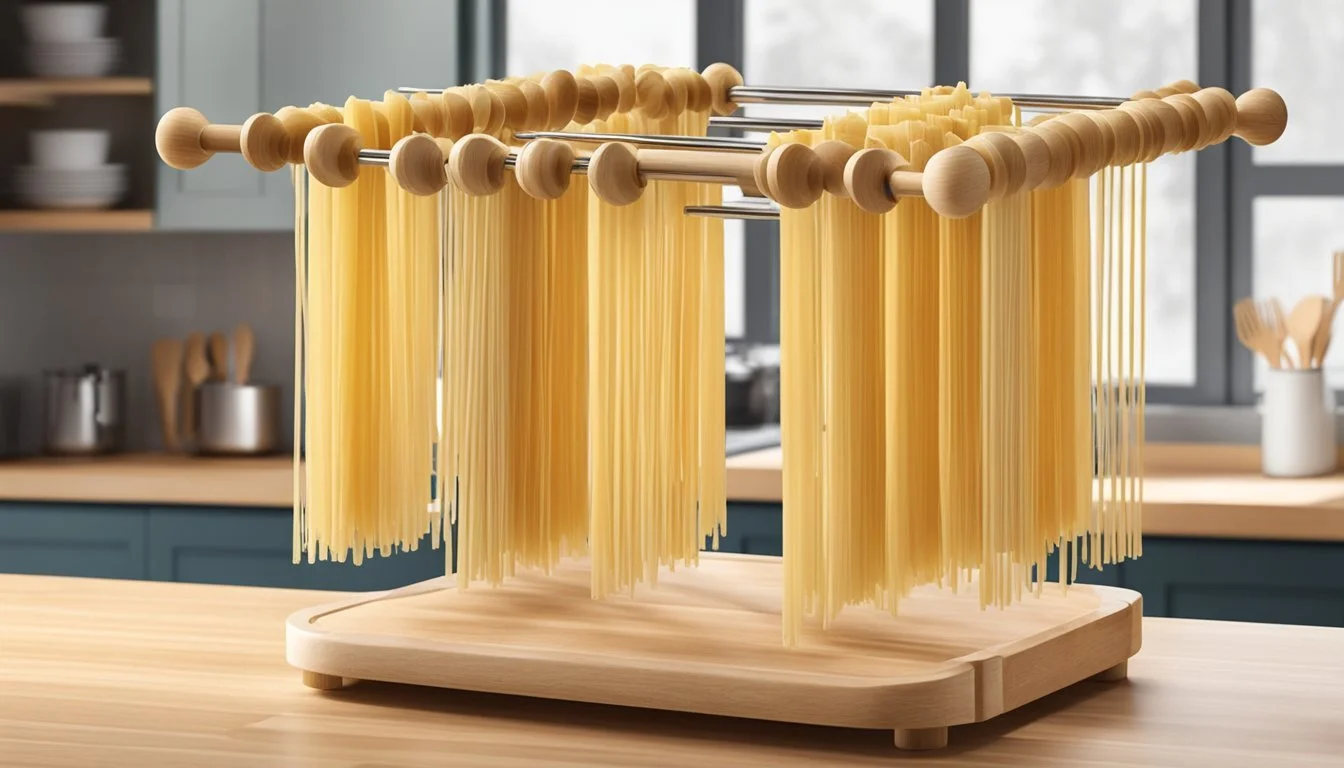
A primary advantage of a homemade pasta drying rack is its compact design. Once assembled, it occupies minimal space, yet it can be disassembled or folded after use for easy storage. Users appreciate the ability to tuck it away in cabinets or drawers, optimizing kitchen space without compromising on drying efficiency.
Enhancing Pasta Making Experience
Pasta enthusiasts often find that using a pasta drying rack enhances their pasta-making experience. The racks facilitate better air circulation around the strands or shapes of pasta, promoting even drying. This leads to a higher-quality, consistent final product that could be more difficult to achieve by laying pasta flat on surfaces where it may stick together or dry unevenly.
Required Materials and Tools
Creating a homemade pasta drying rack requires careful selection of materials and a set of basic tools for assembly. It’s vital to choose materials that are sturdy yet safe for food contact, and to utilize tools that can accurately measure and cut.
Choosing the Right Materials
For the construction of a pasta drying rack, one should select materials that are durable and food-safe. The primary material often used is wood, due to its strength and natural aesthetic.
Materials List:
Wooden dowels: Dowels typically serve as the hanging rods. One should opt for dowels with a diameter that is thick enough to support the weight of the pasta without bending.
Base material: A flat piece of wood, thick enough to hold the dowels upright without tipping over.
Wood glue: Non-toxic wood glue is essential for securing the dowels to the base.
Essential Tools for Assembly
The assembly process requires precision and the right set of tools to ensure the pasta drying rack is stable and functional.
Tools List:
Saw: To cut the dowels and base to the desired lengths.
Drill press or hand drill: To create uniform, straight holes in the base material for the dowels.
Glue spreader or brush: To apply an even coat of wood glue.
Ruler or measuring tape: To accurately measure and mark where to cut and place the dowels.
Each dowel must be cut to the appropriate length and the ends should be sanded to prevent any snagging or damage to the pasta. Marks for where the dowels will be inserted into the base should be evenly spaced to allow for maximum drying space and airflow. Using a drill press can increase the precision of the holes for dowels, ensuring a snug fit which contributes to the overall stability of the rack.
Designing Your Pasta Drying Rack
When making a homemade pasta drying rack, one must consider the rack's dimensions and structure to ensure it suits their pasta drying needs. A well-designed rack will provide ample space and airflow for the pasta to dry evenly.
Determining the Dimensions
The size of a pasta drying rack should correspond to the quantity of homemade pasta one intends to dry. The base of the rack needs to be stable and wide enough to prevent tipping, usually measuring at least 12 inches in diameter if round, or 12x12 inches if square. The height is typically around 16-18 inches, allowing long strands of pasta to hang without touching the center pole or the surface below.
Outlining Your Rack's Structure
A drying rack for homemade pasta commonly features a central pole that supports several arms or dowels where the pasta hangs. This structure needs to ensure optimal airflow around each strand, avoiding clumping and promoting consistent drying. The number of arms will vary based on the size of the rack but having at least four arms ensures a good distribution. For enhanced stability, the central pole should be secured to the base using screws or firm glue, which guarantees that the rack can support the weight of the pasta without collapsing.
Building the Base of the Rack

The foundation of a stable and functional pasta drying rack lies in a well-constructed base, which requires precise cutting and smoothing processes, followed by the addition of sturdy feet for enhanced stability.
Cutting and Sanding the Base
To begin, one must cut the base piece to the desired dimensions using a saw. The base should be large enough to provide stability but not so large as to become cumbersome on the kitchen counter. A recommended size could be a 12-inch by 12-inch square, depending on the available space. After cutting the wood to size, sanding is necessary to remove any splinters or rough edges and to ensure the base is smooth. Start with a coarse grit sandpaper and progress to a finer grit to achieve a polished look.
Attaching the Feet for Stability
Attaching feet to the base will prevent it from tipping over when laden with freshly made pasta. One needs to cut four small blocks of wood - these will serve as the feet. It is important that each foot is cut to equal height to avoid any wobble. Once cut, sand the feet to smooth out rough edges.
Glue application: Apply wood glue evenly to the top of each foot.
Foot placement: Position the feet at each corner of the base, about 1 inch from the edges to ensure even weight distribution.
Securing the feet: Allow the glue to set according to the manufacturer's instructions, or for added strength, one can also use screws to secure the feet to the base from the underside.
This approach to building the base ensures a sturdy platform for the drying rack that will remain steady during use.
Assembling the Dowel Framework
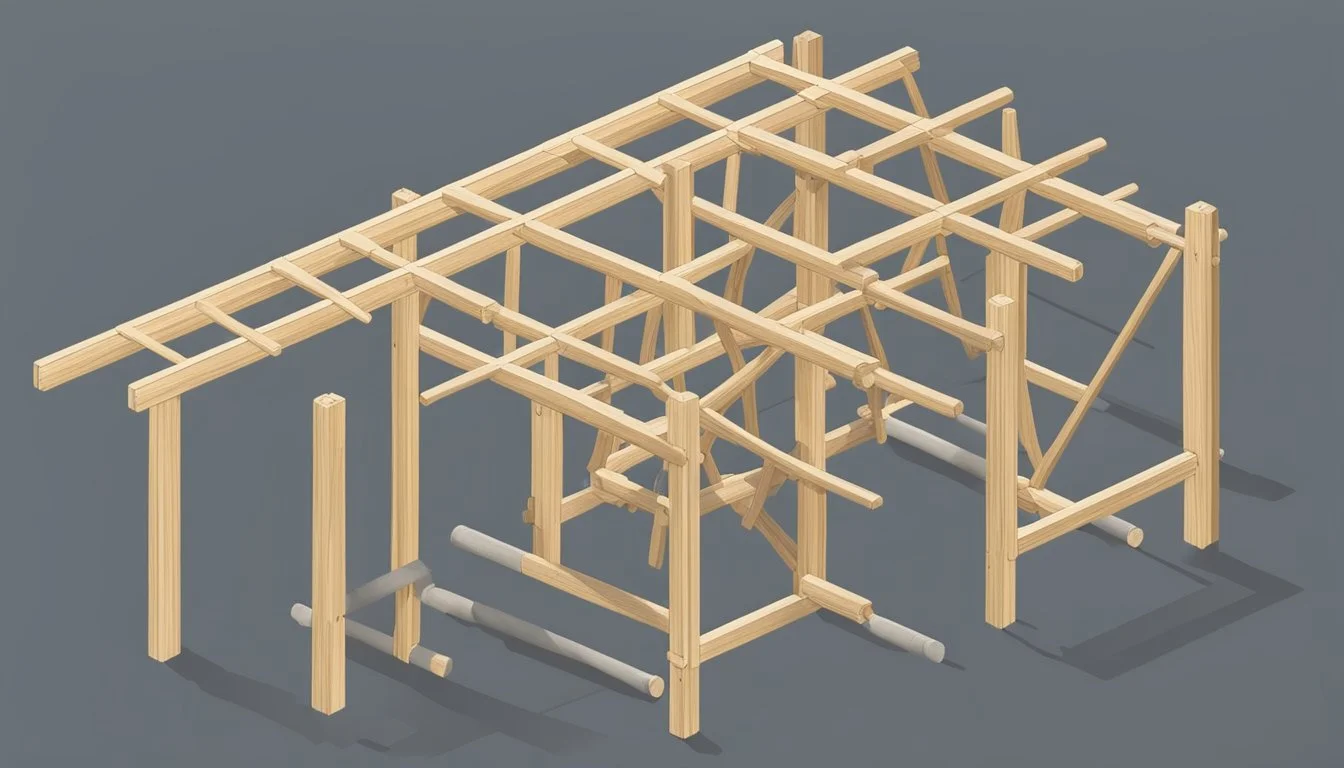
Constructing a pasta drying rack involves precise drilling for the dowel holes, followed by the secure attachment of dowels to the base. This framework is crucial for a sturdy and functional rack.
Drilling Dowel Holes
One begins by marking the drill points on the base piece, ensuring they are evenly spaced. Using a drill, the individual then creates holes slightly larger than the diameter of the dowels. This allows for a snug fit without the need for excessive force when inserting the dowels.
Template for Drilling:
Space dowel holes evenly across the length of the base, typically 2-3 inches apart.
Measure the dowel diameter and choose a drill bit that is just slightly larger.
Secure the base when drilling to prevent movement.
Securing Dowels to the Base
After drilling, the dowels are inserted into the holes. A dab of wood glue on each dowel end before insertion ensures a secure and lasting bond. The assembler should wipe away any excess glue to maintain a clean look. It's imperative to let the glue dry completely before using the rack to dry pasta.
Steps for Dowel Attachment:
Apply a small amount of wood glue to the end of each dowel.
Insert dowels into the pre-drilled holes.
Wipe away excess glue with a cloth.
DownList for Dowel Attachment:
Apply glue
Insert dowels
Clean excess glue
For added durability, one can use a saw to cut the dowels if they extend beyond the base, creating a flush finish. Allow the assembled frame to dry for a period recommended by the glue manufacturer before moving on to the next step of rack assembly.
Finishing Touches and Preservation
Once the construction of a homemade pasta drying rack is complete, paying attention to the finishing touches and proper maintenance ensures its longevity and makes it a useful tool for any woodworker.
Sanding and Painting
Sanding the pasta drying rack eliminates any sharp edges or splinters, enhancing the safety and tactile quality of the wood. Begin with a medium-grit sandpaper, then progress to a fine-grit for a smooth finish. For painting or staining, apply a food-safe, non-toxic finish that will both protect the wood and be safe for direct contact with pasta. Ensure the drying rack is evenly coated and allow ample time for the finish to dry completely, following the manufacturer’s instructions.
Maintenance Tips
Regular maintenance is essential for preserving the quality of a pasta drying rack. Woodworkers or users should routinely check for any loose components, such as screws or glue points, and re-secure them as necessary. After each use, they should clean the rack with a dry or slightly damp cloth to remove flour and pasta residue, taking care not to soak the wood. Storage in a dry, cool environment will prevent moisture damage and warping. By adhering to these maintenance steps, the rack will remain a practical addition to kitchen tools for years to come.
Using Your Homemade Pasta Drying Rack
After crafting a homemade pasta drying rack, one should understand the optimal ways to utilize it for drying pasta. This ensures the pasta maintains its shape and texture, prepping it perfectly for cooking or storage.
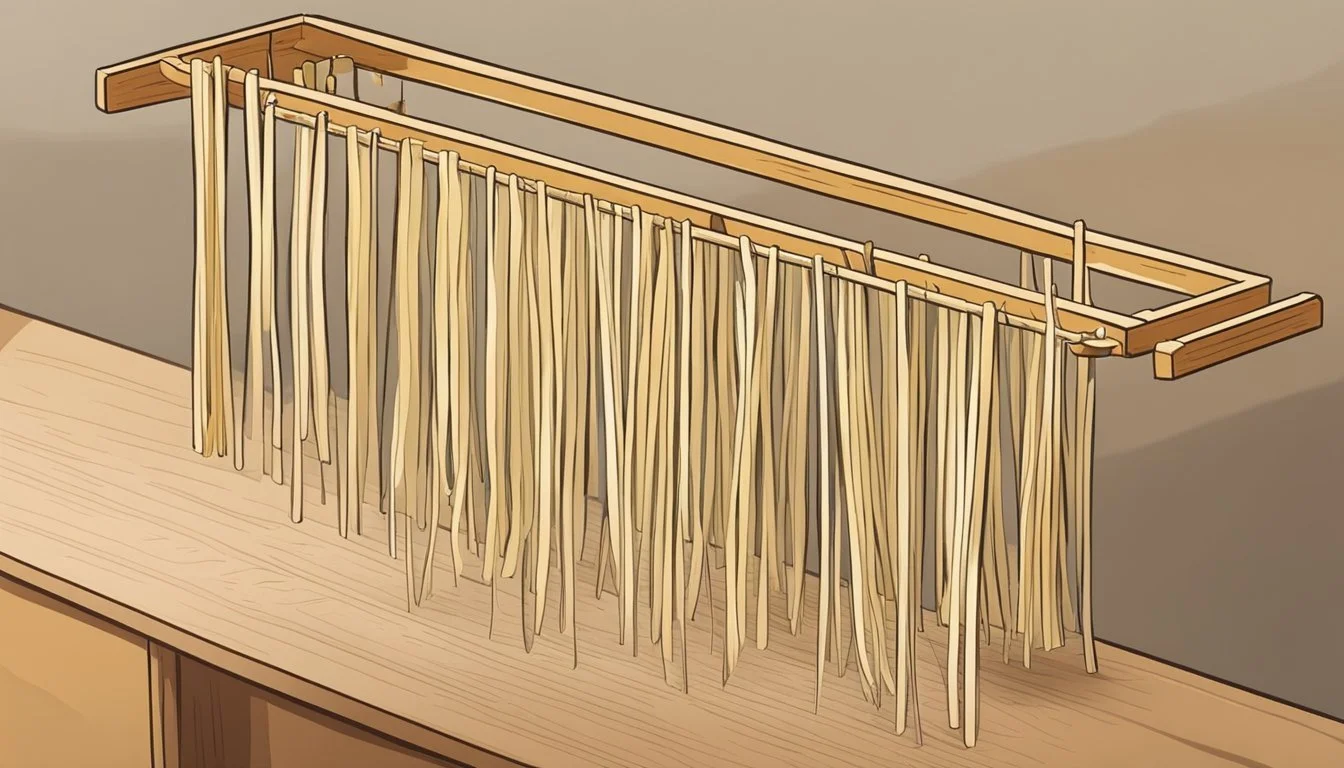
Hanging Pasta Properly
When using the rack, the user should hang pasta in a way that promotes even air circulation. For long pasta shapes like fettuccine, they should be hung individually to prevent sticking. Aligning strands parallel and with space in between is crucial. Pasta that has been made with a pasta maker should display a consistent thickness, making it ideal for even drying.
Rolling and Cutting: After rolling dough to the desired thickness and cutting it into strips, someone should gently drape the pasta over the rack.
Time Frame: They should allow the pasta to dry until it is brittle to the touch, which typically takes several hours, dependent on humidity and temperature.
Cleaning and Storing Your Rack
Maintaining the rack is straightforward. After the pasta has dried and been removed, the person using it should clean the rack to ensure it's ready for its next use.
Cleaning: It should be wiped down with a dry or slightly damp cloth to remove flour and dough remnants. Avoid using wet cloths as moisture can damage the wood and lead to mold.
Storage: If the rack is disassembled, the person should take it apart and store it in a dry place. A disassembled rack takes up minimal space and is protected from accidental damage.
No matter what type of pasta they're drying—whether it’s lasagna, ravioli, or simple long noodles—the homemade pasta drying rack can be an essential tool. #=> Always remember to let the pasta completely dry before storing it in containers, and most importantly, enjoy the process of homemade pasta-making, from kneading the dough to simmering it in the sauce.
Alternative Pasta Drying Solutions
In the quest to dry pasta effectively at home, one need not rely on specialized equipment. Utilizing common household items can offer practical and cost-effective alternatives.
Using Everyday Items
Resourcefulness can turn ordinary objects into effective pasta drying apparatuses. Here are specific item-based solutions:
Cereal Boxes: They can be repurposed to create a makeshift drying rack. By cutting the panels into flaps and piercing them with skewers or chopsticks, one can hang fresh pasta strands over the protruding sticks.
To maximize drying, pasta should be evenly distributed to ensure proper air circulation. This method is not only budget-friendly but also reduces waste by repurposing cereal boxes.
