
The Ultimate Guide to Using a Power Drill for Homesteading Tasks
Mastering DIY Projects
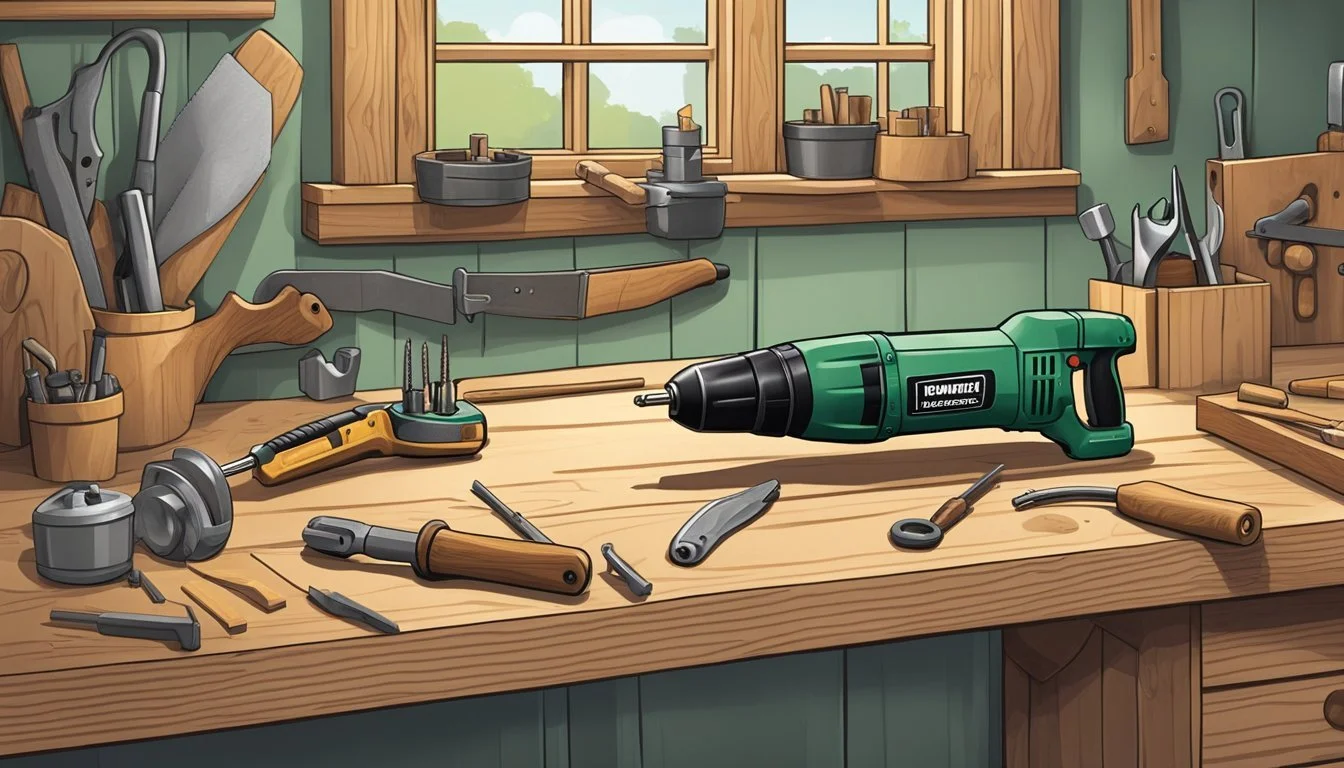
A power drill is an indispensable tool in the world of homesteading, where self-reliance and versatility are paramount. Serving numerous functions, from construction to maintenance, the power drill simplifies and expedites tasks that otherwise would be daunting and labor-intensive. Its ability to adapt to various attachments and drill bits renders it a swiss army knife among farm tools, capable of drilling holes, driving screws, and even mixing substances with the proper accessories.
Within a homesteader's arsenal, a power drill offers not just efficiency but also precision, fostering a level of craftsmanship that can withstand the rigors of rural living. Whether building fences, repairing equipment, or installing fixtures, the power drill emerges as a crucial ally, conserving time and energy. Homesteaders appreciate tools that contribute to the longevity and sustainability of their endeavors, and a power drill answers this call with formidable power and reliability.
Understanding the full potential of a power drill unlocks a world of possibility for the homesteader. It demands respect for safety measures, an awareness of the tool's limitations, and a commitment to proper maintenance. By mastering its use, homesteaders can assure that their projects are not only completed with dispatch but also with a quality that echoes the enduring spirit of homesteading itself.
Understanding Homesteading and Its Needs
Homesteading is a lifestyle of self-sufficiency. It is characterized by subsistence agriculture, home preservation of food, and may also involve the small-scale production of textiles, clothing, and craftwork for household use or sale.
DIY Projects: Essential to homesteading, DIY (Do-It-Yourself) projects enable homesteaders to create, repair, and manage their homes and land without relying on paid services. Knowledge in various tasks ranging from plumbing to electrical work is beneficial.
Sustainability: At the heart of homesteading is the principle of sustainability, which involves using resources in a way that does not deplete them and involves methods that can be maintained over the long term. Homesteaders often utilize renewable energy sources and employ organic farming practices.
Land: It is the foundation upon which homesteads are built. Depending on size and fertility, the land is allocated for crops, pasture, and living space. Efficient land use is crucial, integrating both plant and animal production for a balanced ecosystem.
Livestock: Many homesteads raise animals for a variety of purposes including meat, milk, eggs, and labor. The care, breeding, and management of livestock are significant tasks that require dedication and knowledge.
Construction Projects: From building coops for chickens to erecting barns and homes, construction plays a significant role in establishing and expanding homesteads. Using a power drill and other tools effectively is essential for constructing and maintaining sturdy structures.
Homesteading demands patience, skill, and a good understanding of how to manage and utilize resources effectively. Each task, whether it's planting a garden or building a fence, relies on a comprehensive set of tools and skills to achieve success.
Basic Power Drill Overview
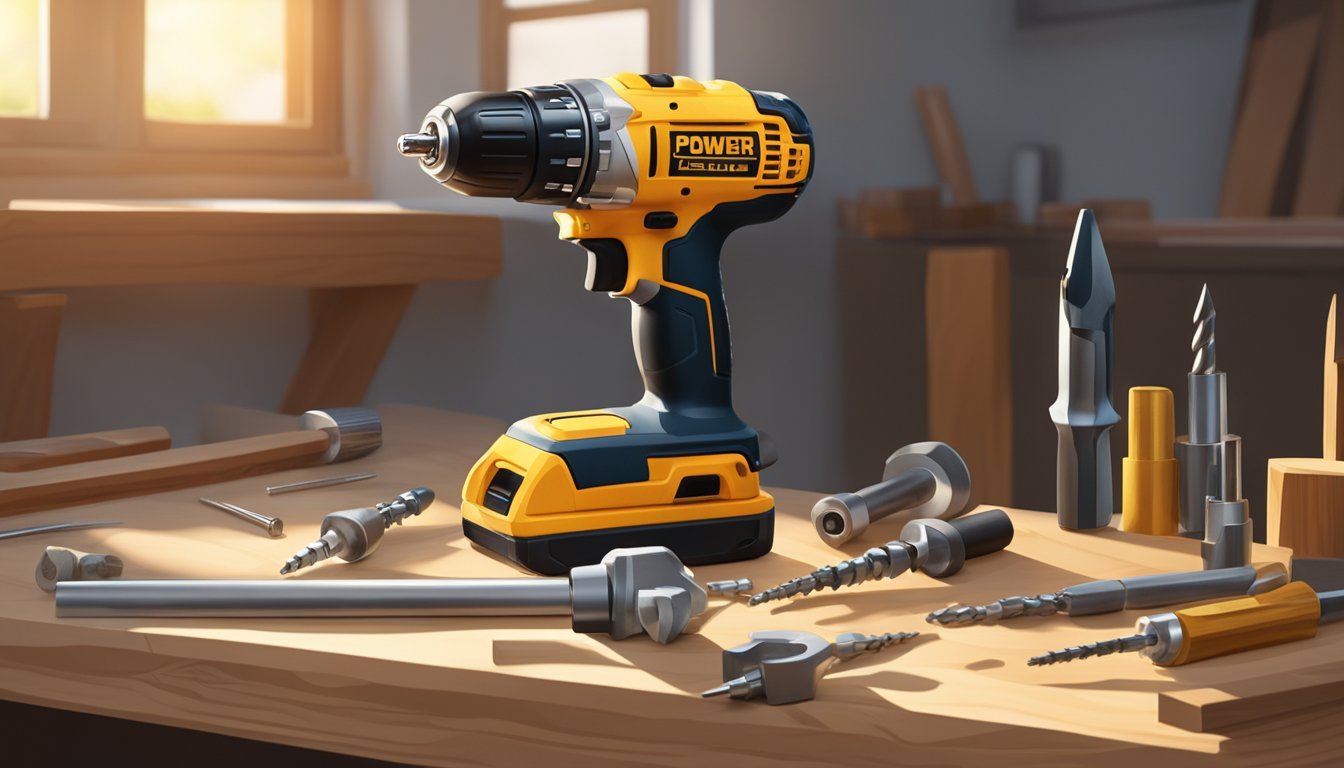
A power drill is a versatile tool essential for various homesteading tasks, from construction projects to simple repairs. Understanding its components, the types available, and how to select the right drill is crucial for efficient and effective use.
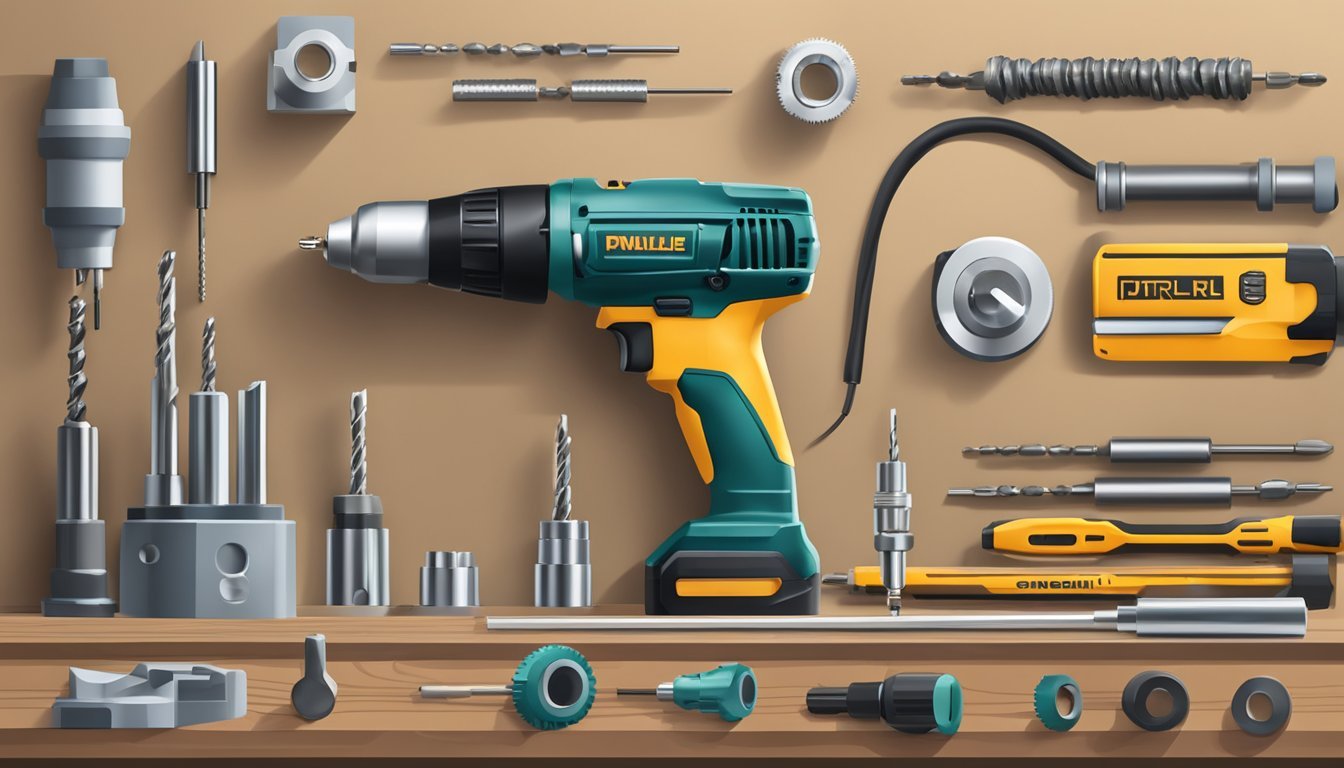
Components of a Power Drill
Chuck: The clamp at the front of the drill that holds the drill bits securely. Most models feature a keyless chuck for ease of changing bits.
Motor: Powers the rotation of the drill bit. The performance varies among different drill models.
Trigger: Activates the drill and controls the speed based on how firmly it is pressed.
Handle: Designed to provide a firm grip and control of the power drill during operation.
Torque Adjustment: Allows users to change the torque setting, which dictates the amount of force applied for different tasks.
Battery Pack: Pertains only to cordless drills, providing power without the need for a mains outlet.
Types of Power Drills
Cordless Drills: Offer portability and convenience without the limitation of a power cord. They are powered by rechargeable batteries.
Corded Drills: Provide continuous power without the need for charging. These are typically more powerful and used for heavy-duty tasks.
Hammer Drills: Include an additional hammering function to drill into tough materials like concrete and masonry.
Selecting the Right Drill for Homesteading
When choosing a drill for homesteading tasks, consider the following:
Power Needs: Evaluate if corded drills or cordless models better suit your tasks' power and duration requirements.
Material Types: Determine if you need a standard drill for wood and light materials or a hammer drill for concrete and heavier tasks.
Ergonomics: Look for a power drill that feels comfortable in hand and balances well for extended periods of use.
Drill Bit Compatibility: Ensure the drill can accommodate a wide range of drill bits for various homesteading applications.
Drill Safety and Preparation
When using a power drill for homesteading tasks, one's safety hinges on proper preparation and the use of personal protective equipment (PPE). The user must ensure that all safety precautions are observed before the drill is even powered on, and the work area is suitably arranged to prevent accidents.
Personal Protective Equipment
Eye Protection: Safety goggles or glasses with side shields should be worn to shield eyes from flying debris.
Hearing Protection: Use earplugs or earmuffs in environments with prolonged drilling to safeguard hearing.
Hand Protection: Wear gloves to protect hands from vibration, abrasion, and punctures.
Respiratory Protection: A dust mask is recommended to prevent inhalation of dust, especially when drilling materials like wood and concrete.
Safety Precautions Before Use
Inspect the Drill: Check for any damage or wear. Ensure that the power cord or battery is intact and all safety features are functioning.
Check the Drill Bit: Make sure it is sharp and correctly sized for the task. A dull or inappropriate bit can lead to accidents.
Secure Loose Clothing and Hair: Tie back long hair and avoid loose clothing or jewelry that could become entangled in the drill.
Setting Up Your Work Area
Clamp Down the Material: Use clamps or a vice to securely hold the workpiece in place.
Remove Hazards: Keep the area free of tripping hazards, such as cords or debris.
Lighting: Ensure the work area is well-lit to maintain visibility while drilling.
First-Aid Kit: Keep it accessible for immediate response to any injuries.
By following these guidelines, one can confidently carry out drilling tasks while minimizing the risk of injury.
Effective Drill Use on the Homestead
For the homesteading enthusiast, mastering the power drill is crucial, as it demands skill and precision for tasks such as drilling holes, constructing furniture, and building structures. This section explores practical techniques and the correct use of drill bits to enhance efficiency on the homestead.
Drilling Techniques and Tips
Positioning
A secure stance and firm grip on the drill ensure stability during use. Users should align the drill bit perpendicularly to the surface to avoid angled holes.
Speed Control
Moderation of the trigger leads to controlled drill bit speed. A slow start helps in creating a guide mark, while increased speed is necessary for deeper holes.
Pressure Application
Applying steady pressure allows the drill bit to penetrate smoothly, but excessive force can damage both the material and the drill bit.
Creating Pilot Holes and Using Different Drill Bits
Pilot Holes
Creating a pilot hole is essential for guiding the screw and preventing wood splitting. Selection of a drill bit slightly smaller than the screw ensures a snug fit.
Drill Bit Types
Twist Bits: Ideal for most materials, including wood and metal.
Spade Bits: Used for larger, rougher holes in wood.
Drill Bit Change
Power drills with a keyless chuck permit the swift exchange of drill bits, simplifying the transition between drilling tasks.
Assembling Furniture and Building Structures
Precision
When assembling furniture, precise hole placement and depth are paramount to maintain structural integrity.
Structure Integrity
In the construction of homestead buildings, using a power drill enhances efficiency and aids in creating sturdy joints.
Construction Materials: Compatible drill bits must be chosen based on the material, whether it be softwood, hardwood, or metal.
By following these guidelines, homesteaders can use their power drills effectively for a variety of projects, ranging from simple repairs to extensive construction endeavors.
Mastering Drill Operations
In this section, the reader will learn the intricacies of operating a power drill, including how to adjust speed and torque, use the reverse switch and clutch, and work with a variety of materials to enhance precision and safety during homesteading tasks.
Adjusting Speed and Torque
To begin drilling, a user must adjust the speed and torque settings appropriate for the task at hand. Speed refers to how fast the drill bit turns and is typically controlled by the pressure applied to the trigger. Light pressure results in slower rotation, while more pressure increases the speed. Torque, on the other hand, is the force the drill applies to turn the bit and is adjusted by turning the torque selector, usually located just behind the chuck. A higher torque setting is used for driving screws, while a lower setting is best for drilling holes.
Low Torque Settings: Ideal for drilling into soft materials like wood.
High Torque Settings: Necessary for hard materials like metal or dense woods.
Using the Reverse Switch and Clutch
The reverse switch is a crucial control that allows the drill to rotate in the opposite direction, enabling the removal of screws or backing out drill bits that are stuck. It is customarily found near the trigger. Users should ensure the switch is in the correct position before starting their task.
The clutch is another vital feature that provides greater control over the torque applied. This helps prevent over-driving screws or stripping them. For many drills, the clutch settings are numbered:
Lower Numbers: Less torque, preventing damage to softer materials.
Higher Numbers: Increased torque for more demanding tasks.
Working with Various Materials
Different materials require specific approaches when using a power drill:
Soft Woods: Speed Setting - Low, Torque Setting - Low, Tips - Use sharp bits to prevent splintering.
Hard Woods: Speed Setting - Medium, Torque Setting - Medium, Tips - Pre-drill to avoid splitting.
Metal: Speed Setting - Low, Torque Setting - High, Tips - Lubricate bit to reduce friction.
Plastics: Speed Setting - Low, Torque Setting - Low, Tips - Prevent melting with slow speeds.
Drill bits should be selected based on the material being worked on, and adequate pressure should be applied to aid the bit in cutting through the material efficiently without causing damage.
Maintaining and Troubleshooting Your Power Drill
Maintaining a power drill is essential to ensure longevity and optimal performance. Troubleshooting common issues can save time and avoid the need for expensive repairs.
Routine Maintenance and Upkeep
Proper routine maintenance of a power drill includes:
Checking the battery: Ensure it holds a charge and replace it if needed.
Inspecting the chuck: Tighten it regularly to prevent wobbling or bit slipping.
Lubricating moving parts: Apply a machine oil to maintain smooth operation.
Troubleshooting Common Issues
When a power drill malfunctions:
Check the battery and charger for signs of wear or damage.
Ensure bits are correctly seated and tightened in the chuck.
Examine the switch and trigger for responsive action, clean contacts if necessary.
Cleaning and Storing Your Drill
To clean a power drill:
Unplug and remove battery (if cordless).
Disassemble any removable parts.
Brush off debris and wipe with a damp cloth.
Optionally, use a mild detergent for stubborn grime.
For storage:
Keep the drill in a dry, dust-free environment.
Store it in a case or holster to protect from accidental drops or impacts.
Homestead Tasks and Power Drill Applications
Power drills offer versatile functions to manage a variety of homestead tasks, from erecting fences for livestock enclosures to assembling garden structures for plant support. Their precision and power make them indispensable for maintenance and construction projects.
Managing Livestock and Land
On a homestead, maintaining livestock enclosures and other land management structures is essential. They use power drills to effortlessly install fencing or repair existing structures. Drilling pilot holes for screws makes assembling gates or feed troughs stable and secure, ensuring the safety and containment of livestock.
Fence Installation: A power drill swiftly creates holes for securing fence posts.
Repairs: They apply power drills to mend broken slats or hinges on animal pens.
Gardening and Landscaping Tools
Garden maintenance requires durable and ergonomic tools. A power drill is used for crafting and repairing essential gardening implements. They can attach new handles to tools like garden hoes or pruning shears using a power drill, ensuring a firm connection for hours of labor-intensive use.
Tool Assembly: The attachment of new handles to garden hoes or shears.
Landscaping Projects: Creating raised beds or assembling trellises for climbing plants.
Home Repairs and Renovations
Homesteads often require frequent home repairs and renovations. They utilize power drills to perform tasks ranging from minor repairs to major remodeling projects with ease and efficiency. These drills assist in installing cabinetry, hanging drywall, and fixing loose fixtures, which are common tasks that contribute to maintaining a functional and comfortable living space.
Cabinetry: Attaching or adjusting hinges and hardware on cabinets.
Drywall Installation: Securing sheets of drywall to wall studs during room renovations.
Advanced Power Drill Techniques
In advanced homesteading tasks, power drills can perform precise woodworking and operate a range of equipment when utilized with expertise. Mastering these techniques requires attention to detail and an understanding of the tool's capabilities.
Fine Woodworking and Craftsmanship
When engaging in fine woodworking, a power drill must be used with finesse to achieve the desired results. Specialty drill bits are crucial; for instance, a brad-point bit ensures clean holes in wood. For intricate work:
Start with a pilot hole to guide screws and prevent wood splitting.
Use a countersink bit to create a flush finish for screws.
Employ variable speed control to start holes gradually and prevent cracking.
Drill press stands can enhance stability for uniform hole depth.
Operating Power Tools and Equipment
Effectively operating a power drill alongside other power tools requires coordination and safety consciousness. When working with saws and other equipment:
Utilize a clamp to secure the workpiece and free both hands for increased control.
Ensure maintenance of power tools to prevent malfunction during operation.
Follow manufacturer guidelines on battery care for cordless drills to ensure longevity and performance.
Remember, wearing safety equipment like goggles and gloves is imperative in maintaining safety standards during operation.
Accessorizing Your Power Drill
Accessorizing a power drill enhances its capabilities, enabling a range of homesteading tasks from woodworking to gardening. Selecting the right attachments and ensuring their maintenance is crucial for performance and longevity.
Expanding Functionality with Attachments
Drill Bits: A comprehensive set of drill bits is essential for various tasks. High-speed steel (HSS) bits are suitable for general drilling, while cobalt bits can handle harder materials. Masonry bits with a hammer function add impact force for drilling into stone or concrete.
Spade Bits: Ideal for boring large, wide holes in wood.
Auger Bits: Suitable for deep, precise holes – perfect for gardening tasks such as planting.
Chucks: The chuck secures drill bits and attachments. A keyless chuck allows for quick changes, enhancing efficiency during tasks.
Capacity: Typical chuck sizes are 1/4, 3/8, and 1/2 inches, correlating to the maximum drill bit shank size it can hold.
Attachments:
Right Angle Adapter: Allows drilling in tight spaces.
Depth Stop Collar: Controls the depth of drilling to prevent overpenetration.
Drill Guide: Ensures perfectly perpendicular holes.
Sanding Drums: Transform the drill into a sanding tool for wood finishing.
Proper Accessory Storage and Care
Storage: Organizing and protecting drill accessories extends their life.
Cases: Use a dedicated storage case with labeled compartments for each bit type and size.
Wall Racks: Hang larger attachments on wall-mounted racks or pegboards.
Clamps: Ensure clamps and guides are stored to prevent warping or damage.
Care:
Cleaning: Remove debris and wipe down bits and attachments after use.
Lubrication: Lightly oil moving parts on attachments to prevent rust.
Inspection: Regularly check for wear and damage to replace components promptly.
By investing in the right attachments and maintaining them with care, one’s power drill becomes a versatile tool indispensable for a variety of homesteading jobs.
Concluding Insights
A power drill is an invaluable tool for homesteaders, equipping them with the versatility to navigate an array of tasks. The level of confidence a homesteader builds while using this tool is a testament to its efficacy and integral role in fostering success in various projects.
Homesteaders recognize that power drills contribute to their journey of self-sufficiency. The comprehensive guide provided ensures that users approach each task with methodical understanding and skill. Below are key points that encapsulate the essence of effectively using power drills within the homesteading context:
Precision & Control: Mastering the trigger and reverse button determines how successfully one can complete tasks with finesse.
Essential to Success: The right drill bits and attachments can turn daunting tasks into achievable undertakings.
Safety: Safety protocols are non-negotiable. Adequate personal protective equipment should always be worn.
Maintenance: Regularly cleaning and proper storage prolong the lifespan of the power drill.
Adaptability: Understanding how to adjust settings to match different materials ensures efficient use of the power drill.
Homesteaders who embrace these insights are well on their way to not just surviving, but thriving, supported by the power drill’s dynamic capabilities.
