
How to Create an Organized Kitchen Dehydrating Station
A Step-by-Step Guide

Organizing a kitchen dehydrating station streamlines the preservation process and makes the practice an integrated part of a home lifestyle. Dehydrating food is a method that not only extends the shelf life of produce but also preserves nutrients, reducing waste and providing convenience for healthy snacking and cooking. Setting up a functional dehydrating station begins with identifying the right location within the kitchen that allows for easy access to both the dehydrator and the foods being processed.
A well-organized dehydrating station ensures all necessary equipment and supplies are within reach, making the process efficient and enjoyable. This includes storage for the dehydrator itself, as well as space for trays, parchment liners, storage containers, and a selection of prepped fruits and vegetables. The aim is to create a setup that supports the workflow, from slicing and prepping to dehydrating and storing. By dedicating a specific area in the kitchen to this task, individuals can enjoy the benefits of dehydrated foods without the hassle.
Considering the size and layout of the kitchen space is crucial when determining the best way to incorporate a dehydrating station. In smaller homes or apartments, space optimization is a key factor, and this may be achieved through the use of stackable racks, wall-mounted shelves, or multi-functional furniture that can house the dehydrator and related supplies. For larger kitchens, a more permanent installation might be feasible, such as a dedicated cabinet or countertop section designed for dehydrating activities. The convenience of such an organized station promotes a lifestyle where healthy, homemade dehydrated goods are always within arm's reach.
Assessing Your Kitchen Space

Creating an organized kitchen dehydrating station begins with a thorough assessment of the available space and the structural layout of your kitchen. A strategic approach to this evaluation will ensure the dehydrating station is both functional and seamlessly integrated into your kitchen design.
Evaluating Current Layout
One must consider the current layout of the kitchen, notably the counter space and pantry areas, as these will play a crucial role in housing the dehydrator and associated supplies. It's imperative to measure the counter and pantry dimensions to ascertain if any adjustments or additional storage solutions are required for the dehydrating station.
Identifying Prime Locations
A kitchen island or an underutilized section of the counter may offer the ideal spot for a dehydrating station. Look for areas that provide sufficient countertop space to operate the dehydrator while still having room to prepare foods for dehydration. The proximity to electrical outlets and storage for dehydrating paraphernalia should also be considered.
Considering Traffic Flow
Analyzing the kitchen's traffic flow is vital to ensure the dehydrating station doesn't disrupt everyday activities. Position the station away from high-traffic zones, such as the path to the refrigerator or sink, to prevent bottlenecks. Implementing vertical storage by adding shelves above the counter or using stackable containers can help maintain an efficient flow while maximizing space.
Dehydrating Station Essentials

Creating an efficient kitchen dehydrating station requires careful selection of equipment and thoughtful organization. Proper tools, storage solutions, and a reliable dehydrator are all essential for successful food preservation.
Selecting a Dehydrator
The centerpiece of any dehydrating station is the dehydrator itself. A dehydrator should have adequate space for large batches and adjustable temperature controls. Vertical flow dehydrators are suitable for smaller kitchens, while horizontal flow models offer more uniform drying, especially for thicker or more moist items.
Essential Dehydrating Tools
In addition to a dehydrator, a few key tools will ensure a smooth dehydrating process:
Cutting Board and Knives: Sharp knives and a sturdy cutting board are vital for prepping foods in uniform slices to ensure even drying.
Mesh Dehydrator Trays: Facilitate air circulation and prevent small pieces from falling through.
Baking Sheets: Handy for pre-treating certain fruits and for catchment purposes.
Mixing Bowls: For tossing fruits in pre-treatment solutions or for combining spices for meats and vegetables.
Paper Towels: To blot excess fat or moisture from foods during the drying process.
Storage Considerations for Dehydrated Goods
After dehydration, proper storage is crucial to maintain quality. Dehydrated goods should be stored in:
Airtight Containers: Glassware or high-quality plastic to protect from moisture and pests.
Cool, Dark Places: Drawers or cabinets tailored for dry goods can extend shelf life.
Labeled Shelving: Organized shelving helps to locate and manage inventory efficiently.
By investing in the right equipment and organizing your space thoughtfully, a kitchen dehydrator station can become a functional and rewarding addition to your food preservation endeavors.
Organizing Accessories & Ingredients
Creating an organized kitchen dehydrating station involves meticulous arrangement of accessories and ingredients. Proper storage solutions not only enhance efficiency but also extend the shelf life of dehydrated goods.
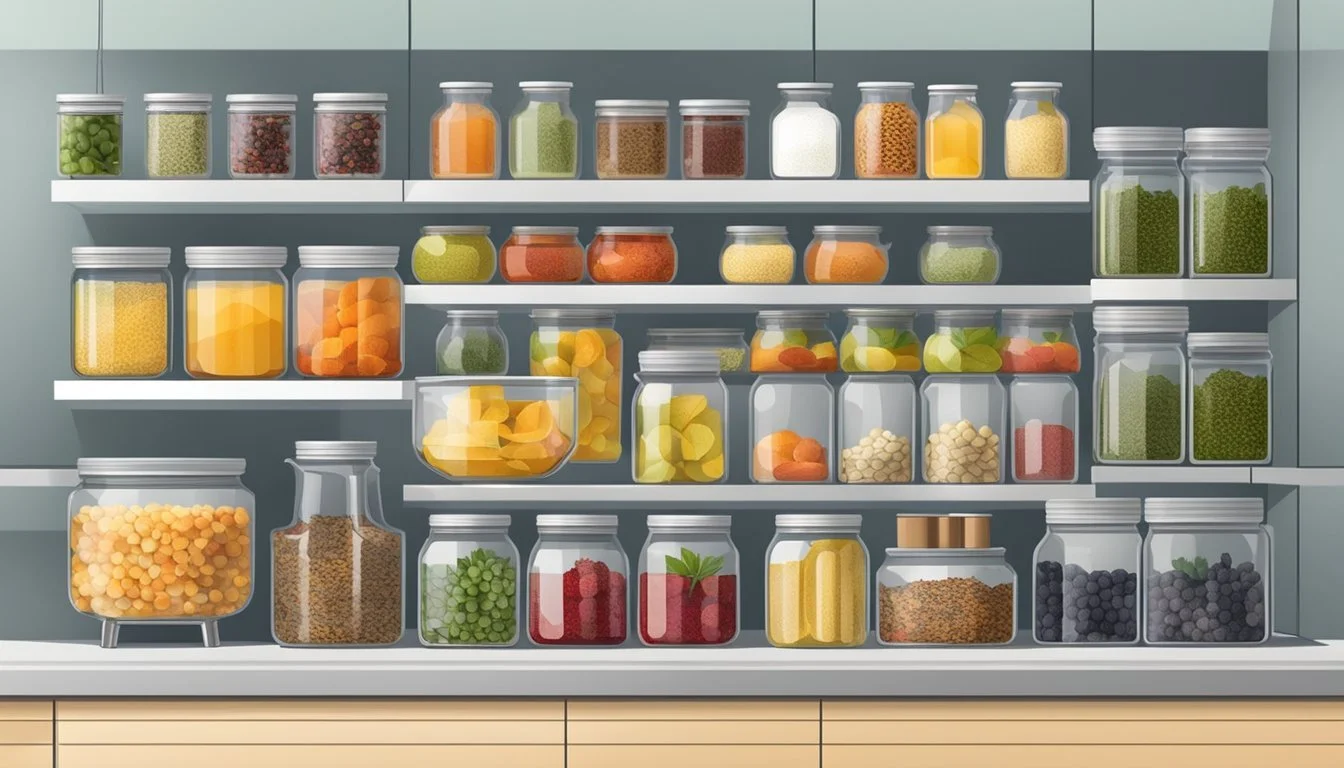
Container and Jar Management
Utilizing glass jars with airtight seals is essential for preserving the freshness of dehydrated items. Containers should be transparent or labelled clearly for quick identification. Incorporating drawer dividers can help segregate small packets and sachets, while a Lazy Susan offers easy access to frequently used items.
Small Glass Jars: Ideal for smaller dehydrated fruits and spices.
1-Gallon Glass Jars: Suitable for larger quantities of dehydrated vegetables and meats.
Container Labels: Use these on all containers for easy identification.
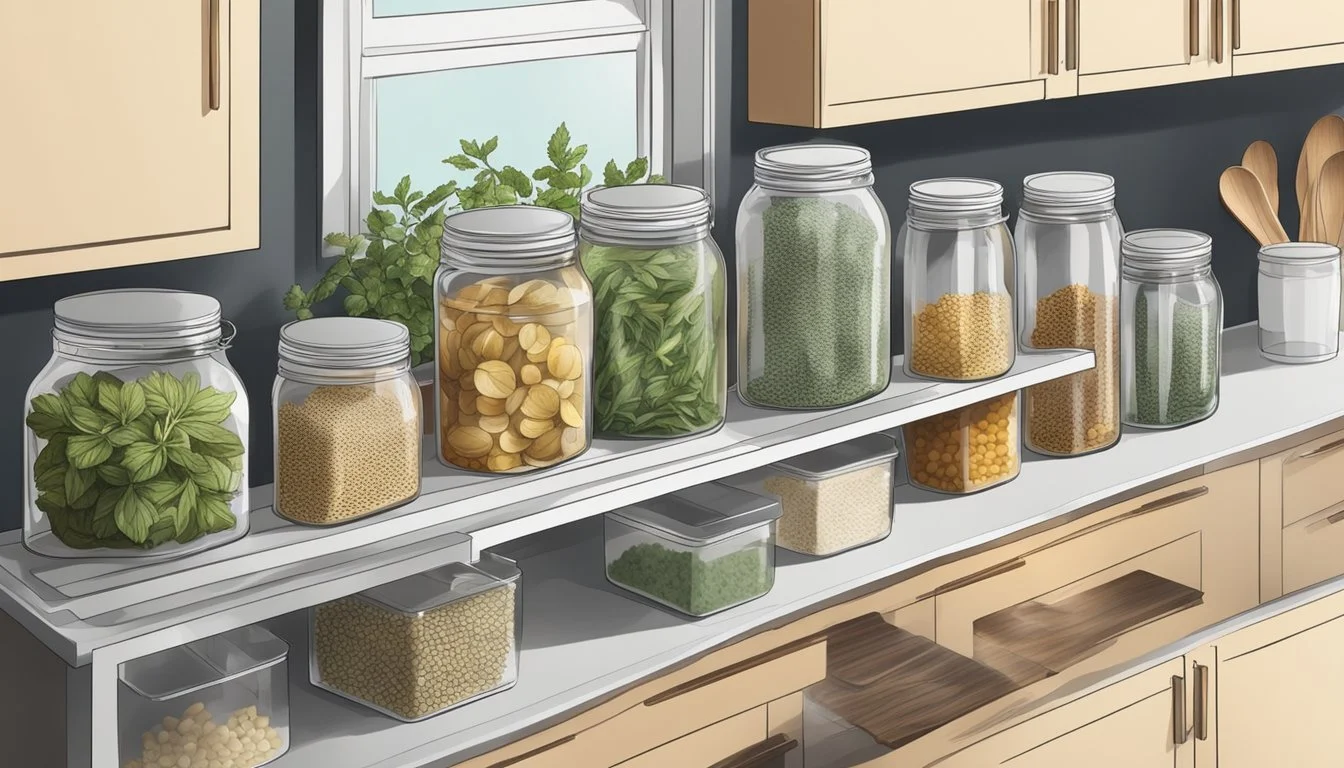
Spice and Herb Storage
Spices and herbs are fundamental to flavoring dehydrated foods, and their potency is preserved through correct storage. Magnetic racks can secure spice containers to the wall, saving counter space. Alternatively, a tea box or small baggies can be used for individual herb portions, fitting neatly into a dedicated drawer or rack.
Magnetic Spice Racks: Save space and keep spices visible and accessible.
Dedicated Spice Drawers: With dividers for assorted spice containers and baggies.
Bulk Ingredient Solutions
For bulk ingredients such as grains or seasoning mixes, larger bins with secure lids are recommended. These ingredients, if used in dehydrating processes, should be in an easily accessible spot. Large containers or clear baggies labeled with the contents and date of storage ensure that bulk items remain organized and are used within their optimal timeframe.
Clear Bins: Label these with content and date for efficient rotation and use.
Stackable Containers: They maximize vertical space and keep ingredients dry and free from pests.
Creating the Beverage Zone
An organized kitchen beverage station includes areas dedicated to coffee, tea, and health and wellness beverages, each designed to streamline preparation and maintain a clean, inviting space.
Coffee Station Setup
The coffee station should house a coffee maker and coffee grinder, with easy access to coffee beans and coffee cups. Utilize vertical space with shelves or a cup holder to organize mugs and saucers. Keep sweeteners, creamers, and stirrers in neat containers or on a tray for a clutter-free countertop. Essential tools might include:
Coffee Maker: Positioned for effortless water refilling and carafe access.
Coffee Grinder: For freshest flavor, placed near an electrical outlet.
Storage: For coffee beans and filters, perhaps in airtight containers.
Mugs and Cups: Stored on hooks or in a cupboard near the station.
Tea Station Considerations
A tea station should cater to the variety of tea preferences, from herbal to black teas. Have an electric kettle for hot water and a selection of tea bags and loose-leaf teas. A designated spot for an assortment of glasses and mugs ensures that the right glassware is always at hand. Remember to include:
Electric Kettle: A rapid-boil feature saves time.
Tea Storage: Organize teas by type in clear containers.
Accessories: Straws, spoons, and a small waste bin for used tea bags.
Health and Wellness Area
Health-conscious consumers should have a dedicated space for healthy beverages. Equip with a blender for smoothies and a storage area for bottles, supplements, and protein powders. Glassware for water and other hydrating beverages should be easily reachable, alongside any preferred reusable straws or drink infusers. Key components are:
Blender: Positioned on a stable, easily cleaned surface.
Glassware: Arranged by type — water glasses, smoothie cups, and bottles.
Storage: For nutritional supplements and drink mix-ins, preferably in a cool, dry place.
Efficient Use of Appliances and Tools
Creating a kitchen dehydrating station requires a streamlined approach, focusing on leveraging the full potential of countertop appliances and integrating essential kitchen gadgets effectively.
Maximizing Countertop Appliances
The efficient use of appliances like food processors and blenders is crucial in a kitchen dehydrating station. Food processors are ideal for chopping and preparing fruits and vegetables for dehydration, saving time and ensuring consistent slices for even drying. Blenders, on the other hand, come in handy for pureeing ingredients into spreads or pastes that can be dehydrated into fruit leather. A coffee grinder is not just for coffee beans; one can utilize it to grind dehydrated spices into fine powders. For those who frequently use hot water in their preparation process, an electric kettle provides quick and energy-efficient heating. Lastly, for those looking to expand their dehydrating techniques, a pressure cooker can precook certain foods to reduce dehydrating time significantly.
Food Processor: Ideal for chopping to achieve uniform size for better drying.
Blender: Perfect for making purees that are spread thinly for dehydrating.
Coffee Grinder: Grinds dried spices effortlessly.
Electric Kettle: Efficiently heats water for use in preparation.
Pressure Cooker: Precooks foods to expedite the dehydration process.
Integrating Kitchen Gadgets
Effective integration of kitchen tools can dramatically enhance the functionality of a dehydrating station. Tools like mandolines or sharp knives ensure that slices of food are even, which is vital for consistent dehydration rates. It's beneficial to keep the most frequently used tools within arm's reach, and for added guidance, cookbooks specified for dehydrating can be stored close by for quick reference.
Mandolines/Knives: Slice foods evenly.
Cookbooks: Offer specific guidance on dehydrating techniques and recipes.
By organizing and utilizing kitchen appliances and gadgets methodically, one can establish an organized and efficient kitchen dehydrating station.
Accessorizing for Convenience and Style
Accessorizing a kitchen dehydrating station effectively combines aesthetic appeal with functional use. Here's how one can elevate the space without compromising on efficiency.
Choosing Functional Decor
Functional decor serves a dual purpose, improving both the kitchen’s look and its usability. For example, drawer organizers can be implemented in the dehydrating station to sort dehydrating sheets and packets, making them easily accessible while maintaining a clean look. Consider incorporating items that are both practical and stylish such as a luxury knife block or vintage porcelain containers; these can add character while keeping essential tools within reach.
Utilizing Backsplash and Wall Space
The backsplash isn't just for protection against splatters; it's an ideal location to add functionality and style. Attach a grid panel or pot rack against the backsplash to hang kitchen scissors, spatulas, or measuring spoons. By optimizing the wall space, one frees up valuable countertop space that can be used for actual food preparation.
Backsplash Utilization Ideas:
Hooks for tools
Magnetic knife strips
Mounted spice racks for dehydrating spices
Innovative Shelving Solutions
Shelving can transform a cluttered kitchen into an efficient workspace. Install a shelf riser in a cabinet to double the space available for storing jars and dehydrating supplies neatly. Open shelving can feature your dehydrator prominently, turning it into a focal point. Additionally, if the space allows, a wine fridge can be a stylish addition for storing sensitive nuts or fruits at optimal temperatures before and after dehydration.
Shelving Tips:
Overhead pot racks: Saves space and adds character.
Under-shelf baskets: Increase storage without heavy renovation.
Floating shelves: Ideal for often-used items, keeps them at eye level and within reach.
Optimizing for Entertainment

When hosting guests, an organized kitchen dehydrating station can elevate the experience by providing a variety of beverages, from coffee and tea to cocktails and wine. Thoughtful preparation and versatility in setup are key components.
Prepping for Guests and Parties
For family gatherings or parties, one should ensure a well-stocked and accessible beverage station. A dehydrating station well-prepared for guests typically includes options to suit various preferences. Here's how to ensure readiness:
Stock Variety: Ensure a selection of dehydrated fruits for garnishing drinks and making infusions.
Alcohol Assortment: If serving alcohol, maintain a range of spirits for cocktails as well as choices like wine and beer in a wine fridge.
Non-Alcoholic Options: Offer an array of dehydrated teas and coffees for a comforting drink station.
Accessibility: Arrange the station so that it's easy for guests to self-serve without crowding.
Labeling: Clearly label dehydrated ingredients and beverages for ease of selection.
Building a Versatile Drink Station
Creating a beverage station that adapts to both casual family use and entertainment needs involves strategic organization. Here are some specific tips to construct a flexible drink station:
Modular Shelving: Install shelving that can be adjusted to accommodate various bottle sizes and bar equipment.
Tea and Coffee Drawer: Incorporate a drawer with dividers for coffee pods, tea boxes, and sugars, as well as a selection of dehydrated fruits for flavoring.
Durable Surfaces: Choose materials that are resistant to spills and easy to clean for areas around the beverage station.
Portable Elements: Have a mobile cart or caddy that can be moved to different areas of the kitchen or dining space as needed.
Themed Decor: Enhance the atmosphere with decor that fits the theme of the gathering, whether it’s casual, formal, or festive.
Maintenance and Upkeep

Maintaining an organized kitchen dehydrating station is essential for both the longevity of the equipment and the safety of the food being processed. Regular cleaning and reorganizing ensure that the station remains a functional and hygienic part of the kitchen.
Cleaning and Sanitation Routines
Daily:
Wipe down the dehydrator: After each use, one should unplug the dehydrator, allow it to cool, and then wipe the interior surfaces with a damp cloth to remove any food particles.
Clean trays and sheets: Remove all trays and mesh sheets from the dehydrator. These should be washed in warm, soapy water in the kitchen sink, rinsed thoroughly, and allowed to air dry.
Sanitize the countertop space: Use a disinfectant spray or wipes on the area around the dehydrator to prevent cross-contamination.
Weekly:
Inspect and scrub the kitchen sink: As the sink is often used to wash dehydrator components, it should be scrubbed with a dedicated brush and a baking soda paste to remove residue and maintain a sanitary environment.
Deep clean the dehydrator: Disassemble as much as possible and use cleaning supplies that are safe for food surfaces to address any build-up or residue.
As Needed:
When dehydrating strong-smelling foods like garlic, ensure thorough cleaning to prevent flavor transfer.
Organizational Refreshes
Trays and Accessories: Label the trays and all accessory parts for easy identification and to keep track of their condition.
Storage Solutions: Use clear, stackable containers with labels to store dry supplies and processed foods. This not only saves space but also helps in monitoring inventory.
Challenges and Solutions:
Limited Space: If countertop space is at a premium, store dehydrator trays vertically in a dry location when not in use.
Efficient Access: Organize frequently used supplies like spices and parchment paper in a dedicated drawer or basket within arm's reach of the station.
By following these suggested cleaning and organizational practices, those maintaining a kitchen dehydrating station can confidently ensure it remains clean, well-organized, and ready for use.
Advanced Tips and Tricks
In this section, we'll explore how one can elevate a kitchen dehydrating station with smart organization techniques and technology integration for both functionality and space-efficiency.
Implementing Space-Saving Hacks
Maximizing space is crucial in creating an efficient dehydrating station. Utilize tiered trays or stacking bins to hold prepped fruits and vegetables awaiting dehydration. This keeps countertops clear and makes good use of vertical space. For storage containers and lids, a bin organization system can simplify storage. Assigning a dedicated zone for dehydrating supplies ensures that everything has its place, making the process seamless and convenient.
Automation and Smart Kitchen Integration
Incorporate automation for enhanced convenience in a dehydrating station. Smart outlets can allow one to remotely control dehydrators via smartphone, ensuring they never miss the perfect drying time. If the kitchen allows, installing an automatic fruit and vegetable slicer can streamline prep work. Integrating a caffeine drawer filled with ready-to-use pods and tea adjacent to the dehydrating area can be a boon for those early morning starts.
Adapting for Different Needs and Lifestyles
An organized kitchen dehydrating station must adapt to the user's lifestyle. For families, creating a kid-friendly zone with easily accessible healthy snacks can promote better eating habits. Those with a busy lifestyle might opt for clear, labeled containers for grab-and-go convenience. If space allows, a movable cart can serve as a multi-functional station, easily repositioned dependent upon the kitchen's immediate needs.
