
How to Make Your Own Jerky with a Dehydrator
A Step-by-Step Guide

Making homemade jerky with a dehydrator is a simple and satisfying process that allows for great flavor customization and yields a convenient, protein-rich snack. By using a dehydrator, individuals can create jerky from a variety of meats including beef (how long does beef last?), turkey, and even game meats. The critical aspect of this process is the removal of moisture, which not only concentrates the meat's flavor but also ensures that it can be preserved for longer periods.
The technique requires slicing the meat into thin, consistent strips for even drying. These strips are typically marinated to infuse flavors, which range from savory and spicy to sweet and tangy, before being arranged on the dehydrator trays. Proper air flow between the slices is essential for efficient moisture removal.
It's important to dehydrate the meat at an appropriate temperature, which is usually around 160 to 165 degrees Fahrenheit initially, to quickly reach a safe internal temperature, potentially preventing food-borne illnesses. Following this, the temperature is often reduced for continued drying without over-cooking. The process is complete when the jerky is dry to the touch and bends with a slight snap, ensuring it is neither too brittle nor too moist.
Choosing the Right Cut of Meat
Selecting an appropriate cut is crucial for making quality beef jerky. The meat should be lean to ensure proper drying and preservation.
Identify Lean Cuts for Jerky
Lean cuts of beef are essential for jerky as they contain less fat, which can cause the jerky to become rancid over time. Fat does not dehydrate well, resulting in chewy and possibly spoiled jerky. Therefore, one desires to choose cuts with minimal fat content. Lean cuts are not only healthier but also facilitate a more even and effective dehydration process.
It is vital to consider the following lean cuts for beef jerky:
Eye of round
Sirloin tip
Top round
Bottom round
Flank steak (though more costly)
When preparing these cuts, it is important to trim away any visible fat to enhance the jerky's shelf life and texture.
Best Cuts for Beef Jerky
The best cuts for beef jerky are those that balance tenderness with a lack of fat. The texture of the finished jerky should be chewy but not tough, and the meat itself should be easy to eat.
Here are the consistently top-recommended cuts for beef jerky:
Flank steak: Known for its robust flavor, it absorbs marinades well but is pricier.
Eye of round roast: Often cited as the best all-around cut for jerky, it's lean and economical.
Round roast (top or bottom): These cuts provide lean, flavorful meat at a reasonable price.
Sirloin tip: It is a lean and tender option that creates a satisfying texture in the finished jerky.
The thickness of the cut is also important; thin slices, typically between 1/8-inch and 1/4-inch, are ideal, as they dehydrate at a steady rate and are pleasant to eat once dried.
Preparing the Meat
When making jerky, the initial preparation of the meat is critical for texture and flavor. Proper trimming, slicing, and tenderization will set the foundation for delicious jerky.
Trimming the Fat
One should start by selecting a lean cut of meat, as fat can cause the jerky to spoil faster. Using a sharp knife, trim off any visible fat to ensure a more even drying process and to extend the shelf life of the final product. Consistency is key, and patience during this stage will yield better results.
Slicing the Meat
The thickness of the meat slices is influential on both the texture and drying time. Aim for slices that are approximately 1/4-inch thick for optimal drying. If the meat is difficult to slice, place it in the freezer for 30-60 minutes to firm it up. A sharp knife or a dedicated jerky slicer can be used to achieve uniform slices; uniformity is essential for even drying.
Meat Tenderization Techniques
If the chosen cut of meat is tough, tenderization is an important step. One can use a meat tenderizer to gently pound the slices, which not only helps in softening the meat but also aids in the marinating process. Alternatively, a tenderizing marinade can be used to both flavor and soften the meat fibers. The goal is meat that's still resilient but not overly tough once dried.
Creating the Marinade
The marinade is a crucial component in jerky making, infusing the meat with flavors and aiding in preservation. A good marinade balances savory, sweet, and aromatic elements for a complex taste.
Mixing the Ingredients
For the base of the marinade, one generally combines soy sauce and Worcestershire sauce to impart a rich, umami flavor. To this, brown sugar or honey is often added for sweetness, which counteracts the saltiness. Garlic powder, onion powder, and black pepper provide classic seasoning, while red pepper flakes introduce a hint of heat. For a smoky flavor without a smoker, liquid smoke can be a great addition. Here is a simple breakdown of the ingredients:
Soy sauce: 1 cup
Worcestershire sauce: 1/2 cup
Brown sugar or honey: 1/4 cup
Garlic powder: 1 tablespoon
Onion powder: 1 tablespoon
Black pepper: 2 teaspoons, freshly ground
Red pepper flakes: 1 teaspoon (optional)
Liquid smoke: 1 teaspoon (optional)
Mix all ingredients in a non-reactive bowl until the sugar is completely dissolved and the spices are well distributed.
Marination Time
After combining the ingredients for the marinade, the meat should be submerged in the mixture to absorb the flavors. The marination process typically takes between 3 to 24 hours. The length of time can vary depending on personal taste preference and the thickness of the meat slices. Thinner slices require less time, while thicker cuts may benefit from the longer end of the spectrum to ensure full flavor penetration. Refrigerate the meat in the marinade to maintain food safety during this process.
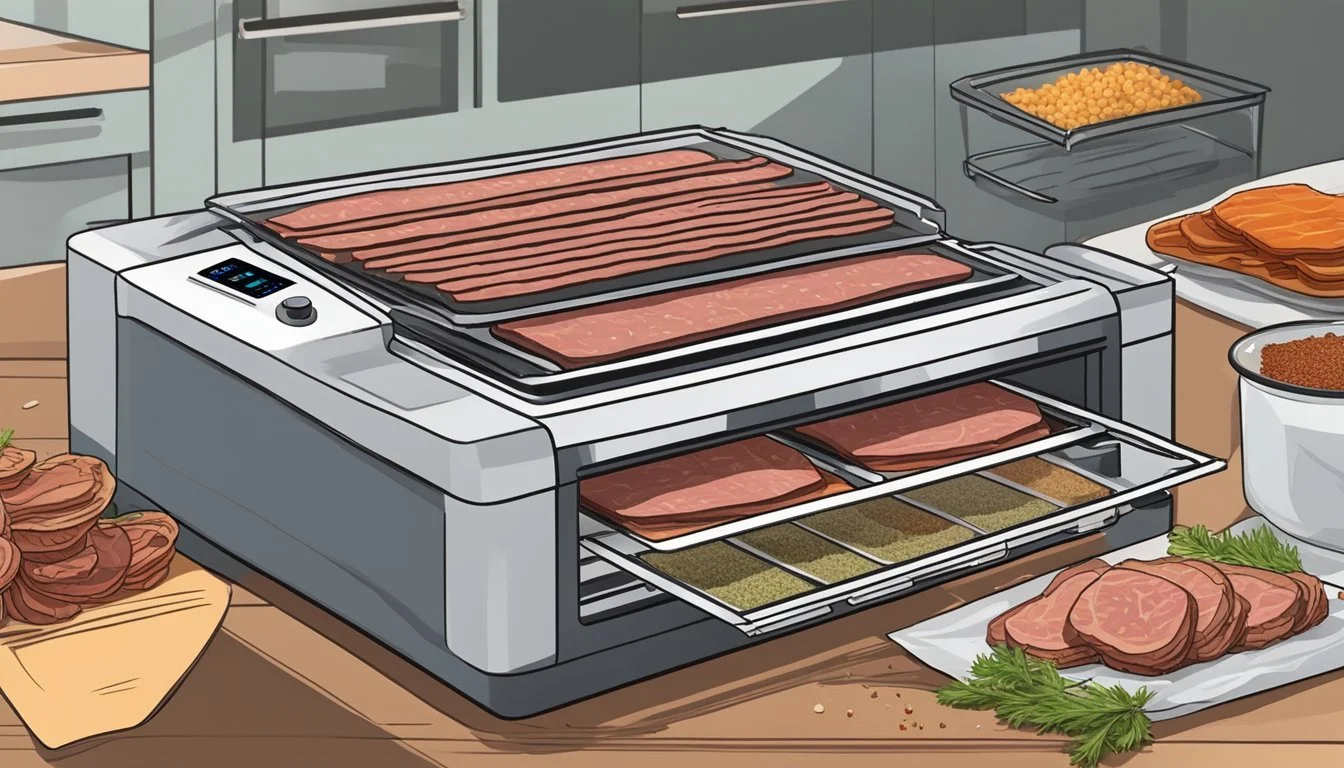
Arranging the Dehydrator
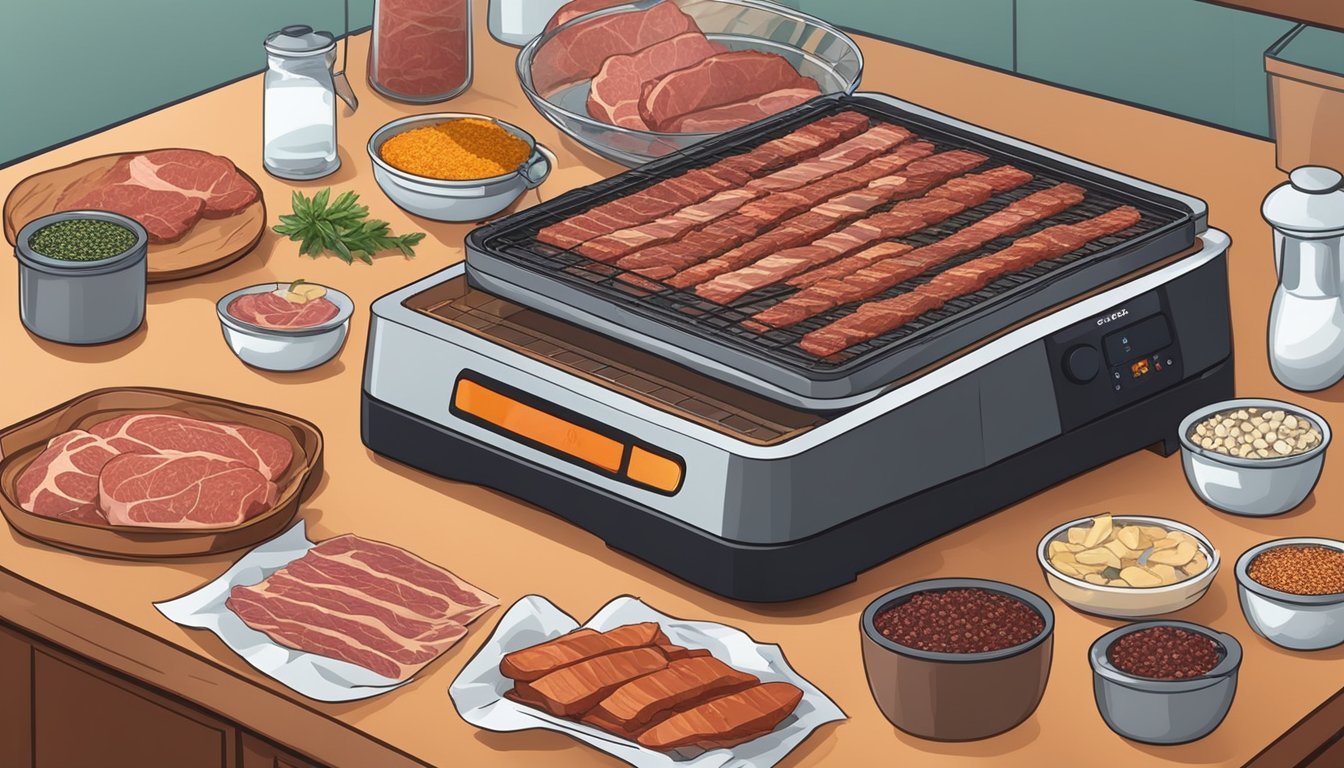
Proper tray arrangement and airflow management are crucial for even dehydration and superior jerky quality. It ensures that every piece reaches the optimal dryness uniformly.
Layering the Trays
When placing the beef strips on the dehydrator trays, it is paramount to arrange them in single layers. They should not be touching or overlapping; space between slices promotes better air circulation and thus, more uniform drying. If needed, use a paper towel to blot any excess marinade off the meat before laying it out to keep the dehydration process tidy and consistent.
Managing Airflow
For meat to dehydrate effectively, the dehydrator must maintain continuous airflow around the trays. Ensuring that the dehydrator trays are not overcrowded and that there is ample space between the wire racks will facilitate thorough airflow. Moreover, regulating the temperature appropriately—typically starting at a higher temperature and then lowering it—allows for the meat's internal temperature to rise safely while also achieving even dehydration without cooking the meat.
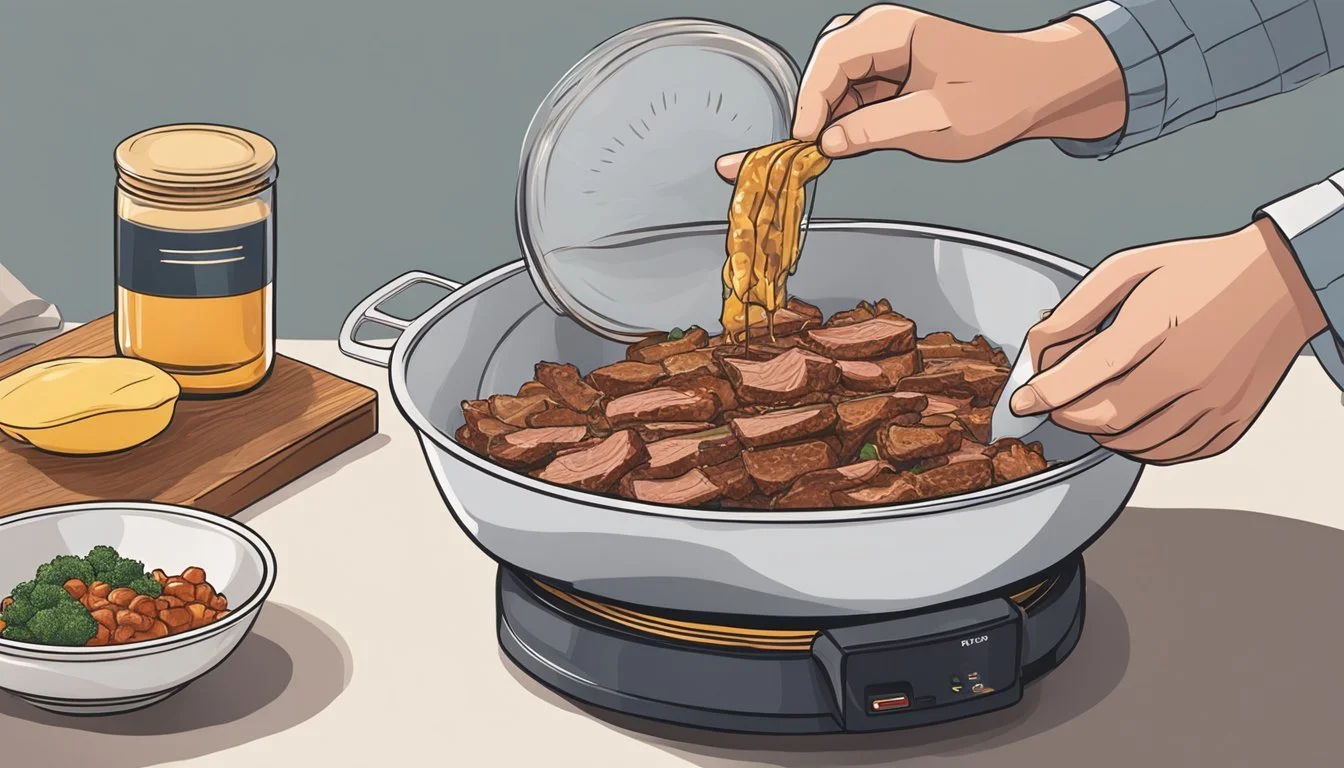
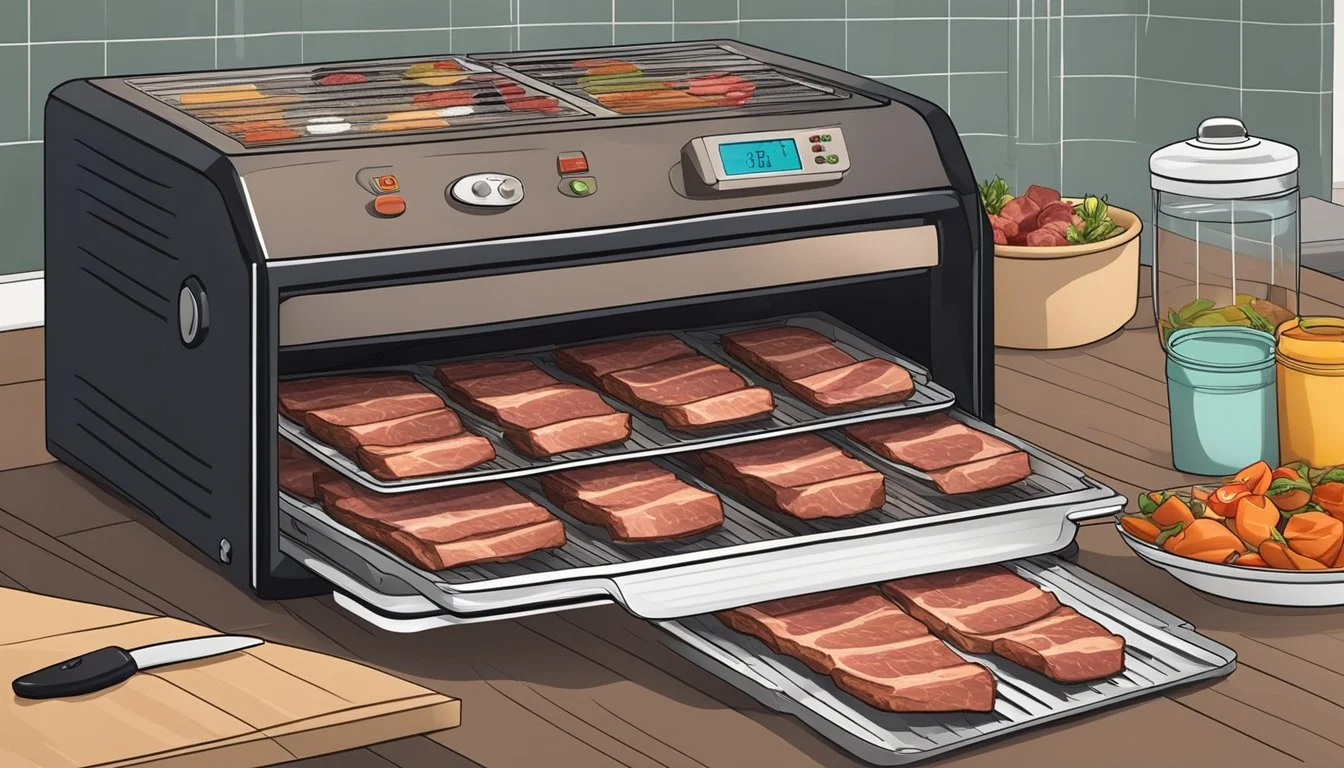
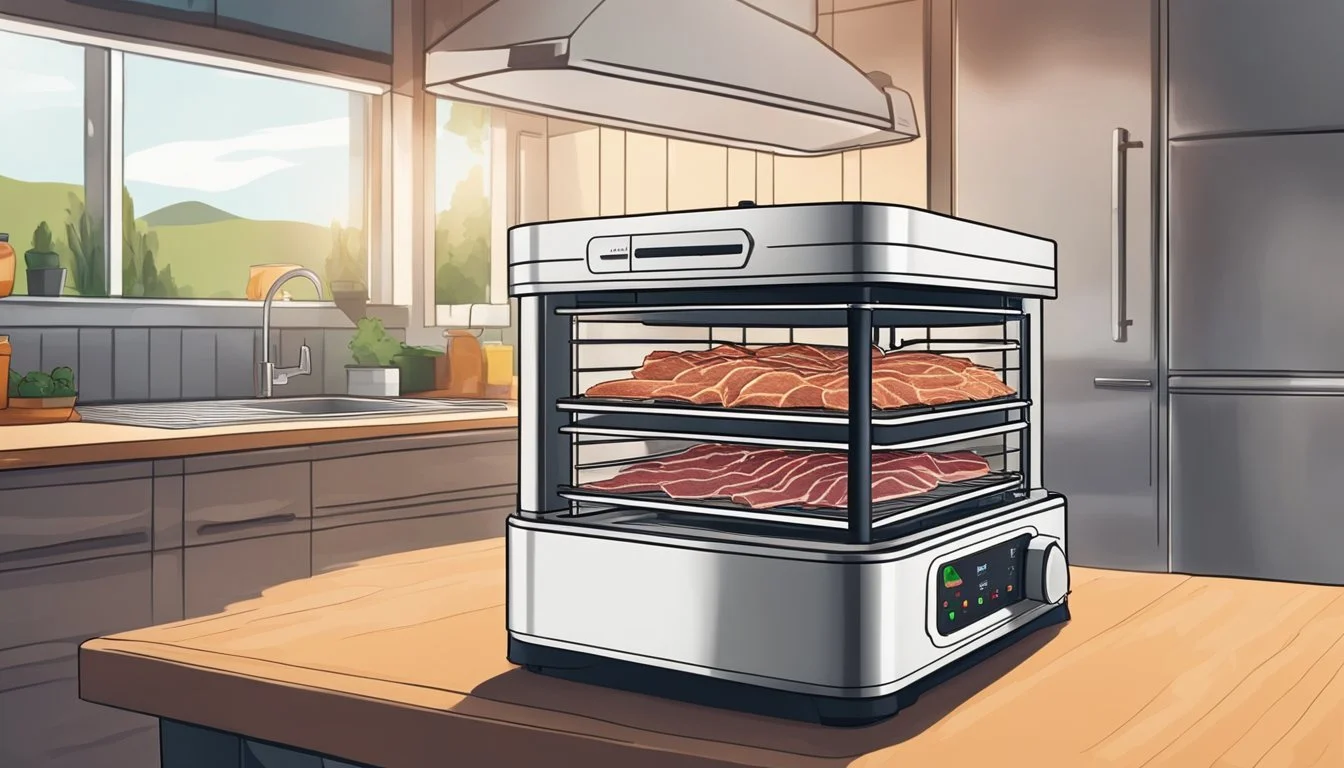
The Dehydration Process
The dehydration process for making jerky is critical as it ensures both safety and the desired texture. By carefully setting the temperature, monitoring the process, and determining the jerky's doneness, one can produce high-quality jerky at home.
Setting the Temperature
The initial temperature is paramount for the safety of the jerky. Begin by setting the dehydrator to 165°F (74°C) to bring the internal temperature of the meat up to 160°F (71°C). This initial high temperature is essential to eliminate any potentially harmful bacteria.
Monitoring the Process
Throughout dehydration, it's important to monitor the process to avoid uneven drying. Checking the jerky periodically allows one to ensure that the air flow is not obstructed and the meat is drying uniformly. Use a timer to track duration and make adjustments to the temperature if needed. After the initial phase, one might reduce the temperature to 145°F (63°C) to continue the drying process more gently.
Determining Doneness
Doneness is indicated by the jerky's texture. A properly dehydrated jerky piece should bend and crack but not break in half. It should be dry to the touch, yet pliable. If the jerky is too moist, continue the dehydration process. If it snaps easily, it may be over-dehydrated. To test for doneness, allow a piece to cool first; this ensures a more accurate assessment.
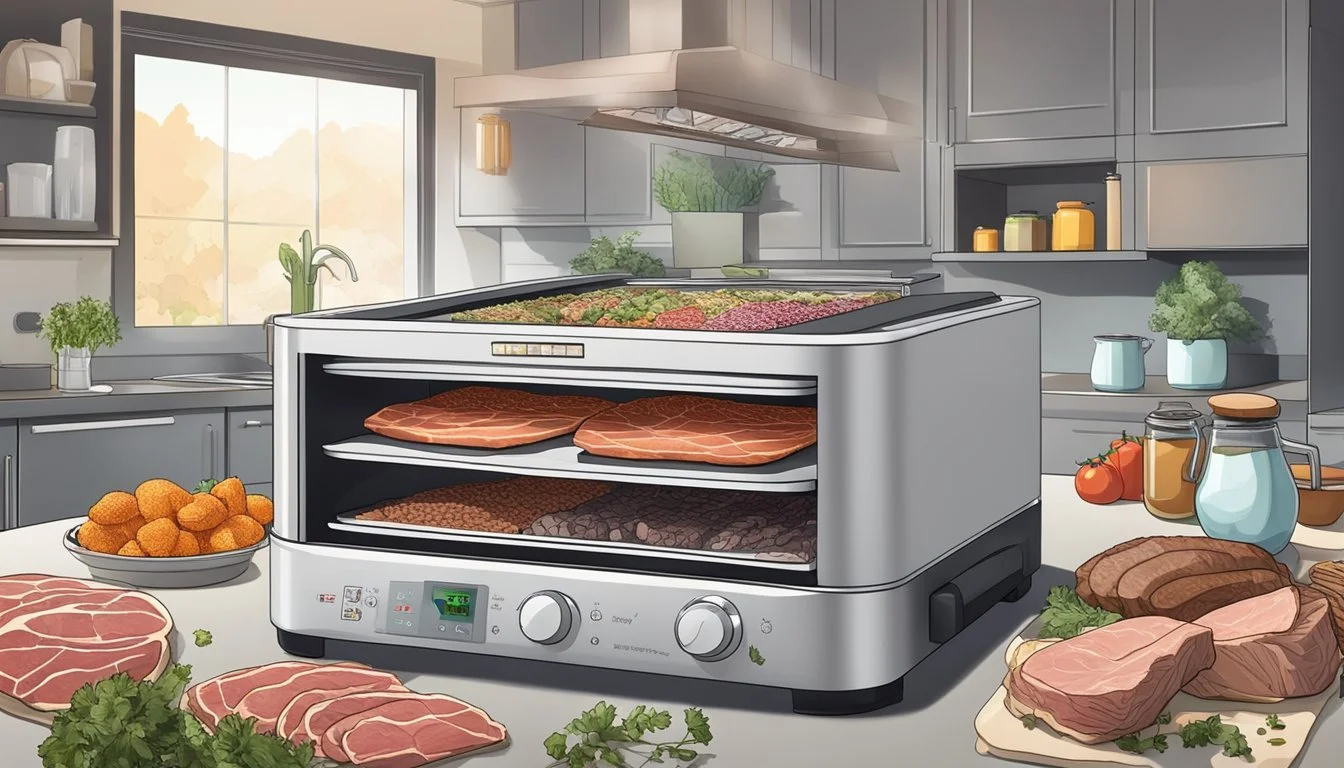
Post-Dehydration Handling
After dehydrating beef jerky, it is crucial to handle the product correctly to maintain its quality and longevity. One should always aim for preservation techniques that inhibit bacterial growth and retain the jerky's flavor and texture.
Cooling and Drying
Once the dehydration process is complete, the jerky should be left to cool at room temperature. This should be done by removing it from the dehydrator and placing it on a clean surface, allowing air to circulate around each piece. The jerky must completely cool down before proceeding to storage solutions to prevent condensation, which could lead to mold or spoilage.
Storage Solutions
For short-term storage, beef jerky can be kept in Ziploc bags or mason jars. However, for maximum freshness, one may consider using a vacuum sealer to store the jerky in airtight containers. Storing in a vacuum-sealed bag, often referred to as a Foodsaver, will extend the shelf life significantly.
Fridge: If jerky will be consumed within a few weeks, storing it in the refrigerator is appropriate.
Freezer: For long-term storage, freezing jerky in airtight containers can preserve its quality for several months.
Always label the storage container with the date of dehydration to keep track of freshness. If stored properly, jerky can maintain good quality and safety standards, ready for consumption at one's convenience.
Safety and Preservation
When making jerky with a dehydrator, ensuring food safety and proper preservation is crucial to prevent spoilage and foodborne illness. Accurate temperature control, the use of preservatives, and appropriate storage techniques are key factors in this process.
Understanding Food Safety
Food safety begins with handling and preparing the meat correctly. Meat should reach an internal temperature high enough to kill pathogens. Here is a recommended process based on collective advice:
Preheat the meat in an oven at 275°F for 10 minutes before dehydrating, to ensure an internal temperature of 160°F (or 165°F for poultry jerky) is achieved.
Dehydrate the jerky at a constant temperature of 145 to 155°F for at least 6 hours.
For storage, jerky should be securely sealed in airtight containers. A FoodSaver or similar vacuum sealing system can extend shelf life by removing air that may promote spoilage. Store the sealed jerky in a cool, dark place, and for long-term storage, placing the jerky in a freezer is recommended to prevent it from becoming rancid.
Using Preservatives
Preservatives help to inhibit the growth of bacteria, mold, and yeast, increasing the longevity of homemade jerky. Common preservatives include:
Preservative Purpose Salt Draws out moisture and acts as a natural preservative. Nitrites Found in cure, prevents bacterial growth and maintains color.
It's important to use preservatives that are appropriate for meat products, and follow the recommended proportions according to the meat weight and the manufacturer's instructions. Cure, a mixture containing sodium nitrite, is often used and has the dual function of preserving the jerky and keeping its color appealing.
By applying these safety and preservation techniques, one can confidently produce jerky that is both delicious and safe to consume.
Alternative Methods

While using a dehydrator is a common method for making jerky, one can also use an oven or other specialized equipment to achieve similar results.
Using an Oven
For those without a dehydrator, an oven serves as a viable alternative. One should preheat the oven to a low temperature, typically around 175°F. Utilizing baking sheets lined with wire racks allows for better air circulation around the meat. The jerky should be arranged in a single layer on these racks. It generally takes 3 to 4 hours to dry out the meat properly in the oven, with the occasional need to rotate the baking sheets for even dehydration.
Exploring Other Equipment
Beyond a dehydrator and oven, other equipment such as a smoker can impart a unique flavor profile to jerky. A smoker provides the dual function of drying the meat and infusing it with a smoky taste. The process may vary depending on the type of smoker, but generally, one should maintain a low, consistent temperature and allow for plenty of airflow. The smoking duration can differ, but it usually takes a few hours. One should always ensure the internal temperature of the meat reaches the safe minimum to eliminate pathogens.
Serving and Usage Ideas
Homemade beef jerky is a versatile snack that can be tailored to personal taste preferences and is an excellent companion for various activities. Its rich flavor profile and portable nature make it a standout choice over store-bought options.
Pairings and Recipes
When serving homemade beef jerky, one can explore a variety of pairings. For a balanced flavor experience, consider these combinations:
Cheese: A sharp cheddar or gouda pairs well with the smokiness of the jerky.
Fruit: Dried fruits like apples or apricots can complement the jerky's savory notes.
Nuts: Almonds or walnuts provide a crunchy texture alongside the chewy jerky.
Preparing a homemade beef jerky recipe allows for creativity with seasoning, ensuring each piece is well-marinated and packed with flavor. Here are some popular seasoning components to consider:
Soy sauce or Worcestershire sauce: For umami and depth.
Brown sugar or honey: Adds sweetness that contrasts the meat's saltiness.
Chili flakes or cayenne pepper: Brings a spicy kick to the jerky.
Outdoor Activities
Homemade beef jerky shines in outdoor settings, offering a high-protein, energy-rich snack perfect for adventurers. It is particularly well-suited for:
Camping: Jerky is lightweight, doesn't require refrigeration, and can withstand various weather conditions, making it an ideal camping food.
Backpacking: Easy to pack and full of flavor, homemade beef jerky provides sustenance without adding excess weight to one's backpack.
Comparing Jerky Types
In distinguishing between jerky types, one should consider source variation—in the case of homemade versus commercially produced—as well as the broad spectrum of meats and flavors that influence the jerky experience.
Homemade Vs. Store-Bought
Homemade beef jerky offers a level of personal customization in terms of flavors and seasonings. The individual has complete control over the ingredients used, ensuring that the final product is tailored to personal taste preferences and dietary requirements. In contrast, store-bought beef jerky—while conveniently available and consistently produced—often contains preservatives and might not cater to specific flavor profiles or ingredient sensitivities.
Variant Meats and Flavors
While beef is the traditional choice for jerky, variations like venison (What wine goes well with venison?) or ground beef jerky expand the scope of flavors and textures. Consumers can explore a range of dryness levels, from moist and chewy to a more dry jerky. Commercial beef jerky typically presents tried-and-true flavor combinations, with the advantage of uniformity and availability at local stores. Homemade jerky, however, can venture into unique and experimental seasonings, pushing the boundaries of conventional jerky taste.
Jerky-Making Tips and Tricks
Making jerky requires a balance of flavor enhancement and proper storage techniques to ensure a delicious and long-lasting product. Below are tried-and-true tips for creating tender, flavorful jerky, as well as guidelines for storage to preserve freshness.
Enhancing Flavor and Texture
Marinade: To infuse the meat with robust flavor, let it marinate for at least 4 hours, preferably overnight. The longer it marinades, the more flavorful the jerky will be.
Thickness: Consistent thickness in slicing the meat contributes to even dehydration. Aim for strips between 1/8 to 1/4 inch thick.
Removing Excess Marinade: Before dehydrating, pat the meat dry to remove any excess marinade. This helps the meat dry properly and intensifies flavor.
Dehydration: Start the dehydration process at a higher temperature, such as 165°F, to ensure safe internal meat temperature, then lower it to around 145°F. The jerky is done when it bends and cracks but doesn't break.
Storage Tips
Cooling: Allow the jerky to cool completely before storing to prevent moisture from forming and encourage a longer shelf life.
Moisture Control: Use paper towels to blot away any excess oils or moisture that may surface after the dehydration process.
Airtight Containers: Store jerky in an airtight container or a foodsaver bag to minimize exposure to air.
Refrigeration/Freezing: For longer-term storage, place jerky in the refrigerator or freezer; this can significantly extend its shelf life.
Advanced Techniques
When crafting jerky, advancing beyond basic recipes allows for a more customized and potentially superior flavor and texture experience. Mastery of spices and the use of natural tenderizing agents can elevate the jerky-making process.
Experimenting with Spices and Seasonings
Every jerky maker knows that spices and seasonings are the soul of their product. To refine the flavor profile, one must consider the balance of saltiness, sweetness, spiciness, and umami.
Saltiness: Essential for both flavor and preservation. Table salt, sea salt, or soy sauce can be used.
Sweetness: Brown sugar or honey adds a subtle sweetness that complements the meat's savoriness.
Spiciness: Chile powders, black pepper, and paprika can introduce heat and complexity.
Umami: Elements like powdered mushrooms or Worcestershire sauce enhance the meaty taste.
Experimentation can lead to unique combinations, such as using:
Cumin for an earthy note
Cinnamon for warmth
Star anise for a licorice hint
It's essential for the jerky maker to start with small batches when exploring new spice mixes to find the optimal blend before scaling up.
Tenderizing with Enzymes
Texture is paramount in jerky, and the use of enzymes, specifically bromelain, can result in a more tender chew. Bromelain, an enzyme found in pineapples, can be introduced to the jerky through pineapple juice in the marinade. This enzyme breaks down proteins in the meat, making it less tough once dehydrated.
It's important to note that:
Enzyme concentration should be monitored; excessive amounts can turn meat mushy.
Marinating time should be adjusted based on the enzyme's activity; typically, a few hours suffice.
Incorporating natural tenderizing enzymes in the recipe ensures that the jerky remains tender without compromising the meat's integral structure, enhancing the overall eating experience.
Final Thoughts
When crafting homemade jerky with a dehydrator, one must consider both texture and flavor. Aiming for a chew that is firm yet pliable ensures an enjoyable eating experience. It is critical to reach the appropriate internal temperature, 160°F for beef, to ensure food safety before reducing the temperature to foster proper drying.
One should remember that jerkies are diverse. They can indulge in creativity, exploring various meats and marinades. Experimentation leads to personalized flavors that cater to individual preferences, but they should always respect food safety guidelines.
In terms of storage, properly dried jerky can last up to 1-2 months at room temperature, but it's recommended to store it in the refrigerator to extend its shelf life:
Room Temperature: Sealed containers away from direct sunlight.
Refrigeration: For long-term storage.
Lastly, moisture is the enemy of jerky. If there's any sign of moisture or spoilage, it's best to discard the product. The dehydration process is complete when the meat bends and cracks upon bending without breaking.
The key is to monitor closely the dehydration process, as over-drying can result in a tough product, while under-drying can encourage spoilage. They should adjust time frames based on the performance of their dehydrator, the thickness of the slices, and environmental humidity levels. They can achieve perfect homemade jerky with patience and attention to detail.
