
How to Dehydrate Backpacking Meals?
A Step-by-Step Guide

Backpacking offers adventurers the challenge of self-sufficiency in the wilderness, a crucial component of which is managing food supplies. Dehydrated meals are highly valued in this context because they are lightweight, compact, and have a long shelf life, without sacrificing the flavor and nutrition necessary for the high energy demands of hiking. The process of dehydrating food for backpacking involves removing moisture from ingredients or entire meals, resulting in food that is less prone to spoiling and easier to carry.
Dehydrating backpacking meals not only enhances the convenience but also allows for a wide array of meal options. From fruits and vegetables to hearty stews and pastas (how long does pasta last?), dehydrating food retains much of the original taste and nutritional value, while making it transportable over long distances. Specialty equipment like food dehydrators can be used for this purpose, but conventional ovens and some alternative methods may also suffice, making it accessible for most individuals to prepare their dehydrated meals.
When preparing dehydrated meals, backpackers must consider the balance of flavors and the nutritional content to maintain energy levels on the trail. The appropriate selection of ingredients and the correct dehydration technique are key to crafting enjoyable and nourishing meals that can be rapidly rehydrated with just the addition of water. This method of food preservation not only serves the practical needs of hikers but also provides a comforting taste of home in the remote backcountry.
Understanding Food Dehydration
When embarking on backpacking adventures, reducing food weight and preserving its nutritional value is essential.
Dehydrating food accomplishes both, by removing moisture and concentrating flavors. It is not difficult to prepare your own backpacking meals at home, with the right tools and knowledge anyone can dehydrate food.
Basics of Dehydrating Food
Dehydrating food involves extracting moisture from food items to prolong their shelf life and make them lighter and more compact for backpacking.
The process ensures that foods do not spoil by inhibiting the growth of bacteria and mold which are reliant on water to thrive.
It is easiest to achieve with a food dehydrator, with dehydrator trays specifically adapted for the drying process.
Benefits of Dehydrating Backpacking Meals
Extended Shelf Life: By removing moisture, dehydrated food can last weeks to months without refrigeration.
Lightweight: Dehydrated food is substantially lighter, making it ideal for backpacking.
Nutrition Retention: If dehydrated at proper temperatures, most nutrients remain intact.
Taste Concentration: Dehydration often concentrates the flavors, leading to more flavorful meals on the trail.
Selecting a Dehydrator
Choosing the right dehydrator is pivotal. Backpackers should consider:
Capacity: The amount of food that can be dehydrated at one time is determined by the size and number of trays.
Airflow and Heat Distribution: A unit that promotes even airflow prevents the need to rotate trays frequently.
Adjustable Thermostat: Different dehydrated food requires different temperatures, therefore adjustability is a key feature for a versatile food dehydrator.
Temperature and Moisture Control
Proper temperature and moisture control is key when you are making dehydrated food.
Temperature: Varies depending on the food; 135°F is standard for fruits and vegetables, while meats require temperatures around 160°F.
Moisture: Foods should be dehydrated until they are leathery or brittle to ensure all moisture has been removed, which prevents spoilage and bacterial growth.
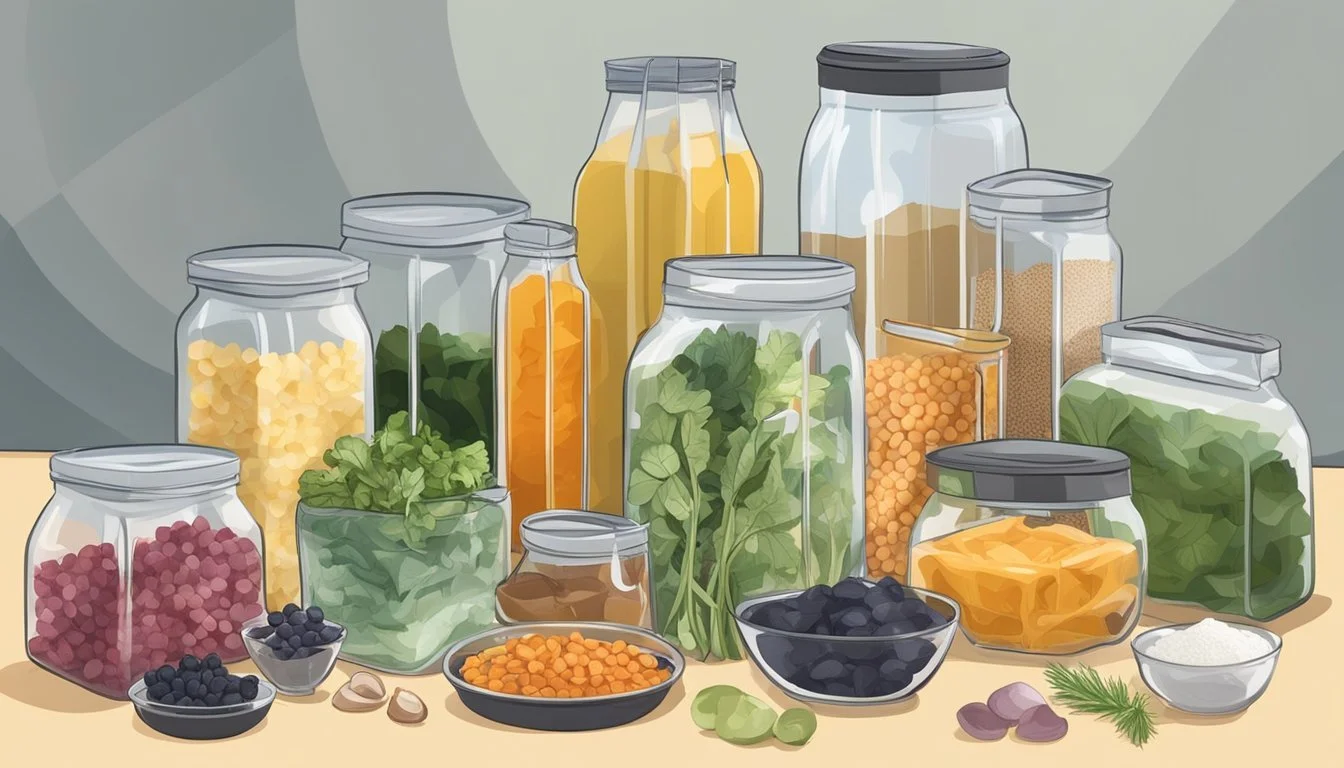
Preparation of Ingredients
Before dehydrating food for backpacking, it's essential to choose high-quality ingredients and prepare them properly to ensure both safety and taste.
This includes careful selection, proper handling of vegetables, fruits, and proteins, and consideration of how each ingredient dehydrates.
Selecting Quality Ingredients
One must be discerning when selecting ingredients to dehydrate. For vegetables and fruits, freshness and ripeness are key; they should be ripe, but not overripe, and free from bruises or blemishes.
For proteins, including meats and plant-based alternatives, choose lean cuts and fresh products to avoid issues during the dehydration process.
Ensure vegetables are fresh, with no signs of spoilage, organic is preferable when available, and avoid frozen vegetables. Fruits should be ripe yet firm, with no bruises or cuts.
Meats and Proteins such as lean cuts of chicken, ground beef, ham, turkey, and tuna must be fresh or properly preserved.
Preparing Vegetables and Fruits
Vegetables such as carrots, corn, and potatoes should be cleaned, peeled if necessary, and blanched to preserve color and shorten the dehydrating time.
Fruits may require coring or pitting. Certain fruits benefit from a pretreatment like an ascorbic acid dip to prevent browning. Fruits can be pureed before dehydrating, it is advisable to give your fruits a little sprinkling of lemon juice to help regulate acidity levels. You can also add lemon juice to tomato sauce before dehydrating.
Vegetable Preparation
Carrots: Peel, slice, and blanch.
Corn: Blanch and cut off the cob.
Potatoes: Clean, cut into thin slices or cubes, and blanch.
Fruits Preparation
Apples: Core, slice thinly, and pretreat to prevent browning.
Berries: Wash gently and halve if large.
Meat and Protein Treatment
Proteins like chicken, ground beef, eggs, and tuna need to be cooked before dehydration, as dehydrating raw meat is not safe.
Fats should be trimmed and meats should be cooked thoroughly. Vegetarian proteins like tofu (how long does tofu last?) and textured vegetable protein (TVP) are excellent for dehydration due to their low-fat content.
Meat Preparation
Chicken: Cook thoroughly and cut into small, uniform pieces.
Ground Beef: Choose extra lean, cook without fat, and drain well.
Plant-based Protein Preparation
Tofu: Press to remove excess moisture, slice, and marinate if desired.
TVP: Rehydrate if necessary and cook as per instructions.
All foods once blanched or cooked should be dried manually as best as possible with a paper towel to remove excess moisture and speed up the drying process.
By adhering to these standards, one can create a safe, delicious, and nutritious selection of ingredients ready for the dehydrating process.
Dehydrating Different Food Types
Dehydrating food is essential for backpacking, transforming perishable items into lightweight, non-perishable, and easy-to-carry nourishment. Each food type requires specific methods to ensure preservation and taste.
Dehydrating Vegetables
Vegetables like green beans, beets, green peppers, broccoli, cauliflower, and spinach can be dehydrated using a few key steps.
First, they should be washed, cut into even pieces, and blanched to preserve color and reduce spoilage. Spread them on dehydrator trays without overlapping and dry at 125°F to 135°F until brittle.
Instant mashed potatoes (how long do instant mashed potatoes last?) are a favorable staple in homemade backpacking meals. Dehydrated potato powder can be rehydrated on the go for creamy mashed potatoes as a carbohydrate-dense side dish for any meat such as dehydrated chicken.
You could try the above with sweet potatoes for a delicious twist that has fewer calories.
Dehydrating Fruits
Fruit dehydration involves thinly slicing fruits and pretreating them with citrus juice to prevent browning. High-moisture fruits like apples and berries turn into dried fruit (how long does dried fruit last?) or fruit leather (how long does fruit leather last?) when dried at a medium-high heat of 135°F until they are pliable have no pockets of moisture and are properly dehydrated.
The sliced fruit can dried in chunks and portions, smaller fruit can be dried whole, and large fruits may require blanching first.
Once dried you can add it to trail mixes (how long does trail mix last?). Alternatively, fruits can be pureed before drying and poured onto baking trays to dehydrate into fruit leather or pulverized into fruit powders. Popular dried fruits (What wine goes well with dried fruits?) include;
Apple slices
Pineapple rings
Dried banana chips (how long do banana chips last?)
Dried blueberries (how long do dried blueberries last?) and grapes
Dehydrating Meats and Proteins; Homemade Canned Chicken
Meats—such as chicken, ham, and turkey—require thorough cooking before dehydrating to ensure safety. Slice cooked meats thinly and dehydrate at 145°F to 155°F until completely dry. Meats should be lean to avoid spoilage, so trim any fat beforehand.
Canned chicken (how long does canned chicken last?) is a popular protein choice for homemade dehydrated backpacking meals, one can prepare the bird from scratch or buy store-bought canned chicken to dehydrate.
Dehydrated chicken and ground beef can make a dehydrated backpacking meal feel like an entire meal, protein addition creates the nutritional balance needed for a healthy meal.
Preparing Dehydrated Bean and Legume Dishes
Beans and legumes provide backpackers with protein-rich meals that rehydrate well. Cook the beans completely before dehydrating, and then spread them out on trays.
Dehydrate at 125°F to 135°F until they snap when bent, ensuring all moisture has been removed.
Creating Dehydrated Dairy and Egg Products
Dehydrating dairy products and eggs requires caution due to their high spoilage risk. Non-fat dairy products and pasteurized eggs are best for dehydration. Dairy can be dehydrated as milk powder, and eggs should be scrambled before dehydrating at 135°F until they have a crumbly texture.
Dehydrated Pasta
Dehydrated homemade spaghetti with a dried pasta sauce (how long does pasta sauce last?) like dried tomato and onion powder (how long does onion powder last?) is another example of carbohydrate-dense dehydrated food to take on a long hike or hunt.
Drying the pasta al dente is key to the process. The dried pasta product can be used to thicken other dehydrated food such as soups and stews.
By combining the above food groups when you make your own backpacking meals one can create a menu of dehydrated complete meals.
Bread Crumbs
Fresh bread can be dehydrated and made into breadcrumbs to rehydrate in soups or stews or top a casserole. Fresh bread doesn't stay moist for long which you probably know from experience, bread can be left to an air drying process so long as the conditions aren't favorable for mold cultivation.
Seasoning and Flavoring

When dehydrating meals for backpacking, the right combination of seasoning and flavoring can transform bland ingredients into delicious and satisfying dishes.
Using Spices and Herbs
Spices and herbs are essential for adding depth and variety to dehydrated meals without increasing weight significantly. They may be used in their dried form to ensure longevity and to maintain potency throughout a trek. For instance:
Chili powder or cayenne pepper can introduce a desirable heat to dishes.
Ground cumin, coriander, and turmeric add complexity and are excellent for rice or curry-based meals.
Dried basil (how long does dried basil last?), oregano, and thyme are staples for Italian-flavored dishes like pasta sauce as is garlic powder. (how long does garlic powder last?)
Incorporating Sauces and Oils
The inclusion of sauces and oils can enhance flavor and provide needed calories on the trail. One should consider the following:
Sauces, like soy or hot sauce (how long does hot sauce last?), should be dehydrated into a leather-like consistency, and then rehydrated on the trail.
Oils should be added sparingly, as they may shorten the shelf life of dehydrated meals. Packets of olive oil can be carried separately and added before consumption.
Balancing Flavors for Enjoyment
Satisfying one's palate is crucial when one is days into a backpacking trip. Achieving a balance of flavors ensures that meals remain appetizing.
Counterbalancing spicy elements like chili with subtle sweetness, perhaps from dehydrated vegetables (how long do dehydrated vegetables last?) or fruits.
Avoiding overloading with strong flavors by moderating the use of robust cheeses or butter substitutes, as these can overpower the dish.
Rehydrating Your Own Meals
Successfully rehydrating meals is pivotal to enjoying a delicious and nourishing dish after a long day of trekking. This process requires careful attention to ensure that meals regain their original texture and flavor.
Effective Rehydration Techniques
One can effectively rehydrate meals by using either a backpacking stove to heat water or through a cold soak method, which does not require heat.
The process generally involves adding a specific amount of boiling water to the dehydrated meal and allowing it to sit until full rehydration is achieved.
Boiling Water: Pour the recommended amount of boiling water directly into the meal package or container. Stir, cover, and let stand.
Cold Soak: Add cold water to the meal, ensuring that the food is fully submerged. This technique is perfect for foods that rehydrate well at lower temperatures and require more time.
Ensuring Proper Texture and Taste
To maintain the desired texture and taste:
Add water incrementally to avoid oversaturation.
Once water is added, stir thoroughly to ensure even rehydration.
Taste test during rehydration and adjust the amount of water if needed.
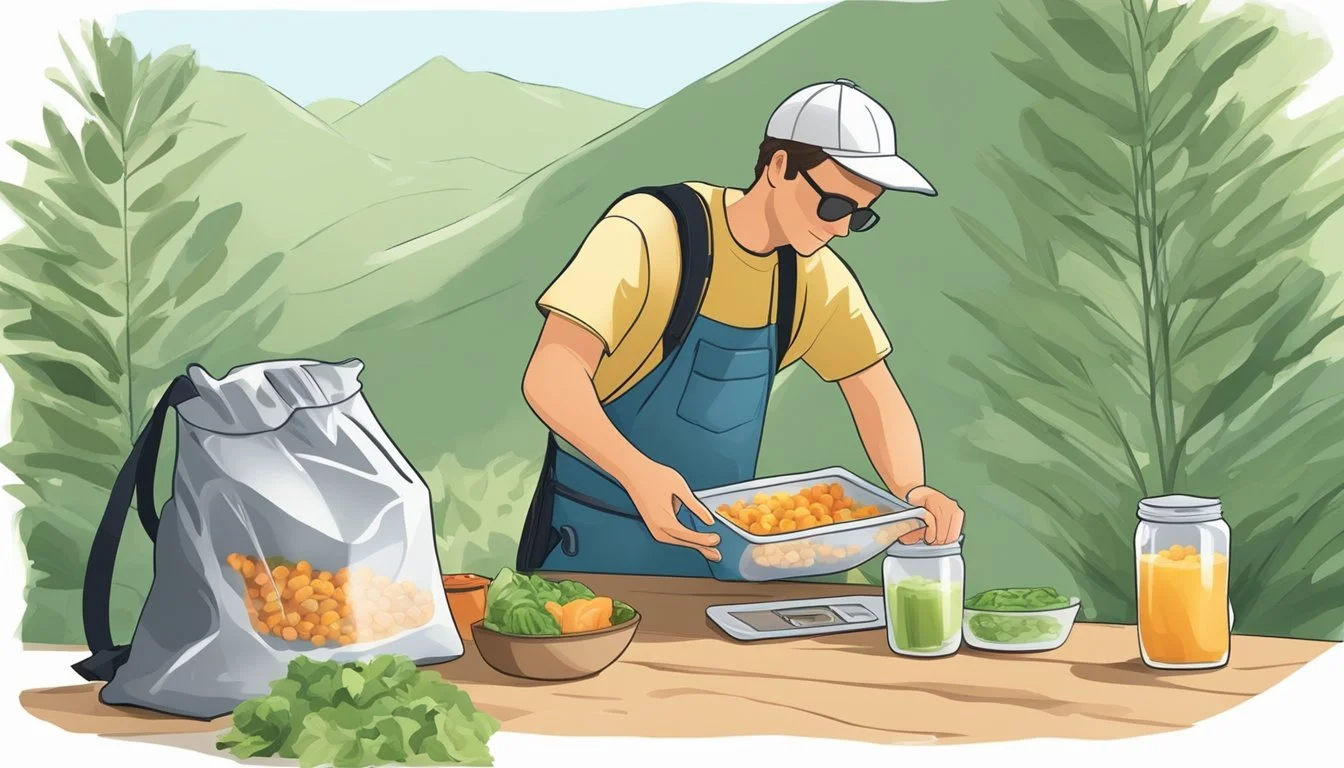
Rehydration on the Trail
On the trail, a backpacker might not always have the luxury of a backpacking stove. In these instances, cold soak becomes a valuable alternative. They should consider the following:
Insulation: To speed up the process, one can insulate the container with a cozy cloth.
Time Management: Begin the rehydration process ahead of time, as cold soaking can take significantly longer than hot water rehydration.
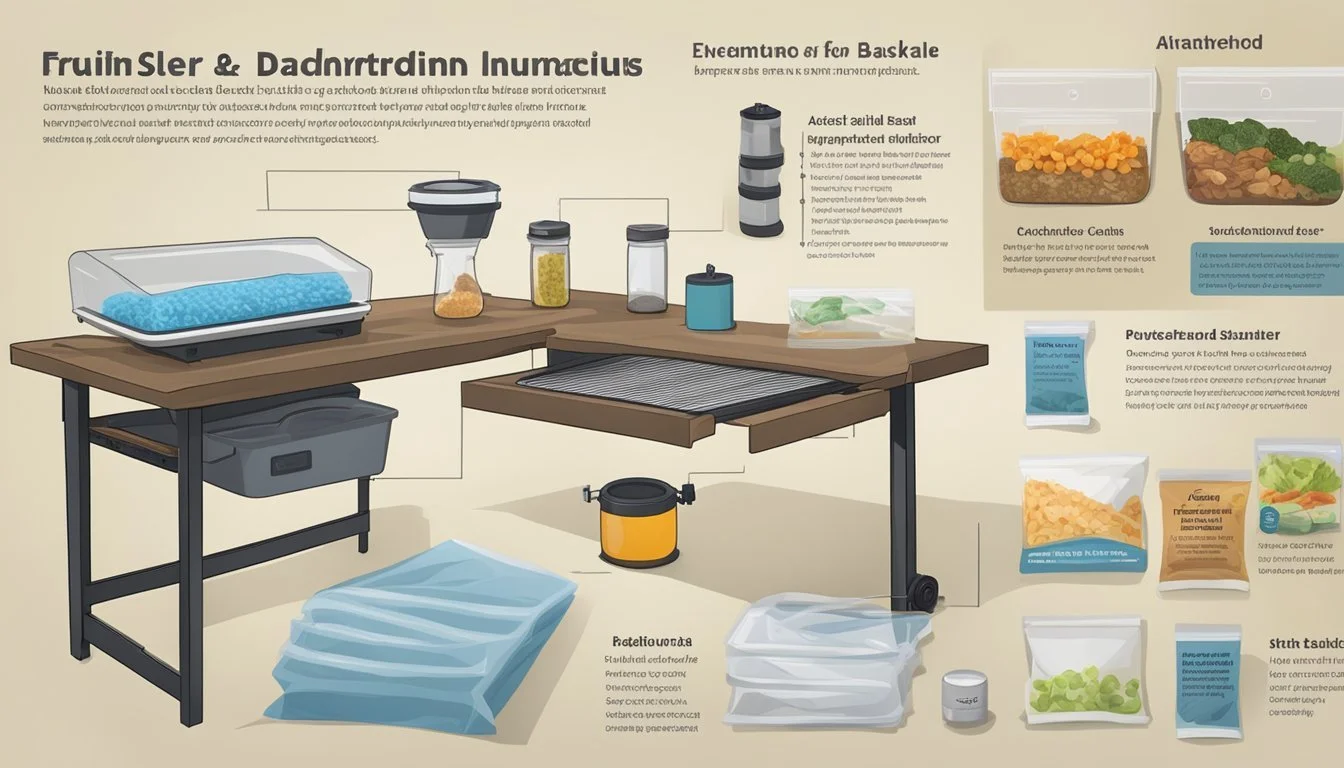
Storing and Packaging Meals
Properly storing and packaging dehydrated meals is critical for maintaining their quality and extending shelf life.
Attention to detail when storing dehydrated food ensures that meals remain flavorful and nutritious for backpacking adventures.
If properly cooked and dehydrated, using the right vacuum seal bags can make dry food last for up to a year.
Packaging for Backpacking
For the backpacker, efficient packaging means balancing between protecting the food and minimizing space and weight.
Dehydrated meals should be packed in sturdy, lightweight containers that prevent moisture and air intrusion.
Ziploc bags are a popular choice due to their sealable nature and durability. Inside each bag, placing parchment paper between meals can prevent sticking and make it easier to remove individual servings.
Materials: Lightweight, sealable containers
Advantages: Protection from moisture, easy portioning
Considerations: Balance between protection and pack weight
Long-Term Storage Solutions
When focusing on long-term storage, the objective is to preserve the meal's quality and extend its shelf life. The storage environment should be cool, dark, and dry to prevent the degradation of the food.
Vacuum-sealed bags provide an excellent barrier against the elements and can notably prolong the life of the food. For those without a vacuum sealer, removing as much air as possible from Ziploc bags before sealing can also significantly improve storage life.
Environment: Cool, dark, and dry
Tools: Vacuum sealers for optimal storage
Tips: Remove air to prevent food spoilage
Using Oxygen Absorbers and Vacuum Sealers
Oxygen is the enemy of food preservation, leading to oxidation and spoilage. Oxygen absorbers can be added to packaging to remove residual oxygen, thus protecting the dehydrated meals from bacteria growth and rancidity.
Meanwhile, a vacuum sealer is the ultimate tool in a backpacker’s arsenal for meal preservation. It not only removes air but also creates a secure seal that makes the packaged meal compact and impervious to environmental factors.
Oxygen Absorbers: Place in packaging to extend shelf life
Vacuum Sealers: Remove air and securely seal meals
Utilizing these methods, backpackers can ensure that their meals are well-protected and suitable for consumption throughout their journey, adding reliability and convenience to their meal planning.
Advantages of DIY Backpacking Meals
Creating your dehydrated meals for backpacking allows for greater control over nutritional content, taste, and cost.
They cater to various dietary preferences from vegetarian to high-protein diets, ensuring every hiker can meet their dietary needs while enjoying the flavors they love.
Tailoring Nutrition and Taste
Dehydrating your meals permits backpackers to customize nutrition according to their specific dietary needs, be it high-calorie content for energy, balanced macronutrients, or allergen-free ingredients.
It also allows for the incorporation of preferred flavors and spices that commercial options might lack. Vegetarians and vegans can select a variety of plant-based proteins while meat-eaters might opt for lean meats to maintain their diet preferences.
Cost-Effectiveness and Sustainability
DIY dehydrated meals can be more cost-effective than store-bought alternatives. By purchasing ingredients in bulk and season, backpackers can save money.
In addition, sustainability is improved by reducing packaging waste. Reusable containers can store multiple meal servings, also cutting down on trash that must be carried out of the backcountry.
Customizing Meal Variety
One can avoid the monotony of commercial backpacking food by customizing meal varieties. With a dehydrator, a range of meals from hearty stews to exotic dishes can be prepared in advance.
This diversity ensures that backpackers have access to a variety of meals that fit their taste preferences and prevent flavor fatigue on longer trips.
Creating Your Own Backpacking Meals; Recipes and Ideas
Crafting dehydrated meals for backpacking trips can be both a fun and practical approach to meal planning. The following subsections provide specific recipes and meal ideas for breakfast, lunch, and dinner, along with snacks and desserts.
Breakfast Options
One can start their day with a warm bowl of oatmeal, customized with dried fruits and nuts (how long do nuts last?) for added nutrition and flavor. Another popular choice is a lightweight, energy-packed fruit leather that provides natural sugars and a quick, portable option.
Oatmeal: Combine rolled oats (how long do oats last?) with powdered milk, (how long does powdered milk last?) cinnamon, and a mixture of dried fruits such as apples and berries.
Fruit Leather: Puree ripe fruits, spread thinly on a dehydrator tray, and dry until chewy.
Lunch and Dinner Favorites
For lunch and dinner, backpackers often enjoy hearty meals that replenish spent calories and offer a balance of nutrients.
Chili and pasta dishes, like couscous (What wine goes well with couscous?) with dehydrated pasta sauce or risotto, are comforting after a long hike.
Chili: Cook a mix of beans, lentils (how long do lentils last?), tomato powder (how long does tomato powder last?), and spices, dehydrate, and rehydrate on the trail.
Couscous with Pasta Sauce: Dehydrate a robust tomato-based sauce and pair it with pre-cooked couscous for a quick and filling meal.
Ramen: A simple combination of noodles with a savory broth can be dried and formed into cakes for an easy, hot meal.
Healthy Snacks and Desserts
One need not forfeit taste for nutrition when it comes to snacks and desserts. Mashed potatoes with a twist of garlic or cheese can be dehydrated into flakes, and dried kinds of pasta or noodles provide an excellent base for a variety of dishes.
Mashed Potatoes: Dehydrate creamy mashed potatoes mixed with garlic powder and grated cheese, then rehydrate for instant potatoes (how long do instant potatoes last?) on the trail as a quick side or snack.
Noodles for Snacking: Dehydrate pre-cooked noodles and season with dried herbs(how long do dried herbs last?) and spices for a crunchy, convenient snack.
Additional Tips and Tricks
Creating dehydrated meals for backpacking trips requires attention to method, nutrition, and packaging. Precision in these aspects ensures meals are lightweight, nutritious, and convenient.
Dehydrating Without a Dehydrator
If a dehydrator is not available, an oven can be used for dehydrating food. Set the oven to the lowest possible temperature, ideally around 140°F (60°C), and maintain airflow by keeping the oven door slightly ajar.
Foods should be cut into uniform pieces for even drying and placed on a baking sheet lined with parchment paper to prevent sticking. Checking periodically is crucial to avoid over-drying.
Managing Nutritional Content
When dehydrating meals, it's vital to preserve their nutritional value. A balanced backpacking diet should include a mix of protein, fiber, vitamins, and minerals.
Adding dry ingredients such as powdered milk, nuts, and seeds can boost protein and calorie content, complementing the fiber found in fruits and vegetables.
Incorporating a variety of foods ensures one receives a spectrum of vitamins and nutrients necessary for sustained energy on the trail.
Packaging Tips for Long Hikes
Proper packaging is imperative for maintaining the quality and longevity of dehydrated meals. Utilizing airtight packaging reduces the risk of spoilage.
Using vacuum-sealed bags or resealable Mylar bags can protect food from moisture and pests.
For convenience, packaging should be labeled clearly with contents and preparation instructions and portioned according to meal sizes needed for the backpacking trip.
Lightweight and compact packaging is preferable, as it minimizes the bulk in one's backpack.
Conclusion
Dehydrating meals for backpacking presents numerous advantages for adventurists. It allows hikers to maintain nutrition and flavor without the added burden of heavy, bulky food items.
The method is cost-effective and can be easily learned with a bit of practice.
One can prepare dehydrated dishes by:
Combining dried ingredients without prior cooking.
Assembling dehydrated components into nutritious meals.
Cooking and dehydrating entire meals for convenience.
When backpackers dehydrate their meals, they:
Save money: Store-bought meals can be expensive; DIY options reduce costs.
Manage portions: Tailoring meal sizes to individual energy needs becomes easier.
Improve taste: Homemade meals can cater to personal flavor preferences.
Enhance nutritional content: Selecting quality ingredients boosts nutrition.
Backpackers should consider the following to optimize their meals:
Dehydration method: A reliable food dehydrator ensures consistent results.
Packaging: Use vacuum sealing or reusable bags for sustainability.
Rehydration: Ensure meals can be easily reconstituted with water on the trail.
By choosing to dehydrate their meals, hikers take an important step towards self-sufficiency on the trail.
With every stride, they carry personalized nutrition and flavors, all the while knowing they have lightened their load and lessened their environmental impact.
Dehydrated Meals Resources
When planning to dehydrate backpacking meals, it's essential to have access to reliable resources that can provide in-depth guidance and tips from seasoned experts.
Supplementary Guides and eBooks
Numerous guides and eBooks are available that thoroughly explain the process of food dehydration for backpacking. They often include step-by-step instructions, recipe ideas, and tips for proper food handling. For instance:
"The Backpacker's Guide to Dehydrating Food" offers detailed methods for beginners and advanced users alike.
Online Communities and Forums
Joining online communities and forums can be invaluable. Members share their experiences, offer advice, and provide support.
Websites like Backpackinglight.com and Reddit’s r/trailmeals have devoted sections where one can ask questions and gather information from fellow backpackers.
Expert Interviews and Videos
Watching expert interviews and tutorial videos can help visualize the dehydration process. Experts may also share unique insights based on their experiences.
YouTube channels like OutdoorLife feature content from individuals who specialize in dehydrating foods specifically for backpacking purposes.
Appendices
The appendices section provides additional information to equip readers with the necessary knowledge and tools to effectively dehydrate backpacking meals.
It includes a glossary of commonly used terms, answers to frequently asked questions, and guidelines for troubleshooting common issues that may arise during the dehydration process.
Glossary of Terms
Dehydrate food: The process of removing moisture from food to preserve it and make it lighter for backpacking.
Dehydrating meat: Specific method for removing moisture from meat products, ensuring they are safely preserved for consumption on trails.
Freeze-dried meals: Prepared food that has been frozen and then had the majority of its water content removed through a vacuum process.
Backpacking stove: A portable stove used by backpackers to cook or rehydrate meals while on the trail.
Asian: A term here referring to the style or ingredients of meals that originate from Asian cuisine, which can be dehydrated for backpacking purposes.
Textured vegetable protein (TVP): A high-protein product made from soy that is often used as a meat substitute in vegetarian backpacking meals.
FAQs
How long does it take to dehydrate food?
The duration varies depending on the food type; typically, it ranges from 5 to 15 hours.
Can I dehydrate cooked meals (how long do cooked meals last?)?
Yes, cooked meals, especially those without high fat or dairy content, can be dehydrated.
Is a special backpacking stove required to rehydrate meals?
While not strictly necessary, a backpacking stove is recommended for efficiency and convenience on the trail.
What are the benefits of textured vegetable protein for backpacking meals?
TVP is lightweight, nutritious, and easy to rehydrate, making it ideal for backpacking.
Troubleshooting Common Issues
Food is still moist after dehydrating: Solution: Increase the dehydrating time, ensuring the temperature is set according to the instructions specific to the type of food.
Unevenly dehydrated meals: Solution: Ensure that food pieces are cut uniformly and periodically check and rotate trays during the dehydration process.
Meat not dehydrating properly: Solution: Meat should be lean and sliced thin; if problems persist, consider pre-cooking the meat to ensure safety.
References
To learn more about dehydrating backpacking meals, readers may consult a variety of resources. Here is a curated list:
Books and Guides:
The Backpacking Chef Guide to Dehydrating Food: A comprehensive manual on dehydrating food safely and creating efficient meals for backpacking and storage.
Websites:
Outdoor Life: Provides insights into making your backpacking meals, along with practical tips for dehydrating food.
Backpacking Meal Recipes & How to Dehydrate Food for Camping: Offers various options for meal preparation, from combining dried goods to dehydrating whole meals.
Dehydrating Your Backpacking Meals & Recipes (for Beginners): This site discusses packaging options for dehydrated meals, such as the use of Mylar bags over Ziploc bags.
Online Articles:
Articles on websites like Backpacker magazine detail the process of slicing and dehydrating fruits, and also provide caution against dehydrating certain foods.
Various blogs and personal accounts share experiences and tips for first-timers looking to dehydrate meals for backpacking.
It is recommended for those interested in this topic to cross-reference between these materials for a well-rounded understanding of preparing and dehydrating backpacking meals.
