
How to Use a Chocolate Fountain for Entertaining
A Guide to Delight Your Guests

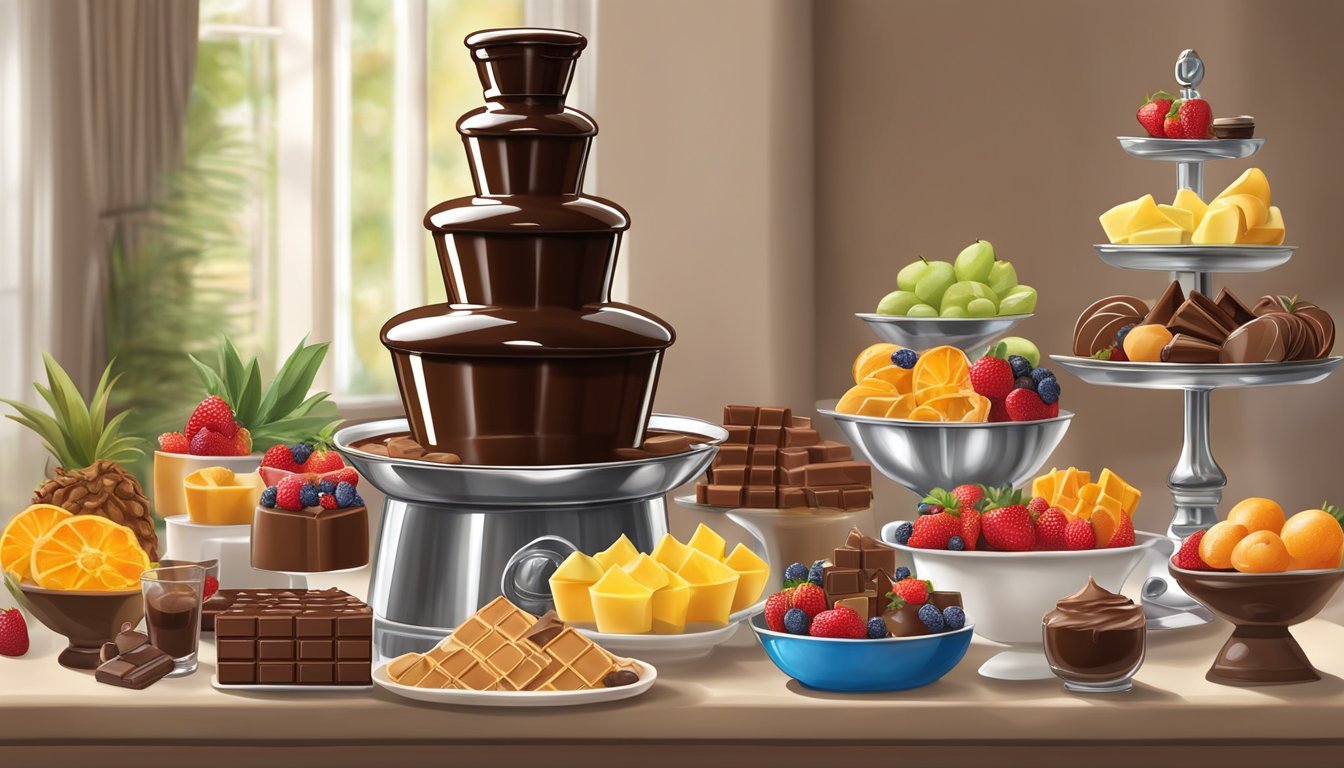
A chocolate (What wine goes well with chocolate?) fountain serves as an enticing centerpiece at social gatherings, merging the rich allure of chocolate with the fun of interactive dining. Filled with melted chocolate, this appliance allows guests to dip fruits, pastries, and other treats, providing both a visual spectacle and a delectable experience. To ensure a smooth flowing fountain and optimal enjoyment, it is crucial to understand the proper setup and maintenance.
Using a chocolate fountain begins with selecting an appropriate location that’s sheltered from elements such as rain, wind, and direct sunlight, which can affect the chocolate's consistency. It's essential to place the fountain on a level surface to prevent spills and ensure an even flow of chocolate. Once in position, it's typically advisable to preheat the fountain before adding chocolate to achieve a silky, even cascade.
Entertaining with a chocolate fountain is all about creating a memorable experience for guests. For the best results, one should use chocolate specifically formulated for fountains or properly tempered chocolate to maintain a smooth texture. Accompaniments like strawberries, marshmallows, and pretzels invite guests to interact and indulge, making the chocolate fountain a delightful and indulgent element of any event.
Choosing the Right Chocolate Fountain
Selecting the appropriate chocolate fountain for an event is essential for creating an enjoyable and stress-free experience. The fountain should match the event size and be suitable for the type of chocolate intended for use.
Consider the Event Size
For smaller gatherings, such as a Valentine’s Day party, a compact chocolate fountain that holds approximately 1 lb. of chocolate would suffice. For larger events, standard fountains with the capacity to hold about 4 lbs. of chocolate are recommended. The appropriate size ensures that the fountain can serve all guests without the need for frequent refills.
Types of Chocolate Fountains
Chocolate fountains come in various types, and the choice may depend on the kind of chocolate one plans to use. The Wilton Chocolate Pro Fountain is a popular model known for its reliability and ease of use. For optimal flow and consistency, a fountain that accommodates chocolate with a high cocoa butter content, such as couverture chocolate, is ideal. Adding a tablespoon of canola oil to every 5 pounds of chocolate used can enhance the texture for fountains not specifically designed for couverture chocolate.
The selection between milk and dark chocolate hinges on personal preference and the type of dippables offered. Milk chocolate is smooth, creamy, and generally favored for its sweetness, while dark chocolate, known for its richer flavor, pairs well with a variety of fruits and confections.
Best Chocolate for Your Fountain

When planning to use a chocolate fountain, one should meticulously select a high-quality chocolate that ensures a smooth flow and a delightful taste experience for guests.
Selecting Quality Chocolate
For a superior experience, couverture chocolate is widely accepted as the best chocolate for a chocolate fountain due to its higher cocoa butter content. This type of chocolate melts evenly and provides a rich, glossy finish that is perfect for a fountain. The primary types of chocolate available for fountains are milk chocolate, dark chocolate, and white chocolate. Each has unique qualities and flavor profiles:
Milk Chocolate: Known for its creamy texture and sweeter taste, ideal for a broad audience.
Dark Chocolate: Offers a deeper, more intense flavor, which complements a range of dip-ables.
White Chocolate: Provides a sweeter and more buttery taste, although it can be trickier to maintain in a fluid state due to different melting properties.
Oil and Chocolate Viscosity
To achieve an ideal viscosity for fountain use, one might sometimes need to add oil to the chocolate. However, if using high-quality couverture chocolate, the addition of oil is often unnecessary. Should the chocolate require thinning, the following guidelines are helpful:
Use oils with a neutral flavor such as vegetable or canola oil.
Add oil sparingly; typically, a ratio of one tablespoon of oil per pound of chocolate is a good starting point.
For those opting for different types of chocolate, which may not have the same flow properties as couverture, the judicious use of oil can help reach the desired consistency for smooth operation of the fountain.
Preparation of Chocolate and Fountain
Before delighting guests with a cascading chocolate fountain, it's essential to properly melt the chocolate and set up the fountain. This preparation ensures a smooth experience both visually and for dipping.
Melting Chocolate
Microwave Method:
Break the chocolate into pieces and place it in a microwave-safe bowl.
Heat on high for 1 minute, remove to stir, then continue heating in 20-second intervals, stirring well after each until fully melted.
Double Boiler Method:
Fill the bottom pot of the double boiler with water and bring it to a gentle simmer, not a boil.
Place the chocolate in the top pot and stir continuously until it becomes smooth and silky.
Stovetop or Instant Pot Method:
On the stove, one can use a heat-resistant bowl over a pot of simmering water, stirring constantly.
With an Instant Pot, turn on the 'sauté' mode and melt directly in the pot, stirring frequently to avoid scorching.
Setting up the Fountain
Preheat the Fountain:
Prior to adding chocolate, preheat the chocolate fountain, following the manufacturer's instructions to activate the heating element.
Layer the Components:
Ensure the fountain's tiers and auger, the mechanism that transports the chocolate, are correctly assembled.
Recipe:
Use a chocolate fountain recipe that incorporates either oil or cream to maintain viscosity, which ensures a steady flow.
After preparation, the chocolate should flow smoothly through the fountain, becoming the centerpiece of the event.
Dipping Items and Accompaniments
Choosing the right variety of dipping items and presenting them appealingly are key to enjoying a chocolate fountain. Below is a guide to selecting a balance of sweet and savory dippers and tips on how to serve them.

Selecting Dippables
A chocolate fountain offers an opportunity to pair the rich taste of chocolate with a variety of foods. Sweets like marshmallows, graham crackers, and brownie bites complement the chocolate's creamy texture. Fresh fruits such as strawberries, apple slices, and firm raspberries bring a refreshing zest that contrasts the sweetness. For those who enjoy a savory twist, pretzel sticks, and even crispy bacon can add a unique and satisfying crunch.
Classic Dippers:
Strawberries: A fan favorite for their sweetness and firm texture.
Apple Slices: Provides a crisp and tangy contrast.
Marshmallows: Soft and sweet, perfect for absorbing chocolate.
Pretzel Sticks: Saltiness complements the sweet chocolate.
Creative Treats:
Bacon: Adds a savory edge to the sweet fountain.
Cheesecake Bites: Rich and tangy, cheesecake pairs beautifully with chocolate.
Oreo Cookies: The cream filling and chocolate cookie are enhanced when dipped.
Preparation and Presentation
Before guests arrive, prepare dippers by cutting them into manageable sizes. For example, slice strawberries in half and brownies into bite-sized pieces. All fruits should be patted dry to ensure the chocolate adheres properly. Cheesecake bites and cream puffs should be chilled to maintain their shape.
Presentation is just as important as selection. Arrange an assortment of dippers on platters or in separate bowls around the fountain for easy access. Labeling each item can also help guests identify their options.
Preparation Tips:
Slice and dry fruit to enhance chocolate adhesion.
Chill cheesecake and cream puffs to maintain shape.
Presentation Ideas:
Use skewers for easy dipping and less mess.
Arrange items on tiered platters for an appealing display.
Operating the Chocolate Fountain
When hosting an event, operating a chocolate fountain correctly ensures a smooth, cascading flow of chocolate that can turn any gathering into a special celebration. Proper assembling and priming are crucial for the success of this delightful centerpiece, be it a wedding, a kids' party, or any festive occasion.
Assembling and Priming
Before the event begins, one must assemble the chocolate fountain by carefully following the instruction manual. The motor serves as the base of the unit and must be placed on a level surface to prevent uneven chocolate flow. After locking the largest tower tier onto the auger, subsequent tiers should be added in decreasing size order.
To prime the fountain:
Preheat the fountain using the designated setting, usually 'Keep Warm' or 'Very Low', for about 5 minutes.
Carefully pour the pre-melted chocolate into the base bowl.
Switch to the 'Flow' setting to initiate the circulation of chocolate through the fountain.
Achieving Perfect Flow
The key to a perfect chocolate fountain experience is in managing the chocolate's flow. Make certain that the fountain and the chocolate are both adequately heated before starting the operation.
Steps for optimal flow:
Ensure your chocolate is smooth and free of impurities, as lumps can disrupt the flow.
The level and density of the chocolate should be sufficient to allow uninterrupted flow without spilling over.
Regularly check for blockages and maintain the appropriate settings on the fountain's controls for heat and auger speed.
By focusing on these important processes, the host can confidently offer guests an impressive and functional chocolate fountain, adding an exquisite touch to the event's festivities.
Maintenance and Cleaning
Proper maintenance and cleaning of a chocolate fountain is crucial for both performance during an event and longevity of the equipment. Adhering to efficient cleaning procedures ensures a hygienic and functional chocolate fountain for every use.

During the Event
During the event, one should regularly check the chocolate fountain for any blockages or buildup of leftover chocolate, and promptly remove any debris. It's also important to have clean damp cloths on hand to promptly wipe away any chocolate that may drip or smudge on the base or surrounding area to prevent it from hardening and becoming more difficult to clean later.
Post-Event Cleaning
Cleaning up after the event involves several steps:
Power Down: Turn off and unplug the fountain before beginning the clean-up process.
Remove Excess Chocolate: While the chocolate is still melted, dispose of any leftover chocolate in the fountain basin.
Disassemble: Carefully take apart the fountain components for individual cleaning.
Warm Soapy Water: Wash all non-electrical parts in warm soapy water, rinsing them thoroughly to remove any chocolate residue.
Cleaning the Base: Wipe the base using a sponge or cloth dampened with warm soapy water; exercise caution to avoid water contact with any electrical elements.
Sanitizing: Optionally, sanitize the fountain parts with a food-safe sanitizer to ensure all bacteria are eliminated, especially if the fountain won't be used for a while.
Air-Drying: Allow all parts to air dry completely before reassembly and storage to prevent moisture from causing damage or mold growth.
By following these detailed steps, one can effectively maintain and clean a chocolate fountain, ensuring it remains in good condition for many events to come.
Troubleshooting Common Issues
While a chocolate fountain can be the highlight of a gathering, occasionally issues may arise with viscosity and texture, or mechanical operations. Understanding how to quickly address these can ensure the fountain runs smoothly throughout your event.
Viscosity and Texture Problems
Proper viscosity is crucial for a smooth chocolate flow over the tiers of the fountain. Chocolate that is too thick or too thin can lead to an uneven curtain or lack of flow. Viscosity issues are often a result of the type of chocolate used or the temperature at which it's maintained. Use high-quality chocolate chips intended for fountains, and consider the following adjustments:
Too Thick: If the chocolate is too viscous, mix in a small amount of vegetable oil or coconut oil — typically one tablespoon per pound of chocolate — to thin it out.
Too Thin: Should the chocolate be too runny, adding more chocolate chips can help thicken it. Ensure the chocolate is properly melted before adding.
Temperature Solutions: Maintain the chocolate at a consistent temperature, avoiding exposure to rain, wind, or sunlight which can affect its consistency.
Mechanical and Operational Setbacks
In the event that the chocolate fountain isn't operating correctly, identifying the problem with the motor or auger is essential. Common mechanical issues include:
Auger Air Bubbles: If air bubbles are trapped in the auger cylinder, they can interrupt the chocolate flow. Turn off the motor, wait for the air bubbles to rise, and then restart to regain a smooth flow.
Motor Concerns: A motor that isn't functioning might need a reset. Consult the user manual or FAQ section for your specific model for resetting instructions.
Maintenance Tips:
Preheat the Fountain: Prioritize preheating the fountain's base for at least 5 minutes before adding chocolate to prime the system.
Regular Cleaning: Ensure the fountain is regularly cleaned and dried between uses to avoid clogging and other operational issues.
Lastly, always keep fondue forks and other tools away from the base and auger to prevent any mechanical interference.
Creative Ideas and Tips
In crafting an unforgettable chocolate fountain experience, one must consider both the delectable recipes that will entice guests as well as the logistical and aesthetic aspects of event planning and décor.
Chocolate Fountain Recipes
The success of a chocolate fountain often hinges on the quality of chocolate used. A blend of Guittard dark chocolate and candy melts can provide a smooth and delicious flow, while a touch of heavy cream helps to achieve the right consistency. For a Wilton Chocolate Pro Fountain, one may follow this simple recipe:
4 lbs of high-quality chocolate pieces
1 cup of heavy cream (for each lb of chocolate)
Directions:
Melt the chocolate and heavy cream together using an Instant Pot or a double boiler, stirring until smooth.
Ensure the chocolate mixture is thoroughly melted but not overheated to avoid altering the texture.
Preheat the chocolate fountain to a 'Keep Warm' or 'Low' setting for a minimum of 5 minutes before adding chocolate.
Pour the melted chocolate into the base of the fountain, allowing it to flow through the tiers.
Event Planning and Decor
Location: Choose an indoor area shielded from wind to prevent splatter and ensure the chocolate fountain operates smoothly.
Settings: Adjust the heat settings of the fountain away from high to prevent the chocolate from becoming too runny or from solidifying.
Tier Assembly:
Ensure that the largest tier is placed at the base, with each subsequent tier being smaller as they ascend.
Tiers should face down to allow chocolate to cascade properly.
Decor: Accentuate the chocolate fountain area with elegant linens, thematic centerpieces, and a variety of serving dishes for dippable items such as brownies and fruit.
Chocolate Fountain Tips:
Chocolate can be pre-melted and then reheated carefully to ensure a velvety flow.
Offer guests wooden skewers or fondue forks for dipping foods like marshmallows or pretzel sticks.
Regularly check the chocolate fondue fountain to ensure it continues to flow properly, adjusting settings as necessary.
Safety and Best Practices

When operating a chocolate fountain, safety is paramount. It should always be used according to the instruction manual to prevent accidents or equipment malfunctions.
Siting the Fountain:
Choose a location that's level and stable to avoid spills.
Keep the fountain away from areas prone to rain, wind, or direct sunlight to maintain the chocolate's consistency.
During Operation:
Monitor the fountain when in use to ensure it functions correctly.
Prevent contamination by providing separate dipping tools for each guest.
Use caution around the hot elements of the fountain to avoid burns.
For Guests:
Ensure the area around the fountain is tidy to avoid slip hazards.
Provide napkins and plates for guests to manage drips and maintain hygiene.
Cleanup:
Turn off and unplug the fountain before disassembling for clean up.
Follow the manufacturer's instructions for cleaning to ensure safe and hygienic storage.
By adhering to these best practices, hosts can ensure their event is both delightful and safe for all participants.
Summary and Additional Resources
In summary, utilizing a chocolate fountain for entertaining involves careful preparation and an understanding of the equipment. One should select a high-quality couverture chocolate or improve the texture of other chocolate by adding oil. The chocolate must be properly melted and the fountain preheated before use. Placement is key; one should avoid areas with rain, wind, and direct sunlight.
Frequently Asked Questions (FAQs):
How much chocolate is needed?
Typically, standard fountains require about 4 pounds of chocolate.Can I use any type of chocolate?
Couverture chocolate is preferred. Otherwise, add oil to maintain smoothness.How do I clean the fountain after use?
Disassemble the fountain after use and clean the components per manufacturer's guidelines.
Resources for Further Information:
Chocolate Fountain Manufacturers:
Wilton Blog offers a complete guide to chocolate fountains.
Many manufacturers provide detailed instructions with their products.
Online Tutorials and Guides:
wikiHow provides step-by-step instructions with pictures.
What to Do with Leftover Chocolate:
Leftover chocolate from the fountain can be repurposed. Ensure it is stored properly, possibly used for:
Baking cookies or cakes.
Creating chocolate-dipped fruits or candies.
Making hot chocolate mix for later enjoyment.
When choosing a chocolate fountain, reviewers and culinary sites can be a valuable resource, offering insights into reliability and performance. Engaging guests with a variety of dippable treats can enhance the entertainment experience provided by a chocolate fountain.
