
How to Make Homemade Ice Packs
Quick and Easy Solutions with Common Items
Homemade ice packs are a practical alternative to store-bought ones, offering the same soothing relief for injuries, pain, or to reduce inflammation. By utilizing common household items, individuals can craft effective and cost-efficient DIY ice packs. These can be tailored to various sizes and shapes to accommodate different needs. Creating ice packs at home not only saves money but also allows for customization in firmness and flexibility, ensuring comfort during application to affected areas.
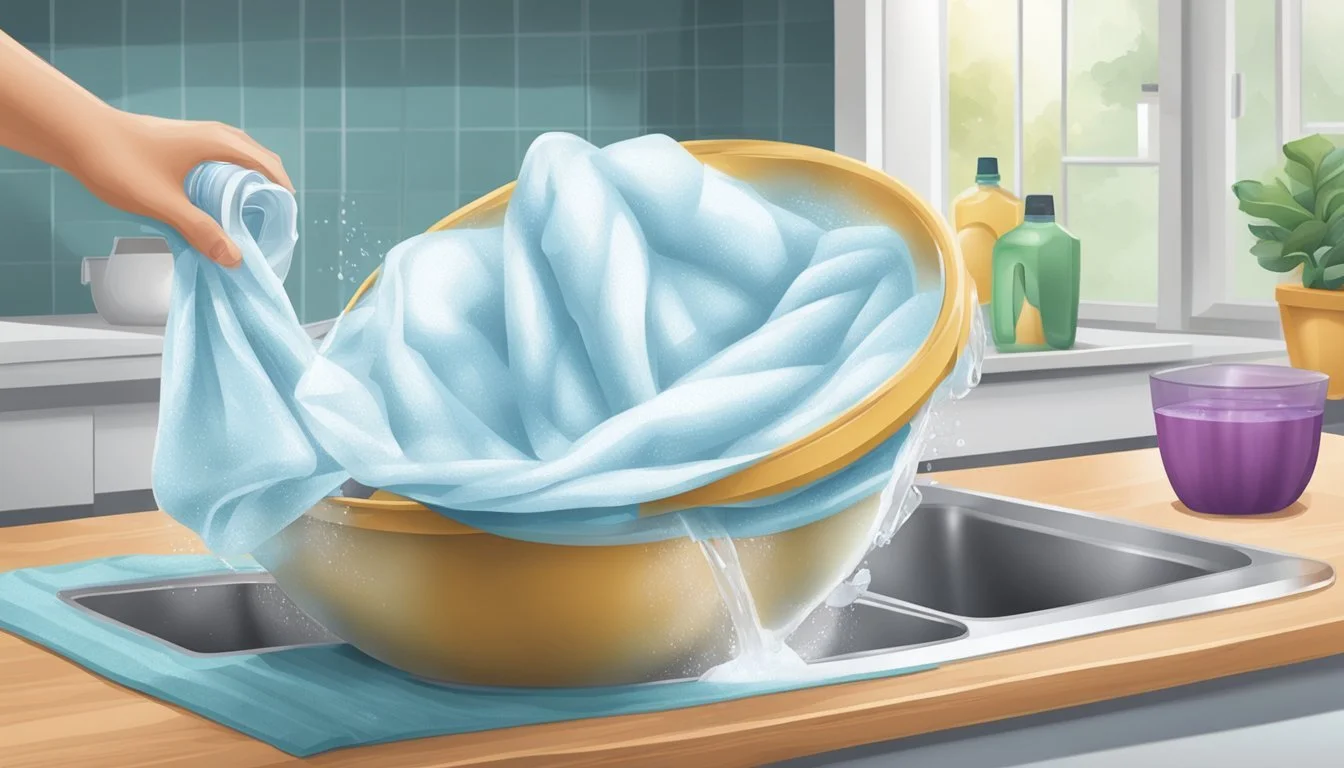
The process of constructing a DIY ice pack is straightforward and can be accomplished with materials such as water, rubbing alcohol, dish soap, and common kitchen bags. Water, when combined with rubbing alcohol, remains pliable when frozen due to the lowered freezing point, thus making a gel-like ice pack that molds to the body. Alternatively, using dish soap or corn syrup can achieve a similar gel consistency, providing gentle, yet effective cold therapy.
These homemade solutions are both reusable and versatile, easily stored in the freezer for future use. The dual-bag method is commonly recommended to prevent leaks, with the substance placed in one bag and then sealed inside another for added security. Wrapping the final product in a towel or cloth ensures that the cold is distributed evenly and protects the skin from direct exposure to extreme cold.
Understanding the Basics of Ice Packs
Ice packs, whether homemade or store-bought, are a staple in cold treatment for reducing inflammation and swelling. Creating them at home is both inexpensive and customizable.
The Science Behind Ice Packs
Ice packs work by withdrawing heat from the body, which reduces swelling and discomfort caused by inflammation. Homemade ice packs typically consist of water mixed with substances that lower the freezing point, such as salt or alcohol. This results in a semi-solid gel that remains cold for extended periods. Ice freezes at 0°C (32°F), but the addition of alcohol or salt can keep the DIY gel ice pack more pliable and moldable to the contours of the body.
Homemade Ice Pack Mixture:
Standard: 2 parts water to 1 part rubbing alcohol. This mix doesn't freeze solid, offering a flexible and comfortable application.
Saltwater Variation: Adding table salt to water also lowers the freezing point, creating a colder ice pack that can better maintain its chill.
Benefits of Homemade Over Store Bought
Cost-Effectiveness: One of the primary advantages of a DIY ice pack is that they are inexpensive to make. Households often have the necessary components on hand, eliminating the need for additional purchases.
Customization: Homemade ice packs allow for personalization in size, shape, and the duration of coldness. They can be made to suit individual needs, enhancing the comfort and effectiveness of cold treatment.
Reusable Nature: These homemade solutions are reusable. By controlling the contents, they can be designed to withstand multiple freeze-thaw cycles without leakage or deterioration.
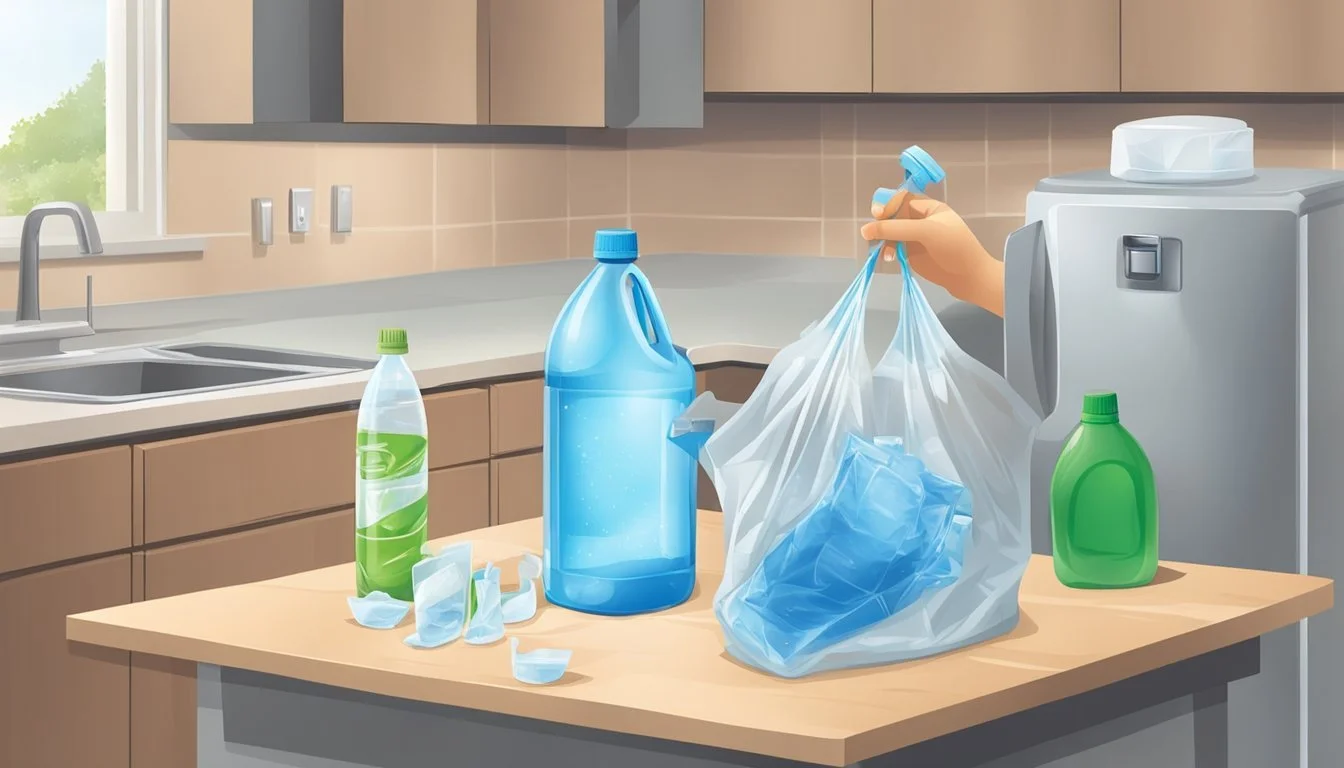
Gathering Necessary Materials
Preparing homemade ice packs requires certain common household items that are easily accessible. This section details the materials needed and important safety considerations to take into account.
Common Household Items Suitable for Ice Packs
To assemble a homemade ice pack, one will need the following materials:
Water: Essential for creating the base of most ice pack solutions.
Rubbing Alcohol: When combined with water, it prevents the pack from freezing solid.
Dish Soap: Gives a gel-like consistency to the ice pack, making it malleable.
Corn Syrup: An alternative to dish soap that also creates a gel texture.
Rice: Can be used dry in a cloth bag to create a moldable pack.
Cloth: A soft barrier between the ice pack and skin; can also be used to contain rice.
Sponge: When wet and frozen, it can be used as a reusable, soft ice pack.
Freezer Bags: Including Ziploc bag or zip-top bags, to hold the ice pack solution.
Duct Tape: Useful for sealing and reinforcing bags to prevent leaks.
Important Safety Considerations
Safety when creating and using DIY ice packs is paramount. Here are some key guidelines:
Always double bag the ice pack solution to prevent leakage.
Always label the ice pack to avoid accidental ingestion of non-food substances like rubbing alcohol.
Do not place the ice pack directly on the skin to avoid frostbite; instead, cover the pack with a cloth or towel.
Check all bags for any pre-existing holes or weaknesses that may cause rupture during freezing.
When using a cloth or towel, ensure it's clean and made of a material that can withstand cold temperatures without becoming too stiff.
Creating Different Types of Homemade Ice Packs
Homemade ice packs are an economical and efficient solution to reduce swelling and alleviate pain from injuries. These DIY alternatives not only utilize common household items but can also be tailored for gel-like consistency, flexibility, and various sizes. Here are several methods to create your own ice packs with simple instructions.
Simple Water-based Ice Packs
To create a basic water-based ice pack, simply fill a standard freezer bag with water, seal it, and place it in the freezer. This will form a solid ice pack, but wrapping it in a towel is necessary to protect skin during use.
Alcohol-based Gel Ice Packs
For a flexible, gel-like ice pack, mix one part water with one part rubbing alcohol or isopropyl alcohol in a zip-top bag. The alcohol prevents the water from freezing completely, which results in a malleable ice pack. Seal the bag and freeze.
Dish Soap Gel Packs
Dish soap can be used to make a gel-like ice pack that is soft to the touch. Fill a ziplock bag with dish soap, release any trapped air, seal it, and then freeze it for a few hours. This provides a cushioned and flexible cold pack.
Corn Syrup Ice Packs
Like dish soap gel packs, corn syrup ice packs remain pliable after freezing. Fill a freezer bag with corn syrup, ensuring there is minimal air before sealing. Freeze the bag, and the contents will attain a gel-like consistency.
Rice-filled Ice Bags
Rice-filled ice bags provide a dry and moldable option for cold therapy. Fill a cloth bag with rice, secure it closed, and place it in the freezer. Once chilled, the rice bag can easily conform to the shape of the area it's applied to.
Sponge Ice Packs
For a no-leak option, soak a sponge in water, place it inside a freezer bag, and then freeze it. Sponge ice packs create a moist cold pack that doesn't drip as it thaws due to the sponge absorbing the meltwater.
Saltwater Ice Packs
Mixing water with table salt creates a saltwater solution that reduces the freezing point. Add two tablespoons of salt to two cups of water in a ziplock bag for a colder but still flexible ice pack. Freeze and apply as needed for cold therapy.
Customization and Usage Tips
Creating homemade ice packs allows for personalization in terms of aesthetics and functionality. One can add colors or scents and fabricate comfortable covers for ease of use. Proper storage ensures longevity and consistent performance of the ice packs.
Adding Color and Scent
To make ice packs more visually appealing, one can add a few drops of food coloring to the water or gel mixture before freezing. For a soothing aromatic experience, incorporating a few drops of essential oil, like lavender or peppermint, is an option. However, if any skin sensitivity is a concern, it's best to omit scents.
Creating A Comfortable Cover
Using a cloth or towel as an ice pack cover not only adds comfort but also prevents skin irritation from direct cold. One can sew a custom sleeve or utilize an old towel. For a more structured cover, use a vacuum sealer to create a snug, moisture-resistant shield around the freezer bag before placing it in the freezer.
Storage Tips for Reusability
For optimal storage, expel excess air from the freezer bag before sealing to prevent bursting and freezer burn. Store homemade ice packs flat in the freezer to save space and maintain their shape. To reuse, simply thaw slightly, wipe dry, and refreeze.
Practical Applications and Safety
Homemade ice packs are a convenient and cost-effective solution for managing inflammation and swelling due to common injuries. When used correctly, they can conform to body shapes for targeted relief and comfort.
Using Ice Packs for Common Injuries
Ice packs can be specifically shaped to wrap around joints such as knees, wrists, and ankles to reduce swelling and alleviate pain. It's important that the ice pack is malleable, allowing it to conform to the body part. This flexibility ensures that the cold treatment is effective and comfortable for the user.
Knees: Wrap a homemade ice pack around the knee to mitigate pain after strains.
Wrists: Apply a gentle, conforming ice pack to a sprained wrist to control swelling.
Ankles: Use a flexible ice pack to cover the entire ankle joint for uniform cold therapy.
Precautions During Use
When using homemade ice packs, one should always wrap them in a thin towel or cloth to prevent frostbite and skin irritation. Rest is crucial, and cold treatment should be applied for about 20 minutes on, followed by a 20-minute break to avoid damaging the skin.
List of Precautions:
Rest: Avoid placing pressure on the injury while icing.
Wrapper: Always use a barrier between skin and ice pack.
Timing: Adhere to the 20 minutes on/off cycle for safe use.
Alternatives to Ice Packs
While homemade ice packs are effective for treating body aches and inflammation, some may prefer using alternatives such as frozen food or store-bought gel packs. These alternatives are often less malleable but can be a quick substitute in the absence of a homemade solution.
Frozen Vegetables: An alternative that can be molded around the injured area.
Store-Bought Ice Packs: Typically more durable but less flexible than homemade options.
Cost-Effectiveness and Sustainability
Making ice packs at home is both cost-effective and sustainable, presenting an attractive alternative to purchasing commercial products. Inexpensive household items, such as water, rubbing alcohol, dish soap, and corn syrup, can be utilized to create gel-like substances that remain flexible when frozen and are effective at retaining cold temperatures.
A homemade ice pack generally requires the following items:
Water
Isopropyl alcohol or any household liquid with a freezing point lower than water
Common plastic freezer bags
Below is a simple breakdown of costs compared to buying ready-made ice packs:
Item Homemade Ice Pack Cost Store-Bought Ice Pack Cost Plastic Freezer Bags $0.10 - $0.20 each N/A Rubbing Alcohol $1 - $3 per bottle N/A Water Negligible N/A Total Cost per Pack $1.10 - $3.20 $5 - $10
In terms of environmental impact, using reusable materials reduces waste. Store-bought ice packs often contain chemical gels that may not be eco-friendly and creating a pack at home allows for the control of substances used, ensuring they are non-toxic and safe for repeated use. Homemade packs can be refrozen countless times, effectively cutting down on plastic waste from one-time-use products.
From an economic standpoint, it is evident that constructing an ice pack with basic supplies found in most households can save consumers significant amounts of money over time. This thrifty approach aligns with sustainable practices by promoting the reuse of materials and responsible disposal.
