
DIY Pasta
Rolling and Cutting Noodles Without a Pasta Machine - Mastering Handmade Shapes
Making homemade pasta from scratch may seem daunting to many, but it is a surprisingly simple and rewarding process, even without a pasta (What wine goes well with pasta?) machine. With a few basic ingredients—flour, eggs, olive oil, and a pinch of salt—one can create a variety of pasta shapes and textures. The act of rolling and shaping the dough with one’s hands not only imbues the pasta with a rustic charm but also allows for a personalized touch in the kitchen.
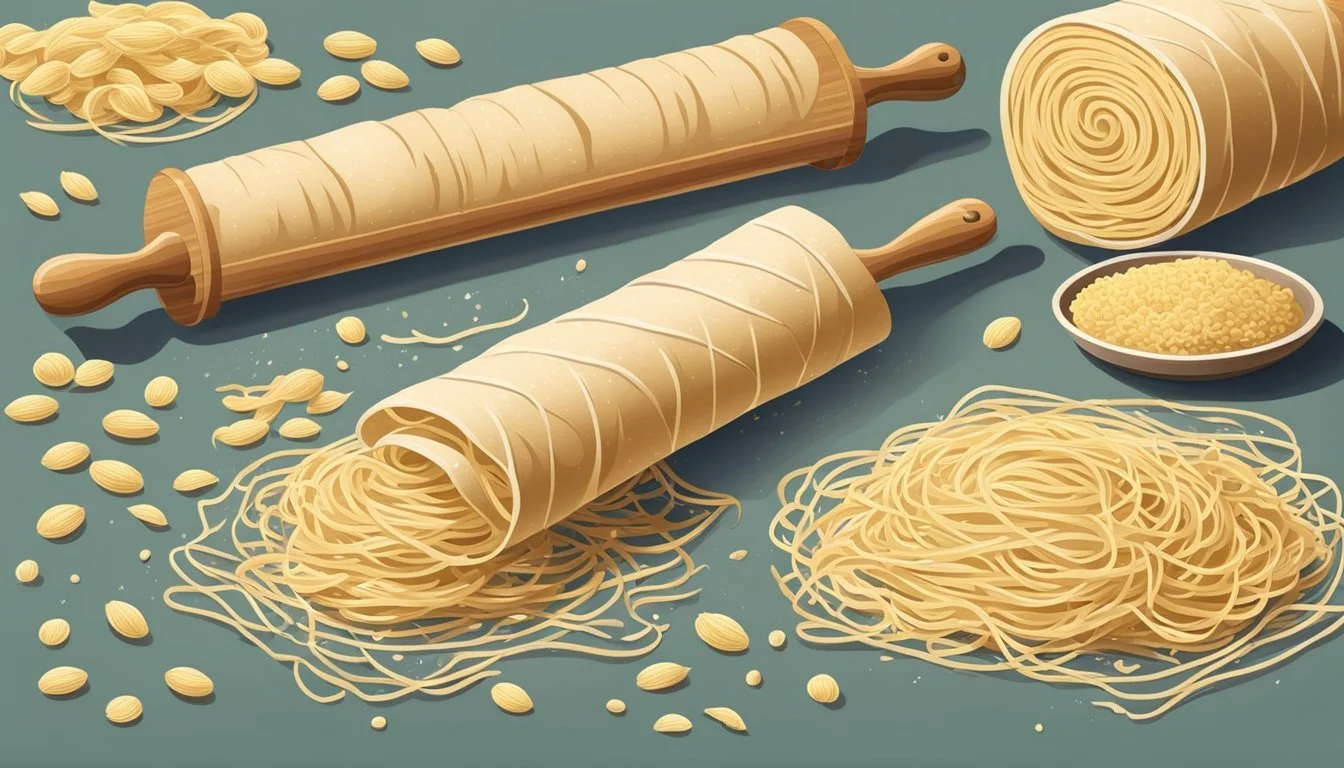
A rolling pin, a staple in most kitchens, serves as an excellent tool for flattening the dough to the desired thickness. After the initial mixing and resting phase of the pasta dough, chefs use the rolling pin to carefully apply even pressure across the dough’s surface, producing sheets that can then be cut into noodles. For mixing the eggs, olive oil, and flour, a simple fork will suffice to blend these components within a well in the center of the flour pile, drawing in flour gradually to create a cohesive dough.
Cutting the flattened pasta dough into shapes can be accomplished with everyday kitchen implements such as a sharp knife, a pizza (What wine goes well with pizza?) wheel, or a pastry wheel. These tools help achieve the precision required for uniform pasta shapes, whether one is aiming for long, slender linguine or farfalle's characteristic bow-tie appearance. Through the pasta-making process, culinary enthusiasts can explore the traditional art of Italian cooking while enjoying the taste of freshly made noodles that elevate even the simplest sauces.
Gathering the Essentials
To embark on the journey of homemade pasta without a machine, one must assemble the right ingredients and tools. Precision in this initial step ensures a smooth pasta-making process.
Choosing the Right Flour
The foundation of any pasta is the flour, and selecting the right type is paramount. All-purpose flour is versatile and widely available, making it suitable for beginners. However, combining it with semolina flour, which is coarser and higher in gluten, can enhance the pasta's texture, making it more authentic. For purists or those seeking an Italian touch, 00 flour is the gold standard, providing a silky texture perfect for thinly rolled pasta.
Fresh Ingredients for Flavor
The essence of homemade pasta is captured through its fresh ingredients. Eggs serve as both a binding agent and a source of richness. To enrich the flavor, one can incorporate a pinch of salt and a drizzle of olive oil which can also contribute to the dough's elasticity. While water is not always necessary, particularly when using eggs, it may be used to adjust dough consistency as needed. Using a food processor can expedite the mixing process, but it's not essential.
Critical Tools for Rolling and Cutting
Without a pasta machine, the maker requires several critical tools to achieve the desired pasta thickness and shape:
Rolling Pin: A sturdy rolling pin is essential for flattening the dough to an even thickness.
Sharp Knife or Pizza Cutter: For slicing the rolled-out dough into strands or desired shapes.
Bench Scraper: Useful for dividing the dough and scraping the work surface clean.
Fork: Initially used to whisk and blend the eggs, olive oil, and salt into the flour.
Clean Countertop or Large Cutting Board: Provides a flat surface for rolling and cutting the pasta.
By securing the right flour, fresh ingredients, and critical tools, one can navigate the pasta-making process with confidence.
Preparing the Dough
In pasta making, the foundation for an exceptional homemade dish lies in the dough. It requires a blend of the right ingredients, a methodical kneading process, and precise resting techniques. Here's how one accomplishes each step.

Mixing the Base Ingredients
The base for pasta dough typically includes all-purpose flour, eggs, and a pinch of salt. Begin by sifting flour onto a clean surface and forming a well in the center to hold the eggs and a drizzle of olive oil. A gentle whisk of the eggs and oil within this crater initiates the blending process, gradually incorporating the flour until a sticky dough forms.
The Kneading Process
Kneading is critical to develop gluten, which gives the pasta its structure and texture. Dust the surface with flour to prevent sticking, and firmly work the dough with the heels of one's hands. The kneading is complete when the dough becomes smooth and elastic, which typically takes about 10 minutes. This manual technique ensures the dough reaches the right consistency without any specialized equipment.
Dough Resting Techniques
Once kneaded, the dough must rest to allow the gluten structures to relax, making it easier to roll out. Shape the dough into a ball, and tightly cover it with plastic wrap to prevent drying. This should rest at room temperature for at least 30 minutes. Proper resting is essential as it affects the final texture of the homemade pasta.
Remember, patience and attention to detail at each of these stages will elevate one's homemade pasta from simply good to truly great.
Rolling the Pasta by Hand
Rolling pasta dough by hand requires patience and attention to achieve uniform thickness and shape. The process involves transforming a ball of pasta dough into a thin, even rectangle suitable for cutting into noodles.
Achieving the Perfect Thickness
To roll pasta dough to the uniform thickness necessary for even cooking, one starts with a well-kneaded dough ball. Using a rolling pin, they flatten the dough into a disc, applying equal pressure from the center outward. The goal is a smooth, non-sticky surface with the desired thickness ranging from 1/16 to 1/8 inch, resembling the consistency of dough rolled by a machine. They frequently rotate the dough 90 degrees to maintain an even shape and ensure consistent thickness throughout.
Key Steps to Achieve Even Thickness:
Place dough ball on a floured surface.
Flatten into a disc using the heels of the hands.
Roll outwards from the center with a rolling pin.
Rotate the dough after each roll to maintain shape.
Check thickness regularly, aiming for 1/16 to 1/8 inch.
Creating a Consistent Shape
To create consistent pasta shapes, the chef shapes the dough into a rectangle after reaching the right thickness. The edges may be trimmed using a bench scraper to create sharp lines, which helps when segmenting the dough into even noodle portions. By folding the dough into layers, they can make precise cuts for uniform noodles. When working the dough, one should handle it with care to avoid stretching or tearing, preserving the integrity of the future pasta shapes.
Techniques for Uniform Shapes:
Trim edges with a bench scraper for a neat rectangle.
Fold dough into even layers but avoid compressing.
Cut the folded dough into even strips for consistent noodles.
Cutting and Shaping the Pasta
Creating fresh pasta at home is achievable without specialized equipment. Once the dough is prepared, the focus shifts to cutting and shaping it into noodles and various pasta shapes using straightforward tools such as a knife or pizza cutter. Precision and a bit of practice can lead to exceptional homemade pasta.
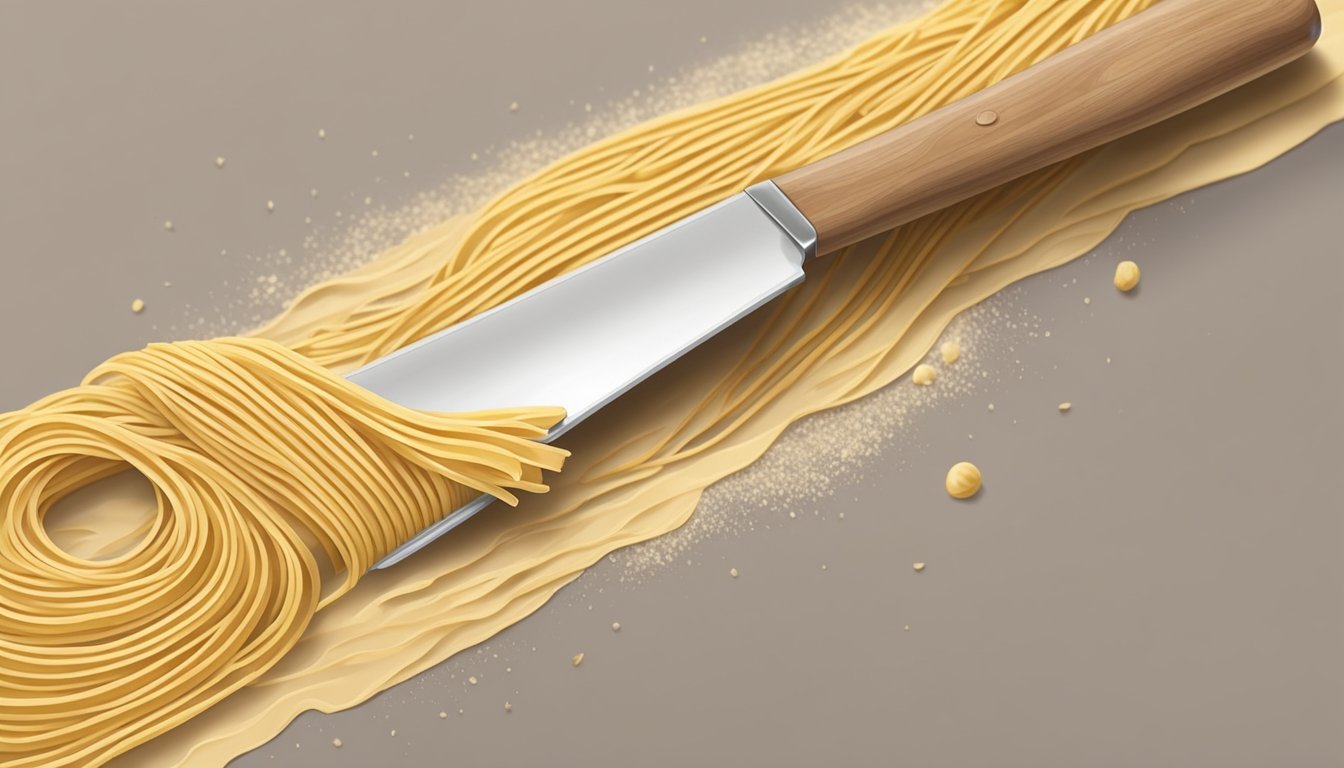
Knife and Pizza Cutter Techniques
A chef's knife is essential for cutting pasta dough. To craft noodles such as tagliatelle or fettuccine, one should roll out the dough till it's thin, then loosely roll it up into a spiral. They can slice the spiral into even widths using a sharp knife, unraveling each piece to reveal the noodles. For spaghetti and other thinner noodles, the slices should be finer.
Alternatively, a pizza cutter can streamline the process, ideal for long, straight cuts. It provides a clean edge and is particularly efficient for cutting uniform strips for noodles.
Forming Noodles and Pasta Shapes
Forming noodles requires minimal equipment. One can hand-shape pasta dough into various pasta shapes, such as farfalle, commonly known as bow ties. They would cut the dough into squares, pinch each in the center to shape, and allow them to dry slightly to maintain form.
Table of Basic Pasta Shapes and Techniques
Pasta Shape Technique Tagliatelle Cut rolled dough into 6-8 mm wide strips Fettuccine Cut rolled dough into 3-5 mm wide strips Spaghetti Cut rolled dough into 1-2 mm wide strips or use a fork to roll thin rods Farfalle Cut dough into rectangles and pinch the centers
For consistency and to prevent sticking, one should generously flour the surface before cutting. They can experiment with their knives or pizza cutters to customize the width and length of their noodles, adapting the technique to suit the desired pasta thickness.
Cooking Your Pasta to Perfection
Properly boiling pasta is crucial for achieving the perfect bite and texture. The cook must pay attention to water salinity and timing to ensure the pasta is neither too soft nor too hard.
Boiling: Timing and Water Salinity
When boiling pasta, optimal timing is essential. Freshly made pasta cooks faster than dried store-bought noodles, typically between 2-5 minutes. It is important to use a large pot of water to give the pasta ample space to move and prevent sticking. Water must be at a rolling boil before adding the pasta.
The salinity of the boiling water affects the pasta's flavor. One should add salt to the boiling water—about 1 tablespoon of salt per 4 quarts of water. Salted water brings out the natural taste of the pasta and is a vital step that should not be overlooked.
Achieving Al Dente Texture
For pasta to be al dente, meaning firm to the bite, one must taste test it a minute before the lower end of the recommended cooking time. The pasta should be slightly resistant in the center when bitten. A rule of thumb is that fresh pasta’s cooking time is often less than what many expect, and overcooking it can lead to a mushy texture.
Here's an easy reference for cooking times:
Fresh Pasta Type Cook Time Thin, flat noodles (like tagliatelle) 2-3 minutes Thicker shapes (like pappardelle) 3-4 minutes
Stirring gently at first is important to prevent clumping. As the pasta begins to cook, checking frequently for doneness ensures it is removed from the water at the perfect time for an al dente texture.
Selecting and Pairing Sauces
When creating homemade pasta, selecting the right sauce can elevate the dish to new heights. The sauce not only complements the texture and shape of the noodles but also enhances the flavor profile, making it a critical component of the meal.
Tomato and Cream-Based Options
Tomato-based sauces, (What wine goes well with tomato-based sauces?) such as classic marinara or robust bolognese, are versatile and pair well with a range of pasta shapes. For a richer experience, one can opt for a cream-based sauce like Alfredo, which envelops the noodles in a silky, luxurious coat. Below is a guide for pairing these sauces with DIY pasta:
Spaghetti: Best with bolognese or marinara, where the sauce clings to the long strands.
Fettuccine: Ideal for Alfredo, as the wide, flat noodles support the heavy cream sauce.
Pesto and Oil-Based Choices
For those who prefer a lighter touch, pesto and olive oil-based sauces are excellent options. They coat the noodles evenly without overwhelming the palate. Their compatibility with homemade pasta is as follows:
Pesto: Perfect with thinner noodles like linguine that allow the sauce's texture and flavor to stand out.
Olive oil-based sauces: Pair well with virtually any pasta shape, as they add a subtle, aromatic quality to the dish without masking the pasta's own taste.
By considering the sauce's consistency and flavor profile when pairing it with homemade pasta, one ensures each bite is a harmonious blend of pasta and sauce.
Serving and Presentation

When presenting homemade pasta, the focus should be on showcasing the pasta's texture and shape with thoughtful plating and the use of garnishes that complement the flavor profile of the dish.
Plating Techniques
To serve pasta, one should aim for a balance of elegance and simplicity. Start by twirling the noodles gently with a fork or tongs to create a nest-like shape that adds height and visual appeal on the plate. Layering the pasta in the center of a warm, shallow bowl ensures that any accompanying sauce is cradled around the noodles, enhancing the dish's presentation and taste.
Garnishes and Final Touches
Striking the right chord with garnishes can elevate the homemade pasta to a gourmet experience. Fresh basil leaves can add a vibrant color and a fragrant touch to the dish. A modest grating of Parmesan cheese offers a salty, umami-rich counterpoint to the pasta, while crispy bacon bits provide a texturally contrasting element that is both visually and palatably appealing. To apply, sprinkle these components sparingly over the pasta to avoid overshadowing the dish's homemade quality.
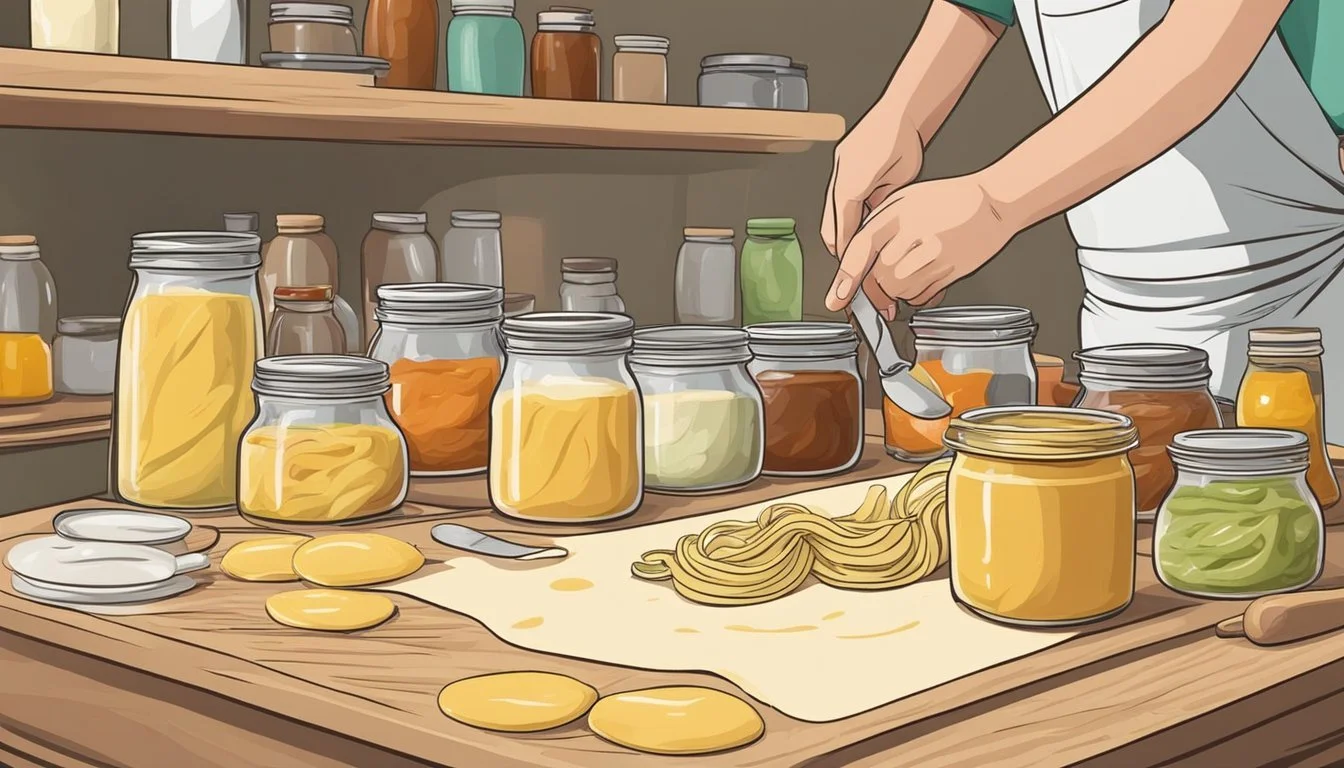
Storing Homemade Pasta
Proper storage of homemade pasta is crucial for maintaining its flavor and texture. Whether pasta enthusiasts opt for long-term drying or short-term refrigeration, understanding the correct methods ensures that homemade pasta remains fresh and delicious for future meals.
Drying and Storing Long-Term
For long-term storage, pasta must be thoroughly dried to prevent mold growth. Long noodles like spaghetti or linguine are best suited for this method.
Step-by-Step Drying Process:
Place cut pasta on a baking sheet lined with parchment paper.
Ensure the pasta is spread out in a single layer to promote even drying.
Allow pasta to air dry at room temperature, away from direct sunlight and moisture, for 12-24 hours, or until completely dry to the touch.
Storing Dried Pasta:
Once dry, store the pasta in an airtight container.
Label the container with the pasta type and the date it was made.
Keep the container in a cool, dry place for up to 2-3 months.
Refrigeration for Short-Term Use
Refrigeration is suitable for those planning to cook their homemade pasta within a few days.
Short-Term Refrigeration Steps:
Dust freshly made pasta lightly with flour to prevent sticking.
Place the pasta in a single layer on a tray or container, cover with plastic wrap.
For longer freshness, one can also blanch the pasta in boiling water for 30 seconds, drain, air dry, and then refrigerate.
Storing in the Refrigerator:
Transfer pasta to an airtight container or a resealable plastic bag.
Store in the fridge for up to 4-5 days.
For either method, whether the pasta is store-bought or homemade, ensuring an airtight environment is key to preserving its quality.
Advanced Pasta-Making Tips
Once a basic pasta dough has been mastered, the adventurous home chef may wish to explore the realm of flavored pasta doughs and the intricacies of crafting stuffed pastas. These advanced techniques require attention to detail and a willingness to experiment.
Incorporating Flavored Doughs
For those seeking to elevate their pasta dishes, flavored doughs open up a myriad of taste experiences. When introducing flavors, the chef must ensure that the additional ingredients are finely pureed and strained so as to not disrupt the dough's texture. For instance, spinach pasta could involve blending fresh spinach leaves into a puree, then incorporating this into the dough to both color and flavor it.
Herb-infused pasta: Finely chop herbs and mix them into the dough for a subtle aroma.
Vegetable-based pasta: Add pureed beets or carrots for vibrantly colored and subtly sweet noodles.
Handmade Stuffed Pastas
The art of making stuffed pastas like ravioli at home allows for creativity in both flavor and shape. Achieving the perfect consistency and thickness of the pasta sheet is crucial, whether using a pasta maker or a rolling pin. The dough should be thin enough to delicately encase the filling yet sturdy enough to maintain its shape during cooking.
Filling preparation: Start with a flavorful base like herbed ricotta or seasoned ground meat, ensuring the mixture is not too wet to prevent sogginess.
Sealing techniques: Lightly brush the edges of the pasta with water or egg wash before pressing them together to seal the stuffed pasta tightly and eliminate air pockets.
A stand mixer with a dough hook attachment can greatly assist in achieving a uniform texture in both flavored and stuffed pasta doughs. Furthermore, these freshly made pastas can serve as the foundation for a myriad of dishes, from an honest homemade chicken noodle soup to an elaborate, multi-course Italian feast.
Time and Preparation
When one decides to make pasta by hand, understanding the time commitment and steps for preparation is crucial. Crafting homemade noodles without a machine is a rewarding process, but it requires patience and diligence.
Prep Time: The initial preparation for making pasta dough typically requires about 10 to 15 minutes. One arranges the flour on a clean surface, making a well in the center for the eggs and olive oil, then mixes the ingredients to form a dough. This is followed by a kneading period of approximately 10 minutes to achieve a smooth, elastic consistency.
Resting Time: After kneading, the dough should rest. This period allows the gluten to relax, ensuring that the rolled-out pasta will be pliable and less prone to tearing. The dough is usually left to rest for at least 30 minutes, wrapped in plastic wrap or a clean cloth to prevent it from drying out.
Rolling by Hand: Using a rolling pin, one flattens the dough, working from the center outward until reaching the desired thinness. The surface should be dusted with flour intermittently to prevent sticking. This stage can be quite labor-intensive and might take anywhere from 15 to 30 minutes, depending on the desired thickness of the pasta.
Cutting Noodles: Once rolled flat, the pasta sheet is then cut into strips using a sharp knife or pastry cutter. The width of the noodles depends on personal preference or the recipe's instructions.
Tips for Success:
Ensure the work surface and rolling pin are well-floured to prevent sticking.
Roll the dough as evenly as possible for consistent cooking times.
Cut pasta in uniform sizes for even cooking.
Making pasta by hand is as much about the process as it is about the resulting dish. One should allocate a minimum of an hour to adequately prepare and craft homemade pasta without a machine. With these guidelines, anyone can approach pasta-making with confidence and a clear understanding of the time and preparation involved.
