
How to Measure the Perfect Amount of Liquid for Biscuit Dough
A Precision Guide
Measuring the correct amount of liquid for biscuit dough is a fundamental skill that can make the difference between producing a perfect biscuit or falling short of expectations. Unlike bread dough, which can often handle a range of hydration levels, biscuit dough requires a precise balance of moisture to ensure that the biscuits are tender, flaky, and rise properly. Recipes vary, but they generally call for a small quantity of liquid relative to the flour, emphasizing the importance of accuracy.
The type of liquid used in biscuits also has a significant impact. Classic recipes commonly involve milk or buttermilk, as they contribute to the dough's flavor, color, and texture. It's crucial for bakers to consider the fat content of the chosen liquid since it affects the dough's richness and the final product's mouthfeel. Bakers use a light hand when mixing the liquid into the dry ingredients to prevent overworking the dough, which leads to tough biscuits.
Achieving the ideal consistency of biscuit dough is a delicate balance that requires careful attention to the recipe's liquid measurements and the dough's appearance and feel. The dough should be cohesive and slightly sticky without being too wet or dry. This precise balance helps create the steam during baking that separates the layers, resulting in the flaky texture that is highly sought after in perfect biscuits.
Understanding Biscuit Dough Basics
When crafting the perfect biscuit dough, it's essential to understand the roles of key ingredients, the underlying science, and the importance of precise ratios that ensure the desired texture and taste.
Ingredients and Their Roles
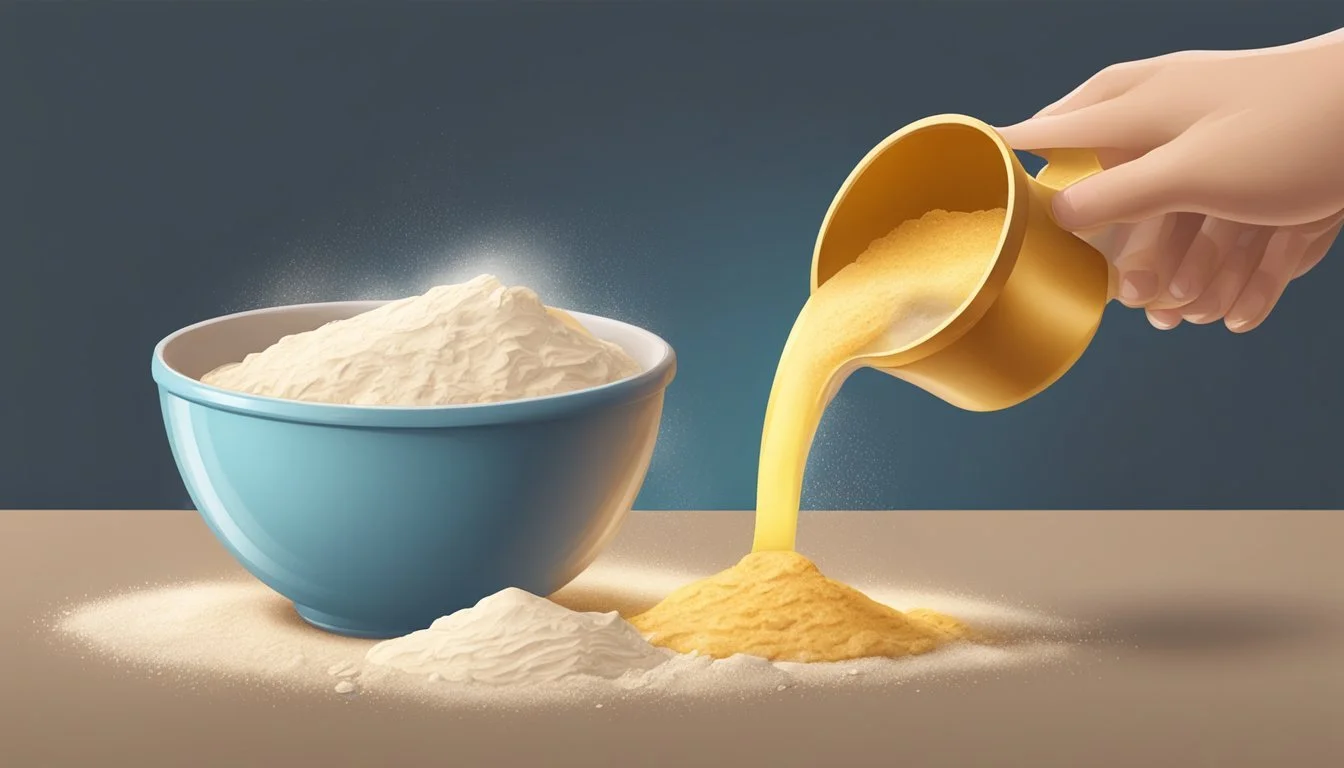
The typical biscuit recipe includes flour, baking powder, fat, and liquid, usually milk or buttermilk. Flour provides the structure; baking powder acts as a leavening agent; fat, often butter or shortening, creates tenderness and flakiness; while the liquid adds moisture and activates the gluten.
Flour: Often all-purpose flour is used for its balanced protein content, which affects gluten formation.
Fat: Butter contributes to flavor and texture. Shortening, while less flavorful, can enhance tenderness.
Liquid: Milk or buttermilk imparts moisture while helping to form gluten. Buttermilk also interacts with baking powder to aid in leavening.
The Science of Baking Biscuits
Baking biscuits is a delicate balance of chemistry and temperature. The formation of gluten gives biscuits their structure. However, too much gluten can make them tough, hence the fat is cut into the flour to limit gluten development, and the liquid is added sparingly to achieve a balance between structure and tenderness.
Leavening occurs as baking powder reacts with moisture and heat, releasing CO2, which helps the dough rise.
Gluten formation should be minimized – achieved by gentle mixing and using liquids judiciously.
Importance of Ratios in Dough Consistency
Ratios are crucial in biscuit recipes to maintain the balance between dry and wet ingredients. This balance affects the texture and moisture of the final product. The precise amount of liquid ensures that the dough is neither too sticky nor too dry, allowing for the right level of rise and tenderness.
A common ratio: for every 1 cup of flour, 1/4 cup of fat and 1/4 to 1/3 cup of liquid can be used.
Selecting the Right Flour
The choice of flour significantly impacts the biscuit's structure. All-purpose flour is versatile and commonly used, while whole wheat flour brings in more fiber but can also introduce a denser texture. Gluten-free flours are also an option, often needing a binding agent or xanthan gum.
All-Purpose Flour: Ideal for a balanced texture.
Whole Wheat Flour: Adds heartiness but can affect lightness.
Gluten-Free Flours: Require adjustments for binding to mimic the structure provided by gluten.
Preparing the Dough
Creating the perfect biscuit dough is a balance of precision and technique. One must measure ingredients accurately and understand the intricacies of mixing and handling to ensure a tender biscuit.
Measuring Ingredients Accurately
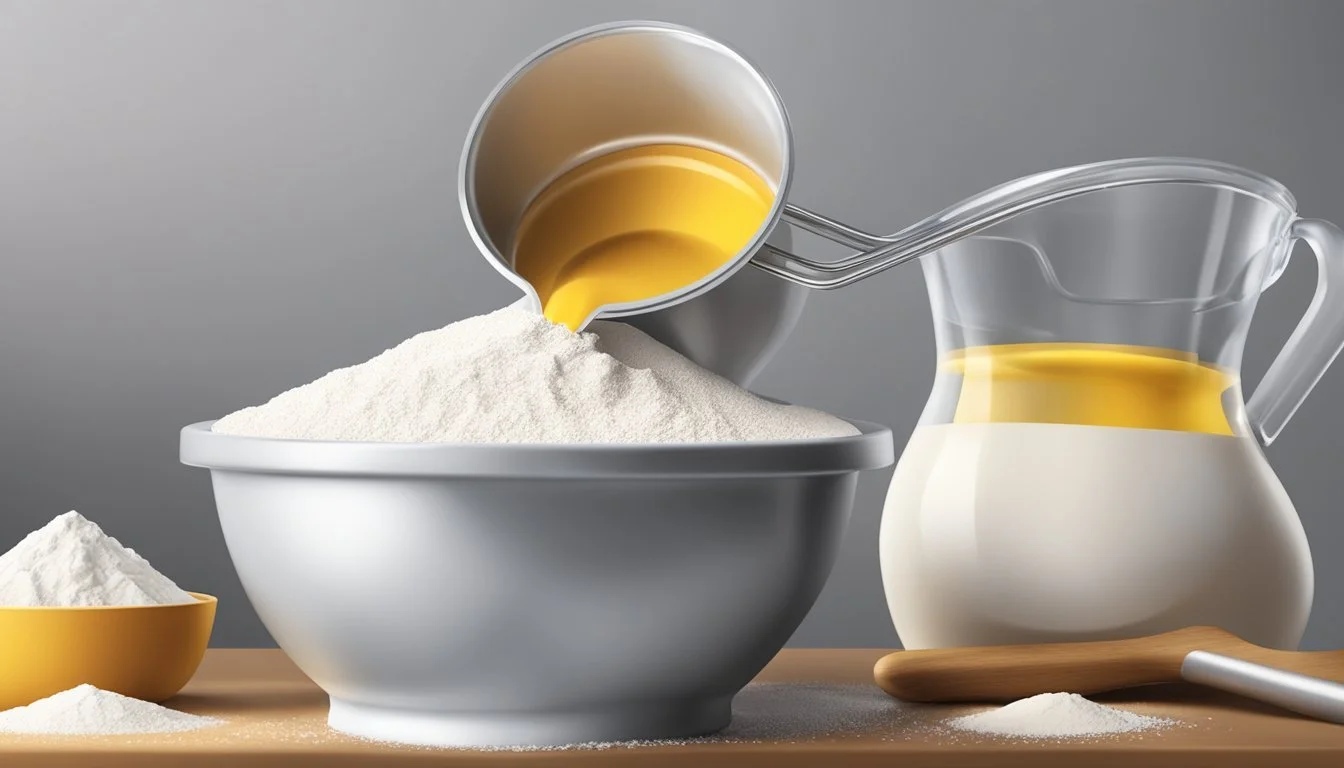
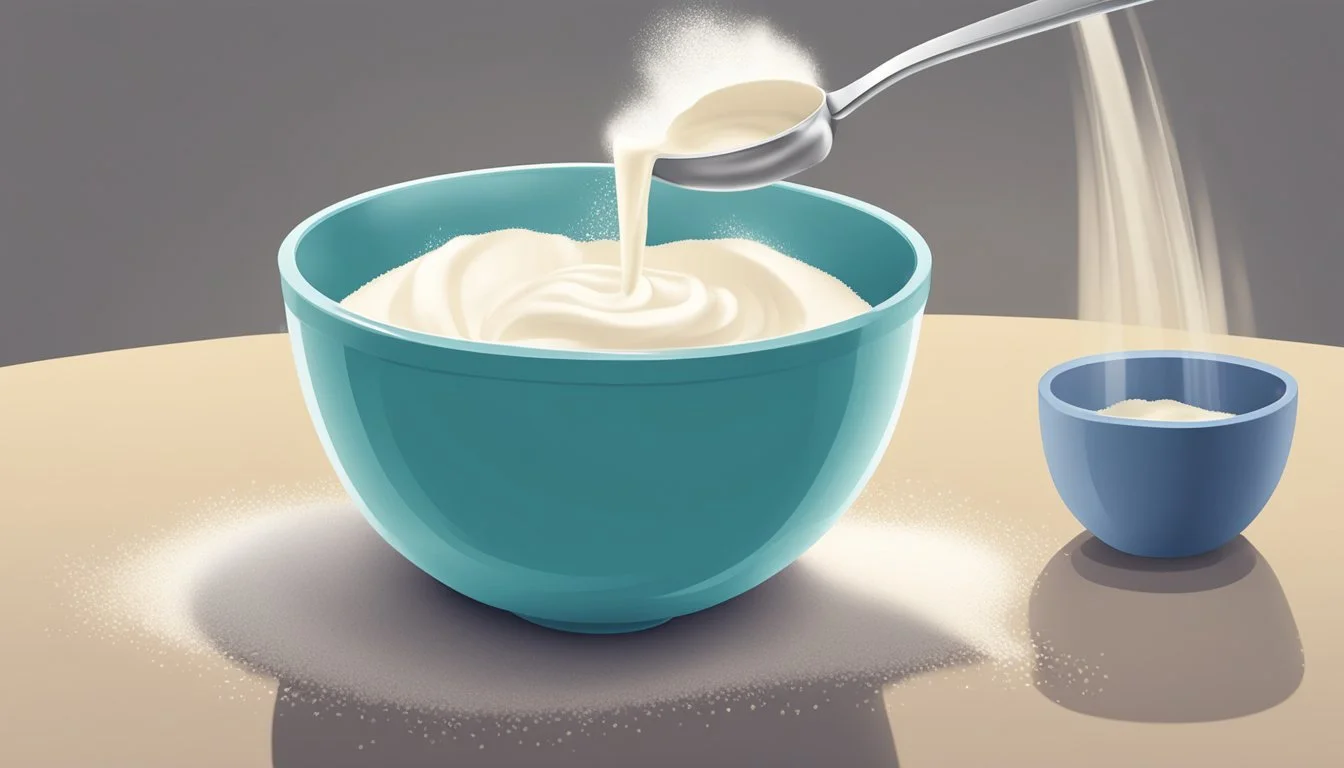
Using a kitchen scale to weigh dry ingredients such as flour and baking powder is essential for accurate measurements. Ratios play a critical role in achieving the desirable texture of biscuits. It's recommended to follow the recipe to the letter, especially with the amount of baking powder, which acts as a leavening agent, and flour, which provides structure. Liquids, like milk or buttermilk, should be measured in transparent measuring cups at eye level to ensure the right quantity is added.
Flour: 100g
Baking Powder: 1 teaspoon
Milk/Buttermilk: as per recipe requirement
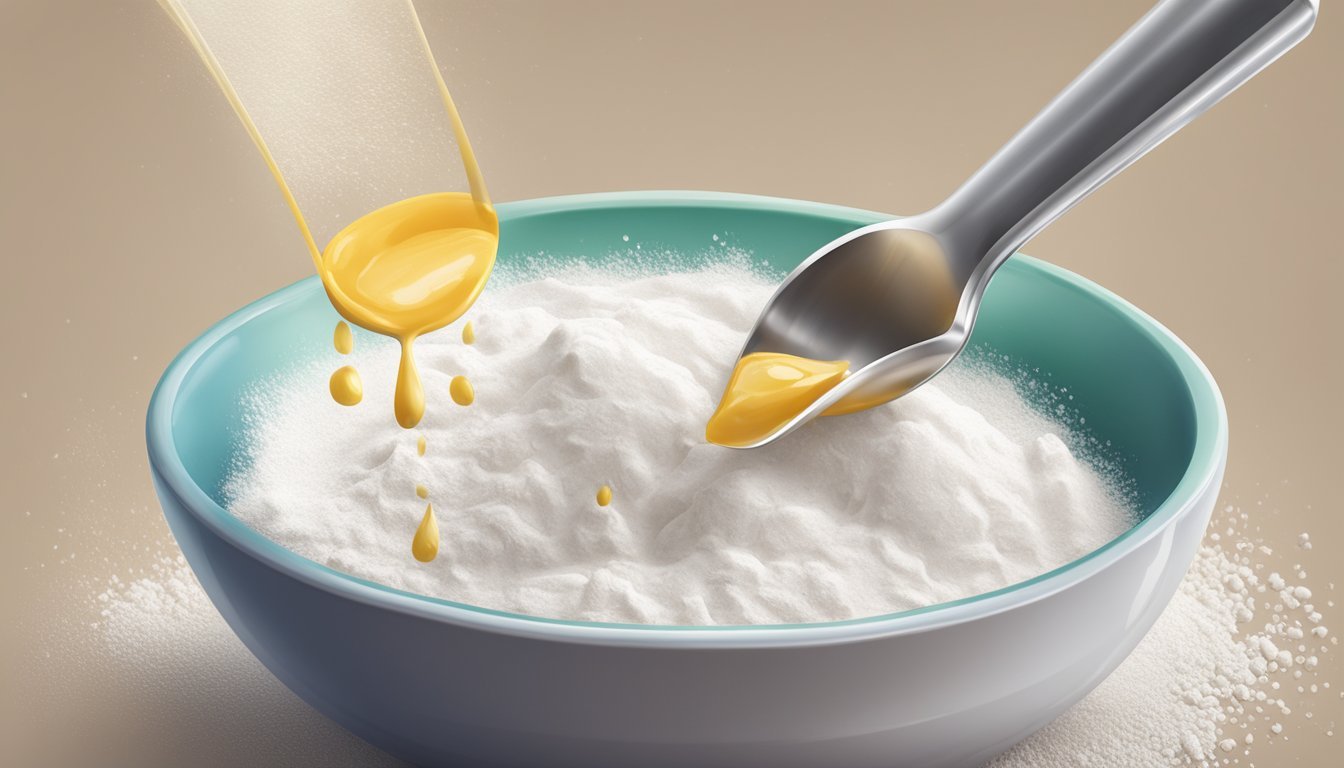
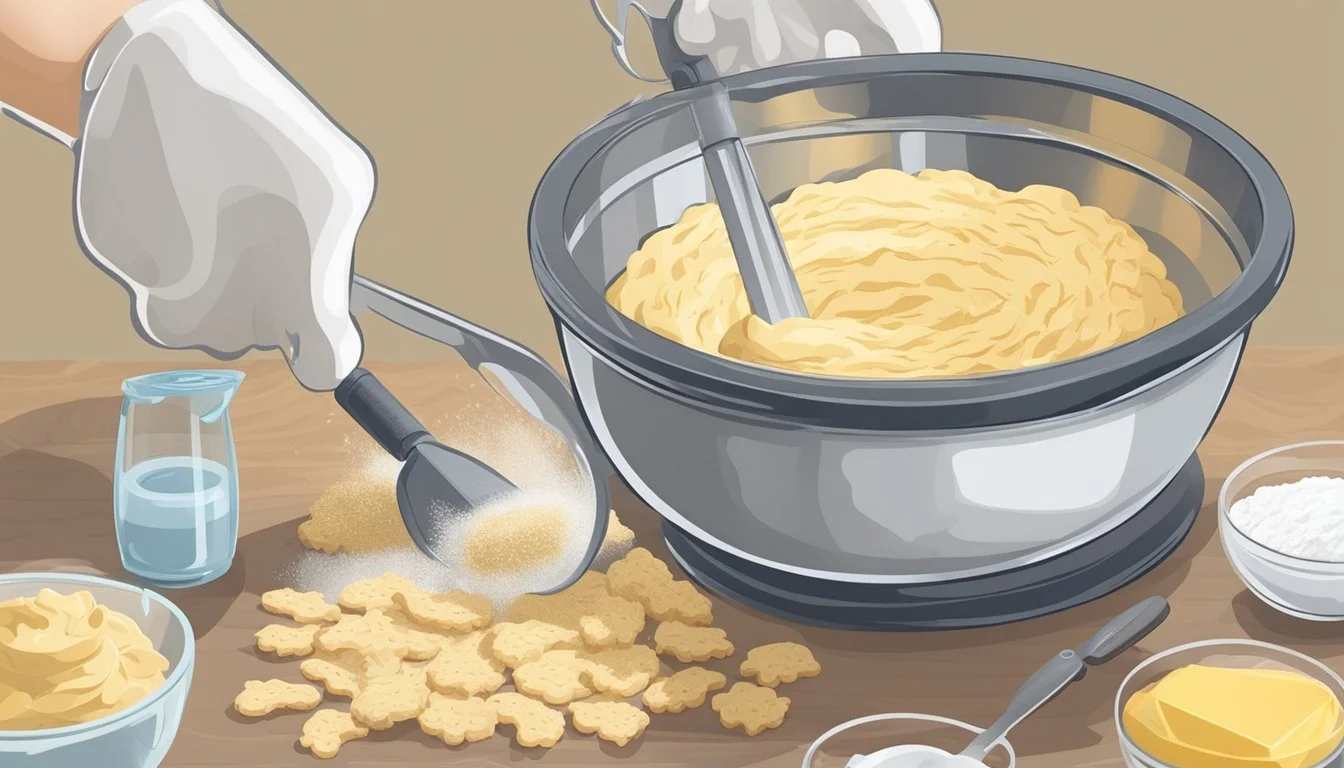
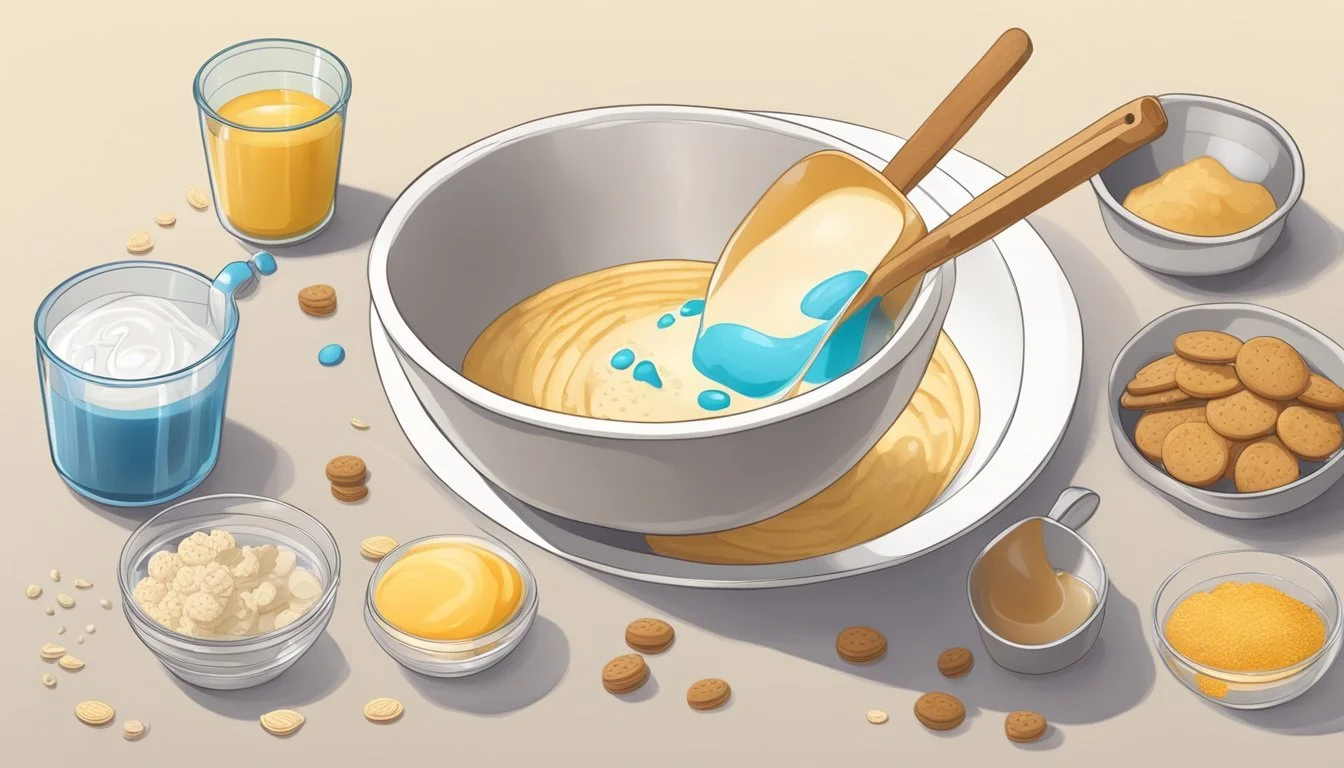
Mixing Wet and Dry Components
Combining the wet and dry ingredients should be done with a light touch to avoid overmixing, which can lead to tough and chewy biscuits. One should pour the measured liquid, such as milk or buttermilk, into a well in the center of the dry ingredients and mix gently until just combined. The fat, typically butter or shortening, needs to be cold and cut into the dry mixture to contribute to a flaky texture.
Correct Proportion Example:
Dry mix: Flour + Baking Powder
Fat: Butter, cut into small pieces
Liquid: Milk/Buttermilk, sufficiently cold
Handling Dough Correctly
After mixing, the dough should be turned out onto a lightly floured surface and handled as little as possible to avoid overworking the dough. Kneading gently a few times should suffice to bring it together. Overhandling the dough can result in the biscuits becoming tough. To cut the dough, use a sharp biscuit cutter and press straight down rather than twisting, to ensure the biscuits can rise properly.
Key Handling Steps:
Turn out and lightly knead the dough.
Cut with a sharp biscuit cutter—no twisting.
By being precise with measurements and mindful during mixing and handling, one can craft a batch of tender, flaky, and delicious biscuits.
Shaping and Cutting Biscuits
The precision in shaping and cutting biscuit dough is pivotal to achieving the ideal texture and layers. This process also helps prevent common issues that could result in a biscuit that is tough, chewy, or lacking in flavor.
Creating Desired Shapes and Layers
Shaping the biscuit dough begins with gently patting or rolling it out on a floured surface to an even thickness, typically aiming for about ½-inch to ¾-inch for classic biscuity flakiness. Once achieved, a sharp biscuit cutter should be used to press straight down into the dough to create clean circles or shapes without twisting. Twisting the cutter can seal off the edges, inhibiting the rise and layering. For those seeking variety or simplicity, shaping the dough into a square and cutting it into smaller squares or diamond shapes ensures less waste and can introduce appealing layers. One can enhance these layers by folding the dough over itself a few times before the final roll-out.
Here's an illustrative approach to forming layers:
Roll out dough to a ½-inch thickness.
Fold dough in half.
Gently re-roll the dough out to the desired thickness.
Cut into shapes with a straight downward motion.
Preventing Common Dough Issues
Troubleshooting common biscuit issues starts with handling the dough just enough to maintain its tenderness—overworking can lead to a tough and chewy result. When cutting out shapes, it's important not to reroll scraps more than once; continuously reworking the dough will develop the gluten excessively and may impact the texture. If the dough becomes too warm, the fat may begin to melt which risks the final product being less soft and flaky. To combat this, the dough can be chilled briefly before cutting. Moreover, during the cutting phase, it’s critical to work quickly and efficiently to maintain a cool dough temperature that contributes to the biscuity flakiness and a soft texture after baking. Finally, avoiding overbaking is key to preserving the dough's flavor and preventing a dry, crumbly outcome.
Baking Procedures and Techniques

Achieving the perfect biscuit dough involves careful attention to liquid measurements, which is crucial to the baking process. Precise ingredient ratios, consistent oven temperatures, and accurate baking times are the cornerstones of delectable, tender baked goods.
Oven Temperature and Baking Time
When baking biscuits, always begin with a preheated oven. The correct temperature is vital for ensuring a golden brown exterior while maintaining a soft interior. For most biscuits, preheat the oven to 425°F (218°C). The exact baking time may vary, but biscuits typically require 12-15 minutes. These parameters may need adjustment depending on the oven's efficiency and the recipe followed.
Biscuit Type Temperature Time Buttermilk Biscuits 425°F 12-15 minutes Drop Biscuits 425°F 14-17 minutes Cheese Biscuits 425°F 13-16 minutes
Ovens may have hot spots or temperature inconsistencies. It's recommended to rotate the baking tray halfway through the baking time to ensure even browning and prevent overbaking.
Achieving the Perfect Texture and Color
The perfect biscuit texture is tender and moist. It is essential to measure liquids accurately, as too much liquid can make the dough overly sticky and dense, while too little can lead to dry, crumbly biscuits. Ensure ingredients like milk or buttermilk are measured in a clear liquid measuring cup, and the measurements are taken at eye level for accuracy.
The texture also depends on the all-purpose flour used. Flour should be spooned into the measuring cup and leveled off with a straight edge to avoid over-packing. Gently fold the flour into the wet ingredients until just combined—overmixing results in tough biscuits.
For a desirable golden brown color, brush the tops of the unbaked biscuits with milk or melted butter before placing them in the oven. This will give the baked goods a rich, inviting color and add a subtle layer of flavor.
Incorporating these baking procedures and techniques will ensure that the biscuit dough turns out with the right balance of texture and color, crucial elements to the appeal and taste of the final product.
Customizing Biscuit Recipes
Each biscuit recipe offers a unique opportunity to infuse personal touches that can elevate the flavor and accommodate dietary preferences. Through the introduction of various ingredients for flavor enhancers or by adjusting the recipe for gluten-free and vegan diets, one can tailor a biscuit recipe to suit any taste or requirement.
Incorporating Flavor Variations
Biscuit recipes often call for basic ingredients that provide a blank canvas for flavor additions. To enhance the tenderness and impart richness, one might opt to incorporate high-fat whipping cream. For those wishing to add a savory element, mixing in finely grated cheese, crispy bacon, or freshly chopped herbs can significantly alter the flavor profile of the dough. It's crucial to maintain the balance of wet to dry ingredients to preserve the desired biscuit texture.
Herbs: Add 1-2 tablespoons of freshly chopped herbs per cup of flour.
Cheese: Mix in 1/2 cup of shredded cheese per cup of flour.
Bacon: Include 1/4 cup of finely chopped cooked bacon per cup of flour.
By integrating these add-ins with care, flavor variations can be achieved without compromising the biscuit's structure.
Gluten-Free and Vegan Alternatives
For individuals with dietary restrictions, biscuit recipes can be adapted to be gluten-free or vegan. When using gluten-free flours, it's essential to add appropriate binding agents such as xanthan gum to mimic gluten's role. Gluten-free flours often require more moisture, so adjustments in liquid measurements may be necessary to achieve the correct dough consistency.
Gluten-Free Flour Mix: Use a pre-made gluten-free flour blend or create a mix with rice flour, tapioca flour, and potato starch.
Binding Agents: Xanthan gum or guar gum can be used at a ratio of 1/4 teaspoon per cup of gluten-free flour.
For a vegan variation, traditional fats such as butter and lard can be substituted with plant-based options like coconut oil. Greek yogurt can be replaced with plant-based yogurts to maintain the moisture and richness in the dough.
Vegan Fats: Substitute equal amounts of coconut oil or vegan butter for dairy-based fats.
Vegan Dairy: Use an equal amount of almond milk or soy milk in place of regular milk, and plant-based yogurt in place of Greek yogurt.
These substitutions help create vegan biscuits that still offer a tender crumb and layers of flavor.
Storing and Serving Biscuits
Ideal biscuit storage is crucial to maintaining their tender texture, while thoughtful serving enhances the enjoyment. By adhering to some key practices, one ensures that the freshness and flavor of biscuits are retained from storage to service.
Keeping Biscuits Fresh and Delicious
Storing Biscuits: To keep biscuits fresh:
Place them in an airtight container or sealable plastic bags.
Expel as much air as possible before sealing to prevent staleness.
Store at room temperature for short-term (1-2 days) or refrigerate for extended freshness (up to 1 week).
For biscuit dough, wrap tightly in plastic wrap, place in an airtight container, and refrigerate for 2-3 days before use.
Freshness is paramount for biscuits to maintain their ideal texture. If the biscuit recipe calls for ingredients like grated cheese or butter, ensuring they are sealed properly is even more critical to prevent absorbing other odors.
Serving Suggestions and Pairings
When serving biscuits, they shine best warm. A brief stint in the oven can rejuvenate yesterday's biscuits, giving them back some of their tender quality. Pairing suggestions for biscuits include:
Spread with room temperature butter for a melt-in-your-mouth experience.
Jam, syrups, or honey to add a sweet touch.
Savory companions such as gravies or cream sauces complement biscuits especially well at mealtime.
For a unique twist, incorporate grated cheese into the dough for a cheesy delight upon serving.
Serving biscuits is not just about taste but also the experience. Hence, every element, from texture to accompaniments, counts towards making each bite as delightful as possible.
Advanced Tips and Techniques
When striving for the perfect biscuit dough, one must understand that precision in measuring liquids is as critical as the blending of ingredients. Professional bakers rely on consistency and accuracy to achieve the desirable flaky layers and tender crumb in their biscuits.
Professional Baking Secrets for Perfect Biscuits
Professional bakers often turn to unsalted butter because of its pure flavor and the control it offers over the salt content of a recipe. For optimal texture, the butter should be very cold and cut into the dry ingredients using a pastry cutter or two knives, until the mix resembles coarse crumbs. This technique helps to create small pockets of fat that steam during baking, producing layers of flaky goodness.
When incorporating liquids, bakers might use the "well method," where they create a well in the center of the dry ingredients and pour the liquid in gradually, mixing until just combined. Overworking the dough can develop gluten, leading to a tough biscuit. For quick breads and biscuits specifically, one should measure liquids at eye level to ensure the correct amount, and use ingredients like buttermilk to react with baking powder for a lift in the oven.
Shortening or lard can also be used as a fat source. Some bakers prefer shortening for its higher melting point, which contributes to the biscuit's structure. Culinary author Michael Ruhlman suggests that bakers weigh ingredients for accuracy — an essential technique for repeatability in baking.
Step-by-Step Biscuit Making Instructions
The process of making biscuits involves careful steps to maintain the integrity of each ingredient:
Prep Ingredients: Assemble all ingredients, ensuring that fats are cold and dry ingredients are whisked together well.
Cutting in Fat: Use a pastry cutter to incorporate the fat into the dry mixture until it resembles coarse crumbs. For integrity, fat pieces should vary in size, some as small as peas.
Adding Liquid: Gently mix in the liquid until the dough begins to come together. Avoid overmixing.
Shaping Dough: Turn the dough out onto a lightly floured surface, and gently fold it over itself several times to create layers.
Cutting Biscuits: Press the dough out to an even thickness and use a floured cutter to shape the biscuits. Push straight down without twisting to cut.
Remember, biscuits require a gentle hand — the less the dough is manipulated, the better the final product. As a rule of thumb, handle the dough as little as possible to maintain those distinct, buttery layers.
Troubleshooting Common Biscuit Problems
When baking biscuits, precise liquid measurement is crucial for the ideal texture. However, even with care, one may encounter issues like underbaked or overbaked biscuits and dough that's too wet or too dry. Below are strategies to tackle these common challenges.
Dealing with Underbaked or Overbaked Biscuits
Underbaked Biscuits:
Check if your oven is properly calibrated; an oven thermometer can ensure the accuracy of temperature settings.
It's essential to bake biscuits until they are lightly golden brown on top — this usually indicates they are fully baked inside.
Overbaked Biscuits:
To avoid overbaking, start checking your biscuits a few minutes before the recipe's stated minimum time.
If the bottom is browning too quickly, try shifting them to a higher rack or using a double layer of baking sheets.
Dough That's Too Wet or Too Dry
Too Wet Dough:
A biscuit dough that's too sticky often means too much liquid. To fix, sprinkle a small amount of flour and fold gently until it reaches the right consistency.
Too Dry Dough:
On the flip side, a dry and crumbly dough might need a splash more liquid. Add it teaspoon by teaspoon, mixing lightly after each addition.
Remember, biscuits require a soft, slightly sticky dough for a moist, tender crumb.
Conclusion
The perfect liquid measurement in biscuit dough is paramount to achieving the right texture and tenderness. Bakers must gauge the consistency of the dough, which should be slightly tacky but not overly wet. A successful baker's dough will be cohesive and pliable, allowing for smooth handling without sticking excessively to surfaces or tools.
An appropriate rule of thumb is to start with the minimum liquid recommendation and gradually add more as needed. This method ensures the dough remains manageable and avoids becoming overly hydrated. Remember, different flours have varying absorption rates, and factors like humidity and altitude can affect the dough's moisture needs.
When it comes to baking time, precision ensures that biscuits turn out golden and tender. An over-hydrated dough may lead to longer baking times and potential toughness. Conversely, under-hydrated dough can result in dense biscuits that lack that characteristic flaky layering.
Consistent practice and attention to the dough's feel are bakers’ best guides. The final product should showcase a biscuit that is light, flaky, and a pleasure to the palate. Regularly achieving the desired outcome fosters confidence in one’s baking skills, solidifying the understanding that the right balance of ingredients produces the perfect biscuit.
